
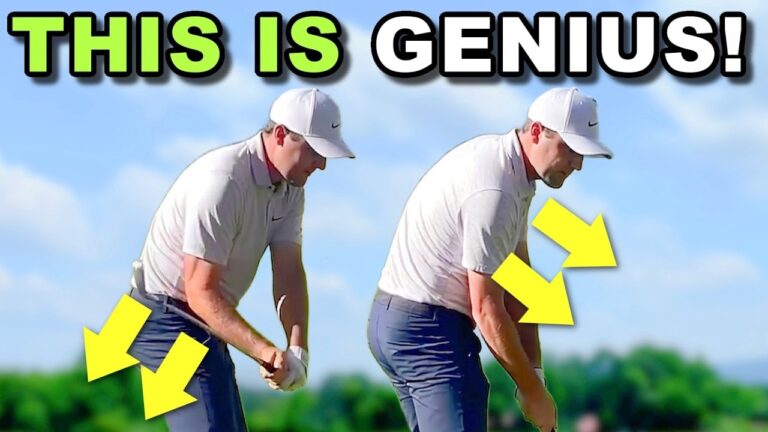

Getting your right shoulder through the ball is one of the most important moves for improving solid contact, controlling the club path, and creating the shaft lean that great iron players produce naturally. For a right handed golfer, the right shoulder is the trail shoulder. If it stays too high or too far back in the downswing, you can easily get steep, come over the top, flip the club, or struggle with fat and thin shots.
The productive pattern is simple in principle: your trail shoulder moves up and back in the backswing, then works down and forward in the downswing and through impact. The details matter, though. You need enough downward tilt to shallow the shaft and reach the ball properly, plus enough forward movement to move your low point ahead of the ball.
Table of Contents
- Step 1: Understand Why the Right Shoulder Must Move Down and Forward
- Step 2: Use Right Shoulder Through the Ball to Improve Contact
- Step 3: Stop Coming Over the Top With Better Trail Shoulder Tilt
- Step 4: Build the Correct Right Shoulder Through the Ball Checkpoints
- Step 5: Practice the Club Across Shoulders Drill
- Step 6: Add a Right Side Oblique Crunch and Trail Knee Forward
- Step 7: Keep the Trail Arm and Wrist Bent if Contact Turns Fat
- Step 8: Take the Right Shoulder Through the Ball to the Range
Step 1: Understand Why the Right Shoulder Must Move Down and Forward
Start by identifying what your trail shoulder does in the backswing. From a face on perspective, your right shoulder does two things as you turn back:
- It moves up, away from the ground.
- It moves back around you, or behind you.
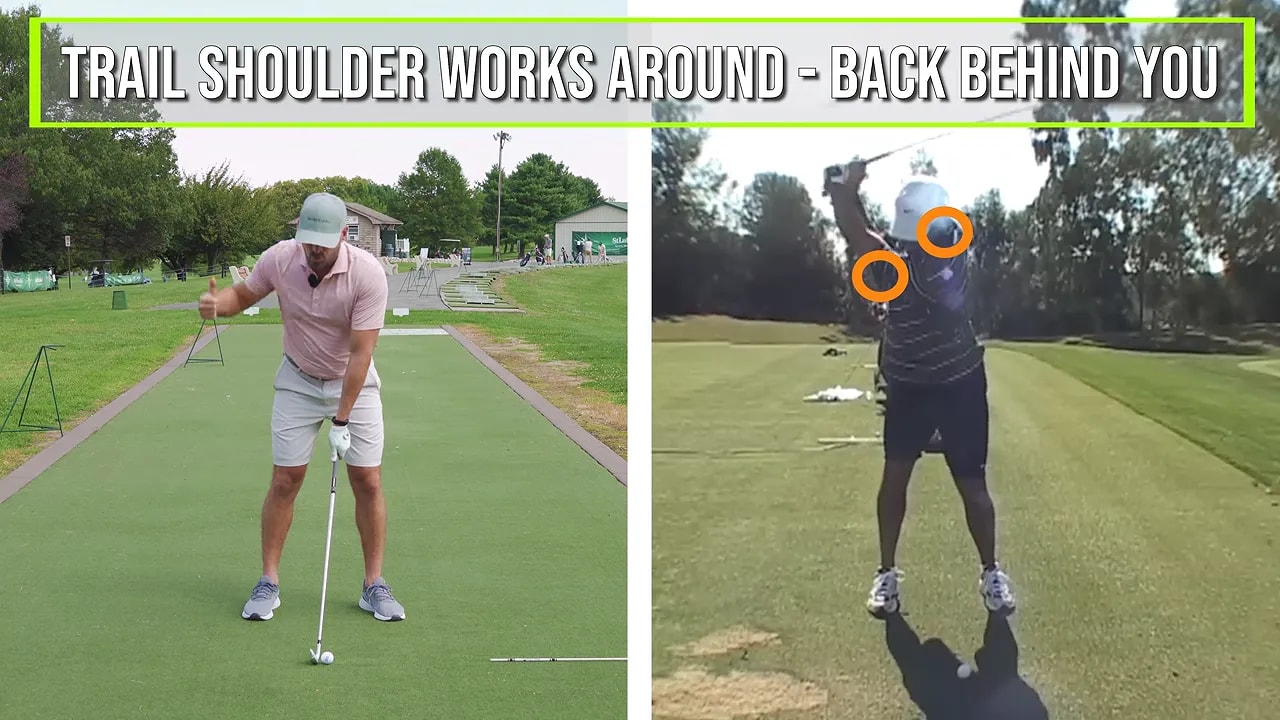
That backswing movement creates the need for the opposite motion coming down. To return to setup, your right shoulder would have to move down and forward. But a quality impact position is not merely a return to setup. At impact, your chest and shoulders are more open and farther toward the target than they were at address.
That means the right shoulder needs to travel even farther down and farther forward than it would just to get back to its original address location. This is the core concept behind getting your right shoulder through the ball.
Do not interpret “down” as collapsing your posture or dipping toward the turf. Think of it as your shoulder tilt becoming steeper as your body continues to rotate. The shoulder moves down while your hips and chest keep turning through the strike.
Step 2: Use Right Shoulder Through the Ball to Improve Contact
The downward component of the trail shoulder serves two major purposes. First, it helps the club reach the ball with a low point that is in front of the ball. This supports the familiar iron strike pattern of ball first, then turf.
When your trail shoulder works down and forward, you can maintain shaft lean into impact without needing to throw the clubhead early. If your shoulder stays high, your body is too far from the ball. To make contact, you often have to straighten the trail arm and release the trail wrist too soon.
That early release can lead to:
- Inconsistent strike location
- Thin shots from losing the bottom of the swing
- Fat shots from releasing the club too early
- Reduced shaft lean and weaker compression
- Unreliable distance control with irons
The forward component is equally important. A right shoulder that moves down but remains behind you still leaves you poorly positioned. Your low point stays back, and you may still need to flip your hands and right wrist to reach the ball.
Getting the shoulder forward helps place the low point ahead of the ball. That is what allows the handle to lead, the clubhead to arrive later, and the divot to occur after the strike.
Step 3: Stop Coming Over the Top With Better Trail Shoulder Tilt
If you are trying to stop coming over the top, do not look only at your arms. Your right shoulder position can be a major source of a steep downswing.
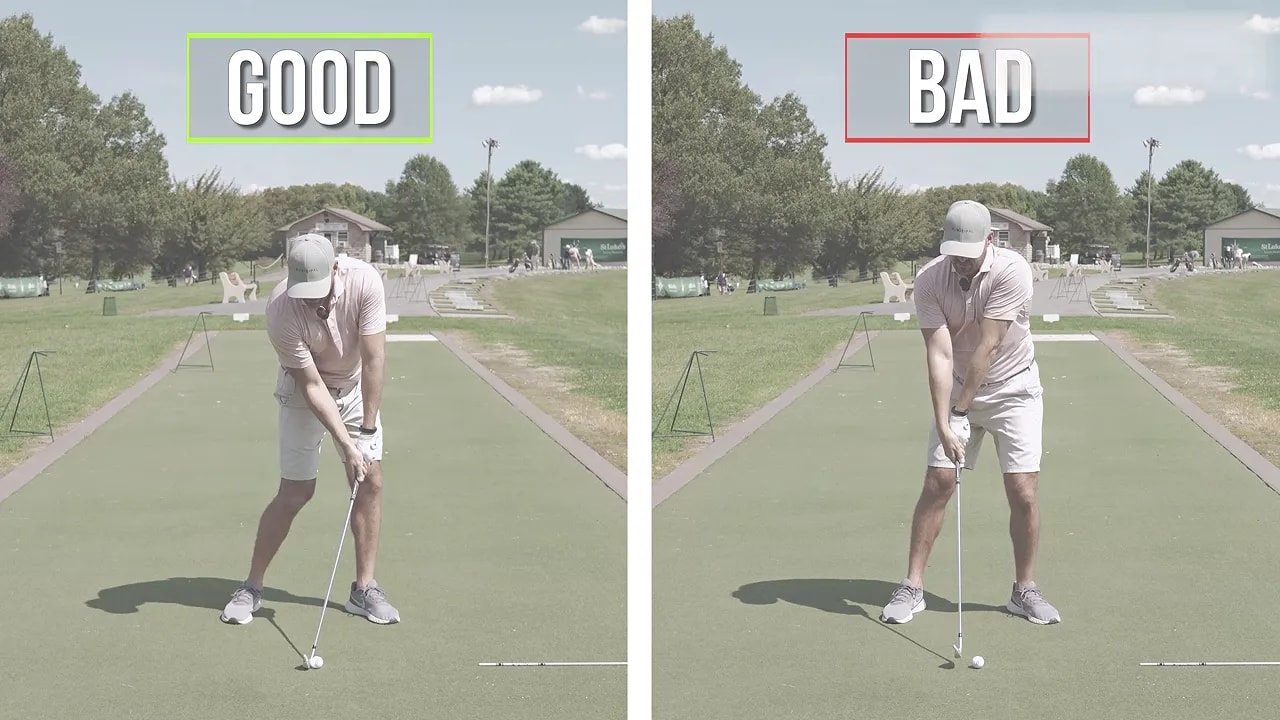
When the trail shoulder stays high in transition and on the way down, the shaft tends to steepen. The club then approaches from outside the target line, which is the classic over the top pattern. That can produce pulls, slices, glancing contact, and a steep angle of attack.
When the right shoulder works lower during the downswing, the shaft has room to shallow. This promotes a more inside approach to the ball without needing to artificially reroute the club with your hands.
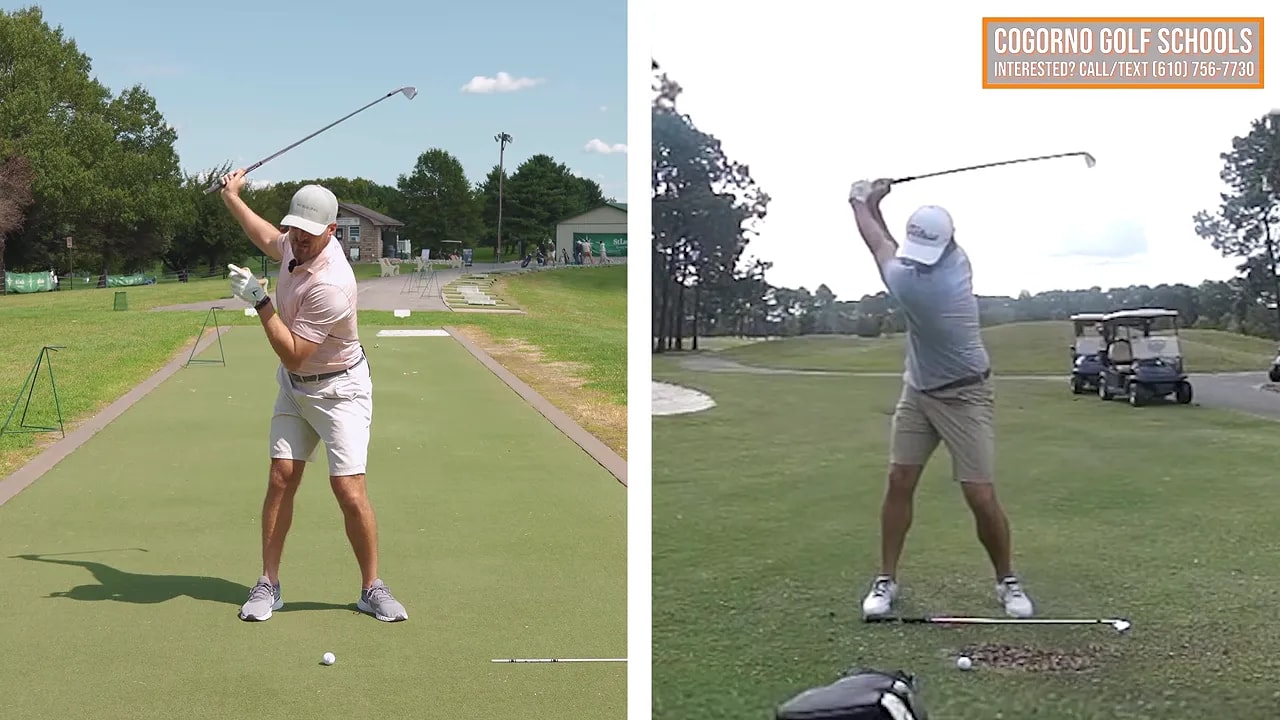
The useful contrast is straightforward:
- High trail shoulder in the downswing: steeper shaft and greater risk of an over the top path.
- Lower trail shoulder in the downswing: shallower shaft and a better chance of approaching from the inside.
This does not mean you should force your shoulder straight down behind the golf ball. The right shoulder works down and forward as the body rotates. Both directions are necessary.
Step 4: Build the Correct Right Shoulder Through the Ball Checkpoints
Exact positions vary among golfers, but two useful checkpoints can guide your practice of the right shoulder through the ball.
Make the downswing shoulder tilt steeper than the backswing tilt
A practical reference is about 40 degrees of shoulder tilt in the backswing and roughly 55 degrees in the downswing. The goal is not to freeze at a number or force a rigid position. Use the comparison to understand that the shoulders should be more vertical, or more tilted down, coming into impact than they were on the way back.
This steeper tilt helps your trail shoulder get closer to the ground while you retain posture and rotate. It also creates room for the club to approach from a better delivery position.
Get the trail shoulder forward by the follow-through
By the time your trail arm is parallel to the ground in the follow-through, your right shoulder should be approximately in line with the golf ball from a face on perspective. It should not remain well back behind the ball.
This is an important distinction. A golfer can get the shoulder down while failing to rotate it forward. The result is often a hanging back pattern, a low point that stays behind the ball, and contact that remains inconsistent.
Step 5: Practice the Club Across Shoulders Drill
The club across shoulders drill gives you a clear visual and physical feel for the correct shoulder movement. You do not need to hit a ball during the first part of this drill.
- Place a club across your shoulders.
- Put the butt end near your lead, or left, shoulder.
- Let the club extend across your trail side with the clubface pointing upward.
- Take your normal golf posture. The leading edge of the club should roughly match your spine angle.
Make a slow backswing turn. In the backswing, the lead shoulder should point back and down on a relatively shallow tilt. Then rehearse the downswing by feeling the trail shoulder work down and forward.
For an exaggerated practice feel, imagine that the clubface across your shoulders points directly behind the golf ball as you come down. In a full swing, the true line will be slightly inside that extreme position, but exaggeration is often helpful when your shoulder has been staying too high.
Use the drill in this sequence:
- Make one or two slow rehearsals with the club across your shoulders.
- Feel the right shoulder move down and forward.
- Put the club back in your hands.
- Make a swing with the same body feel, without trying to force the arms into positions.
Start with short swings and controlled shots. The drill is designed to improve motion and strike, not to make you swing hard immediately.
Step 6: Add a Right Side Oblique Crunch and Trail Knee Forward
Two simple feels can help turn the drill into an athletic motion: a right side oblique crunch and a trail knee moving forward.
As your right shoulder works down, feel the right side of your torso shortening slightly. This is the right side oblique crunch. It helps you create the steeper shoulder tilt required to get your right shoulder through the ball.
At the same time, allow your trail knee to move forward toward your lead knee and the target. At the checkpoint past impact, the trail knee can be approximately in line with the ball.
The direction of the knee matters. Do not drive the trail knee toward the ball. That can leave the shoulder back and crowd your space. Instead, feel the knee move forward toward your lead side as your hips rotate.
Your practice cue can be as simple as:
Right shoulder down. Right side crunch. Right knee forward.
This pattern applies across the bag. The amount and appearance will naturally differ between a wedge, mid iron, and driver, but the trail shoulder still needs to work down and through rather than remain high and trapped behind you.
Step 7: Keep the Trail Arm and Wrist Bent if Contact Turns Fat
When you begin getting your right shoulder down and forward, your upper body and right rib cage can feel much closer to the ground. Often, the sensation is bigger than the actual movement. Still, this change can initially create fat shots if you keep fully lengthening your trail arm and trail wrist through impact.
Remember the old pattern: when the trail shoulder stayed high or back, you had to straighten the right arm and release the right wrist early just to reach the ball. Once your shoulder is finally in a better location, that same release can make the club bottom out too early.
If you start hitting the ground behind the ball while practicing this move, add this adjustment:
- Feel your trail arm stay slightly more bent through impact.
- Feel your trail wrist remain bent a little longer.
- Continue rotating your hips and moving the trail knee toward the lead side.
You do not need to add these compensations automatically. First, improve the shoulder movement. Only add the “more bent arm and wrist” feel if your newly improved shoulder position begins producing fat contact.
The goal is a coordinated impact position: trail shoulder down and forward, hips rotating, trail knee moving toward the lead side, and enough trail arm and wrist structure to keep the club from releasing too early.
Step 8: Take the Right Shoulder Through the Ball to the Range
Use a simple progression rather than trying to rebuild your full swing in one session.
- Rehearse without a ball. Use the club across shoulders drill to feel down and forward.
- Make slow practice swings. Focus on the right side oblique crunch and trail knee moving toward the lead knee.
- Hit short shots. Use a comfortable wedge or short iron and prioritize crisp contact.
- Move to a mid iron. Keep the same cue: right shoulder down, right knee forward.
- Increase speed only after strike improves. Good movement at a slower speed is more useful than a fast swing that returns to the old steep pattern.
A well-executed version of this move can produce the sought after combination of a shallow approach, shaft lean, ball first contact, and a controlled draw pattern. The immediate benchmark is not a perfect swing on video. It is more predictable contact and a divot that begins after the ball.
If your common miss is a slice, pull, thin shot, fat shot, or an over the top delivery, this is a worthwhile place to investigate. Your arms may be reacting to a trail shoulder that has stayed too high or too far back. Improve the body movement first, then allow the club to respond.
Frequently Asked Questions About Getting Your Right Shoulder Through the Ball
Should my right shoulder move down or around in the downswing?
It should do both. Your right shoulder needs to work down toward the ground while also moving forward toward the target as your body rotates. Moving only down can leave you behind the ball, while moving only around can leave the shoulder too high.
Can a high right shoulder cause an over the top golf swing?
Yes. When the trail shoulder stays high in the downswing, the club shaft tends to steepen. That makes an outside to inside, over the top delivery more likely. A lower trail shoulder helps the shaft shallow and approach from a better inside path.
What is the easiest feel for right shoulder through the ball?
Use the combined feel of a right side oblique crunch and a trail knee moving forward toward the lead knee. This encourages the right shoulder to move down and forward while the body continues rotating through impact.
Why do I hit fat shots when I lower my trail shoulder?
You may still be straightening your trail arm and releasing your trail wrist too early. If fat shots appear after improving shoulder tilt, feel that the trail arm remains slightly bent and the trail wrist stays bent a little longer through impact.
0 Comments