
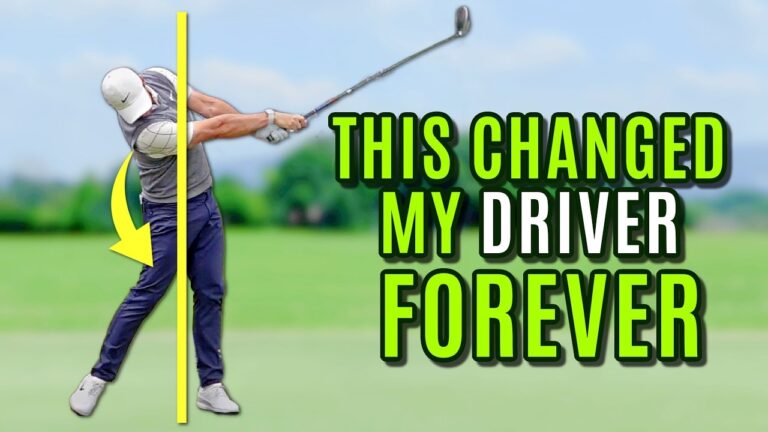
If you keep hitting weak right driver shots, the fix is usually not more effort, more speed, or more swing thoughts. The real issue is often much simpler. Your club face is too open relative to your club path, and that open face does two damaging things at once. It sends the ball right, and it adds loft that robs you of distance.
That is why these shots feel so frustrating. They do not just miss the fairway. They also come out soft, high, and short. In other words, your driver starts acting more like a higher-lofted fairway wood.
The good news is that you can fix weak right driver shots with a clear, testable system. Instead of guessing, you can work through three club face checkpoints, confirm your alignment, and make sure your grip is not sabotaging everything else.
This step-by-step guide centers on one focus keyphrase: fix weak right driver shots. If that is exactly what you need, start with the root cause.
Table of Contents
- Step 1: Understand why weak right driver shots happen
- Step 2: Learn the one move that helps fix weak right driver shots
- Step 3: Use checkpoint one to fix weak right driver shots in the takeaway
- Step 4: Add checkpoint two at last parallel in the downswing
- Step 5: Add checkpoint three through the follow-through
- Step 6: Test the drill progressively instead of changing everything at once
- Step 7: Check your setup so your aim is not causing weak right driver shots
- Step 8: Check your grip if the ball is still weak and right
- Step 9: Build a simple range routine to fix weak right driver shots faster
- Step 10: Know what success looks like
- Frequently Asked Questions
- Final takeaway
Step 1: Understand why weak right driver shots happen
To fix weak right driver shots, you first need to understand what the ball flight is telling you.
A weak right drive usually means the club face is too open at impact relative to the path of the club. If the face points right of where the club is traveling, the ball starts right or curves right. But there is another consequence many golfers overlook: an open face also adds dynamic loft.
That added loft is a distance killer. Instead of delivering a strong, penetrating driver face, you effectively turn the club into something with more loft. The result is a shot that launches weakly, often spins too much, and falls short.
This is why trying to simply “swing harder” rarely works. If the face is still open, more speed can just produce a bigger miss. The smarter solution is to learn how to square and close the face earlier and more consistently.
So the real objective is not just “stop slicing.” It is this:
Close the club face sooner
Reduce excess loft
Start the ball on a better line
Regain driver distance
Step 2: Learn the one move that helps fix weak right driver shots
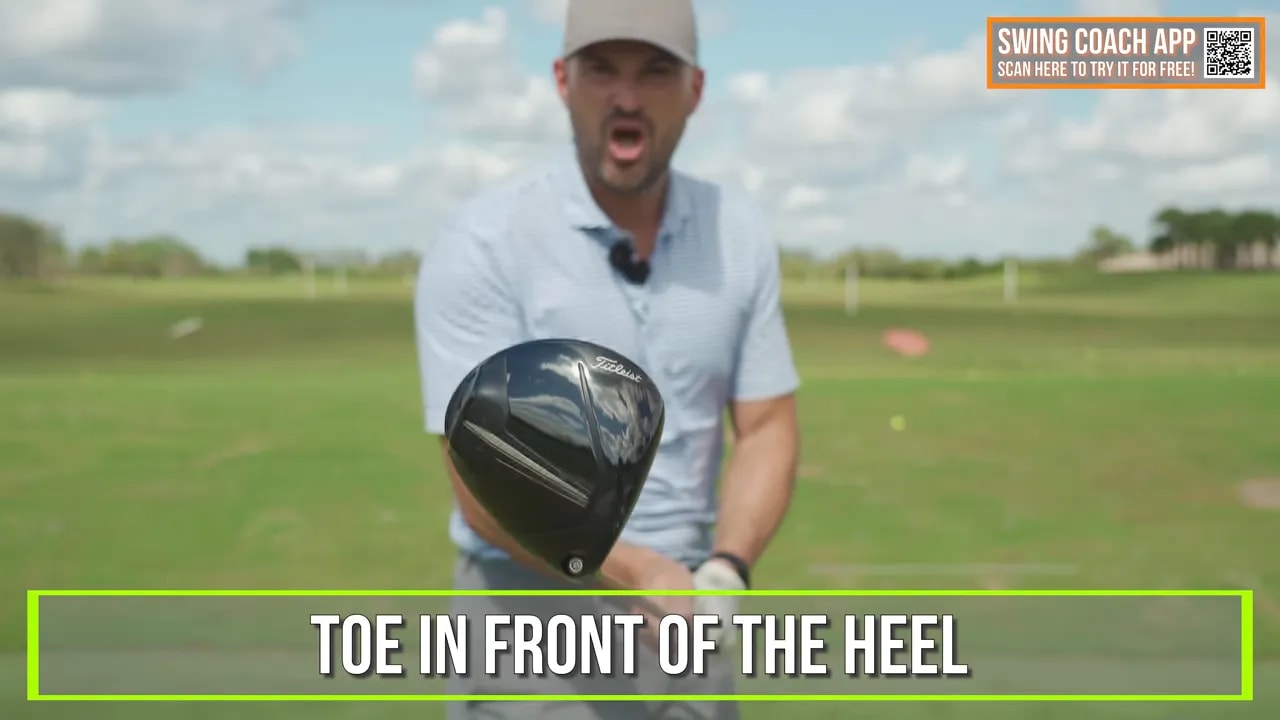
The key move is learning to tilt the club face down.
That phrase can sound technical, but the visual is simple. You want the toe slightly in front of the heel as the club moves through key parts of the swing. When that happens, the face is not hanging open.
Here is the basic idea.
If you hold a club straight up in front of you, with the toe directly above the heel, the face looks square. But you do not hit golf shots standing straight up. You bend forward from the hips. Once you tilt into your golf posture, that same “square” relationship makes the face appear angled slightly down toward the ground.
That is the feel you are trying to create. Not a face rolled wildly shut, but a face that is not left open as the club moves back, down, and through.
A simple body cue can help. Feel like:
Your lead-hand glove logo points slightly down
Or your trail palm points slightly down
Those feelings can help you organize the club face without overcomplicating your swing.
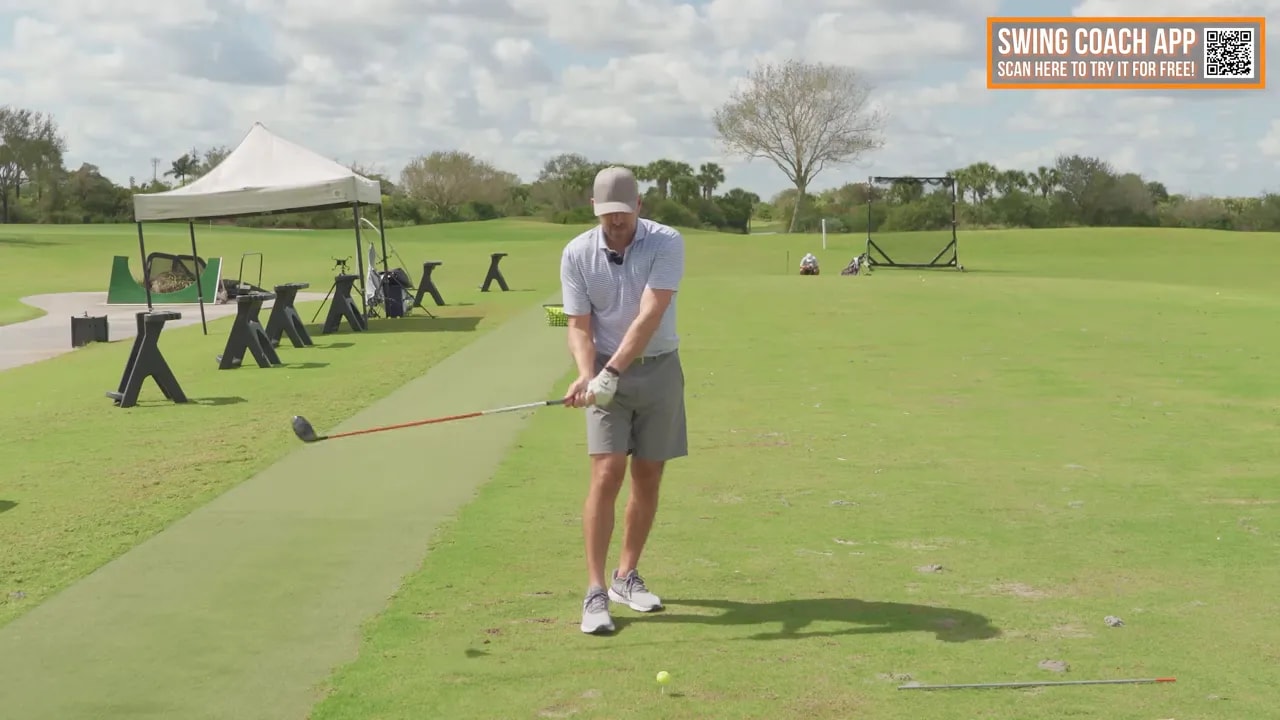
Step 3: Use checkpoint one to fix weak right driver shots in the takeaway
The first checkpoint happens when the club is approximately parallel to the ground in the takeaway.
This is where many weak right drives begin. If the face gets too open early, you spend the rest of the swing trying to recover. For many golfers, that recovery never happens.
Your first job is to prevent the club face from over-opening too soon.
What to feel
During the takeaway, feel the face staying more square, with the toe slightly in front of the heel. In practical terms, that means the face is a little more down toward the ground than many slicers expect.
How to practice it
Take your normal setup and normal grip.
Make one or two slow rehearsals to takeaway height.
Check that the club face looks more down than open.
Reset and hit a shot thinking only about that first move.
This is an important concept: test one change at a time. If checkpoint one alone straightens the ball flight, stop there. You do not need extra swing thoughts if the first fix solves the problem.
That is what makes this a practical range method. You are not trying to rebuild your swing all at once. You are isolating the exact point where the face is getting too open.
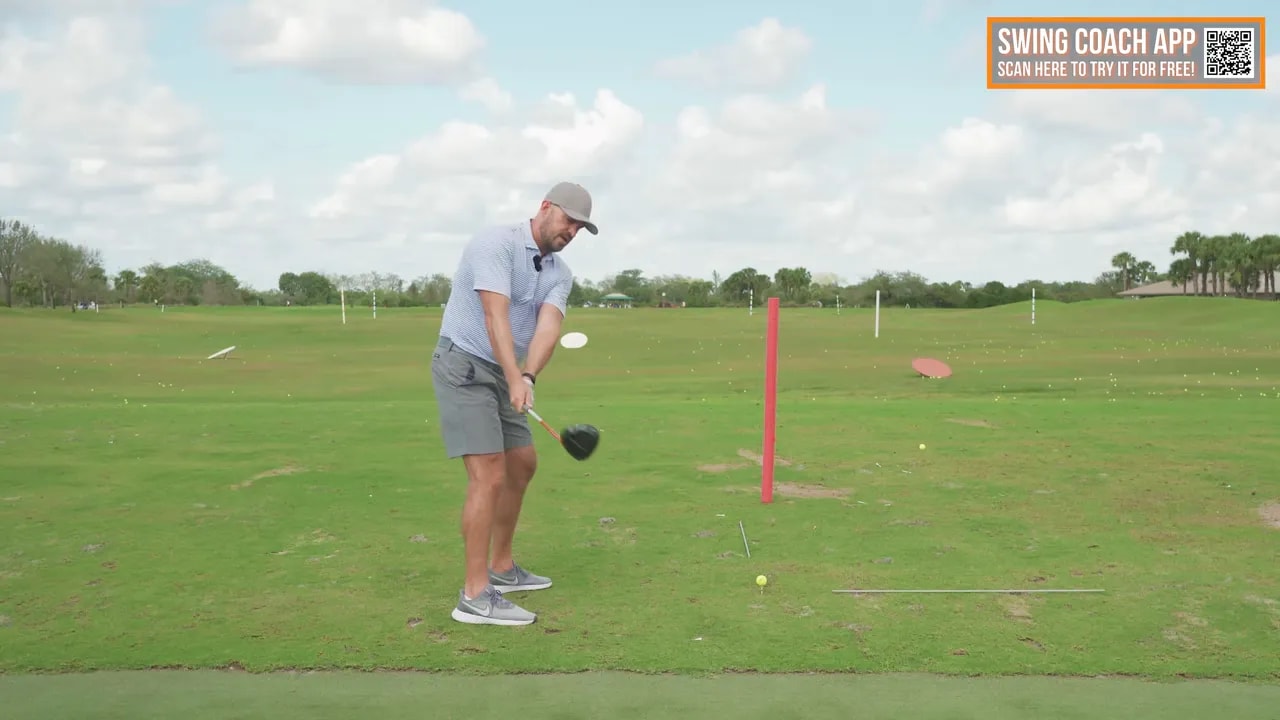
Step 4: Add checkpoint two at last parallel in the downswing
If you improved the takeaway and the ball still leaks right, the club face is likely opening again later. That brings you to checkpoint two.
This checkpoint occurs when the shaft is roughly parallel to the ground in the downswing, often called “last parallel.”
The goal here is to make sure you close the face enough soon enough. Elite players may look slightly different at this point. Some appear almost toe-up. Some show the toe slightly in front. But what they generally do not show is the toe lagging behind the heel with the face tilted up toward the sky.
If the face is still hanging open here, there is a good chance impact will be open too.
What to feel
As you transition down, feel the face tilt down again. Use the same cues:
Toe in front of heel
Glove logo slightly down
Trail palm slightly down
How to practice it
Rehearse checkpoint one in the takeaway.
Then rehearse checkpoint two in the downswing.
Hit shots feeling both pieces together.
Think of it like this: first you prevent the face from getting too open, then you make sure it is squaring up early enough on the way down.
If those two checkpoints turn your weak right drive into a straight ball or a soft draw, you have your answer.
Step 5: Add checkpoint three through the follow-through
If you still cannot fix weak right driver shots after checkpoints one and two, the club face may still be too open from delivery through impact. That means you need one more piece.
Checkpoint three happens when the shaft reappears parallel to the ground in the follow-through.
This checkpoint confirms that the face was allowed to close through the strike. The feel is that the toe gets in front of the heel after impact, with the club face again looking slightly down.
This is not a forced flip. It is a functional release. Some accomplished players show this clearly, and it is one of the easiest ways to confirm that the face did not stall open through the ball.
What to feel
Feel the glove logo move slightly down and left through the release. Combine that with the same toe-ahead-of-heel image you used earlier.
How to practice it
Use all three checkpoints in sequence:
Tilted down in the takeaway
Tilted down in the downswing
Tilted down again in the follow-through
You are essentially building a chain of club face control from start to finish. If you still fade it a little, that may be fine. The main goal is to eliminate the weak, glancing, rightward strike.
Step 6: Test the drill progressively instead of changing everything at once
One of the smartest parts of this driver lesson is the progression.
Too many golfers pile on multiple swing changes at once, then have no idea which one helped or hurt. A better approach is to move in stages:
Test checkpoint one only
If needed, test checkpoints one and two together
If needed, test all three checkpoints
This matters because not everyone needs the full correction. For some golfers, the face is only opening too much in the takeaway. Others need more help in transition or through release.
By testing the drill this way, you can match the fix to the actual fault.
At the range, a simple practice pattern looks like this:
Make two slow rehearsals
Reset to the ball
Hit one shot with a single feel
Observe the starting direction and curve
Add the next checkpoint only if necessary
This method gives you feedback you can trust. If the ball starts straighter, curves less right, or begins drawing back, you know the face is improving.
Step 7: Check your setup so your aim is not causing weak right driver shots
Sometimes the problem is not just swing mechanics. Sometimes you are simply aimed right.
If your club face starts out pointed well right of the target, and then the ball flies right, the first thing to question is your setup. That is why alignment needs to be part of any plan to fix weak right driver shots.
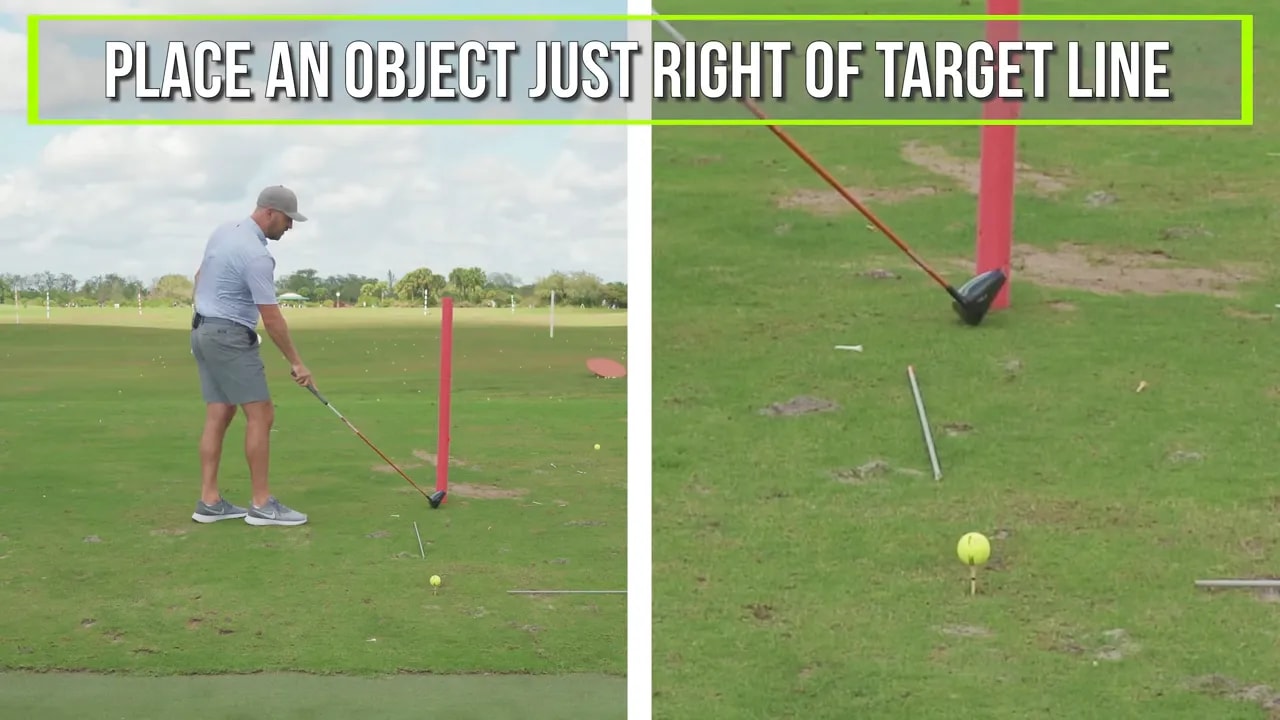
Use a start-line stick
Place an alignment stick or golf club on the ground in front of the ball, between the ball and the target. This gives you a visual start line.
Use a pool noodle as a gate
Set a pool noodle just to the right of the target line. Then hit drives that launch left of the noodle. This creates an immediate visual check on whether you are starting the ball too far right.
The feet do not have to be perfect, but your club face absolutely matters. If the face is aimed 20 yards right and the ball starts 20 yards right, your setup is giving the shot a bad beginning before you even swing.
Use these simple setup tools to confirm:
Your club face is not secretly aimed right
Your intended start line is realistic
Your ball is launching on a better window
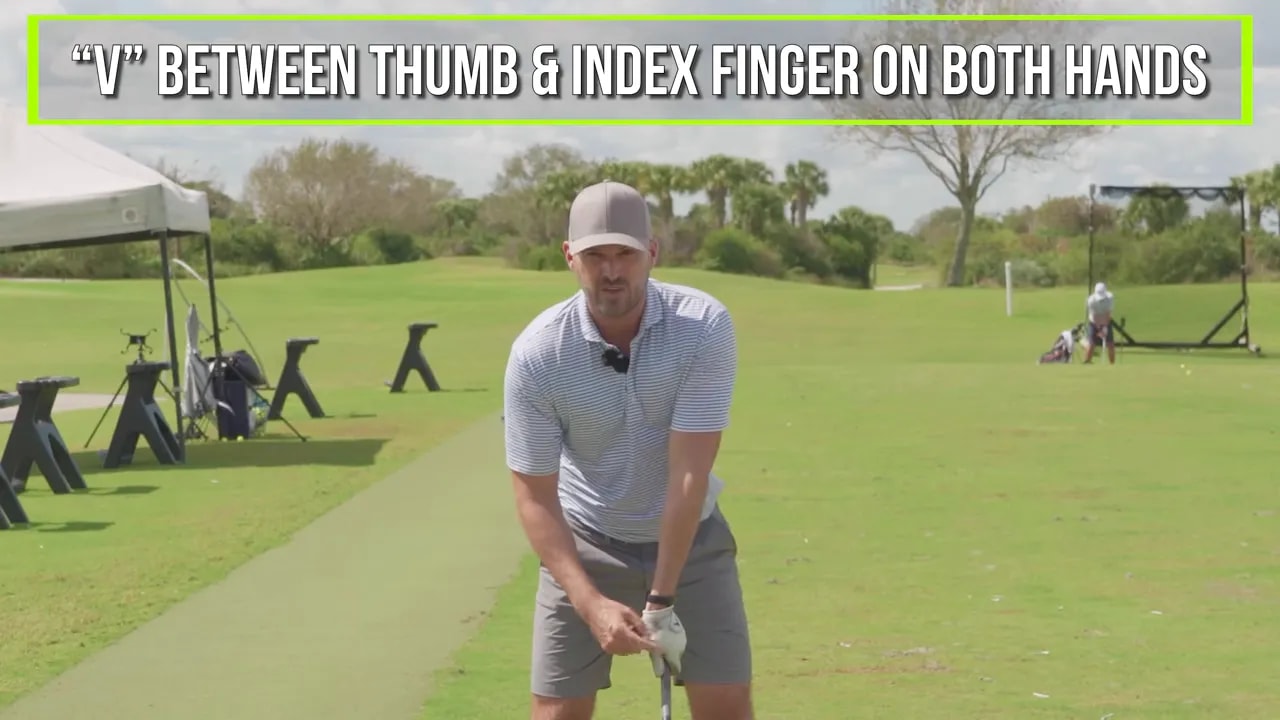
Step 8: Check your grip if the ball is still weak and right
If you have worked on all three checkpoints, confirmed your alignment, and the ball still flies weak and right, there is a strong chance your grip is too weak.
A weak grip means the hands are turned too far counterclockwise on the club for a right-handed golfer. That hand position makes it much harder to return the face square or closed enough at impact.
Quick grip checkpoints
The V shapes formed by your thumbs and index fingers should point roughly toward your trail shoulder
You should be able to see at least two or three knuckles on your lead hand
If your grip is too weak, no amount of mid-swing compensation may fully solve the problem. That is why grip should be one of your final checks when the ball continues to leak right.
Step 9: Build a simple range routine to fix weak right driver shots faster
You do not need a complicated practice session. You need a repeatable process.
Here is a practical range routine based on the lesson:
Set your alignment with a start-line stick and a right-side noodle barrier.
Hit five balls focusing only on checkpoint one.
If the ball still starts or curves right, hit five balls using checkpoints one and two.
If the miss remains, hit five balls using all three checkpoints.
If there is still no progress, check your grip.
Keep notes on what each version does to your ball flight. You are looking for patterns, not perfect swings.
A useful benchmark is this: if the ball starts more on line and loses the “floaty” weak feel, you are almost certainly improving face control.
Step 10: Know what success looks like
When this fix works, your driver flight should change in obvious ways.
You may see:
A straighter starting line
Less curve to the right
A small draw instead of a wipey fade
A lower, stronger launch
More total distance
The ideal result is not necessarily a huge draw. For many golfers, simply turning a weak right miss into a straight shot or baby draw is enough to gain control and reclaim lost yardage.
That is the real promise behind this approach. You are not just trying to shape the ball differently. You are learning to present the driver face in a way that produces better contact, better launch, and better speed transfer.
Frequently Asked Questions
Why do my driver shots go weak and right?
The most common reason is an open club face relative to your club path. That open face sends the ball right and adds loft, which makes the shot shorter and weaker.
What does “tilt the club face down” mean?
It means the toe of the club is slightly in front of the heel, so the face is not left open. In golf posture, a square-looking face often appears slightly down toward the ground rather than rolled open.
What are the three checkpoints to fix weak right driver shots?
The three checkpoints are: the takeaway when the club is first parallel to the ground, the downswing at last parallel, and the follow-through when the shaft reappears parallel to the ground after impact.
Should I work on all three checkpoints at once?
No. Start with checkpoint one and test it. If that does not solve the issue, add checkpoint two. Only add checkpoint three if you still hit the ball weak and right.
Can alignment cause weak right driver shots?
Yes. If your club face is aimed right at address, your ball may start right even before swing mechanics become the issue. A start-line stick and a pool noodle can help you confirm your aim.
How do I know if my grip is too weak?
If the V shapes between your thumbs and index fingers do not point near your trail shoulder, or if you cannot see at least two or three knuckles on your lead hand, your grip may be too weak and make it harder to square the face.
Final takeaway
If you want to fix weak right driver shots, do not chase random tips. Start with the true ball-flight cause: an open club face that points right and adds loft.
Then work through the solution in order:
Keep the face from opening too much in the takeaway
Square it earlier in the downswing
Allow it to keep closing through the follow-through
Confirm your alignment
Check your grip if needed
That progression gives you a practical way to hit driver straighter and increase driver distance without guessing. When the face is more stable and more square, the ball starts on a better line, launches with less wasted loft, and comes off the club with much more authority.
If your usual miss is short and right, this is exactly the kind of lesson worth keeping in your practice routine.
0 Comments