

If your golf ball starts right and keeps curving right, you are likely fighting a slice. The good news is you do not have to overhaul your entire swing to hit more of a right-to-left ball flight.
This approach is built around one idea: a slice usually comes from a few specific controllable elements. If you reverse those elements in the right order, your “slice swing” can become a “draw swing” without complicated golf changes.
Table of Contents
- Step 1: Control clubface with your lead hand (make it feel like a steering wheel)
- Step 2: Set the draw up with the John Ramm style starting position
- Step 3: Reverse your transition with the “5 o’clock drill” (path control)
- Step 4: Adjust your release by “elbows down, grip down” to close the face to the path
- Putting it all together: the “reverse the four elements” method
- FAQ
- Practice plan for golf: a simple progression
Step 1: Control clubface with your lead hand (make it feel like a steering wheel)
Most slicers deliver the driver with an open clubface at impact. That is why the ball tends to spin and curve to the right for right-handed golfers.
Instead of guessing, you can use a simple training check: put your lead hand on the grip so your knuckles and thumb position show you whether the clubface is being controlled correctly.
Build a quick “grip map” using a glove
Use your lead glove as a training aid:
- Place two dots on two knuckles.
- Draw an arrow between your index finger and thumb, pointing upward and slightly behind you.
When you grip the club, you should be able to see those dots clearly. If you set up like many slicers do, the arrow often points too far toward the chin or lead shoulder, and the dots are hard to see. That grip position tends to keep the clubface more open.
To change that:
- Hold the club more through your fingers so the dot position sits where it can be “squashed” by the grip.
- Rotate your lead hand more on top of the handle before you place it fully.
- When set correctly, your thumb sits slightly toward the trail side (for a right-handed golfer).
As you do this, your arrow direction will shift. The key is that your lead hand position should allow the club to twist and deliver in a way that you can close the clubface more effectively through impact.
Why this matters for golf ball flight
Ball flight is created by a blend of clubface rotation and swing path. When clubface is open, even a decent path can still produce a slice or fade. When clubface is controlled, you make it easier for the rest of your swing to produce a draw.
In practical coaching terms, many golfers with similar stances can be predicted to hit slice or draw patterns based on grip and lead-hand presentation. Your goal is to shift from the slicer grip to the grip delivery that supports a right-to-left shape.
Step 2: Set the draw up with the John Ramm style starting position
Once your golf grip gives you better clubface control, you need a starting position that supports a draw circle. This is where the “John Ramm setup” style comes in.
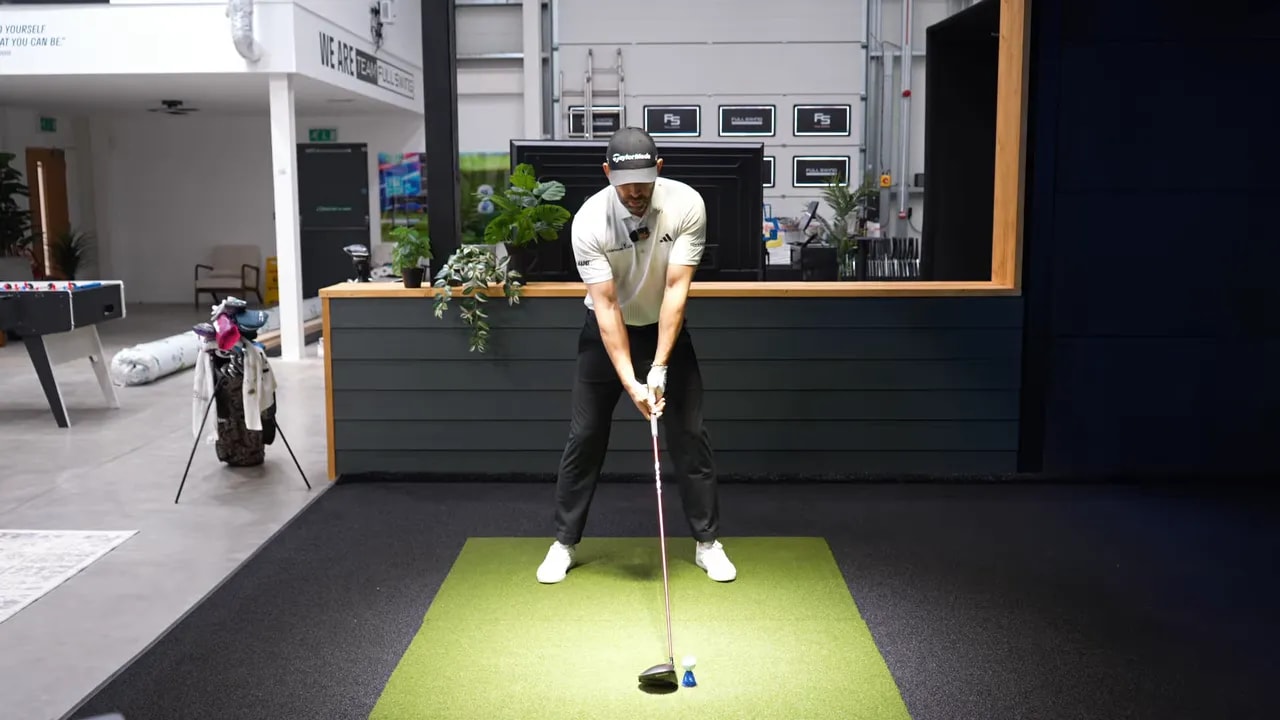
Use this setup for a stronger draw base
- Set up with your driver as normal.
- Place the ball just inside your lead heel.
- With the club resting on the ground, use your upper body to rotate slightly away from the target.
- As you rotate the upper body, push your hips slightly toward the target.
- Keep it subtle: not a huge movement, but enough that your address position looks and feels “different” immediately.
The result is often beneficial alignment of your shoulders. By rotating your body and setting your “circle,” you are moving your swing plane away from a slice-producing pattern and toward a draw-producing pattern.
Important reality check
This setup makes it easier to draw the ball, but it does not guarantee it. You can still slice if your transition, path, and release are mis-timed. The next steps focus on those.
Step 3: Reverse your transition with the “5 o’clock drill” (path control)
Many slicers can create a decent backswing. The problem is the transition from backswing to downswing. Their hands and club often move too far “out” and the club becomes extremely steep. That steepness tends to create a path that travels out-to-in across the ball, which supports slice spin and right-curving flight.
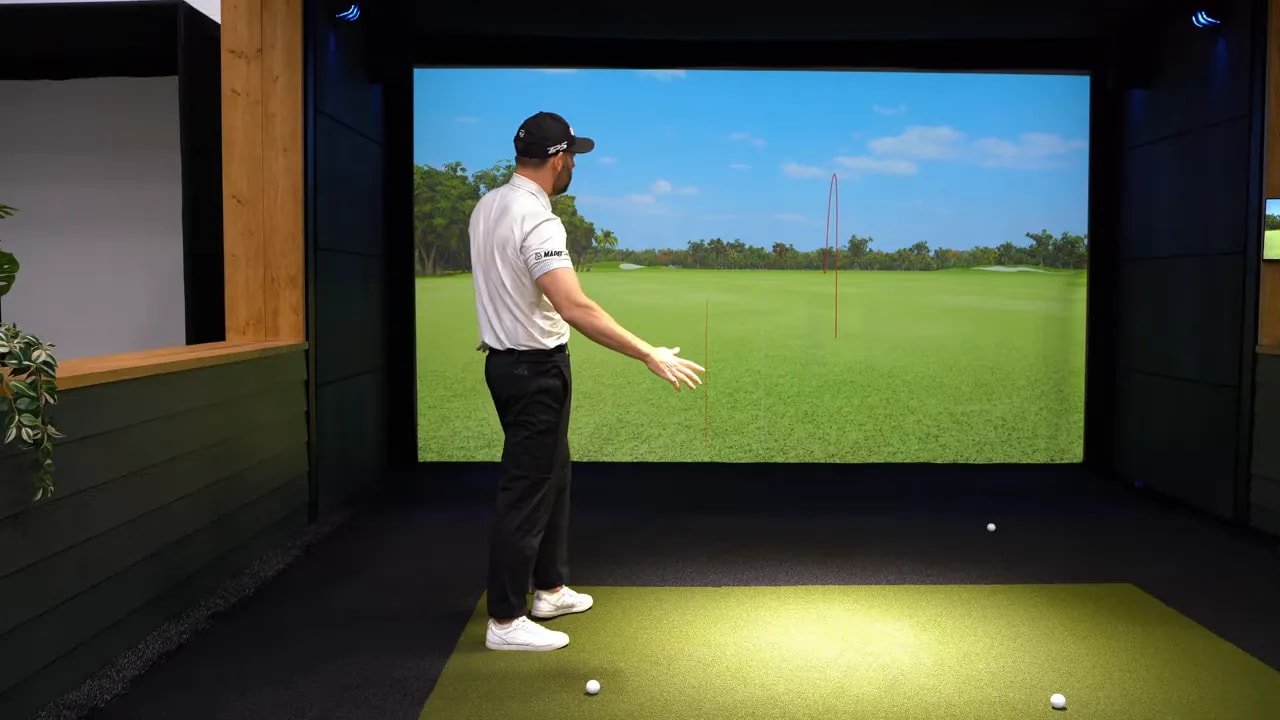
Use a clock-face reference to understand the issue
Imagine a clock on the ground in front of you:
- 12 o’clock is straight down the line to the ball.
- 2 o’clock is out toward your slicer swing direction (often where the hands and club move during transition).
- 5 o’clock is behind and more “inside” relative to the ball.
The fix is not to “rotate faster” or “try harder.” The fix is to change the club position you move through in transition so your club path has a chance to work into a draw.
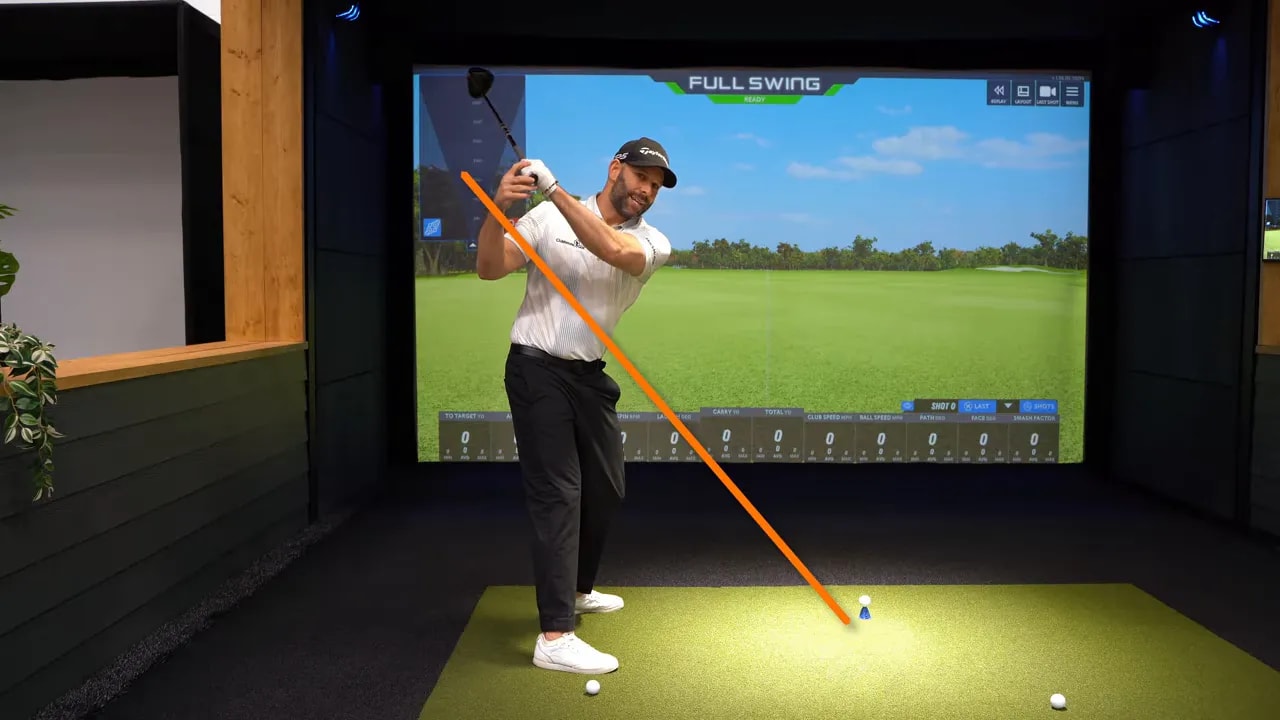
Perform the 5 o’clock drill
This is a feel drill. You are training direction, not hitting a golf ball.
- Make your normal backswing.
- Hold your rotation so your back is “facing” the viewing side you use for the drill.
- From there, use your hands and arms to place the club head to the ground behind you near 5 o’clock, roughly where your reference ball would be in the clock setup.
- Then swing through as if you are starting the downswing, without striking the ball.
- Check your club path feel: you want your club motion to move from in-to-out more than from out-to-in.
The drill can feel extreme, but that exaggeration helps you identify what you need to reduce during your real swing.
Blend body turn and arm movement
A key coaching point for golf swing success is how much you use your body rotation versus your arms in transition.
- If you go arms down, body turn you often create the “into out” problem in the wrong direction. It may lead to a hook.
- If you rely too much on arms moving outward toward 2 o’clock, you typically keep the path out-to-in and the slice returns.
The goal is a controlled blend that produces an in-to-out path that supports a draw. As you practice the 5 o’clock feel, you can then test it with balls on the tee.
In practice, when this transition is set correctly, the ball may not always go perfectly on the line you expect. That is normal while you refine the movement. What matters is that the path direction changes and the ball starts responding with less right bias.
Step 4: Adjust your release by “elbows down, grip down” to close the face to the path
Even if your grip and path improve, a slice can still happen if your release keeps the clubface too open relative to your swing direction.
Slicers often have a distinct “look” through impact where:
- the trail-side elbow points more down toward the ground
- the lead elbow stays higher up
- the club grip is not dropping enough
This position changes how your forearms rotate, which changes how the clubface rotates. You want the clubface to rotate more through impact, which generally means closing it closer to your path.
Use three grounded checkpoints
Practice these checkpoints on repeat:
- Elbows down
- Grip down
- Elbows down again (keep the same feel through your follow-through)
These “down” cues are not about dropping your arms randomly. They are about encouraging the correct forearm and clubface rotation.
Do it first with small swings (no ball)
- Take a driver.
- Make small swings at a fairly slow speed.
- Start with no ball so you can focus on the release feeling.
- Use the three cues: elbows down, grip down.
You are training the club to rotate rather than muscling it. A common slicer error is trying to “hold the face open” or force it with effort. That tends to lock in an open face and keeps the ball curving right.
Then add the golf ball
Once the small-swing release feels consistent, you can take the same motion and let the ball get in the way. Keep the same cues, especially:
- Elbows down
- Grip down
As your clubface rotates closer to your path through impact, the slice should reduce and the draw should appear more naturally.
Putting it all together: the “reverse the four elements” method
The central message is simple: your slice is usually caused by a set of repeatable mechanics. Reverse them, and your golf ball flight can change quickly.
Here are the four elements in this method:
- Clubface control through better lead-hand grip presentation
- Draw-friendly setup using the John Ramm style starting position
- Transition path reversal using the 5 o’clock drill to reduce out-to-in steepness
- Release adjustment using elbows down and grip down so the face closes more to your path
If you execute them in this order, you give yourself the best chance of turning a slicer pattern into a draw shape without turning your swing into a science project.
FAQ
How do I know if my grip change will actually help my golf slice?
Look for visible lead-hand positioning: you should be able to see your knuckle markers and feel that your lead thumb sits slightly toward the trail side. More importantly, your clubface should start tracking closer to your intended path so the ball starts curving less to the right.
Is the John Ramm setup required to hit a draw?
No. It is a draw-friendly address position that can make it easier to start swinging on a better circle. If you already have a solid setup, you can borrow the concept of rotating upper body slightly away and moving hips subtly toward the target.
What should I feel during the 5 o’clock drill?
You should feel the club moving into an in-to-out type direction during the downswing sequence. Since it is an exaggerated feel drill, the goal is to sense the direction change rather than perfect positions.
If my slice improves, can I still hook the ball?
Yes. Any time you change path and release, you can shift into a hook pattern if the balance changes too far. That is why the drills start slow and small. Refine the blend of body rotation and arm movement.
What does “elbows down, grip down” actually change?
It changes forearm rotation and therefore clubface rotation. The aim is to close the clubface more through impact so it is closer to your swing path, which reduces slice spin and supports a draw.
Practice plan for golf: a simple progression
- Session 1: Focus only on the grip checkpoints (lead-hand position) and hit a few shots without chasing distance.
- Session 2: Add the John Ramm style setup. Keep the grip the same.
- Session 3: Add the 5 o’clock transition feel before you hit balls.
- Session 4: Add the release checkpoints with small swings first, then with balls.
When you return to full swings, prioritize “clean clubface control + correct path feel + a release that closes the face to the path.” That combination is what typically turns a right-curving slice into the satisfying right-to-left flight you want for golf.
0 Comments