

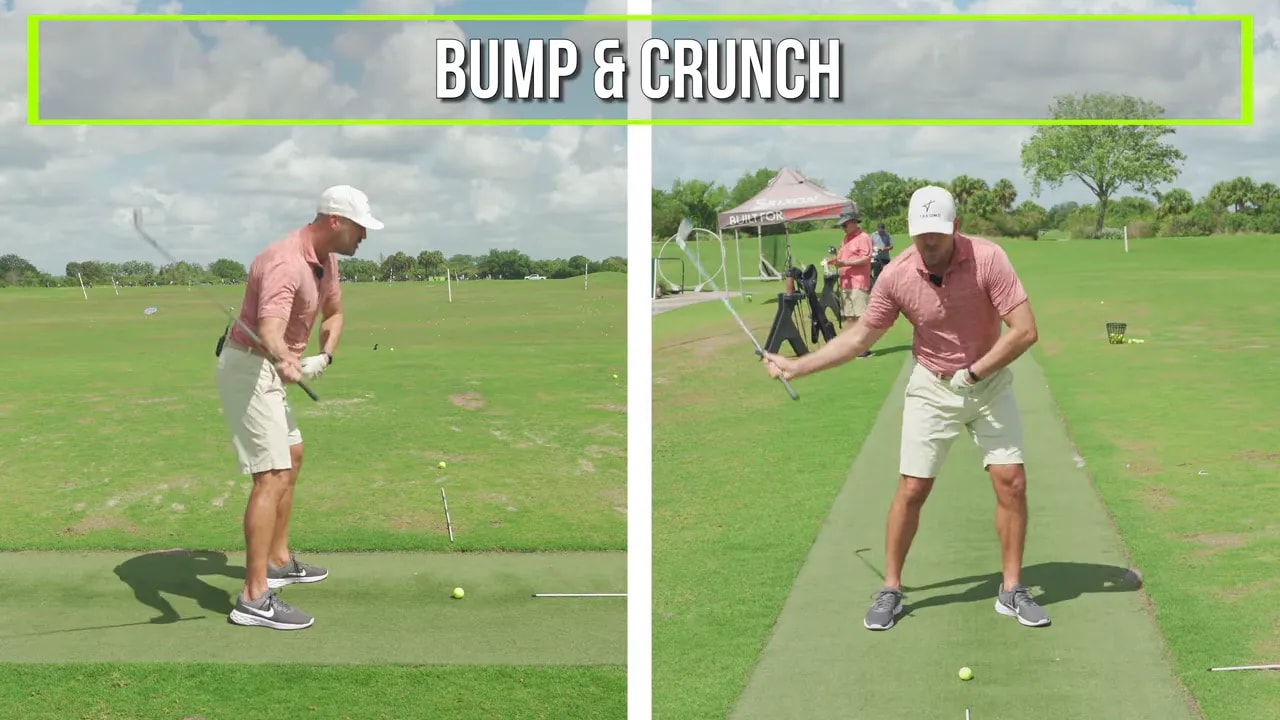
If you want to compress irons more consistently, one move matters more than most golfers realize: your trail shoulder has to work down and forward in the downswing.
That combination is the heart of the bump and crunch move. When you learn it, you improve two things that control solid ball striking: where the club bottoms out and how the club approaches the ball. Get only half of it right, and you can still struggle with fat shots, thin shots, pulls, fades, and an over-the-top path.
The good news is that this is trainable. You do not need a complicated swing thought. You need a clear understanding of what the right shoulder should do, what common mistakes look like, and how to rehearse the correct motion with a few simple drills.
Table of Contents
- Step 1: Understand why the bump and crunch move matters
- Step 2: Learn what the forward part of the bump and crunch move does
- Step 3: Learn what the down part of the bump and crunch move does
- Step 4: Identify the two common mistakes that ruin iron compression
- Step 5: Build the down component with the hip bump and right-side crunch
- Step 6: Add rotation so the bump and crunch move works down and forward
- Step 7: Use the first checkpoint for the bump and crunch move: shoulder to the ball line
- Step 8: Use the second checkpoint for the bump and crunch move: about 55 degrees down
- Step 9: Make sure your head stays back while the hips move forward
- Step 10: Practice the alignment rod drill for the bump and crunch move
- Step 11: Practice the stick-in-the-ground drill to train forward and under
- Step 12: Match the bump and crunch move to your ball-flight problem
- Step 13: Keep your practice simple and measurable
- Frequently Asked Questions
- Final thought
Step 1: Understand why the bump and crunch move matters
The bump and crunch move is built around the trail shoulder in the downswing. For a right-handed golfer, that means the right shoulder must move in two directions at once:
- Forward toward the target and ball line
- Down so the club can approach from the inside
Most amateurs do one without the other.
Some golfers move the right shoulder forward, but it stays too high. Others move it down, but it stays too far back. Neither pattern produces the kind of compressed iron contact most players want.
This is why the move matters so much:
- The forward component helps move the low point in front of the ball, which is essential for ball-first contact with irons.
- The down component helps the shaft and clubhead approach from the inside instead of getting thrown out steeply over the top.
If you want straight shots, better strike quality, and more efficient compression, you need both.

Step 2: Learn what the forward part of the bump and crunch move does
The first job of the trail shoulder is to work forward enough so the club can get back to the ball with the proper low point. With an iron, you want to strike the ball first and the turf second. That means the bottom of the swing arc has to be slightly ahead of the ball.
When your right shoulder keeps moving forward through the downswing, your body rotation supports that low point shift. This is one of the reasons strong iron players look so stable and compressed through impact. Their trail side keeps moving through, rather than hanging back.
If you struggle with:
- fat shots
- thin shots
- inconsistent contact
- a low point that feels unpredictable
there is a good chance the forward component is missing or late.
This does not mean you should lunge your entire upper body toward the target. It means the right shoulder must move forward as part of a well-sequenced downswing. That distinction matters, because a forward shoulder with the wrong body tilt can create a different problem entirely.
Step 3: Learn what the down part of the bump and crunch move does
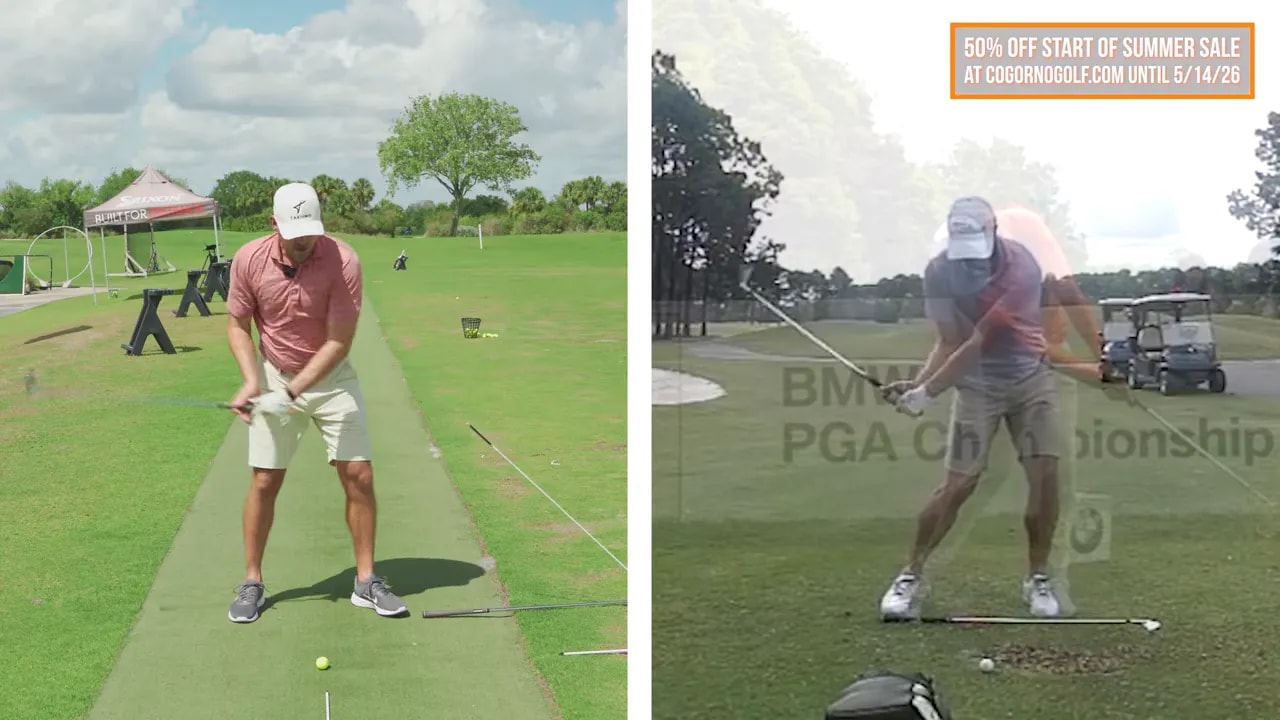
The second job of the trail shoulder is to work down. This is what helps keep the club from tipping out too steeply in transition.
When the right shoulder moves down properly, the club can approach the ball from the inside. That improves path, helps shallow the strike, and usually leads to better start lines, better speed, and cleaner contact.
This is especially important if your misses look like this:
- pulls
- pull-fades
- slices caused by an over-the-top move
- steep divots
In those cases, the issue is often not that the shoulder is not moving forward. It is that the shoulder is moving forward while staying too high. The club gets pushed out in front of you, and the downswing gets steep.
The bump and crunch move fixes that by pairing forward motion with the right amount of side bend.

Step 4: Identify the two common mistakes that ruin iron compression
Before you try to change your motion, it helps to know which error you are making.
Right shoulder forward and high
This player often gets enough forward motion to strike the ball first, but the club comes down too steeply because the shoulder never works down enough.
The results usually include:
- over-the-top path
- pulls and fades
- steep contact
- loss of compression
If this sounds like your game, you likely need more of the down component in the bump and crunch move.
Right shoulder down and back
This player often gets the club approaching nicely from the inside, but because the shoulder stays too far back, the low point also stays back.
The results usually include:
- fat shots
- thin shots
- inconsistent contact
- difficulty getting the ball first with irons
If that sounds familiar, you likely need more of the forward component in the bump and crunch move.
The key is not choosing one direction over the other. It is blending them.
Step 5: Build the down component with the hip bump and right-side crunch
The easiest way to feel the shoulder working down is to connect it to what your lower body and torso are doing.
This is where the phrase bump and crunch becomes useful.
The bump is a small lateral shift of the hips toward the target in the downswing. Think of your belt buckle moving toward your lead ankle.
When your hips bump forward, your upper body naturally tilts slightly away from the target. That tilt helps lower the trail shoulder.
The crunch is a right-side bend or oblique crunch. You should feel your right shoulder moving a little closer to your right hip. That side bend helps keep your upper body from drifting forward with the hips.
Together, these two actions create the down component:
- Bump the hips forward
- Crunch the right side
If you do the bump without the crunch, your whole upper body may slide forward. That usually sends the club steeply down into the ball.
If you add the crunch, your head stays more centered over the ball while your lower body shifts forward. That is the blend you want.
Step 6: Add rotation so the bump and crunch move works down and forward
Once you can feel the shoulder working down, you need to pair it with the forward piece. That comes from rotation.
The pattern is simple:
- Bump
- Crunch
- Turn
The turn is what moves the right shoulder, chest, and torso forward through the ball. You are not trying to freeze the body in side bend. You are using side bend to create space and keep the club from getting steep, then rotating through to deliver the club with proper low point.
A useful feel is this: your weight is moving into the lead foot while your upper body stays back enough to preserve tilt. Then rotation carries the right shoulder toward the ball line.
This creates a motion that is powerful without being forced. The shoulder goes down because of the bump and crunch. It goes forward because of the turn.
If you want one compact rehearsal thought, use this sequence:
Bump, crunch, turn.
Step 7: Use the first checkpoint for the bump and crunch move: shoulder to the ball line
Feels are helpful, but checkpoints make practice more objective.
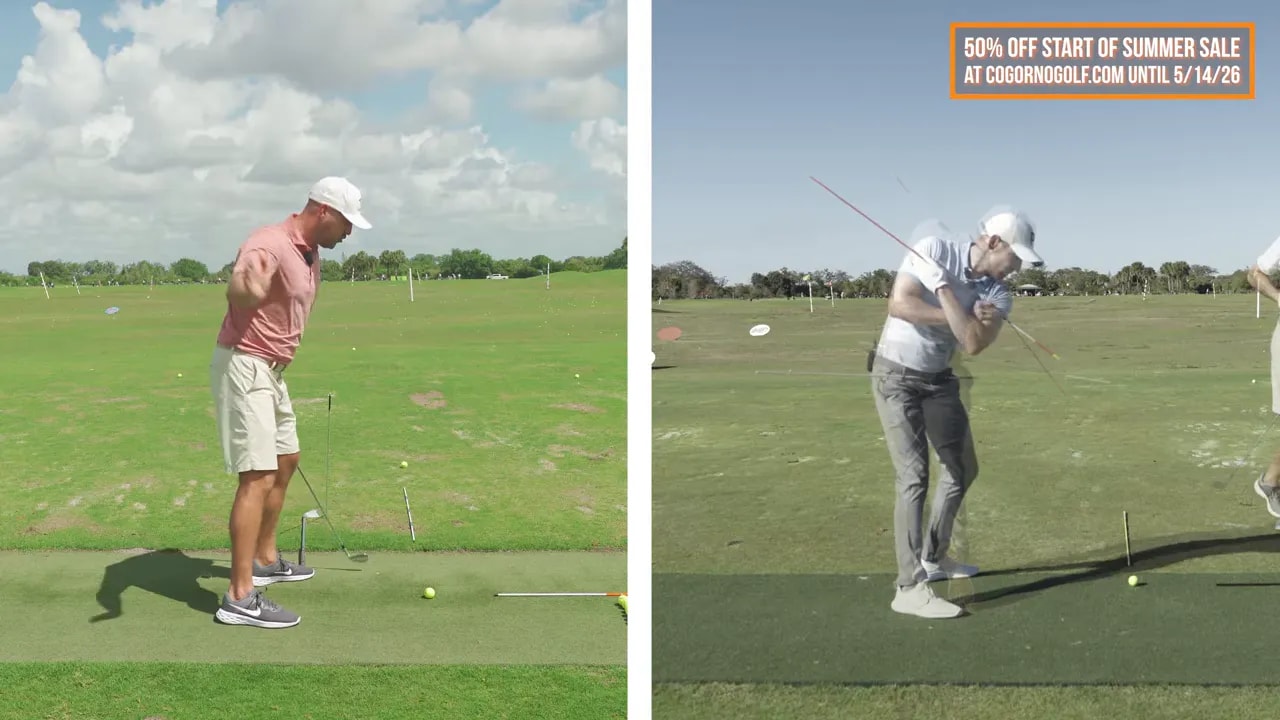
The first checkpoint for the bump and crunch move is how far forward the right shoulder gets in the downswing.
A strong benchmark is this: by the time your arms are parallel to the ground in the follow-through, your right shoulder should be back to the ball line.
Imagine a vertical wall coming up from the ball. As you move through the shot, your right shoulder should reach that wall by the time your arms are parallel after impact.
If your shoulder is still behind that line, you probably did not move forward enough. That can leave your low point back and make clean iron contact difficult.
This is one of the best face-on checks you can use during practice because it links directly to strike quality.

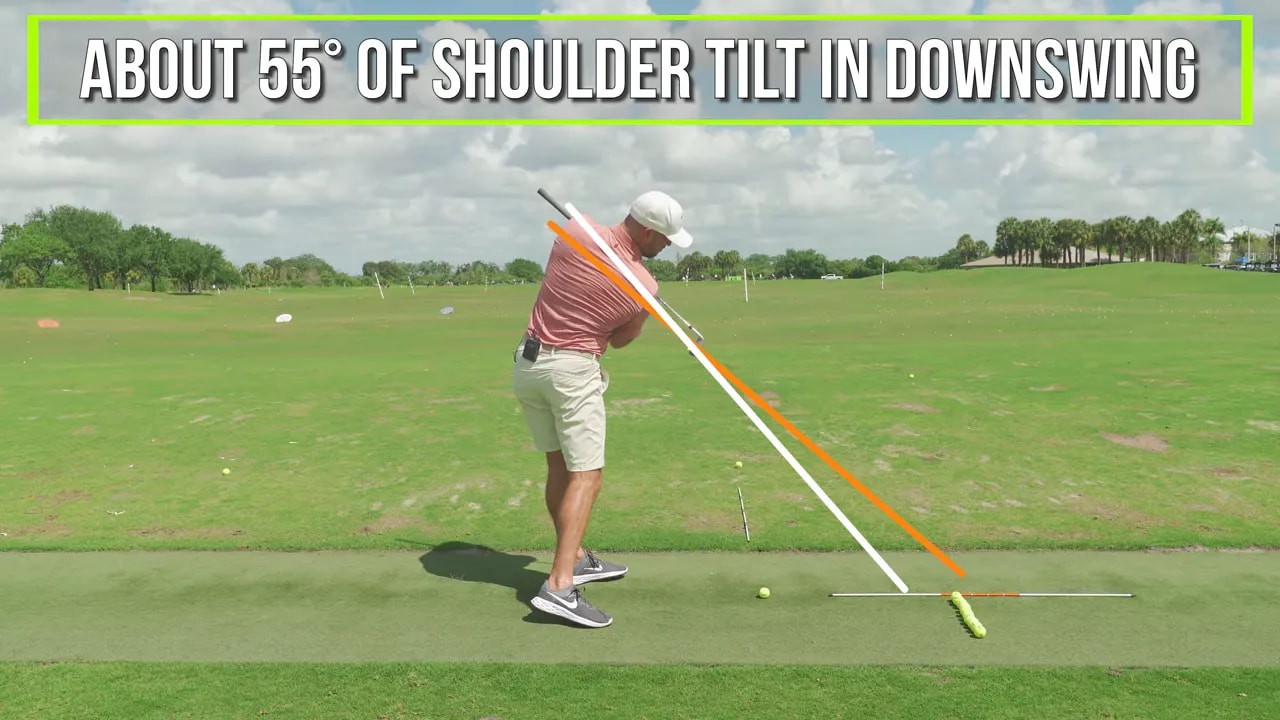
Step 8: Use the second checkpoint for the bump and crunch move: about 55 degrees down
The next question is how far down the right shoulder should work.
A practical reference point comes from shoulder tilt. On the backswing with a mid-iron, your lead shoulder may tilt down roughly 40 degrees. On the downswing, the trail shoulder should tilt even steeper, around 55 degrees.
In simple terms, the right shoulder should work down more than many golfers expect. It should not point directly at the ball, but it should be significantly lower and more inward than it was during the backswing.
A useful visual is to place a line or reference point a few feet outside the ball. Your backswing shoulder tilt might point there. On the way down, the trail shoulder should point slightly inside that line. That gives you a clear picture of a steeper downward angle in transition.
This checkpoint is particularly useful if you fight steepness from the wrong source. Many players assume they need less shoulder down to shallow the club, when in reality they need more correct side bend so the club can approach from the inside.
Step 9: Make sure your head stays back while the hips move forward
One of the biggest misconceptions in the downswing is that shifting pressure forward means pushing your whole body toward the target.
That is not the goal.
In a good bump and crunch move, your hips move forward, but your head stays back over the ball. That is what allows the shoulder to work down and forward without the club being thrown steeply out in front of you.
This is why the crunch matters so much. It creates the separation between lower body shift and upper body tilt.
If you have ever asked yourself, “How do I get my weight forward without moving my head forward?” this is the answer. You do it with the combination of:
- a forward hip bump
- a right-side crunch
- continued rotation
That sequence keeps your motion athletic and balanced.
Step 10: Practice the alignment rod drill for the bump and crunch move
The first drill uses alignment rods to train both parts of the movement at the same time.
The concept is straightforward. You set one rod to represent the lower body and another to represent the shoulders. Then you rehearse the downswing so the upper rod moves down enough to meet the lower rod in the right place.
This drill gives instant feedback:
- If the shoulder does not go down enough, the rods will not line up properly.
- If the shoulder does not go forward enough, they will not match up near the ball line.
It is a useful drill because it turns a feel-based move into a visible one. You do not need to guess whether you are combining down and forward correctly.
Step 11: Practice the stick-in-the-ground drill to train forward and under
The second drill is especially effective because it gives you a clear target for where the trail side should move.
Place an alignment stick in the ground in front of you at roughly a 45-degree angle. A practical distance is about one iron length in front of your setup.
Then rehearse your downswing so the fingers of your trail hand move toward that stick as your trail shoulder works forward and under.
As you do this, pay attention to three sensations:
- Your hips are moving forward
- Your right side is crunching
- Your head is still back over the ball
This drill is valuable because it helps you feel the correct geometry. You are not just spinning open. You are not just sliding. You are blending shift, side bend, and rotation in a way that supports compression.
Step 12: Match the bump and crunch move to your ball-flight problem
If you are trying to improve quickly, start by matching the drill focus to your miss pattern.
If you hit pulls, fades, or come over the top
You likely need more of the down component. Focus on the right-side crunch, steeper shoulder tilt, and keeping your head back while your hips bump forward.
If you hit fats and thins
You likely need more of the forward component. Focus on getting the right shoulder to the ball line by the time your arms are parallel in the follow-through.
If your swing feels inconsistent
Work on the whole sequence. Rehearse the motion slowly with no ball first. Then hit short shots while repeating the same pattern: bump, crunch, turn.
This is often enough to improve strike quality without overloading yourself with technical thoughts.
Step 13: Keep your practice simple and measurable
You do not need to spend hours trying to force a new motion. A better approach is to use short, focused practice sessions with a few clear checkpoints.
For the bump and crunch move, use these keys:
- Feel your belt buckle bump toward the lead ankle
- Feel your right side crunch so the shoulder moves down
- Add rotation so the shoulder also moves forward
- Check that the right shoulder reaches the ball line by arms parallel
- Check that the trail shoulder tilt is steeper on the way down, around 55 degrees
If those pieces improve, your contact usually improves with them.
Frequently Asked Questions
What is the bump and crunch move in golf?
The bump and crunch move is a downswing pattern where your trail shoulder works both down and forward. The bump is a small hip shift toward the target. The crunch is a right-side bend that lowers the trail shoulder while helping keep your head back over the ball.
Why is the right shoulder so important for compressing irons?
The right shoulder helps control two critical pieces of impact. Moving forward helps place the low point in front of the ball for ball-first contact. Moving down helps the club approach from the inside instead of getting steep and over the top.
How do I know if my right shoulder is too high in the downswing?
If your right shoulder moves forward but stays high, you often see an over-the-top path, steep contact, pulls, or fades. The club tends to kick out in front of you instead of approaching from the inside.
How do I know if my right shoulder is too far back?
If your right shoulder works down but stays back, the club may approach nicely from the inside, but your low point can stay behind the ball. That often leads to fat and thin iron shots.
What is the best checkpoint for the forward part of the move?
A strong checkpoint is getting your right shoulder back to the ball line by the time your arms are parallel to the ground in the follow-through. If the shoulder is still behind that line, you likely need more forward motion.
How far down should the right shoulder move?
A useful reference is about 55 degrees of shoulder tilt on the downswing with a mid-iron. That is steeper than the shoulder tilt many golfers create on the backswing.
Can I practice the bump and crunch move at home?
Yes. You can rehearse the bump, crunch, and turn sequence without hitting balls. Alignment rods or a stick in the ground can make the motion easier to feel and measure.
Final thought
Better iron compression is not just about trying to hit down harder. It is about organizing your downswing so the club can arrive with the right path and the right low point.
That is exactly what the bump and crunch move trains.
When your trail shoulder works down and forward, you give yourself a better chance to strike the ball first, approach from the inside, and produce the kind of solid contact that good ball strikers create over and over again.
If your current swing only has one half of that pattern, this move can be a missing link.
0 Comments