

Focus keyphrase: hit driver longer
If you want to hit driver longer, you have probably run into the same problem almost every golfer faces. The harder you try to launch it past your usual distance, the less predictable the shot becomes. A straight drive turns into a wipey slice, a pull left, or a ball that feels completely out of control. Then the natural response is to back off, slow down, and try to steer it. Accuracy improves a little, but distance disappears.
The real solution is not choosing between power and control. It is learning how to create both at the same time. That comes down to two simple pieces of the golf swing:
How you load the club on the way back
How you time the release on the way down
Get those two things working together and clubhead speed stops feeling wild. It starts feeling efficient, repeatable, and much easier to aim.
Table of Contents
- Step 1: Understand why trying to hit driver longer usually backfires
- Step 2: Let the clubhead swing freely instead of trying to steer it
- Step 3: Use the saw drill to feel how the club should load
- Step 4: Use your trail wrist and trail elbow to support the club at the top
- Step 5: Learn why proper loading helps you hit driver longer
- Step 6: Use the same saw drill to shape the correct release path
- Step 7: Time the release correctly if you want to hit driver longer and straighter
- Step 8: Match your release pattern to your ball flight tendencies
- Step 9: Add feedback so you know whether the release is early or late
- Step 10: Build a simple pre-swing routine to hit driver longer before every swing
- Step 11: Practice this drill with purpose, not just repetition
- Step 12: Apply the same concept to every club in the bag
- FAQ
- Final thoughts
Step 1: Understand why trying to hit driver longer usually backfires
Before making any swing change, it helps to understand the pattern you are trying to break.
Most golfers already have speed in the clubhead. The club is moving the moment the swing starts. The issue is not whether speed exists. The issue is whether that speed is organized.
When the clubhead gains momentum without enough structure from your body and hands, it starts to feel heavy, fast, and difficult to square up. That is when shots spray left and right. To protect yourself, you instinctively reduce speed. You guide the club instead of swinging it freely.
That creates a trade-off:
More speed without control leads to poor contact and wayward drives
More control without speed leads to shorter drives
If your goal is to hit driver longer, the answer is not to swing harder with your whole body. It is to let the clubhead move freely while your body and hands support and direct that movement.
That distinction matters. You do not want to control the clubhead by strangling it. You want to support it so it can move fast without taking over the swing.
Step 2: Let the clubhead swing freely instead of trying to steer it
One of the most useful ideas here is simple: never try to control the clubhead by slowing it down.
The clubhead should feel free, almost like it is swinging on its own. Your job is to organize that motion with the right hand, wrist, and arm structure. This is where many golfers get it backwards. They tighten up, hold angles rigidly, and attempt to place the club into impact. That usually kills speed and makes timing worse.
A better model is this:
The clubhead flows freely
Your body and arms support the mass of the club
Your hands provide direction and timing
When that happens, the swing feels less forced. You can accelerate without losing the face.
This concept applies not only to the driver but to every club in the bag. Driver just exposes the problem more clearly because the club is longer, the ball is teed up, and swing speed is typically higher.
Step 3: Use the saw drill to feel how the club should load
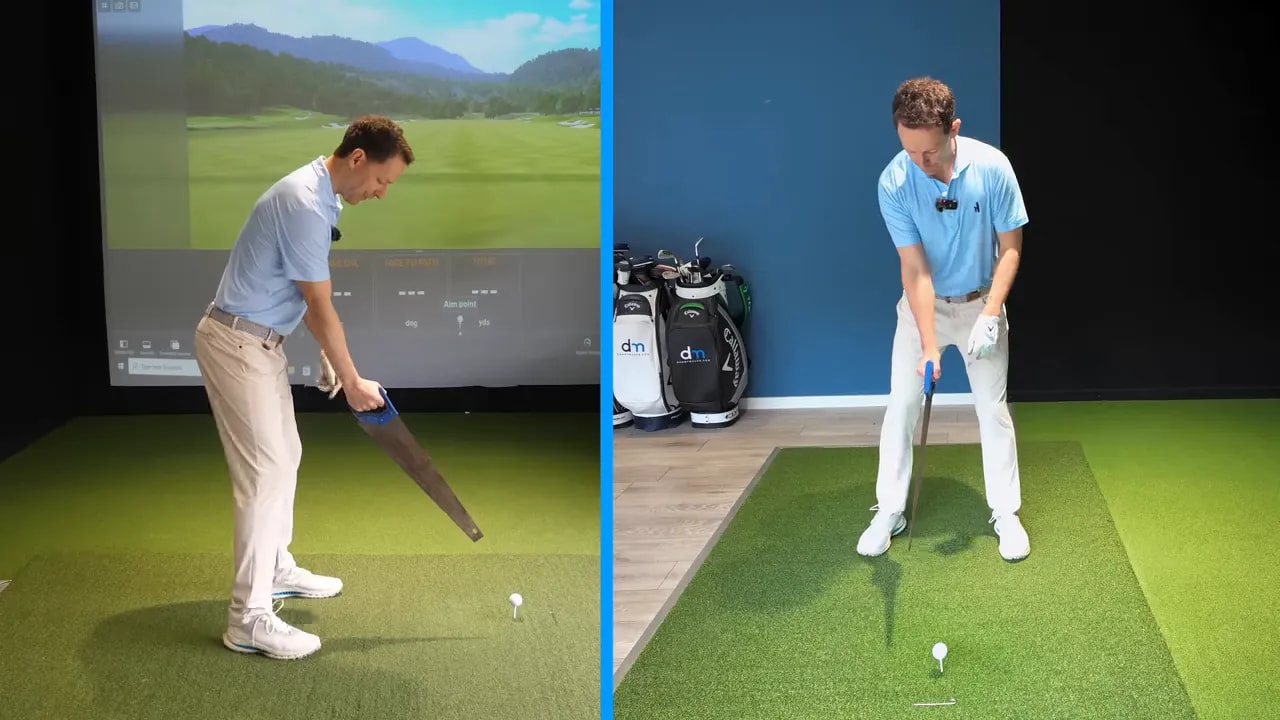
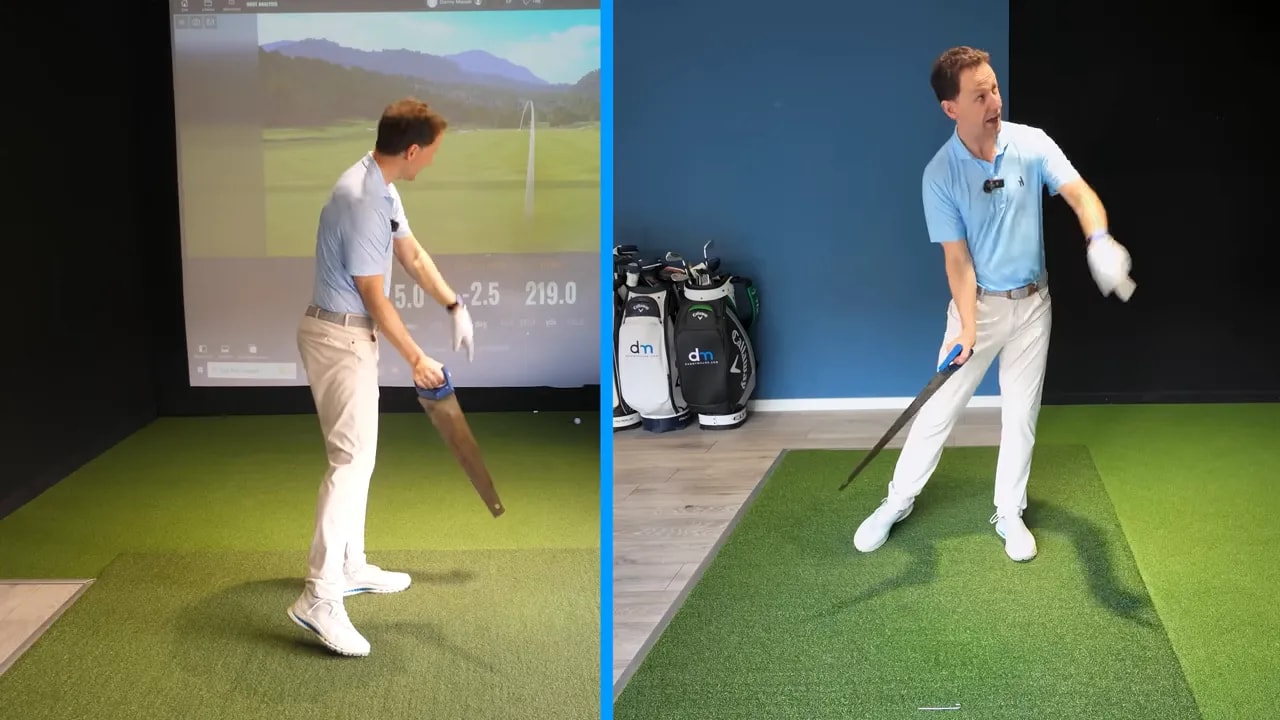
An unusual but effective training aid for this motion is a saw. The point of the drill is not the tool itself. It is the feel it creates in your hands and wrists.
Imagine holding a saw out in front of you. As you move it back and through, you can sense whether the flat side of the blade stays organized relative to the arc of the motion. If the wrist works properly, the saw feels supported. If the wrist rolls or opens too much, the head of the saw falls behind you and starts to control the motion instead.
That same thing happens in the golf swing.
To rehearse the motion:
Set up as if you are about to swing.
Allow your trail wrist to bend back.
Let the trail elbow begin to fold and sit in.
Feel the clubhead or saw head being supported, not thrown behind you.
When done correctly, the club loads to the top with structure. You are not dragging it around with your shoulders. You are supporting its momentum with your hands and arms.
This is one of the keys if you want to hit driver longer without losing your strike.
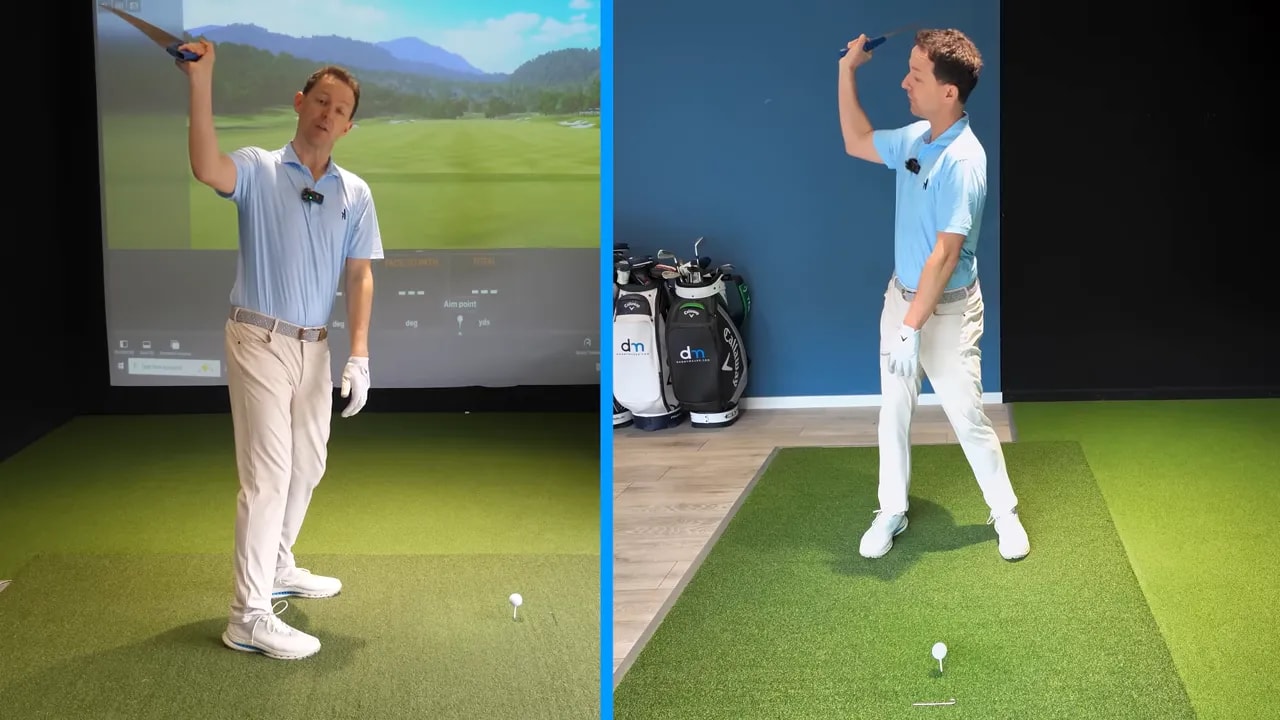
Step 4: Use your trail wrist and trail elbow to support the club at the top
The backswing piece becomes much clearer when you focus on two areas:
Trail wrist
Trail elbow
As the club swings back, the trail wrist bends back and the trail elbow folds inward and downward. At the top, the arm structure can feel a bit like carrying a waiter’s tray. That image helps because it creates support under the club rather than a rolled, disconnected position behind you.
If you throw the clubhead behind your body early in the backswing, several problems follow:
You lose awareness of the clubface
You make the downswing harder to sequence
You create the need for compensations coming into impact
If, however, you support the club to the top, you create a much easier starting point for the downswing. The club can then be delivered with speed on a sensible path.
A helpful rehearsal is a small waggle before swinging. Feel the trail hand hinge slightly and the trail elbow squeeze in. Then swing to the top while preserving that supported feeling. This makes the club feel loaded instead of loose and lost.
Step 5: Learn why proper loading helps you hit driver longer
Many golfers chase distance by trying to create more effort from the top down. But the biggest gains often come from a better loading pattern, not a more violent transition.
When the club is supported correctly at the top:
You can change direction more cleanly
You can deliver the clubhead faster without panic
You are less likely to throw away speed early
You improve the chances of center contact
This is why a golfer can sometimes hit a surprisingly solid, powerful shot even with one arm. The power is not just about muscular force. It is about how efficiently the club is loaded and released.
If your backswing is organized, the downswing becomes much less complicated.
Step 6: Use the same saw drill to shape the correct release path
Once the club is loaded well, the next step is learning how it should come down.
The saw drill helps again because it gives your hands a clear job. If the flat side of the saw is oriented properly at the top, it naturally wants to return on a useful line. That is why the drill can help reduce an over-the-top move.
Think about the alternatives:
If you come over the top aggressively, the orientation feels wrong and awkward.
If you drop the club too far under the plane, you may need to whip it around and risk hooks.
If the hands understand where the clubface should be, the club tends to return on a more neutral path.
This is an important point. The release is not just about face angle. It also influences path. Better hand awareness can improve both at once.
That is one reason great players often describe swing feels through their hands. The hands are where you sense the clubface most directly.

Step 7: Time the release correctly if you want to hit driver longer and straighter
Even if the club is traveling down the right line, you still need the release to happen at the right time.
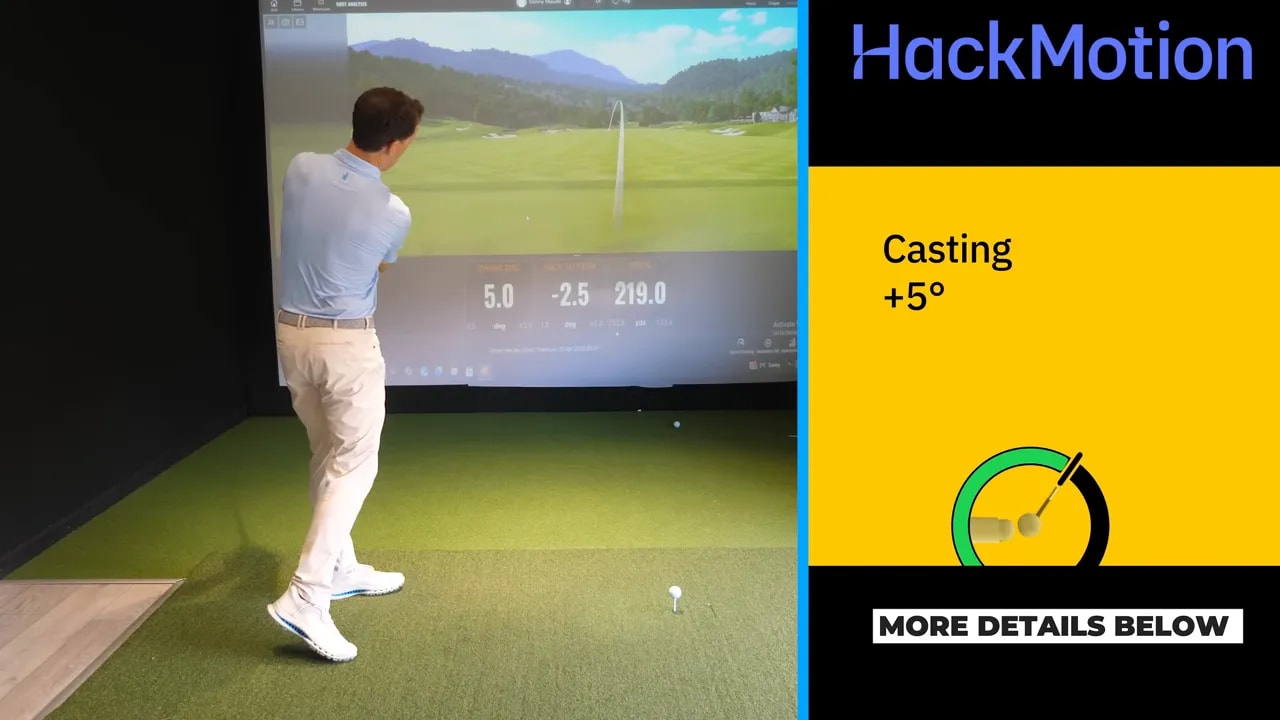
This is where many golfers lose distance. They release the club too early, often called casting. When that happens, the clubhead throws away its stored speed before impact. You may add too much loft, lose compression, and hit weaker shots.
There are also problems at the other extreme. If the release is too late, the face and loft can be poorly presented at impact. That can lead to low strikes, skied drives, or last-second flips to save the shot.
The goal is not to hold angles forever. The goal is to time the release so that speed is delivered where it matters most.
A useful guide:
Too early often leads to short, weak, spinny shots
Too late can produce blocks, flips, hooks, or poor strike patterns
Well timed creates speed, control, and more efficient launch
For many golfers who struggle to hit driver longer, the common issue is an early release. That means the answer is usually not “swing harder.” It is “release later and more efficiently.”
Step 8: Match your release pattern to your ball flight tendencies
Not every golfer needs the same feel.
If you are a shorter hitter or someone who tends to slice, there is a good chance the club is releasing too early and adding too much loft. A feel of the saw pointing more downward through the hitting area can help delay the release enough to improve strike and speed.
If you hook the ball or get stuck with too much shaft lean and then have to flip the club late, you may need almost the opposite sensation. Feeling as though you are adding a touch more loft through impact can help the club release earlier and prevent that last-second hand action.
That is why release training works best when connected to your actual shot pattern. You are not chasing a generic position. You are matching a feel to a problem.
Use these tendencies as broad starting points:
Slice or weak fade with limited distance: often needs a later, better-timed release
Hook or flip through impact: may need a release that happens earlier and more naturally
The right feel should make impact easier, not more complicated.
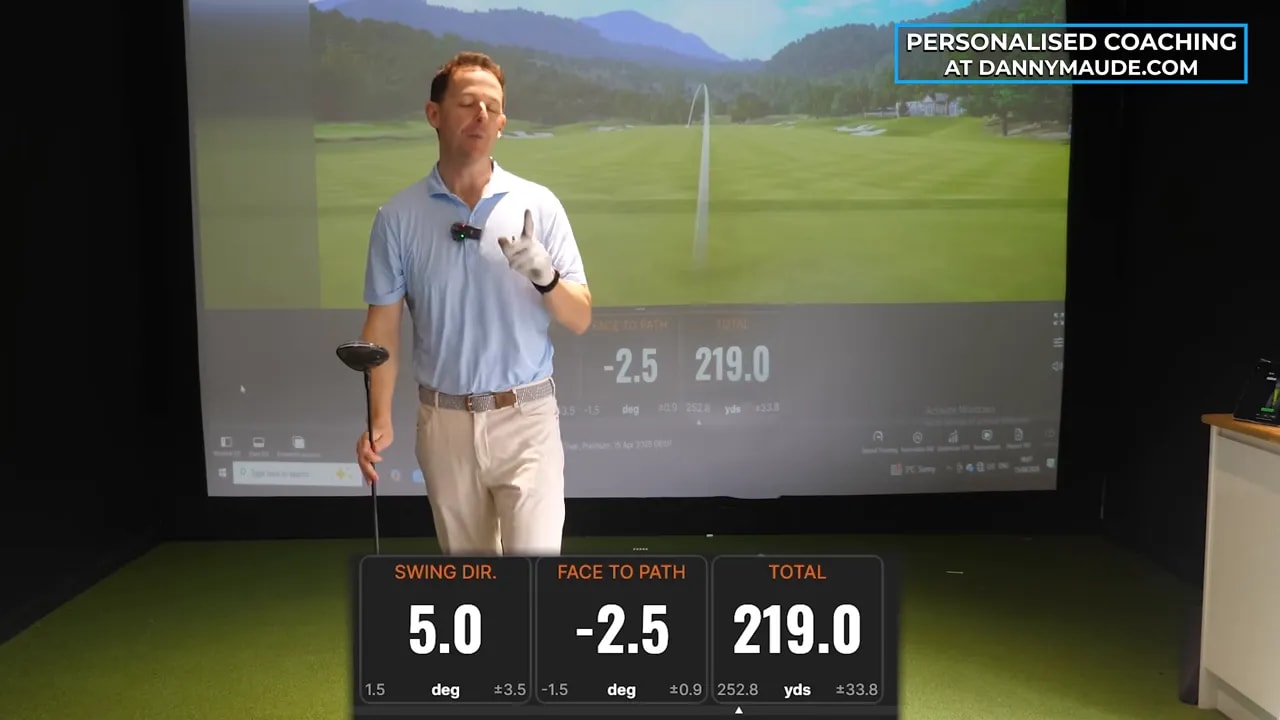
Step 9: Add feedback so you know whether the release is early or late
Feel is useful, but feedback speeds up learning.
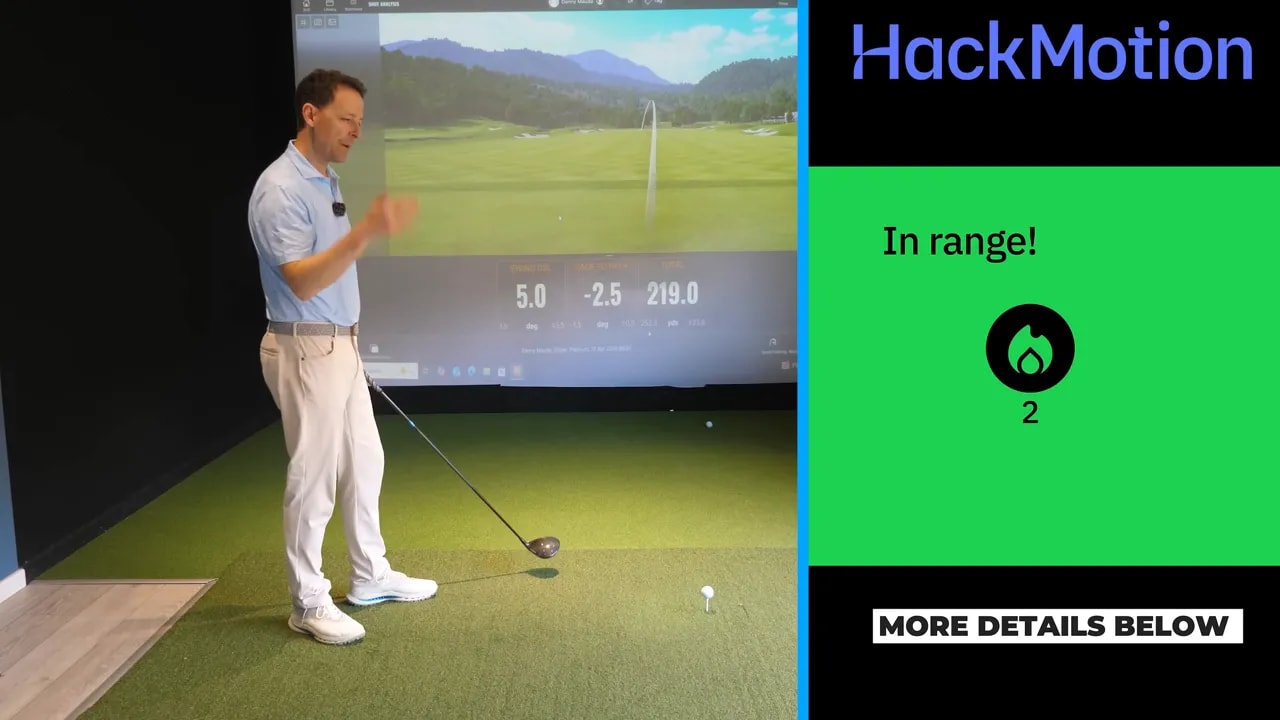
A device like HackMotion can help show whether the club is being cast too early or delivered with better timing. That kind of wrist feedback is valuable because release timing can be difficult to judge by eye alone.
The basic training idea is straightforward:
Make a swing and see whether the data shows an early release.
Rehearse the saw feel in your hands.
Swing again while picturing the saw orienting slightly more downward through the hitting area.
Check whether the feedback improves.
The value here is that you do not need to obsess over positions. You can train a sensation, then verify whether that sensation is creating the desired motion.
Just one caution: avoid trying to create this feel by moving your head around or shifting all over the place. The adjustment should come mainly from your hands and arms, not from excessive head movement.
Step 10: Build a simple pre-swing routine to hit driver longer before every swing
If you want this lesson to transfer to the course, turn it into a brief pre-swing routine.
Here is a simple version you can use before each drive:
Address the ball normally.
Make a small waggle and feel the trail wrist hinge back slightly.
Feel the trail elbow tuck and support the club.
Picture the clubface orientation with the saw feel.
Rehearse the release timing you need, either slightly later or slightly earlier depending on your miss.
Swing freely without trying to steer the clubhead.
This routine is powerful because it gives you one compact intention before the swing. Instead of stacking several technical thoughts, you create a single athletic feel:
Support the club going back, then time the release coming down.
That is a practical way to hit driver longer while keeping the ball under control.
Step 11: Practice this drill with purpose, not just repetition
To make the drill effective, practice it in stages.
Start without a ball
Use the saw feel or simply imagine it in your hands. Rehearse the trail wrist bend, trail elbow support, and release direction.
Move to half swings
Hit gentle shots and pay attention to strike, curvature, and launch. The goal is not max speed yet. It is learning the timing.
Increase to full driver swings
Once the movement starts to feel natural, let the clubhead flow faster. Keep the same support and release cues.
Adjust based on ball flight
If the ball floats weakly right, your release may still be early or your face may be poorly organized. If the ball starts hooking from a flip, the release may be arriving too late and getting rescued at the last moment.
Better practice is not about hitting more balls. It is about linking a clear feel to a measurable result.
Step 12: Apply the same concept to every club in the bag
Although the driver is the focus here, this swing idea is not limited to tee shots.
The same principles help with irons, fairway woods, and hybrids:
Support the club rather than letting it get behind you
Use the hands to understand clubface orientation
Time the release instead of forcing it
That is what makes this concept especially useful. It is not a one-club fix. It is a broader lesson in how to create speed that you can actually control.
FAQ
Why do I lose control when I try to hit driver longer?
You usually lose control because the clubhead gains speed without enough support from your hands, wrists, and arms. When the club starts to feel heavy or out of position, you make compensations that send the ball left or right.
What is the main idea behind the saw drill?
The saw drill teaches you how the hands and wrists should support the club during the backswing and guide the release during the downswing. It helps you sense clubface orientation and improve both path and timing.
How does this help me hit driver longer?
It helps you hit driver longer by improving how the club is loaded and released. That means you deliver more of your clubhead speed at impact instead of wasting it early in the downswing.
What does an early release look like?
An early release, often called casting, happens when the club unhinges too soon on the way down. It can add too much loft, reduce stored speed, and lead to weak or high-spinning drives.
Should I try to hold my wrist angles as long as possible?
No. The goal is not to hold angles rigidly. The goal is to let the club move freely while timing the release correctly. Holding angles artificially often creates tension and poor sequencing.
Can this drill help if I slice my driver?
Yes. If your slice comes with a weak, early release and poor clubface awareness, this drill can help organize the hands and improve the release timing. That can make it easier to produce a stronger, straighter flight.
Can I use this with irons too?
Yes. The same ideas apply to every club in the bag. The driver simply makes the issue more obvious because the shaft is longer and swing speed is higher.
Do I need a training device to work on release timing?
No, but feedback can help. A device such as HackMotion can show whether you are releasing too early or too late. Even without one, you can still use the saw feel and your ball flight to guide your practice.
Final thoughts
If you want to hit driver longer, do not fall into the trap of chasing raw effort. Distance and accuracy are not supposed to fight each other. The better path is to let the clubhead move freely while learning how to support it to the top and time its release on the way down.
That is what turns speed into useful speed.
Use the trail wrist and trail elbow to organize the backswing. Use the saw drill to sharpen your awareness of the clubface. Then train the release so the club delivers its speed at impact rather than before it.
Done well, this can help you hit drives that are not only longer, but also far easier to trust.
0 Comments