
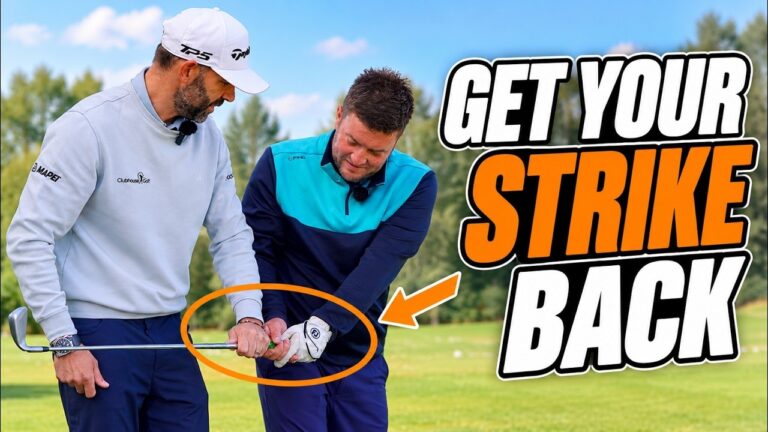

When your golf swing suddenly feels unfamiliar, your first instinct may be to search for another position to fix. You tighten your grip, try to keep your body still, and work harder to steer the club into the ball. Yet those reactions can leave you feeling even less connected to the clubhead.
The missing piece may be simpler: feeling the weight of the golf club and allowing your body to support its movement. Rather than picking the club up and forcing it through impact, you can learn to swing it more freely around you.
You can follow this reset through a lesson with Tom, a 21-handicap golfer whose handicap had recently dropped from 24. Despite that progress, his contact had become unreliable, with strikes toward the heel and a tendency to miss right. His improvement came through a sequence of setup adjustments, feel-based rehearsals, and a final focus on ground contact.
Table of Contents
- Step 1: Make Center Contact Your First Golf Priority
- Step 2: Understand Why Your Golf Club Needs to Swing Around You
- Step 3: Give Your Golf Setup Room to Turn
- Step 4: Use the Float Drill to Feel the Golf Club’s Weight
- Step 5: Connect the Club’s Movement to Your Body Turn
- Step 6: Add a Ball Without Adding a Hard Hit
- Step 7: Move Your Hands Behind You and Free the Follow-Through
- Step 8: Refine Where Your Golf Club Brushes the Ground
Step 1: Make Center Contact Your First Golf Priority
Before changing your swing, separate the problems you are trying to solve. Are you struggling with distance, curve, height, or strike? You may notice all four, but that does not mean you should tackle them together.
Start with strike. When you repeatedly miss the center of the clubface, the resulting ball flight gives you a less reliable picture of your swing. Recovering more centered contact gives you a better foundation for assessing direction and trajectory.
Use the same questions that helped establish Tom’s starting point:
- If you hit a large selection of seven-iron shots, would most misses finish right or left?
- Where do you tend to contact the face: heel, center, or toe?
- Are your current shots representative of your normal golf, or are you having an unusually poor session?
- Are your bad scores coming from contact, decisions, or a combination of both?
That final distinction matters. Attempting a green more than 200 yards away when a simple layup would leave a manageable wedge is a different problem from poor ball striking. You can acknowledge both without trying to solve course management through a swing change.
For this practice session, give yourself one immediate objective: recover a strike that lets you play golf with more confidence.
Step 2: Understand Why Your Golf Club Needs to Swing Around You
If your pattern resembles Tom’s, you may be lifting the club too vertically in the backswing. Your arms can rise excessively as well, leaving both the shaft and the hand movement on a steep route.
Those are related but distinct issues. You can have a steep shaft, a steep hand path, or both. Simply telling yourself to flatten the club may miss part of the problem if your hands continue to lift in the same way.
Your golf club’s design provides a useful reference. Its lie angle describes the relationship between the shaft and the sole. When you rest the sole approximately flat on the ground, the shaft sits at an angle rather than standing vertically.
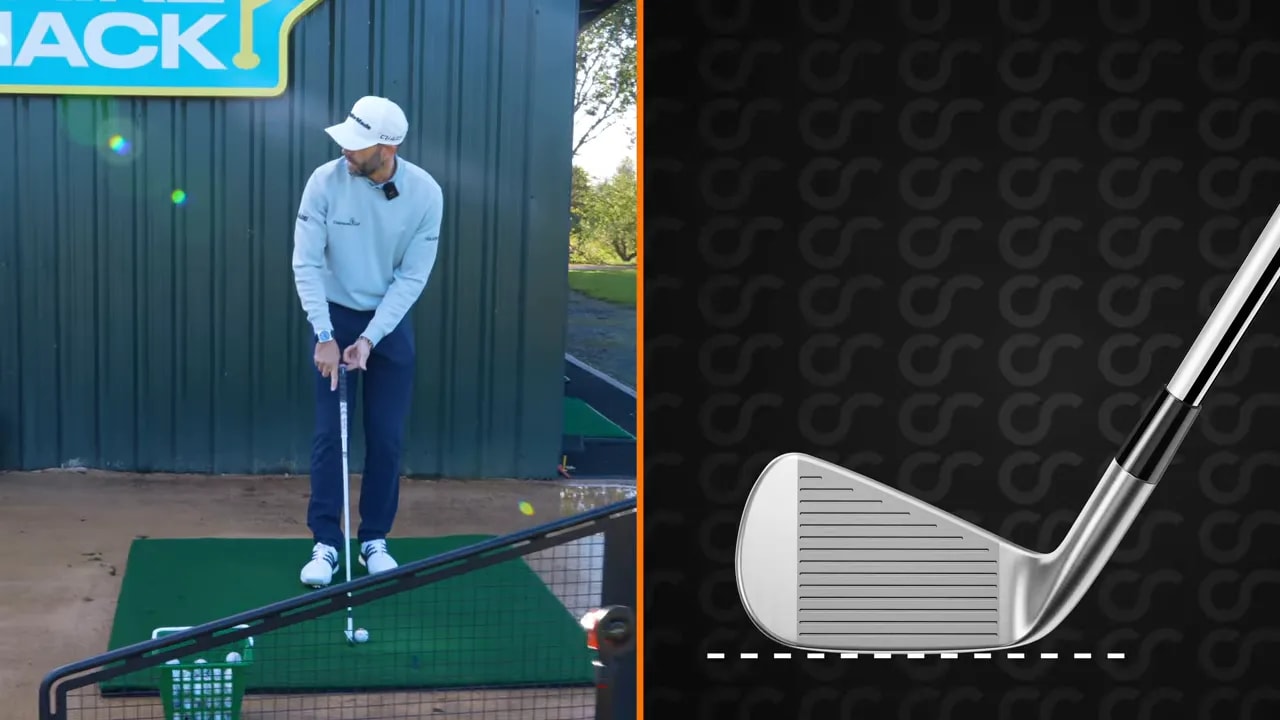
This helps you understand why different clubs work on different angles. With a wedge, you stand closer and make a relatively steeper swing. With a driver, you stand farther away and make a relatively flatter swing.
The goal is not to force every club onto one identical plane. It is to avoid swinging your seven iron on an excessively upright route that leaves you reacting to a club moving aggressively toward the ground.
For the pattern addressed here, your useful feel is more around your body, less straight up. Treat that as a corrective sensation for an overly steep motion, not an instruction to drag every takeaway as far inside as possible.
Step 3: Give Your Golf Setup Room to Turn
Before introducing a new swing feel, check whether your setup allows the movement you want. If your feet and stance work against your body turn, you may find yourself lifting your arms instead of rotating comfortably.
In Tom’s setup, the feet were slightly closed, and the foot flare was poorly matched to the intended turn. His right foot was turned out more than his left. The adjustment was to reduce the right-foot flare slightly and add more to the left.
For the right-handed pattern used in this lesson, check the following:
- Settle into a comfortable, balanced stance.
- Avoid carrying an unnecessarily closed foot alignment into the drill.
- Allow your left foot to turn out a little more than your right.
- Check that your stance gives you room to turn back and through.
You do not need to expect a setup adjustment to fix everything. Its purpose is to remove an obstacle, not replace the swing work that follows.
Be especially cautious if you have changed your feet mainly to stop yourself moving. You need movement in a golf swing. Your setup should help that movement happen in a useful way rather than encourage you to brace against it.
Step 4: Use the Float Drill to Feel the Golf Club’s Weight
You can now take the ball out of the task and reconnect with the club itself. This is the central reset: before trying to control where the club goes, become more aware of the weight you are moving.
Once the club travels behind you, you cannot rely on seeing it while keeping your gaze near the ball. You need to sense it through your hands and arms.
- Take your normal setup without a ball.
- Lift the clubhead roughly five or six inches above the ground.
- Lighten your grip enough to feel the clubhead’s weight clearly while maintaining control.
- Make small takeaway movements, then return toward the starting position.
- Gradually lengthen those movements.
- After a few repetitions, allow the weight of the club to swing farther behind you.
Think about moving the weight, not arranging a series of positions. Allow your arms and body to respond to that task.
If your usual tendency is to pick the club up, the contrast should be noticeable. Instead of sending the weight upward and pulling your arms high, you are sensing it travel more around you.
Keep checking your grip pressure. If you squeeze hard enough that you lose awareness of the clubhead, return to the small hovering movements. The purpose is to develop a clearer connection with the club, not to complete the biggest possible rehearsal.
Step 5: Connect the Club’s Movement to Your Body Turn
Your hands and arms influence where the club travels, but they are not working alone. Your chest and hips also change its position as you turn.
You can explore this during the same short rehearsals. Hover the club, move it back a few feet, and allow your chest to turn with the movement. Notice how rotation helps the club travel behind you without requiring you to lift it vertically.
Your working sequence becomes:
- Feel the clubhead’s weight in your hands.
- Move that weight back and around.
- Let your chest and hips help create the movement.
- Keep enough softness in your arms to preserve the sensation.
This approach improved several parts of Tom’s motion together, including the takeaway, halfway-back position, top, and downswing. You do not necessarily need a separate instruction for every checkpoint when a clearer overall task changes the movement.
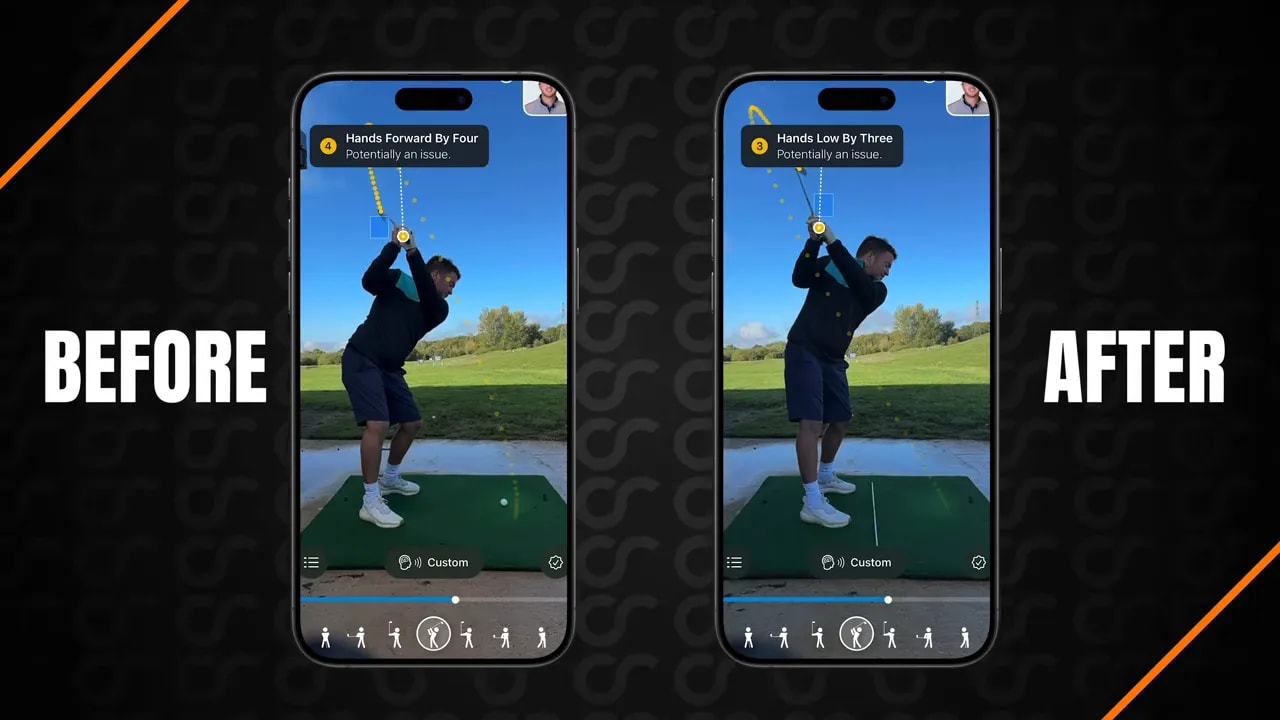
Your rehearsal may look better before you can reproduce it with a ball. That is a normal distinction to recognize, not a reason to abandon the exercise.
Also resist interpreting unfamiliar movement as excessive movement. If you feel yourself turning more, do not immediately lock your body down. Ask whether the movement supports the club rather than whether you can eliminate it.
Step 6: Add a Ball Without Adding a Hard Hit
Once you can feel the club swinging around you, introduce a ball while keeping the rehearsal intact. Your aim is to carry the same movement into a shot, not switch into a stronger hitting action.
Begin with the club hovering near its normal address position. Rehearse only the first few feet of the takeaway two or three times. Feel the weight move behind you, with your chest contributing to the turn.
When that feels organized, continue the movement into a backswing and swing through. Let the ball sit in the path of the swinging club instead of making it the signal to tense up.
An early successful shot in the lesson came from a high tee. It was Tom’s straightest and longest shot to that point, despite the emphasis being on feel rather than added speed.
You can use that same progression to simplify the task:
- Rehearse the short takeaway.
- Keep your grip light and arms soft.
- Continue the rehearsal into the backswing.
- Allow the club’s weight to swing through the ball.
Judge your golf practice by the quality of the movement and contact, not just the effort you put into it. If adding the ball makes you return to lifting and muscling the club, step back to the rehearsal.
Step 7: Move Your Hands Behind You and Free the Follow-Through
You may improve the clubhead’s route while your arms still rise too much. That was the next adjustment in the lesson: the takeaway was better, but the hands needed to travel farther around with the turn.
For a right-handed swing, rehearse turning until your hands feel more over your right shoulder rather than simply higher above you. The sensation is of reaching more behind you, supported by rotation.
Start without hitting a ball. Make a backswing, return to address, and repeat. Compared with lifting your arms straight up, this may feel like more of a stretch.
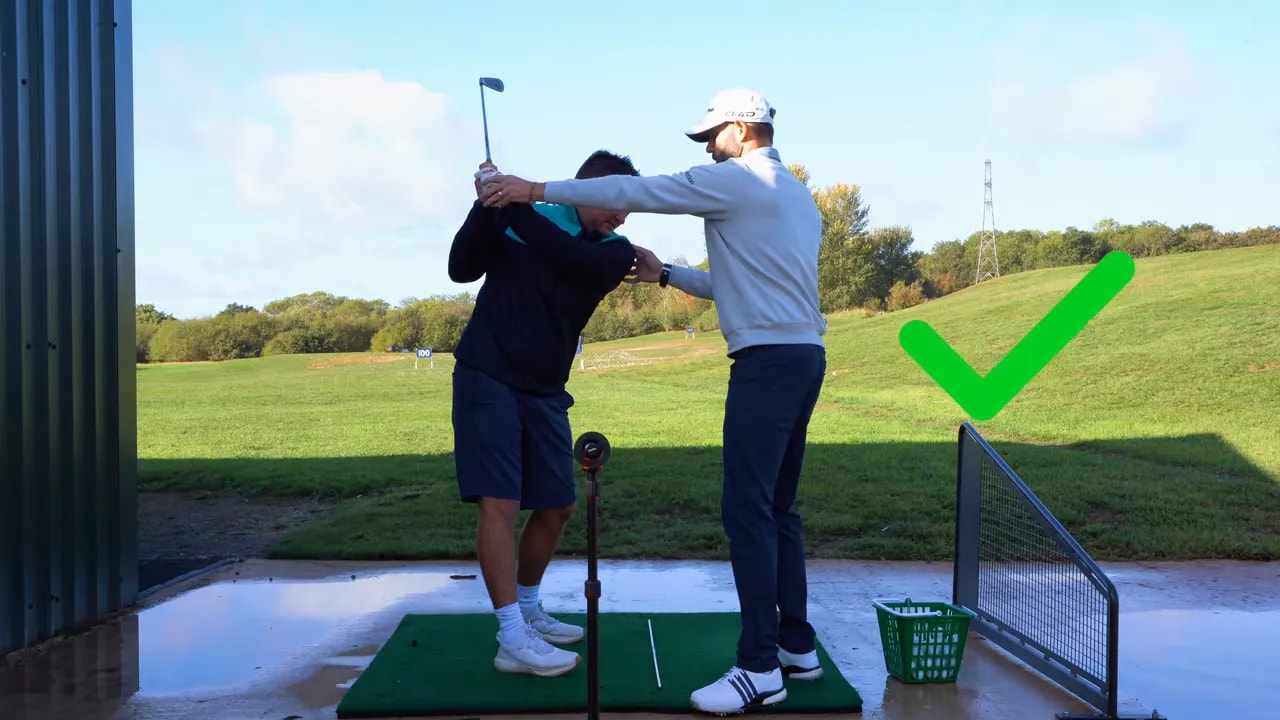
Then add the downswing and follow-through with a simple sequence:
- Back: Club and hands move behind you.
- Down: Arms swing down from that position.
- Through: Club continues around your body into the finish.
Do not turn “arms down” into another forceful pull. The next priority is freedom. Once the club is moving, it has momentum. Your grip connects you to that movement, but you do not need to steer every inch of its journey.
If you repeatedly hold the club off or force it into an awkward finish, you may still be overcontrolling it. Repeat the sequence with softer arms and allow the club to continue around you.
The useful distinction is between supporting the golf club and fighting it. You still guide the movement, but without trying to manufacture the entire strike through tension.
Step 8: Refine Where Your Golf Club Brushes the Ground
A freer swing does not automatically make every contact perfect. As Tom’s heel-to-toe contact improved, he still caught the ground early on several shots.
Recognize that as a more specific problem. You can improve where you strike the face while still needing to refine where the club meets the ground. Those two observations can both be true.
First, rehearse brushing the ground near the ball’s position without hitting a ball. A nearby tee can provide a reference, as it did in the lesson. Keep the same backswing, soft arms, and uninterrupted follow-through.
If you continue landing the club too early, shift your attention to a spot a couple of inches farther forward. Try to make the club brush or land later, nearer the intended contact area.
At this stage, focus on where the club meets the ground rather than adding another body-position instruction. You have already worked on the movement. Now give that movement a clear task.
Carry the full progression into your next golf practice session:
- Establish your strike pattern.
- Check that your setup allows a turn.
- Hover the club and feel its weight.
- Swing that weight behind you with body support.
- Introduce a ball without adding tension.
- Refine the hand movement if your arms still lift excessively.
- Allow a free follow-through.
- Adjust the ground-contact point when needed.
You do not need to demand perfection from the first session. The lesson finished with meaningful improvements in strike and ball flight, but not every shot was flawless.
Your most useful takeaway is the order of the work: feel the club, support it with your turn, then refine contact. If you have been lifting the club steeply and forcing it through the ball, recovering that sense of swing may be the missing piece in your golf.
0 Comments