
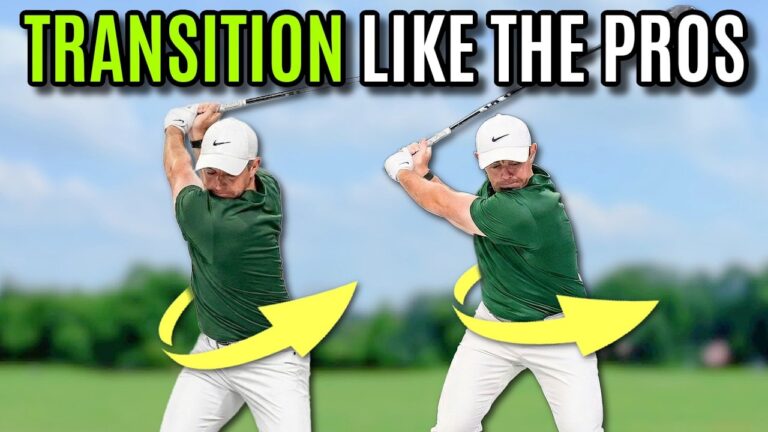

A powerful golf swing transition does not begin at the top of your backswing. It is already underway while your arms are still moving back. That simple idea can change how you create solid contact, add speed, and reduce the pulls and fades that frustrate so many golfers.
Many higher handicap players treat the swing as two separate motions: make a backswing, pause, then start a downswing. Great ball strikers blend those motions into one continuous sequence. Their legs and hips create the conditions for a smooth transition long before the club reaches the top.
The key is not to force a dramatic hip slide or spin your hips open as fast as possible. Instead, you want a coordinated movement from the ground up: foot flare at address, changing leg flex in the backswing, a trail hip that works toward the middle of your pelvis, and hips that continue moving forward into a balanced finish.
Table of Contents
- Step 1: Stop Treating the Backswing and Downswing as Separate Events
- Step 2: Build Your Golf Swing Transition From the Ground Up
- Step 3: Let the Trail Leg Straighten Gradually in the Backswing
- Step 4: Move the Trail Hip Toward the Midline at the Top
- Step 5: Begin Moving Forward Before the Backswing Is Finished
- Step 6: Finish With Your Hips Clearly in Front of the Midline
- Step 7: Use the Belt Buckle Forward Drill
- Step 8: Use Simple Checkpoints Instead of Overthinking the Downswing
- Frequently Asked Questions
Step 1: Stop Treating the Backswing and Downswing as Separate Events
Your golf swing transition should feel connected. In an efficient motion, your body begins moving toward the target while your arms and club are still completing the backswing.
This is why elite ball strikers often look so smooth. Their transition is not a stop at the top followed by a sudden lunge. Their lower body keeps the motion moving, while the upper body finishes loading. The result is a coordinated swing rather than a collection of isolated positions.
Start by changing the way you think about the top of the backswing. It is not a destination where everything freezes. It is a point in a flowing sequence. As your hands and arms complete their journey back, your hips can already begin working gradually toward the target.
This connected motion can help you create three important outcomes:
- Better low point control, because your hips move forward and support contact ahead of the ball.
- More potential power, because improved turn creates more stretch and room for the hands and arms.
- A more inside-out club path, which can reduce across-the-ball motion, pulls, and fades.
Before focusing on the downswing, however, build the right backswing motion. Your transition is only as good as the positions that lead into it.
Step 2: Build Your Golf Swing Transition From the Ground Up
Set up with your feet flared roughly 20 to 30 degrees away from the target line. This applies to both feet. The purpose is practical: foot flare can make it easier to turn your hips and change your knee flex without adding unnecessary stress.
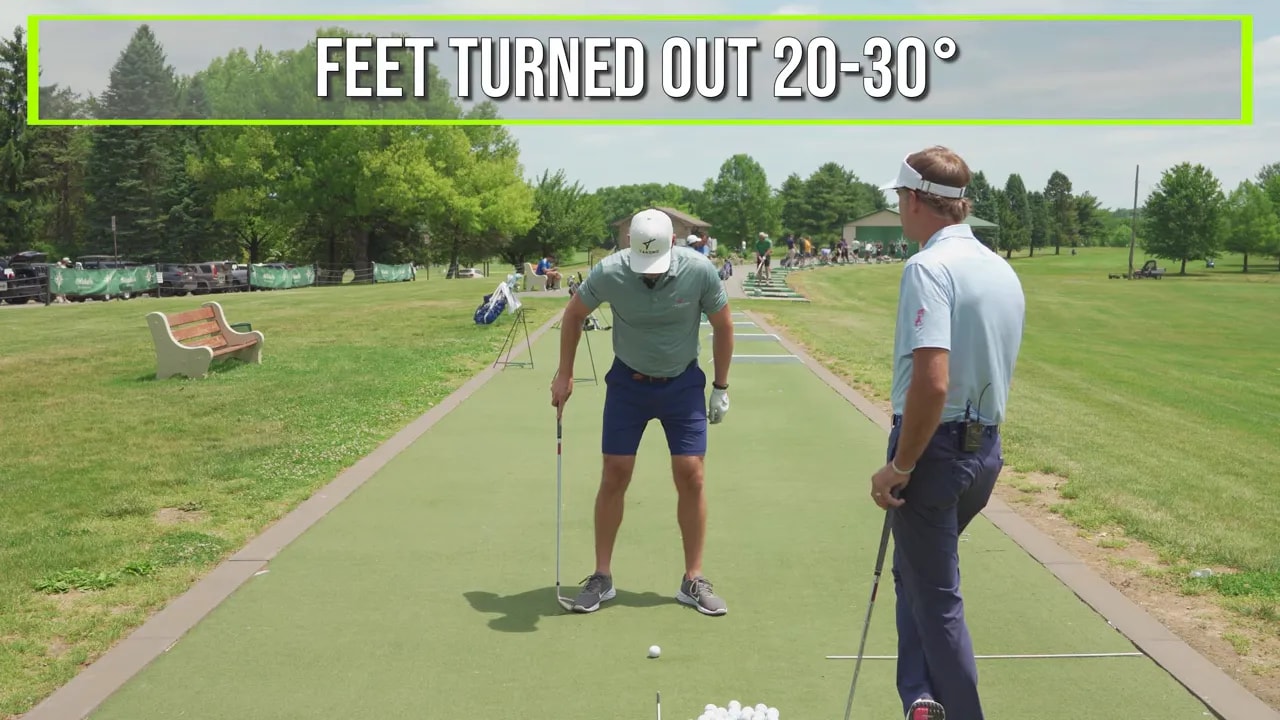
If your feet are excessively square or turned inward, you may make hip turn more difficult from the start. A little flare gives you room to rotate while maintaining a stable base.
At address, allow your knees to be bent roughly over the edges of your shoelaces. You do not need an exaggerated squat. You simply need athletic knee flex that gives you room to move.
From there, the legs should not remain frozen as you take the club back. Your lead leg and trail leg have different jobs:
- Your lead knee bends more, working down and slightly inward during the takeaway.
- Your trail leg gradually loses some of its flex, meaning it straightens relative to its address position.
These leg actions help your hips rotate on a tilted angle. Your lead hip gets lower while your trail hip gets higher. That tilt is essential because it helps you maintain your inclination to the ground rather than standing up or turning your hips too level.
A level hip turn often sends the body too far toward the trail side in the backswing. That can make it difficult to shift forward, control the bottom of the swing, and approach the ball from a useful direction. Changing flex helps keep your turn centered and organized.
Step 3: Let the Trail Leg Straighten Gradually in the Backswing
One of the most useful golf swing transition checkpoints begins with the trail leg. If your trail leg begins with approximately 20 to 30 degrees of knee flex at address, it should gradually reduce to about 5 to 10 degrees of flex by the top of the backswing.
The important word is gradually. You are not trying to lock the trail knee straight or force it backward. You are simply allowing it to extend relative to the flex you had at address.
As your trail leg loses flex and your lead leg gains flex, you should see more space between your knees from a down-the-line perspective. This change helps your pelvis turn and tilt rather than slide excessively away from the target.
Trail leg extension matters because it gives your trail hip room to move around you. Without it, you may struggle to maintain your body inclination, especially if your hips turn level. The club may still get to the top, but the body will be less prepared for a clean, athletic transition.
Use these backswing feels:
- “My lead knee is moving down and in.”
- “My trail leg is losing some flex as I go back.”
- “My hips are turning on a tilted angle.”
- “I am creating space between my knees, not locking the trail knee.”
Step 4: Move the Trail Hip Toward the Midline at the Top
The next checkpoint gives your backswing a clear destination. As you turn to the top, your trail hip should work around your body toward the midline, or the center of your pelvis.
Think of the line where your tailbone began at address. By the top of the backswing, your trail hip should have moved around until it is near that central line. This is not a quick move during the first few inches of takeaway. It develops progressively from address to the top.
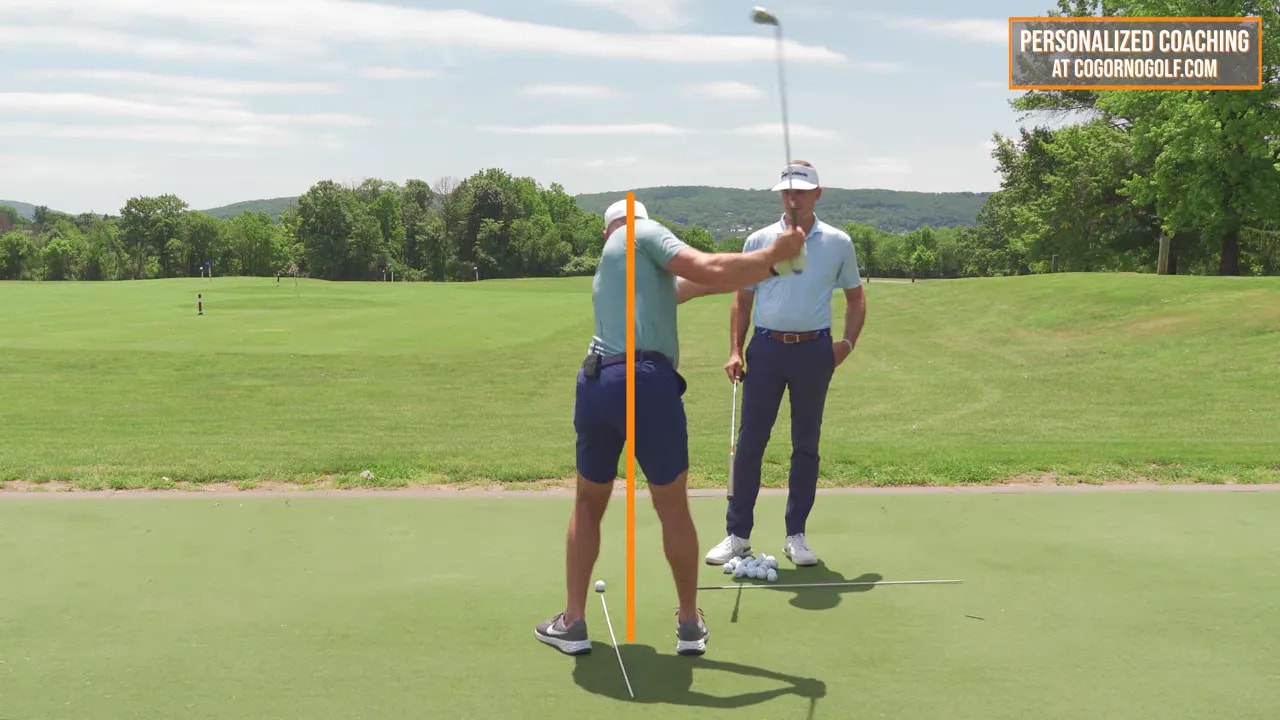
Another useful rear-view checkpoint is your tailbone position. At the top, the tailbone should be roughly over the lead ankle. This demonstrates that your pelvis has turned and moved in a way that supports the coming shift toward the target.
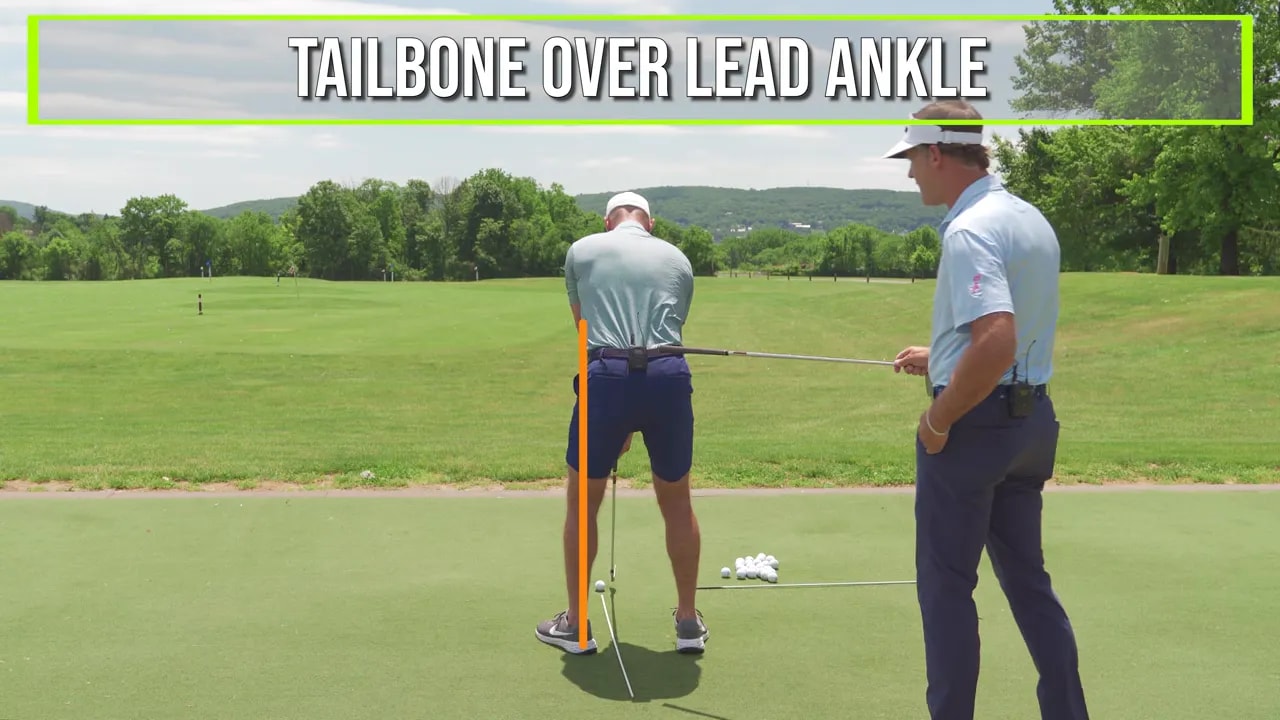
This hip motion is more than a visual preference. When your pelvis turns around a more forward point, you can create more turn and depth in your hands and arms. It also sets up a more inside-out delivery, rather than forcing the club to work sharply across the ball.
If you tend to slice, pull, or feel that the club always approaches from outside the target line, inspect what your hips do in the backswing. A trail hip that remains too far behind you can make a better downswing path much harder to create.
Step 5: Begin Moving Forward Before the Backswing Is Finished
This is the heart of the golf swing transition. As your arms are still finishing the backswing, your hips should begin moving toward the target.
That does not mean your whole body rushes forward. Your upper body can still be closing and your hands can still be gaining depth while the pelvis begins its gradual forward movement. The lower body starts leading the change of direction, while the club completes its backswing.
This is what makes the swing feel fluid. Rather than waiting until the club reaches the top, then trying to start the downswing from a static position, allow the lower body to begin its forward move earlier.
A useful feel is that the trail hip has just worked back toward the center of your pelvis, and then your entire pelvis continues forward from there. The movement is continuous:
- Set up with foot flare and athletic knee flex.
- Let the lead knee increase flex while the trail leg loses flex.
- Turn the trail hip around toward the pelvis midline.
- Begin moving the hips toward the target while the arms finish going back.
Do not try to manufacture speed by violently sliding. The goal is a gradual, coordinated movement that gives you a more forward low point and preserves the side tilt needed through impact.
Step 6: Finish With Your Hips Clearly in Front of the Midline
Your backswing checkpoint is the trail hip reaching the midline. Your through-swing checkpoint is even simpler: by the finish, your hips should be fully in front of that midline.
Your tailbone should never finish behind the center line. Instead, it should move forward so that it is over the lead ankle at the finish. This forward pelvis position is a strong indicator that you continued the motion through the strike rather than hanging back on the trail side.
Moving your hips forward also helps create side tilt through the ball. That side tilt matters because it helps you stay in your posture instead of popping up out of the shot. When the hips keep progressing forward, your upper body has a better chance to remain tilted as the club moves through impact.
Use these finish checkpoints:
- Your tailbone is over the lead ankle.
- Your hips are in front of the original pelvis midline.
- Your body has moved through the shot rather than remaining behind the ball.
- Your finish is balanced and your lower body supports your rotation.
Step 7: Use the Belt Buckle Forward Drill
To make this movement easier to feel, use a simple finish drill: feel as though you are pushing your belt buckle up and forward through the shot.
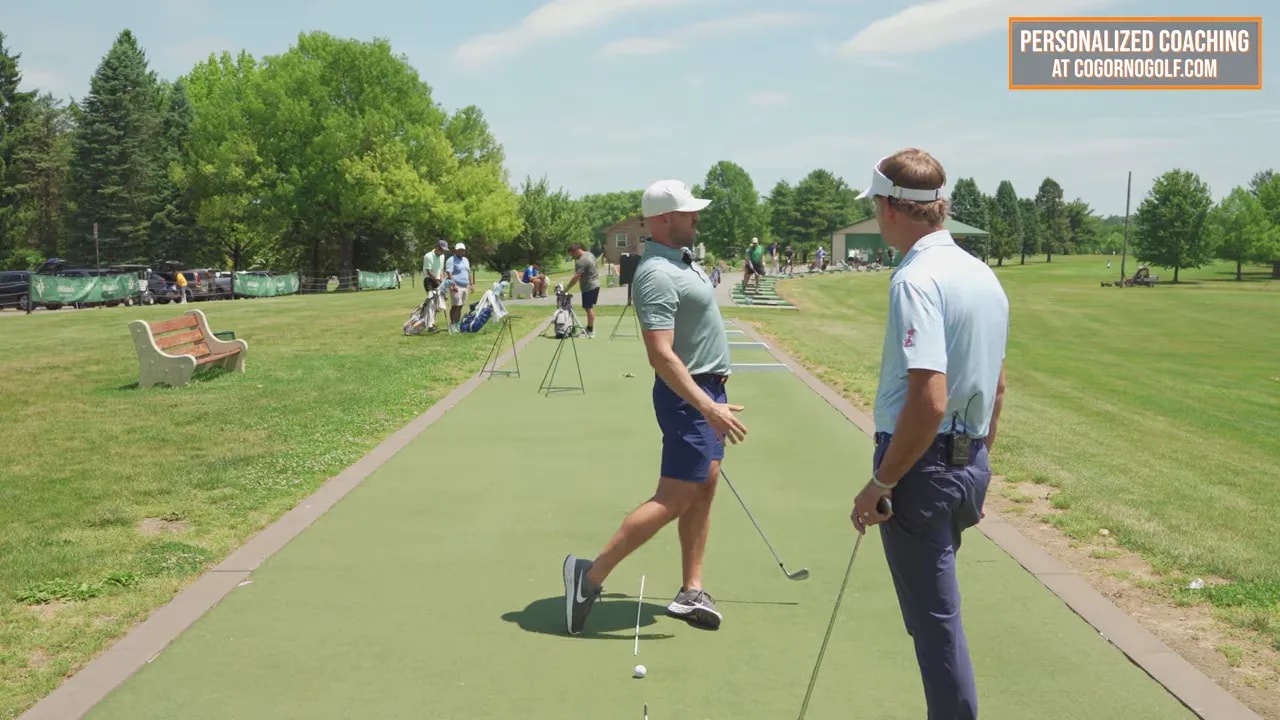
At the finish, imagine that your belt buckle is the part of your body closest to the target. This is a practical cue for getting the hips forward without thinking about a complicated collection of positions.
Make slow practice swings first. Do not worry about hitting a ball immediately. Rehearse the following sequence:
- Address the ball with your feet flared and knees softly flexed.
- Take the club back while the lead knee bends more and the trail leg gradually straightens.
- Feel the trail hip work around toward the pelvis midline.
- Before your arms fully complete the backswing, begin moving your hips forward.
- Move through to a finish with your belt buckle up and forward, and your tailbone over the lead ankle.
Once the rehearsal feels natural, hit short shots at reduced speed. Your priority is not distance. Your priority is making the backswing, transition, and finish feel like one connected motion. Speed can follow as the sequence becomes more reliable.
Step 8: Use Simple Checkpoints Instead of Overthinking the Downswing
Golf swings contain many moving parts, but you do not need 15 swing thoughts to improve your transition. Use two clear reference points and let them connect the middle.
At the top: Trail hip to the midline, with the tailbone roughly over the lead ankle.
At the finish: Hips and tailbone clearly forward of that midline, with the belt buckle closest to the target.
Those two checkpoints encourage the continuous pelvic motion that better ball strikers use. They also help you avoid a common mistake: completing the backswing, pausing, then trying to force a downswing with your arms.
When your legs change flex correctly, your hips turn and tilt properly, and your pelvis continues forward, the downswing has a much better chance to fall into place. That is the value of a well-organized golf swing transition: it makes better contact, more power, and a more predictable club path easier to produce.
Frequently Asked Questions
How much should my trail leg straighten in the backswing?
If your trail leg begins with about 20 to 30 degrees of flex at address, allow it to reduce gradually to roughly 5 to 10 degrees of flex at the top. Do not lock the knee straight. The goal is to lose flex gradually so your hips can turn and tilt.
When should my hips start moving toward the target?
Your hips should begin their gradual forward movement while your arms are still completing the backswing. This creates the connected, flowing golf swing transition associated with strong ball striking.
What does trail hip to the midline mean?
It means your trail hip works around your body during the backswing until it reaches the center line of your pelvis by the top. This helps create turn, depth, and a better setup for moving forward through the ball.
Can this golf swing transition help with a slice?
It can help create a more inside-out swing direction because the hips turn and move forward more effectively. A trail hip that works toward the pelvis midline can also help prevent the body from staying too far back and forcing the club across the ball.
What is the easiest feeling for the finish?
Feel as though you are pushing your belt buckle up and forward until it is the closest part of your body to the target. Pair that feel with the checkpoint of your tailbone finishing over your lead ankle.
0 Comments