
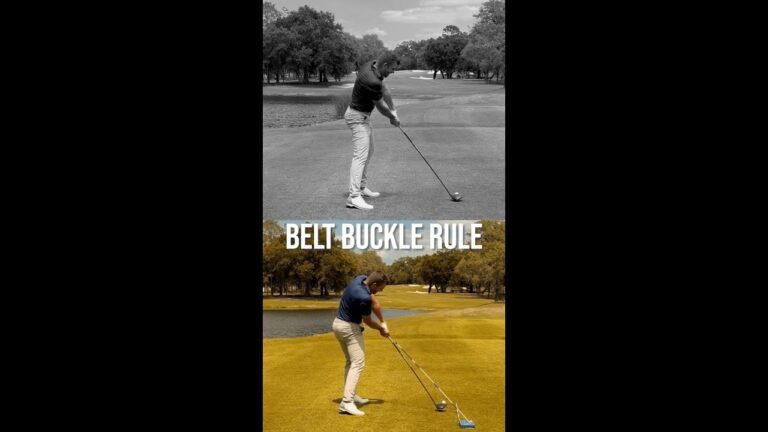
If your golf swing feels steep, disconnected, or flip-prone through impact, one simple concept can clean up a lot in a hurry: tuck the trail elbow while your body keeps rotating. Many golf players try to keep the hips too square to the ball in an effort to keep the arms in front. That usually creates the opposite result.
The better move in golf is to let the trail elbow work down and in near your shirt seam while your belt buckle and chest continue opening toward the target. That combination can help you shallow the club, improve delivery, and strike the driver more solidly.
This guide breaks the move into clear steps so you can apply it on the range and take it onto the course.
Table of Contents
- Step 1: Understand what the trail elbow and belt buckle rule do in golf
- Step 2: Know the mistake this golf move is fixing
- Step 3: Set up the golf drill correctly
- Step 4: Tuck the trail elbow into your shirt seam in the golf downswing
- Step 5: Match the club to the training stick angle in golf
- Step 6: Rotate your belt buckle toward the target in golf
- Step 7: Blend elbow tuck and rotation into one golf motion
- Step 8: Use these golf practice reps before hitting full drives
- Step 9: Watch for these common golf mistakes
- Step 10: Know what better golf ball striking should feel like
- Step 11: Apply the belt buckle rule to your golf driver sessions
- Step 12: Use a simple golf checklist before every swing
- FAQ
- Takeaway: a better golf downswing is connected and rotating
Step 1: Understand what the trail elbow and belt buckle rule do in golf
In simple terms, the drill teaches two things at once:
The trail elbow tucks instead of flying away from your side.
The body keeps rotating instead of stalling with the belt buckle staying square.
That matters in golf because a tucked trail elbow can help the club approach from a better angle, while continued hip and chest rotation helps deliver the club without last-second hand action.
When players stop rotating, they often have to save the shot by flipping the clubhead through impact. That can lead to inconsistent contact, weak drives, and a steep downswing.
Step 2: Know the mistake this golf move is fixing
A common golf mistake is trying to keep the trail arm in front of the body by holding the torso too closed. On the surface, that can feel connected. In reality, it often traps the motion.
Here is what usually happens:
The belt buckle stays facing the ball too long.
The chest slows down.
The club gets steep or stuck.
The hands must flip to square the face.
In golf, connection does not mean freezing your lower body. It means the arm and body work together while rotating through the shot.
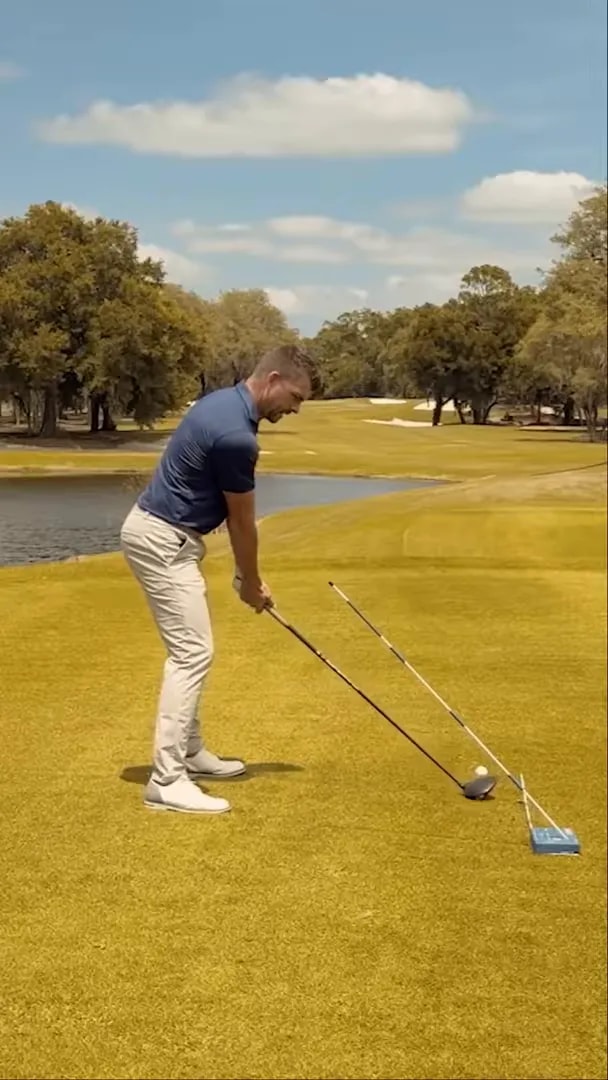
Step 3: Set up the golf drill correctly
The setup shown uses a driver and a blue training aid placed on the turf, along with an alignment stick angle to give you a visual for the delivery path.
You do not need a complicated station for this golf drill. The goal is simply to create a visual reminder for how the club should shallow and move into the ball.
Your setup checklist:
Use your driver.
Place an alignment reference on the ground.
Stand in your normal driver posture.
Make rehearsal swings before hitting balls.
If you have a training aid, use it to reinforce the feel. If not, the movement pattern still applies to everyday golf practice.
Step 4: Tuck the trail elbow into your shirt seam in the golf downswing
This is the first key feel. As you start down, feel the trail elbow moving close to the side of your body, almost like it is tracing your shirt seam.
The important part is where it moves. You do not want the elbow flying out away from you. You also do not want it pushing forward while the body stops. In good golf motion, the elbow works down and in as part of a rotating pivot.
Helpful checkpoints:
The trail elbow feels tucked, not pinned rigidly.
The upper arm stays closer to the rib cage.
The club starts dropping into a shallower position.
Think of it as a compact delivery move, not a squeeze. If you overdo the tuck, you can create tension. In golf, tension usually makes speed and timing worse.
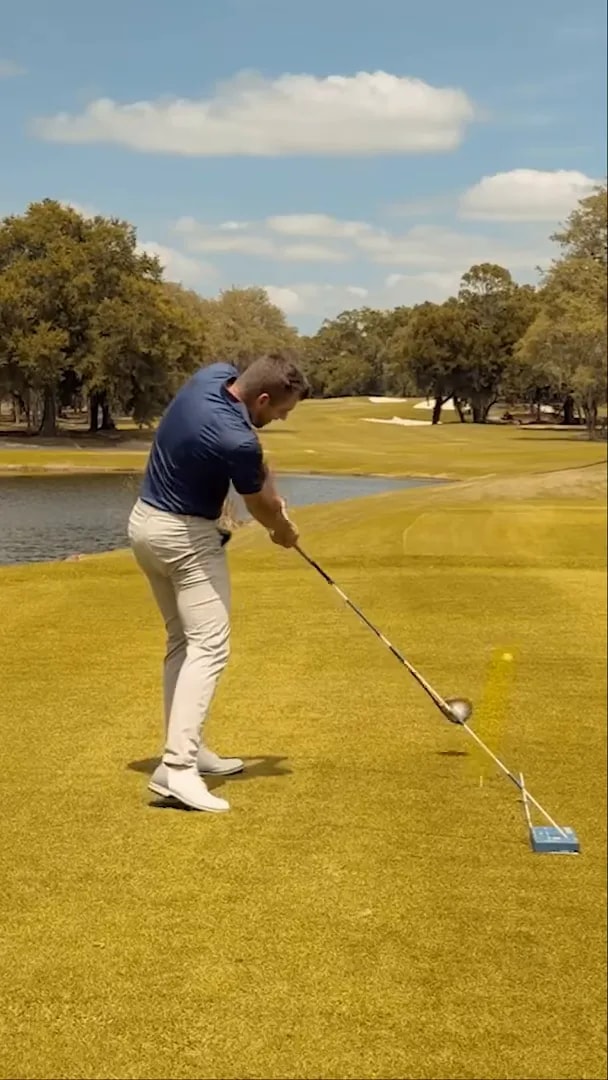
Step 5: Match the club to the training stick angle in golf
The second key feel is matching the shaft to the angle of the stick during the downswing. This gives you a visual model for shallowing the club rather than throwing it over the top.
For many golf players, this is the missing link. They may hear “tuck the elbow,” but without the shaft angle cue, they still send the club steeply toward the ball.
What you want instead:
The club shallows as the trail elbow tucks.
The shaft works onto a more neutral delivery angle.
The body rotation supports the path into impact.
This is especially useful with the driver, where a better delivery can help you launch the ball with more control and less glancing contact.
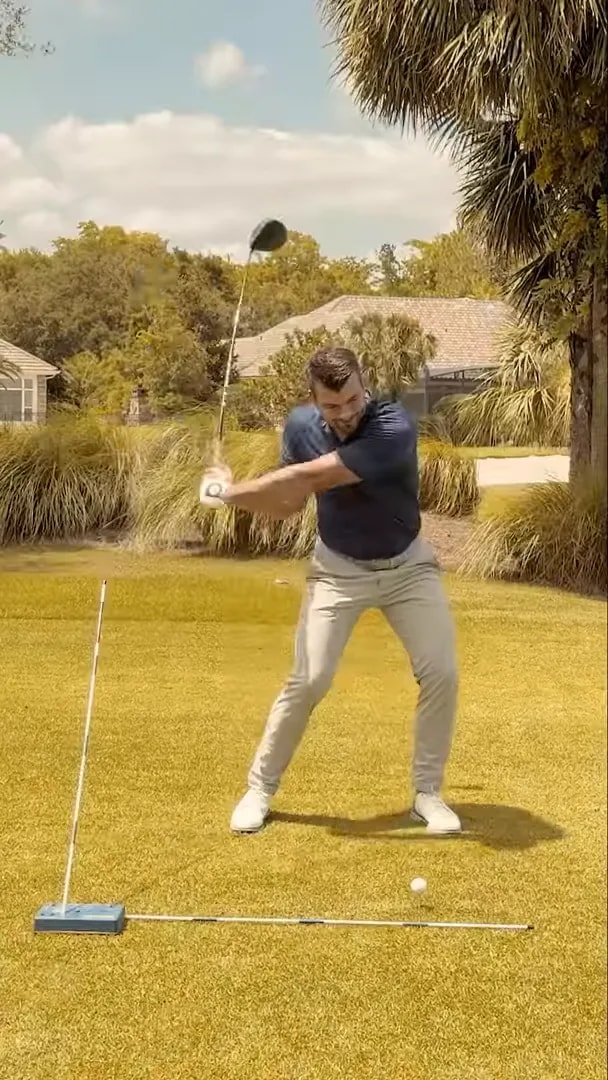
Step 6: Rotate your belt buckle toward the target in golf
This is the belt buckle rule. As the trail elbow tucks, your hips should not freeze. Your belt buckle should keep rotating toward the target.
This point is critical in golf. If you tuck the elbow but stop your pivot, the club still needs another way to square up. That is where flipping shows up.
A better pattern looks like this:
Hips opening through the strike.
Chest opening through the strike.
Arms and club being delivered by rotation, not rescue timing.
Many golfers think opening the body will pull everything left. Usually, the opposite is true when the elbow is tucked correctly. In golf, body rotation often helps the club approach more efficiently, not more wildly.
Step 7: Blend elbow tuck and rotation into one golf motion
The biggest trap is practicing these as separate, disconnected ideas. The trail elbow and the belt buckle rule work best together.
Use this sequence:
Make a backswing normally.
Start down by feeling the trail elbow move close to your side.
At the same time, let the belt buckle begin turning toward the target.
Allow the chest to continue opening.
Let the club release from rotation instead of a hand flip.
That is the core pattern this golf move is trying to create. You are not holding the clubface off. You are not dragging the handle forever. You are simply improving how the club gets delivered.
Step 8: Use these golf practice reps before hitting full drives
Do not jump straight into hard swings. Build the move in stages.
Slow motion rehearsals
Make waist-high to waist-high swings while exaggerating the tucked trail elbow and rotating belt buckle. This helps your body learn the order of motion.
Pause at delivery
Swing down slowly and stop just before impact. Check three things:
Trail elbow is near your side.
Shaft is matching the intended angle.
Belt buckle is opening, not staying square.
Build to full speed
Once the motion feels coordinated, hit half-speed drivers, then three-quarter swings, and finally normal shots. In golf, speed should be added after movement quality improves.
Step 9: Watch for these common golf mistakes
Even a solid drill can go wrong if the feel gets exaggerated or misunderstood.
Pinning the elbow too tightly
The elbow should feel tucked, not jammed against your body. Too much tension can restrict motion and make the swing robotic.
Keeping the belt buckle facing the ball
This is the big one. If your lower body stalls, you are likely to flip the club through impact.
Trying to force the club shallow with the hands only
Shallowing in golf is not just a hand move. It works best when the elbow motion and body rotation support each other.
Using the drill only in rehearsals
After a few practice motions, hit real shots. You need to test whether the move holds up when there is a ball in front of you.
Step 10: Know what better golf ball striking should feel like
When this move starts working, you may notice a few changes:
The downswing feels less steep.
The club feels more delivered by your pivot.
Impact feels less handsy.
Your driver contact may feel more centered and more powerful.
You may also notice that your finish looks more complete, with your body fully rotated toward the target. In golf, a balanced finish often reflects a motion that kept moving instead of stalling at impact.
Step 11: Apply the belt buckle rule to your golf driver sessions
This concept is especially useful with the driver because steepness and flipping are common problems off the tee. If your driver tends to cut across the ball, pop up, or feel weak, this drill can give you a simpler focus.
For your next golf range session, use this plan:
Make 5 slow rehearsals with the trail elbow tucking.
Make 5 slow rehearsals with the belt buckle turning open.
Blend both together for 5 more rehearsals.
Hit 5 half-speed drives.
Hit 5 normal drives while keeping the same feel.
If you lose the feel, go back to slow motion. Good golf practice usually alternates between rehearsal and execution.
Step 12: Use a simple golf checklist before every swing
When you stand over the ball, keep your swing thought minimal. A long list rarely helps in golf.
Use this three-part checklist:
Tuck the trail elbow close to the side in transition.
Match the delivery angle.
Turn the belt buckle toward the target.
That gives you a clear, repeatable cue without overloading your mind.
FAQ
Should you keep your hips square to the ball in golf?
No. In this move, keeping the hips too square can stall rotation and force a flip through impact. Better golf motion includes the belt buckle rotating toward the target as the club is delivered.
What does tucking the trail elbow do in golf?
Tucking the trail elbow helps keep the arm structure more connected to the body and can help shallow the club in the downswing. In golf, that often improves delivery and reduces a flying elbow pattern.
Can the belt buckle rule help a steep golf downswing?
Yes. A steep downswing often comes from a poor delivery pattern combined with stalled rotation. Opening the belt buckle while the trail elbow tucks can help the club approach the ball from a better angle in golf.
Why do golfers flip at impact?
Many golfers flip because the body slows down or stops, leaving the hands to square the club late. In golf, continued hip and chest rotation can reduce the need for that last-second compensation.
Is this golf drill only for the driver?
The concept is shown with the driver, but the same golf ideas can help other full swings too. The main focus here is improving driver delivery by blending elbow tuck and body rotation.
Takeaway: a better golf downswing is connected and rotating
If you want cleaner driver contact in golf, do not just chase a tucked trail elbow by itself. The real key is pairing that elbow motion with a belt buckle that keeps turning toward the target.
Remember the pattern:
Tuck the trail elbow near your side.
Match the club to the intended angle.
Rotate your hips and chest through the shot.
That combination can help you eliminate the flying elbow, reduce a steep downswing, and avoid breaking the belt buckle rule. In golf, small changes in delivery often produce big changes in ball flight.
0 Comments