

If you want to hit more solid golf shots, a better golf grip is one of the fastest places to start. Your grip influences clubface control, shoulder alignment, takeaway shape, strike quality, and shot pattern. Small setup changes can create a much cleaner path to the ball without forcing a major swing rebuild.
This guide explains how to improve your golf grip step by step. You will learn how to place your hands on the club naturally, how grip affects a fade or draw, how your trail index finger can improve club control, and how better connection through impact helps you compress the ball more consistently.
For many golfers, the problem is not effort. It is a poor matchup at address. When the grip, shoulders, and clubface do not work together, the swing has to make last-second compensations. That is when pulls, pushes, thin shots, and weak contact start showing up.
Table of Contents
- Step 1: Understand why your golf grip controls more than your hands
- Step 2: Build your golf grip around your natural arm position
- Step 3: Match your golf grip to your shot shape
- Step 4: Use a square setup to improve your golf grip results
- Step 5: Put the club in the fingers for better control
- Step 6: Try the trail index finger as a club-control checkpoint
- Step 7: Improve takeaway structure with your golf grip
- Step 8: Use your chest and hands together through impact
- Step 9: Learn the strike mindset that supports compression
- Step 10: Keep your rotation athletic instead of vertical
- Step 11: Avoid the most common golf grip mistakes
- Step 12: Use this simple golf grip checklist before every practice session
- Step 13: Know when a small golf grip change is enough
- FAQ
- Final takeaway
Step 1: Understand why your golf grip controls more than your hands
A golf grip is not just about where your fingers go. It affects your entire motion.
When your hands are placed on the club in a way that matches how your arms naturally hang, you give yourself a better chance to:
- Square the clubface without manipulation
- Set your shoulders correctly at address
- Create a more reliable swing path
- Start the ball on line
- Control curve more predictably
Many golfers are told to simply strengthen or weaken the grip. That advice can help in some cases, but it can also create new problems if it ignores your natural arm rotation. If your grip fights your body instead of matching it, tension and compensations usually follow.
Step 2: Build your golf grip around your natural arm position
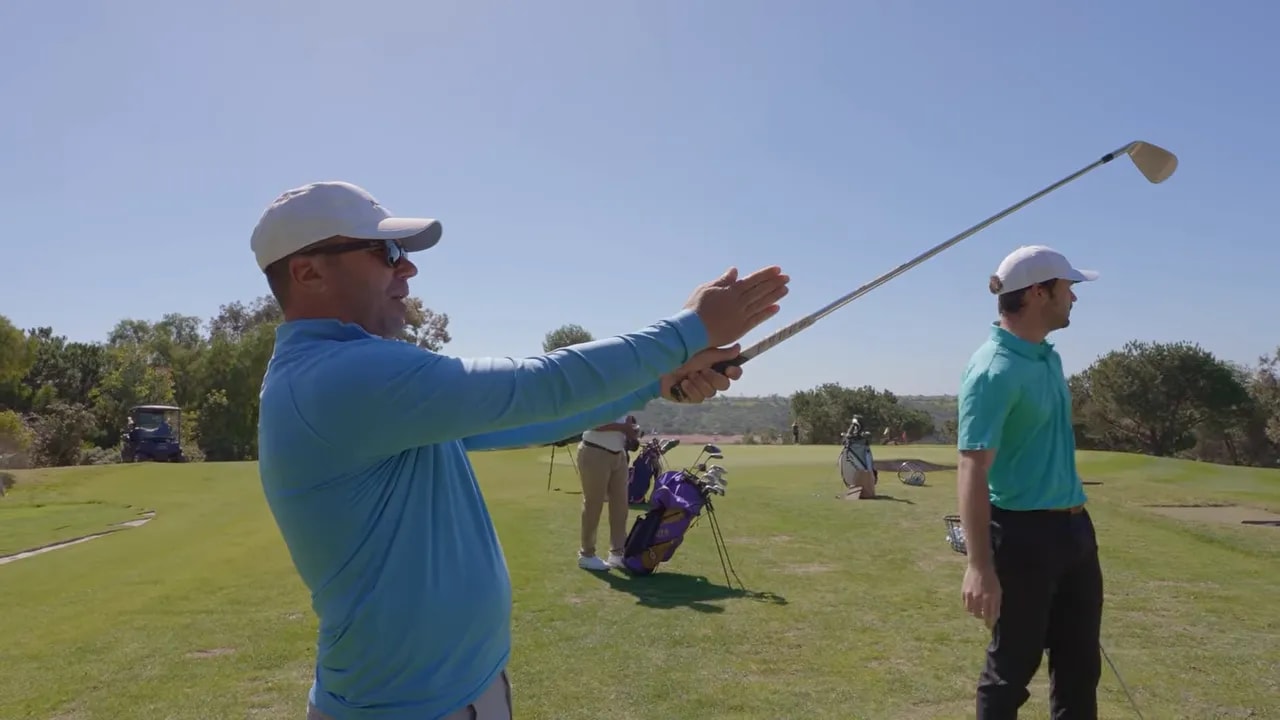
The best starting point is simple: let your arms hang naturally.
Instead of forcing your lead hand into a position you think looks correct, pay attention to how your arm and hand naturally sit when relaxed. That natural rotation matters. If you twist your hand excessively to make the grip look stronger or weaker, you can change your shoulder alignment and clubface orientation before the club even moves.
Use this basic process:
- Let your arms hang comfortably at your sides.
- Take your lead hand grip first while the club is slightly off to the side.
- Place the club in the fingers, not deep in the palm.
- Bring the club in front of your body without changing that hand position.
- Add the trail hand so it fits on naturally rather than forcing it under or over the handle.

This matters because the grip should fit your body, not the other way around. If you grip the club in front of your body first and then twist the hands into position, you may unknowingly close or open the shoulders and alter the face angle at address.
Step 3: Match your golf grip to your shot shape
Your golf grip should support the shot pattern you want to play.
For example, if you prefer to hit a controlled fade, a grip that is too strong can work against you. A strong grip tends to close the clubface. If your shoulders are also set in a way that encourages an inside-out path, you may create draw conditions even though you are trying to hit a fade.
That mismatch can produce two common misses:
- Pulls left when the face shuts too much
- Pushes right when path and face timing do not match
A reliable fade usually starts just left of the target and then falls gently back toward it. A poor fade pattern often starts too far left and stays there, or starts right and never returns. Both issues often begin with poor setup matchups, not just bad swing timing.
If you are a player who likes seeing the ball cut, focus on these grip-related checkpoints:
- Do not over-strengthen the lead hand
- Make sure the clubface is not overly shut at address
- Check that your shoulder alignment is not encouraging the wrong path for your stock shot
Step 4: Use a square setup to improve your golf grip results
Even a good hand placement can cause problems if your body alignment is off.
One subtle issue is shoulder alignment. If the way you take the grip rotates your lead arm too far, your shoulders may close or open without you realizing it. That changes how the club wants to travel through impact.
A more functional setup often includes:
- Arms hanging naturally
- Grip taken without twisting the lead arm
- Shoulders that look square to the target line
- A clubface that appears neutral rather than heavily shut
This is why golf grip instruction should never be isolated from posture and alignment. Your hands, arms, shoulders, and clubface all need to agree with one another. When they do, your swing can be simpler.
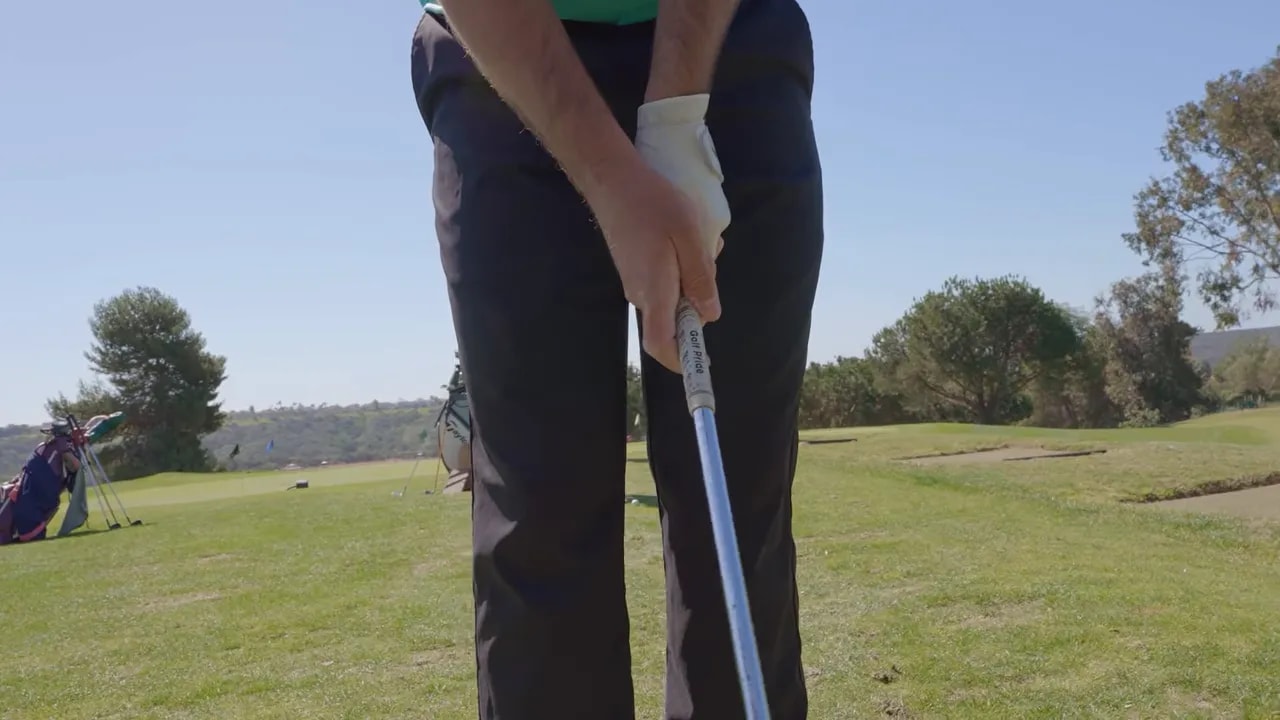
Step 5: Put the club in the fingers for better control
A useful golf grip generally places the handle more in the fingers than in the palms. This tends to improve wrist motion, face awareness, and overall control of the club.
Here is what to look for:
- Lead hand supports the club across the fingers
- Trail hand also fits more in the fingers than deep in the palm
- The hands feel secure without excess squeezing
Finger placement helps you hinge the club more effectively and often makes the takeaway feel less rigid. A grip that is too palm-heavy can reduce mobility and make the club harder to control during transition and through impact.
Step 6: Try the trail index finger as a club-control checkpoint
One of the most helpful details in a golf grip is the position of the trail index finger. Many golfers bunch that finger tightly around the handle. Another option is to let it extend a bit more down the shaft, almost like it is supporting the club from the side.
This can help in two important ways:
- It stabilizes the club during the takeaway
- It helps keep the club more in front of you instead of wrapping behind too early
When the trail index finger is tucked too much underneath, some players lose structure in the takeaway. The club can get too far behind the hands, which often leads to timing-based compensation later in the swing.
By contrast, extending that finger slightly can create a better sense of leverage. It also gives you feedback about where the club is pointing and can reduce the tendency to roll the club inside too early.
If you struggle with an inside takeaway, this is a smart grip tweak to test on the range.
Trail index finger drill
- Take your normal grip.
- Extend the trail index finger slightly more down the shaft than usual.
- Make slow takeaway rehearsals.
- Notice whether the club stays more in front of your chest.
- Hit short shots first before taking full swings.
The goal is not to exaggerate forever. The goal is to use the finger as a training aid for better club structure.
Step 7: Improve takeaway structure with your golf grip
Your golf grip has a major influence on the first part of the backswing.
If the grip gives you support and leverage, the club is more likely to stay organized early. If the grip is unstable, the club may immediately get too far inside, too shut, or too disconnected from your body turn.
A sound takeaway often looks and feels like this:
- The club stays more in front of the hands
- The chest and arms move together
- The club does not wrap behind you early
- The wrists begin to set without excessive rolling
That structure can make the rest of the swing much easier. Good players often look smooth because they are not constantly recovering from poor positions created in the first foot or two of motion.
Step 8: Use your chest and hands together through impact
A better golf grip helps most when it supports connection through the strike.
One important idea is that your chest and hands should move together into impact. When they stay connected, the clubface tends to stabilize. When they separate, the face can change rapidly, causing thin shots, blocks, flips, and weak contact.
Think about these two patterns:
- Connected motion: body and hands move together, face control improves, strike becomes more repeatable
- Disconnected motion: body stalls or shifts away while hands try to catch up, face and low point become inconsistent
This concept also helps explain why some golfers can hit one shot fat and the next shot thin. If your motion changes direction or loses connection approaching impact, the low point becomes difficult to predict.
Step 9: Learn the strike mindset that supports compression
Solid iron play usually comes from striking down on the ball with proper low point control. A good golf grip supports this by helping you organize the face and the handle, but you still need the right impact intent.
Many golfers try to help the ball into the air. That often leads to a scooping motion, early release, or hanging back through impact. A better pattern is to let the club descend into the ball with the chest continuing through.
Key ideas:
- The ball gets in the way of the descending strike
- The low point should be ahead of the ball on iron shots
- Good compression comes from organized angles, not from hitting harder
If your grip is poor, these impact goals become harder to achieve because the face may feel unstable. Then you start making last-second saves. If your grip is functional, the strike can be simpler and more aggressive.
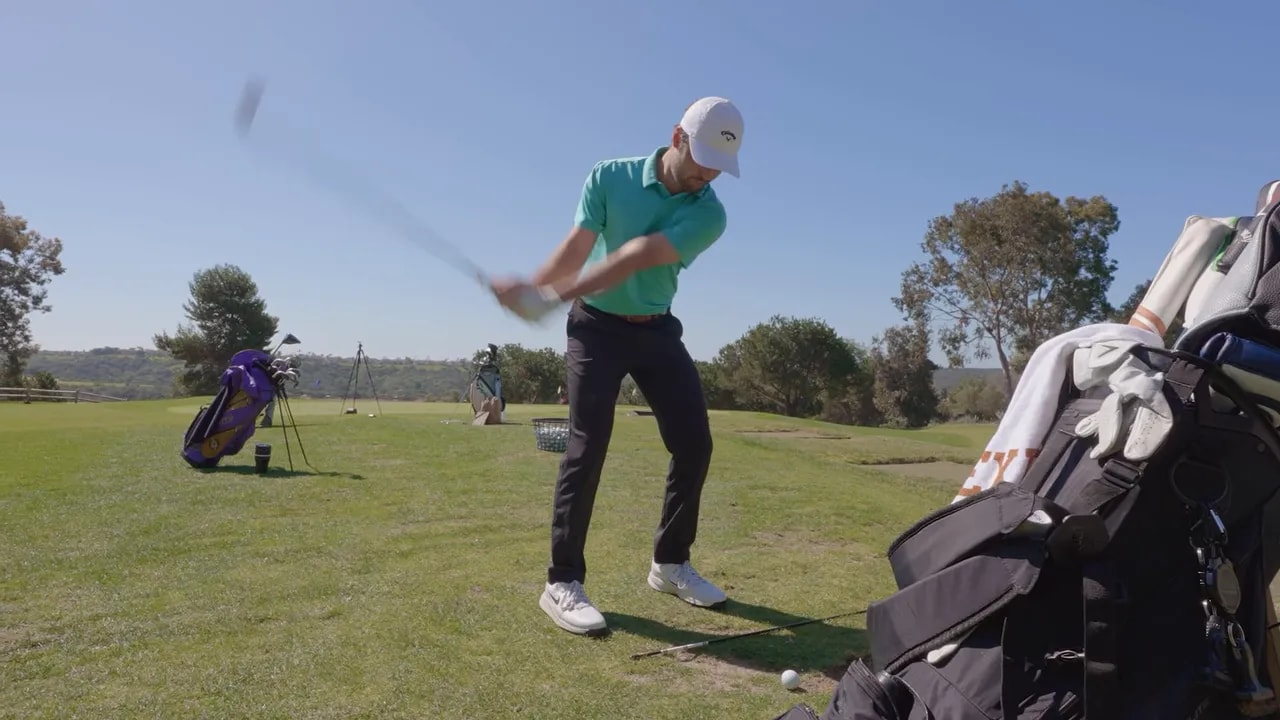
Step 10: Keep your rotation athletic instead of vertical
A strong golf grip alone will not fix contact if your body motion is too vertical or disconnected.
Many solid ball strikers turn well around their lead side and keep rotating through impact. If you stand up too early or move the hips upward instead of rotating, you can lose the space and angles needed to compress the ball.
A better pattern is often:
- A relaxed trail arm at setup
- Hands that can work deeper in the backswing
- Rotation that continues around the lead side
- A chest motion that stays covering the ball through impact

This is another reason grip matters so much. When your hands are set properly at address, it becomes easier to support the type of turn and delivery that leads to solid contact.
Step 11: Avoid the most common golf grip mistakes
If your grip change is not helping, one of these issues may be the reason.
Fighting your natural arm rotation
Trying to force a textbook look can create tension and poor alignment. Start from the way your arms naturally hang.
Taking the grip in front of your body and then twisting into position
This often changes shoulder alignment and clubface orientation without you noticing.
Making the grip too strong for your shot shape
If you want a fade, too much strength can shut the face and send the ball left.
Letting the trail index finger wrap too far underneath
This can remove support and encourage the club to get behind you early.
Holding the club in the palms
This may reduce control and make hinging less efficient.
Changing the grip but ignoring setup matchups
Your shoulders, clubface, and intended path still need to work together.
Step 12: Use this simple golf grip checklist before every practice session
If you are trying to improve your golf grip, check these basics before you hit balls:
- Are your arms hanging naturally?
- Did you place the lead hand on first without twisting it?
- Is the club mostly in the fingers?
- Does the trail hand fit on naturally?
- Is the trail index finger giving you support?
- Do your shoulders appear square?
- Does the clubface look neutral at address?
- Does your grip match your intended shot shape?
This kind of routine can keep small errors from turning into big swing problems.
Step 13: Know when a small golf grip change is enough
Not every swing issue requires a major rebuild. In many cases, a small setup improvement creates immediate results.
If your motion already looks reasonably athletic, the biggest gain may come from better matchups at address. A more natural lead-hand placement, a more neutral face, and better shoulder alignment can quickly improve start lines and contact.
This is especially true if:
- You hit both pulls and pushes
- You struggle to hold your stock shot shape
- You often feel like the swing was good but the ball flight disagrees
- You fight thin shots or inconsistent turf contact with irons
Sometimes the swing is not the main problem. The setup is.
FAQ
What is the correct golf grip for most players?
A correct golf grip usually places the club in the fingers, starts with the lead hand, and matches your natural arm hang. The best grip also supports your preferred shot shape and allows the clubface to look neutral at address.
Should I use a strong or weak golf grip?
Neither is automatically best. A strong golf grip tends to close the face more, while a weaker grip tends to keep it more open. The right choice depends on your body matchups, shoulder alignment, and the shot shape you want to play.
Why does my golf grip affect my shoulders?
If you rotate your lead arm too much when taking the grip, your shoulders can shift open or closed at address. That changes swing path tendencies and often affects where the ball starts.
What does the trail index finger do in the golf grip?
The trail index finger can help support the club, improve leverage, and keep the club more in front of you during the takeaway. Extending it slightly down the shaft can be a useful training feel for players who get the club too far inside early.
Can a better golf grip fix thin and fat shots?
It can help, especially if poor grip structure is causing clubface instability or poor connection through impact. A better golf grip supports more consistent low point control, but it works best along with better chest and hand movement through the strike.
How do I know if my golf grip is too strong?
Common signs include a face that wants to shut, pulls left, hooks, or difficulty holding a fade. If you are constantly fighting left misses, your grip may be too strong for your pattern.
Final takeaway
A better golf grip can improve your game faster than most players expect. When your hands fit the club naturally, your shoulders square up more easily, the clubface becomes easier to manage, and your swing needs fewer compensations.
Focus on the basics first:
- Let your arms hang naturally
- Take the lead hand first
- Place the club in the fingers
- Match the grip to your shot shape
- Use the trail index finger as a support tool if needed
- Keep your chest and hands moving together through impact
If you clean up those details, you give yourself a much better chance to start the ball online, curve it predictably, and strike it with more compression.
0 Comments