
Focus keyphrase: trail leg golf downswing
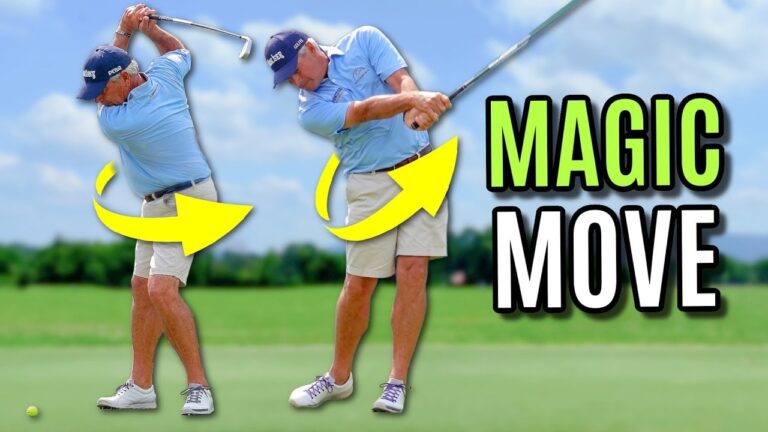
If your lower body feels stuck in the downswing, there is a good chance the problem is not your lead side at all. For many golfers, especially players over 50, the real issue is that the trail leg golf downswing action is not happening correctly.
When the trail leg stays back, points at the ball, or drives outward instead of forward and rotating, your hips stall. Your weight shift becomes unreliable. Power drops. Contact gets inconsistent. You may even feel like you are trying hard to clear your lead hip but never quite getting through the shot.
The good news is that this can improve quickly. The key is understanding what the trail leg should do and then using a few simple drills to train it.
This guide walks you through a step-by-step way to improve your downswing using two core drills and one helpful add-on. The goal is simple: get your trail leg moving forward and rotating so your hips can shift and turn the way they are supposed to.
Table of Contents
- Step 1: Understand why the trail leg golf downswing matters so much
- Step 2: Learn the two jobs of the trail leg golf downswing
- Step 3: Use the Finish Line Drill to train forward motion in the trail leg golf downswing
- Step 4: Add rotation so the trail leg golf downswing does not get stuck
- Step 5: Use the Fence Drill to keep the trail leg golf downswing inside the toe line
- Step 6: Blend the face-on and down-the-line feels into one motion
- Step 7: Use the add-on drill to feel the hips drive correctly
- Step 8: Practice the trail leg golf downswing with simple checkpoints
- Step 9: Know why this works especially well for golfers over 50
- Step 10: Keep your swing thought simple on the course
- FAQ
- Final thought
Step 1: Understand why the trail leg golf downswing matters so much
There are really two broad lower-body patterns in golf.
- Pattern one: the trail leg works forward toward the lead leg and target, and it rotates.
- Pattern two: the trail leg stays back, does not move forward enough, and does not rotate.
The first pattern is what you see in strong ball strikers. The second pattern is what causes many amateurs to get stuck through impact.
When your trail leg moves properly, it helps you do two things that are essential in the downswing:
- Shift pressure and weight forward
- Rotate the hips
When your trail leg stays back, both become difficult. You cannot turn your hips freely if the trail side never comes through. And if the trail side hangs behind you, your weight often stays too far back as well.
This is why so many golfers can chase lead-side thoughts for years and still never solve the issue. If the trail leg is not cooperating, the lower body often never works correctly.
A common bad pattern looks like this through impact:
- The trail kneecap still points at the ball
- The shoelaces still point at the ball
- The trail hip has not rotated toward the target
- The trail leg has not moved closer to the lead leg
That is a stuck leg. And a stuck leg usually means a stuck swing.
Step 2: Learn the two jobs of the trail leg golf downswing
To fix this, focus on two trail-leg jobs in the downswing:
- Move forward toward the lead leg and target
- Rotate so the trail hip, knee, and foot begin turning toward the target
If you only move the knee inward without rotation, you will not get the full benefit. If you only try to spin the hips open without the leg moving forward, you may still get stuck. Both pieces matter.
Think of the trail leg as the engine that helps push the motion through the ball. Done well, it helps your belt buckle move toward the target, helps your hips turn, and makes your lead side respond naturally instead of forcing it.
This is especially useful if lead-side feels have never clicked for you. Many golfers find trail-side feels easier, more athletic, and easier to repeat.
Step 3: Use the Finish Line Drill to train forward motion in the trail leg golf downswing
The first key drill is the Finish Line Drill. Its purpose is to teach your trail knee to move forward early enough in the downswing.
The concept is simple. Imagine a vertical line rising up from the golf ball. That is the finish line. In a strong downswing, the trail knee gets to that line before the hands do.
If your hands race to the ball while your lower body does almost nothing, the sequence is off. You may hit weak shots, struggle with consistency, and feel as though your hips never really engage.
How to do the Finish Line Drill
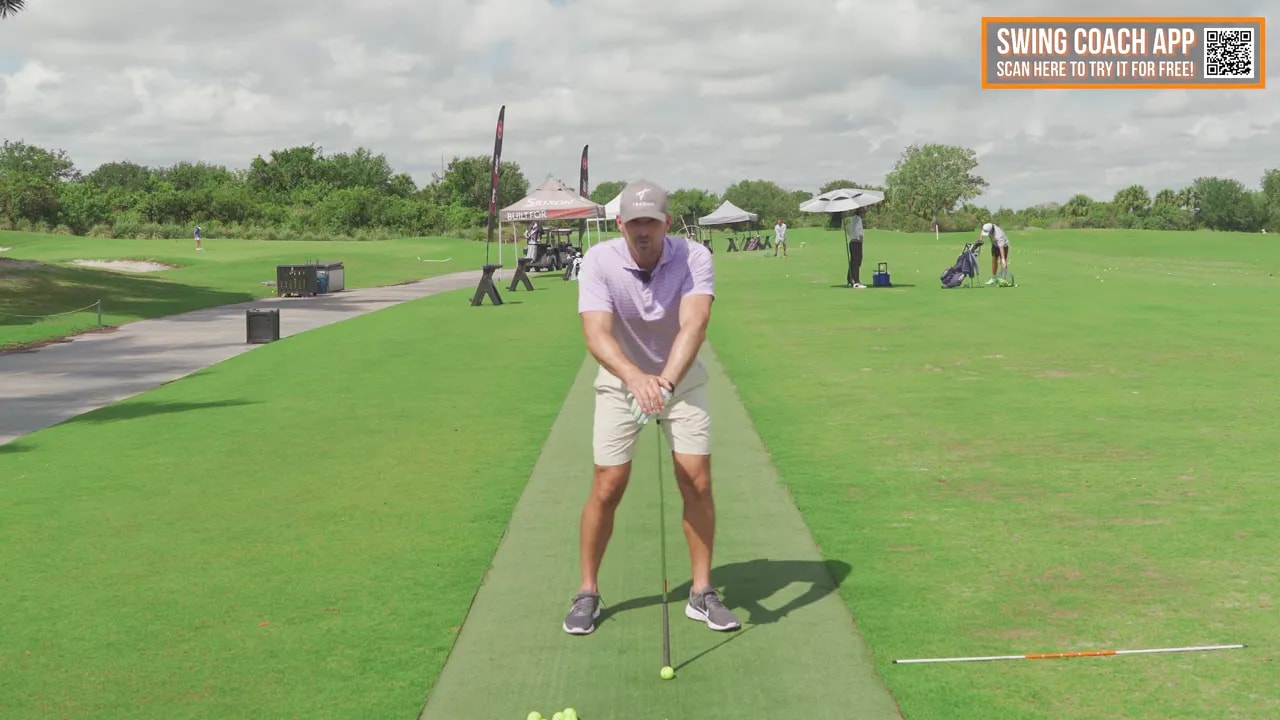
- Set up normally.
- Picture a line extending upward from the golf ball.
- During the downswing, feel your trail knee moving toward that line before your hands arrive.
- As you move through, feel your trail knee closing the gap toward your lead knee.
- Finish with the knees much closer together than they were at address.
A useful feel is this: try to get your trail kneecap to touch your lead kneecap on the way through.
That may be exaggerated, but exaggeration is often exactly what helps golfers finally create the right motion.
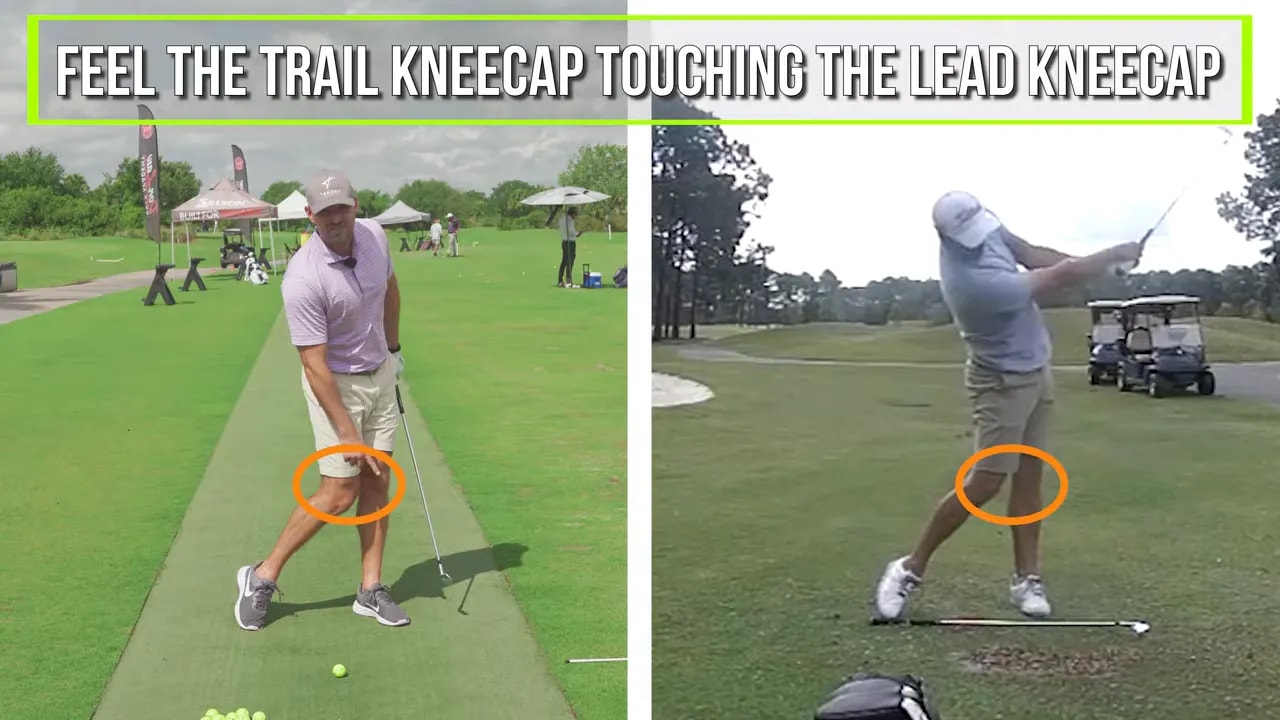
If you do this correctly, your trail knee should clearly move forward. At the finish, the trail knee will be much closer to the lead knee, and your body will appear much more through the shot.
What this drill helps you feel
- The trail leg moving toward the target
- The gap between the knees closing
- The lower body beginning the through-swing instead of stalling
- More natural weight shift into the lead side
For many golfers, this one feel alone creates a dramatic improvement.
Step 4: Add rotation so the trail leg golf downswing does not get stuck
Forward is only half of the move. The trail leg also needs to rotate.
That means your trail hip, trail knee, thigh, and shoelaces should begin turning toward the target through impact. If they still point at the ball, you have not completed the movement.
A useful checkpoint is what your trail side looks like shortly after impact:
- Bad version: kneecap, hip, and shoelaces still face the ball
- Good version: kneecap, hip, and shoelaces are turning out toward the target
This combination of forward plus rotation is what allows the hips to shift and open without forcing them. Instead of trying to whip the hips open from the top, you are creating a chain reaction from the ground up.
That usually feels more stable, more repeatable, and less stressful on the body.
A simple way to rehearse the motion
Hold a club in front of you with both hands and place it roughly in front of the ball position. From there, make slow rehearsal moves and focus on getting the trail knee to the finish line while also turning the trail side toward the target.
The club in front of you helps keep the upper body from over-rotating too early. That makes it easier to isolate the lower body feel.
- Rehearse the trail knee moving toward the ball line
- At the same time, feel the trail side rotating
- Repeat two or three times slowly
- Then make a normal swing while preserving the same feel
If you can blend those two elements, your lower body will begin working with far less conscious effort.
Step 5: Use the Fence Drill to keep the trail leg golf downswing inside the toe line
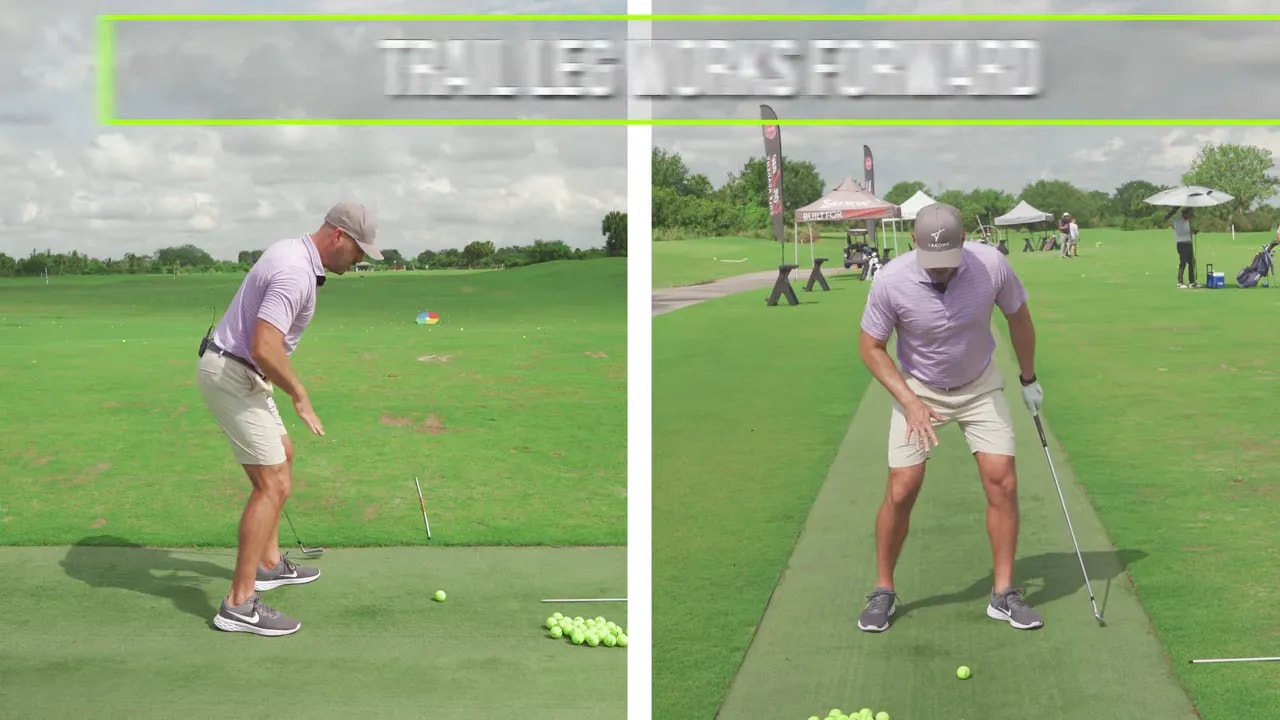
The second major drill is the Fence Drill. This one is crucial because many golfers hear “move the trail knee forward” and then send it out toward the ball, which creates a different problem.
If the trail knee drives too far out over the toes, you tend to stand up, lose posture, and early extend. That hurts strike quality and makes rotation less efficient.
The answer is to move the trail leg forward and inward, not forward and outward.
How to picture the Fence Drill
Imagine a fence or barrier just above your toe line from the down-the-line view. As the trail knee moves through, it cannot crash into that fence. It must stay inside the toe line.
So the trail knee is doing two things at once:
- Closing the gap toward the lead knee
- Staying inside the toe line instead of lunging toward the ball

Why this matters
Keeping the trail knee inside helps you:
- Maintain posture
- Avoid early extension
- Stay down through impact
- Rotate more efficiently
- Keep the hips working correctly
This is especially valuable for older golfers, because standing up through impact is one of the most common compensations in the downswing.
What the correct motion feels like
As your trail knee moves toward the lead knee, feel these pieces rotating toward the target:
- Trail shoelaces
- Trail kneecap
- Trail hip
At the same time, feel as if your trail hip is lower than your lead hip and your lead hip is pushing back. That helps keep your pelvis in better shape and supports a more stable strike.
From a down-the-line view, strong swings often show the legs and thighs getting quite close together through impact. That is a helpful image to keep in mind.
Step 6: Blend the face-on and down-the-line feels into one motion
Now bring the two main ideas together.
From the face-on view, you want to see the trail knee closing the gap and working toward the finish line. From the down-the-line view, you want to see that same trail knee staying inside the toe line.
Put differently:
- Face-on: move the trail knee toward the lead knee and target
- Down-the-line: keep the trail knee from moving outward over the toes
That combination creates the proper path for the trail leg golf downswing.
If your shots improve when you feel the trail knee moving in and through while staying inside, that is a strong sign you are on the right track. Better contact, a more stable low point, and a stronger flight are common results.
Step 7: Use the add-on drill to feel the hips drive correctly
There is also a simple add-on drill using an object such as a chair or club holder. Place the object about a fist-width in front of your thigh at address.
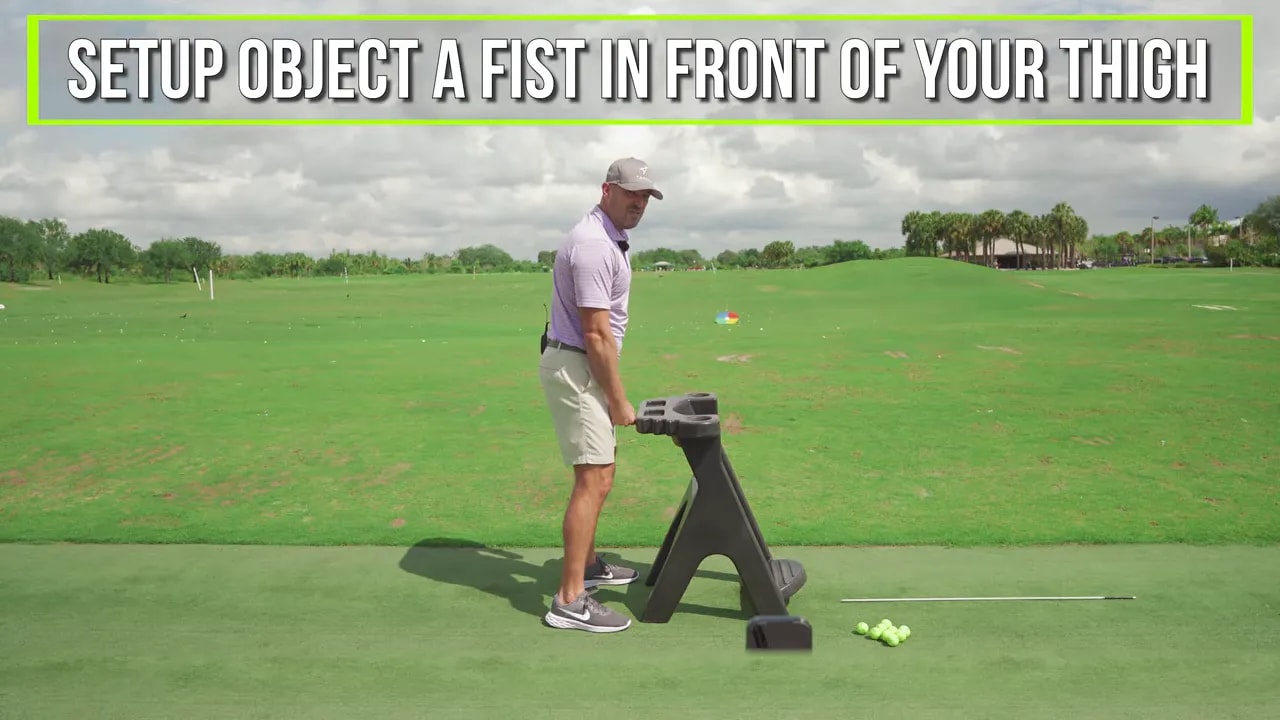
This gives you feedback for how your hips should move in the downswing.
What not to do
Two common mistakes show up here:
- Driving the hips into the object, which pushes you toward the ball
- Only pulling straight back, which often leaves the trail leg stuck and does not close the gap
Neither pattern gives you the trail-leg action you want.
What to do instead
Feel your trail leg working inward toward your lead leg while also rotating. Your thigh stays inside the line, the gap between the legs closes, and your belt buckle and hips begin moving toward the target.
The motion is not:
- Only in toward the ball
- Only straight back
- Only a spin
It is a blend of forward pressure, inward movement, and rotation generated by the trail leg.
This drill is useful if you have tried to “clear your hips” before but ended up spinning out, standing up, or staying stuck behind the ball.
Step 8: Practice the trail leg golf downswing with simple checkpoints
When you go to the range, keep the process simple. You do not need ten thoughts. You need a few reliable checkpoints.
Checkpoint 1: Did the trail knee close the gap?
At and after impact, your trail knee should be noticeably closer to your lead knee than it was at address.
Checkpoint 2: Did the trail side rotate?
Your trail shoelaces, kneecap, and hip should begin turning toward the target, not remain pointed at the ball.
Checkpoint 3: Did the trail knee stay inside the toe line?
If it moved outward too much, you likely stood up or early extended.
Checkpoint 4: Did your lower body move before your hands took over?
If your hands beat everything to the ball, your sequence may still be upper-body dominant.
Checkpoint 5: Did your lead side turn as a reaction?
When the trail side works properly, your lead side usually turns more naturally without forcing it.
A productive practice sequence might look like this:
- Make 3 slow rehearsals of the Finish Line Drill
- Make 3 slow rehearsals of the Fence Drill
- Hit 5 short shots with the trail-knee feel
- Gradually build to fuller swings
- After each shot, check whether the trail leg moved forward and rotated while staying inside
Step 9: Know why this works especially well for golfers over 50
Many golfers over 50 struggle with lower-body motion because common advice often focuses only on the lead side. Thoughts like “clear the left hip” or “open your hips” can be helpful for some players, but they are not always the easiest way to create athletic motion.
Trail-side feels can be easier because they are more action-oriented. Instead of trying to get something out of the way, you are actively moving a part of your body through the shot.
That often leads to:
- Better pressure shift
- More hip rotation
- Less tension
- Improved balance
- A more complete finish
If you have spent years trying to fire the lead side and nothing changed, the trail leg golf downswing may be the missing piece.
Step 10: Keep your swing thought simple on the course
Once you begin to improve this movement in practice, avoid carrying too many mechanics onto the course. Use one clear cue.
Good options include:
- Trail knee to finish line
- Close the gap
- Trail side through
- Knee in and rotate
Choose the one that gives you the best blend of forward motion, rotation, and balance.
If you tend to stand up, favor the Fence Drill feel. If you tend to stay stuck on your back side, favor the Finish Line Drill feel.
Over time, the move should become less of a conscious swing thought and more of a natural pattern.
FAQ
What is the main trail leg golf downswing move to learn?
The main move is getting the trail leg to work forward toward the lead leg and target while also rotating toward the target. Those two actions help you shift weight and turn your hips more effectively.
Why do so many golfers get stuck in the downswing?
Many golfers get stuck because the trail leg stays back and points at the ball too long. When that happens, the hips do not rotate well, weight stays back, and the hands often take over.
What is the Finish Line Drill?
The Finish Line Drill teaches you to get your trail knee to the vertical ball line before your hands get there. It trains the lower body to lead the through-swing and helps the knees close the gap.
What is the Fence Drill?
The Fence Drill teaches you to keep the trail knee inside the toe line from a down-the-line view. This helps prevent standing up, losing posture, and early extension.
Is this especially useful for senior golfers?
Yes. Many golfers over 50 find trail-side feels easier than trying to force the lead side open. The trail leg can be a more natural way to create hip rotation and forward motion.
How do I know if I am doing the move correctly?
Look for a trail knee that moves closer to the lead knee, a trail side that rotates toward the target, and a trail knee that stays inside the toe line instead of driving outward. Better contact and more balanced finishes are also strong signs.
Final thought
If your hips have never felt active in the downswing, do not assume you need to try harder with your lead side. Often, the better answer is training the trail side to work correctly.
Start with the Finish Line Drill. Add the Fence Drill. Then use the object drill to blend the motion of the hips and trail leg together.
For many players, especially older golfers, this is one of the fastest ways to unlock a better trail leg golf downswing, cleaner contact, and a swing that finally moves through the ball instead of stalling into it.
0 Comments