
If you want better golf drives and a more neutral swing plane, this drill gives you a simple way to train it. The Helicopter Drill is designed to help you keep your shoulders, arms, and forearms working together so your driver can return to the ball on a more consistent path.
Many golf players fight the same issues with the driver. They get too steep, too flat, stuck in posture, or they roll the forearms incorrectly and send the club off plane. This drill gives you a repeatable feel you can use in practice for just a few minutes a day.
It is especially useful if your golf miss is a slice, a wipey push, or a two way miss where the driver feels unpredictable.
Table of Contents
- Step 1: Understand what the Helicopter Drill fixes in your golf swing
- Step 2: Set up your golf drill station correctly
- Step 3: Start the Helicopter Drill without a club for better golf motion
- Step 4: Stay in posture through the hitting area in golf
- Step 5: Add the forearm motion that keeps the golf swing on plane
- Step 6: Rehearse the full motion slowly before hitting a golf shot
- Step 7: Add the driver and keep the same golf feels
- Step 8: Hit golf shots only after the motion feels simple
- Step 9: Avoid the most common golf mistakes with this drill
- Step 10: Use this golf practice routine for 5 minutes a day
- Step 11: Know who this golf drill helps most
- Step 12: Take the Helicopter Drill to the golf course
- Golf takeaway
- What is the Helicopter Drill in golf?
- Can this golf drill help fix a slice?
- How often should you practice this golf drill?
- Should you stay in posture all the way through the golf finish?
- Do you need a training aid to do this golf drill?
Step 1: Understand what the Helicopter Drill fixes in your golf swing
Before you practice any golf drill, it helps to know what problem it solves.
The Helicopter Drill trains three key pieces:
A neutral swing plane
Better posture through the strike
Correct forearm rotation going back and through
When those pieces match up, your golf swing tends to look more organized. The club tracks more naturally, the face has a better chance to return square, and the driver starts flying straighter.
That does not mean this is a magic move for every golf fault. It is a feel based drill that helps neutralize a swing that has become too manipulated.
Step 2: Set up your golf drill station correctly
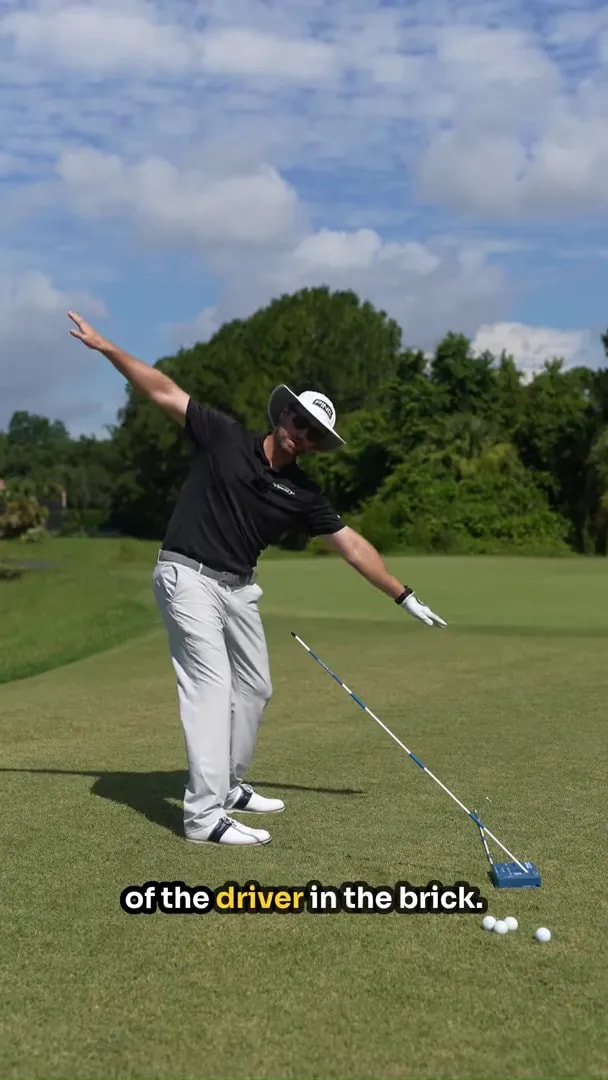
You need a visual reference for the swing plane. In this demonstration, the reference is a driver shaft angled through a training aid on the ground. The important part is the angled guide line, not the specific product.
Your goal is to create an angled line that represents the plane you want your arms and club to trace.
As you set up:
Stand in your normal driver posture
Let the angled reference sit slightly in front of you
Use it as a guide for your arm and shoulder matchups
Do not try to hit the guide or drag your hands along it
This is a feel drill for golf, not a mechanical attempt to force the club into a rigid slot.

Step 3: Start the Helicopter Drill without a club for better golf motion
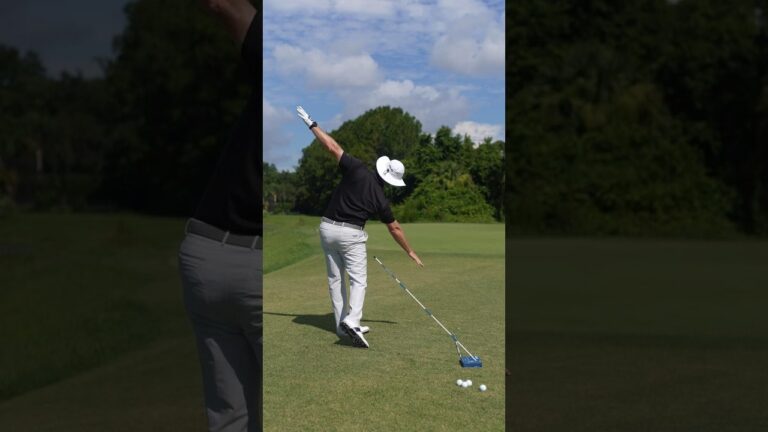
The first version is done without swinging the driver.
Begin with your arms stretched out to your sides like helicopter blades. From there, rotate and move into your golf posture while keeping the feeling that your arms and shoulders match the angle of the plane guide.
What you want to feel:
Your chest rotates
Your shoulders stay organized with the plane
Your arms trace that same general angle
Your posture remains stable through the strike area
This helps you sense how the upper body should move together in the golf swing. A lot of players separate the arms from the torso too early, and the club immediately starts rerouting.
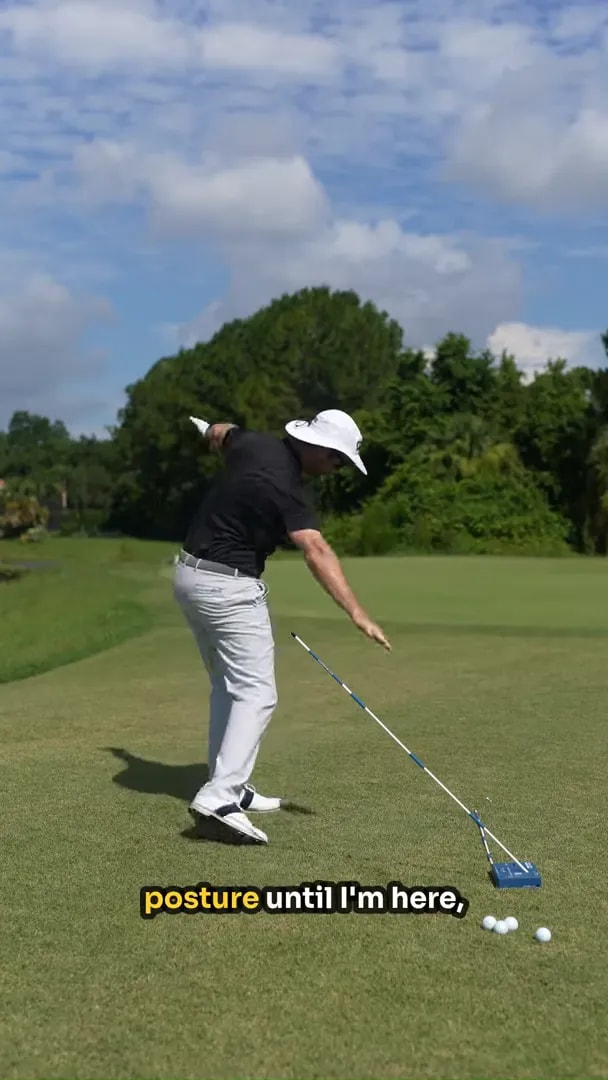
Step 4: Stay in posture through the hitting area in golf
One of the most useful parts of this drill is learning when to stay in posture and when to come out of it.
In good golf swings, you do not stay bent over forever. But you also do not stand up too early.
The feel here is simple:
Stay in your posture as you move through impact
Let the right foot begin to come up
Allow the hips to rotate through
Remain in posture until your arms and shoulders reach the through swing checkpoint
Then allow yourself to stand up into the finish
This matters in golf because many players make one of two mistakes:
They stand up too early, which can throw the club out and across
They try to stay bent over too long, which can feel stuck and unnatural
The drill teaches the middle ground. You keep posture through the strike, then rise naturally in the follow through.
Step 5: Add the forearm motion that keeps the golf swing on plane
This is where the drill becomes especially helpful for driver control in golf.
A neutral swing plane is not only about body turn. Your forearms also need to rotate correctly. If they do not, the clubface and shaft can get out of position even if your body motion is decent.
On the way back, the feel is:
Right palm up
Left palm down
Both matching the angle of the plane reference
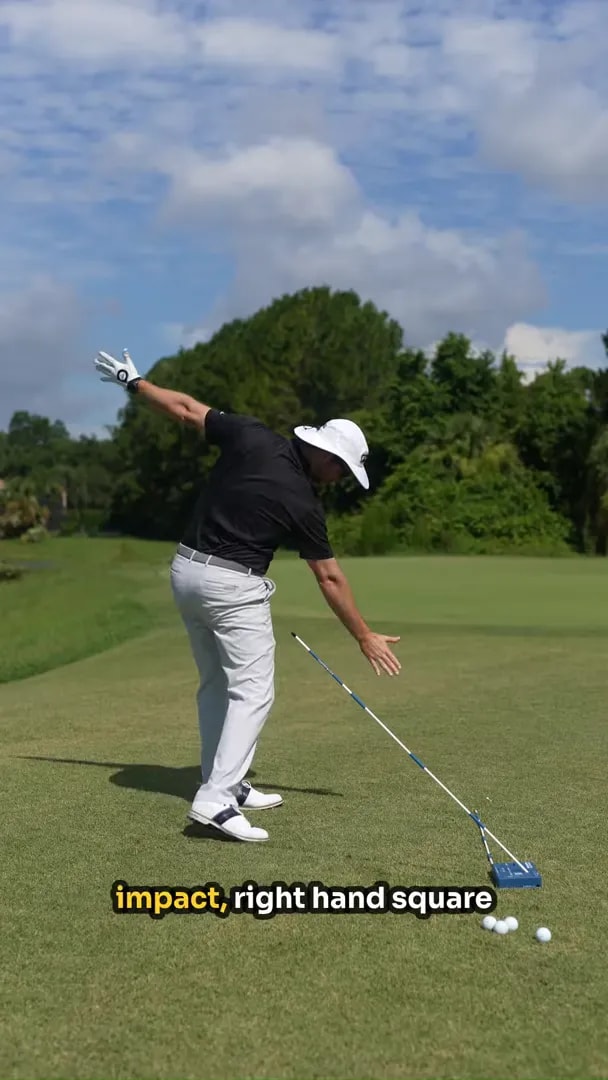
Through impact, the feel changes:
The right hand feels more square to the target
The left hand rotates so the palm orientation changes away from the target line
The right arm then continues releasing around in the follow through
You are not trying to memorize a complicated list in the middle of a golf swing. You are trying to build a simple sensation of opening on the way back, squaring through impact, and releasing through the finish.
Step 6: Rehearse the full motion slowly before hitting a golf shot
Once you understand the body and forearm pieces, blend them together in slow motion.
Make about 5 to 10 rehearsals at a controlled pace. In each one, feel:
Your shoulders rotating on plane
Your arms matching that plane
Your forearms opening and closing correctly
Your posture staying stable until the proper through swing point
Your body rising naturally only after that point
This step matters because many golf players move too quickly from drill to full speed swing. If the drill only exists as a concept, it usually disappears as soon as you put a ball down.
Slow rehearsals give you the bridge from feel to actual golf motion.
Step 7: Add the driver and keep the same golf feels
Now bring in the driver, but keep the motion slow at first.
The goal is not to invent a different golf swing with the club in your hands. You want the exact same feelings you just trained without the club.
As you rehearse with the driver:
Match the takeaway to the plane guide
Let the face stay organized instead of flipping open or shut
Return to impact with the club moving on a more neutral path
Release fully through the ball
Keep this stage easy and repeatable. In golf, the driver often exposes any timing problem. That is why it helps to train the move in slow motion first.

Step 8: Hit golf shots only after the motion feels simple
After 5 to 10 slow rehearsals with the driver, hit a shot with the same motion.
The key is mental simplicity. Do not overload yourself with too many swing thoughts.
A good checklist for this golf shot is:
Forearms open and close naturally
Shoulders rotate on plane
Posture stays stable through impact
Release continues through the finish
If you can keep those feelings intact, the driver has a much better chance to start straighter.
For a lot of golf players, this drill is useful because it neutralizes extremes. It can calm down a glancing slice pattern and also reduce the wild over release that turns into a hook.
Step 9: Avoid the most common golf mistakes with this drill
Even a simple golf drill can go wrong if you chase the wrong feel. Here are the main mistakes to avoid.
Golf mistake 1: Staying in posture all the way to the finish
This usually makes the follow through look cramped and uncomfortable. Stay in posture through the strike area, then allow yourself to come up naturally.
Golf mistake 2: Standing up too early
If you lose posture before impact, the club can move off plane and the strike gets less reliable.
Golf mistake 3: Overdoing the forearm roll
This is still a rotational golf motion, not a handsy flip. The forearms should support the plane, not dominate it.
Golf mistake 4: Going full speed too soon
If you rush the drill, you will likely return to your old motion. Rehearse slowly until the move feels natural.
Golf mistake 5: Treating the guide as a rigid track
The angled shaft is a visual aid. You are matching the general plane, not trying to drag the club along a fixed rail.
Step 10: Use this golf practice routine for 5 minutes a day
If you want to build this into your regular golf practice, keep it simple.
Try this short routine:
2 minutes of no-club helicopter rehearsals
2 minutes of slow driver rehearsals
1 minute of hitting a few drives with the same feel
You do not need a marathon practice block. Short, focused repetition is often better in golf because it keeps the movement clear.
If the drill starts to feel too technical, step back and return to the basic idea. Match your arms and shoulders to the plane, stay in posture through impact, then release freely.
Step 11: Know who this golf drill helps most
This drill is a strong fit if you:
Slice the driver
Feel your swing gets too steep or too far across the line
Stand up early in the downswing
Feel stuck through impact
Have trouble understanding forearm rotation in the golf swing
It can also help if your ball flight changes from push to hook with no consistency. That often happens when the swing plane and clubface relationship keeps shifting.
Step 12: Take the Helicopter Drill to the golf course
You do not need to perform the entire drill on the tee box. Instead, use one small rehearsal before a drive.
A practical on-course golf version looks like this:
Make one slow rehearsal matching your arms and shoulders to the plane feel
Feel the forearms organize the clubface
Commit to staying in posture through impact
Then swing freely
That gives you a portable swing thought without turning the tee box into a mechanics session.
Golf takeaway
The Helicopter Drill is effective because it simplifies a tricky part of the golf swing. Instead of chasing ten separate fixes, you train one connected motion:
Arms and shoulders match the plane
Forearms rotate correctly
Posture stays stable through impact
The body releases naturally into the finish
If your driver has been leaking right, crossing the line, or feeling out of sync, this is a smart golf drill to practice daily. Start slow, keep the feels simple, and then carry them into full swings.
What is the Helicopter Drill in golf?
The Helicopter Drill is a golf swing drill that helps you train a neutral swing plane. It focuses on matching your shoulders and arms to the plane, keeping posture through impact, and rotating the forearms correctly so the driver returns more square.
Can this golf drill help fix a slice?
It can help if your slice is caused by an out-of-plane swing, poor posture through impact, or incorrect forearm motion. It is especially useful for golfers whose driver path and face control feel disconnected.
How often should you practice this golf drill?
A short daily session of about 5 minutes is enough to build the feel. In golf, consistent repetition usually works better than occasional long practice sessions.
Should you stay in posture all the way through the golf finish?
No. The goal is to stay in posture through the hitting area, then allow your body to rise naturally in the follow through. Trying to remain bent over all the way to the finish often feels stuck and unnatural.
Do you need a training aid to do this golf drill?
No. The main requirement is an angled visual reference that helps you sense the plane. A training aid can make that easier, but the core value of the golf drill is the body and forearm motion.
0 Comments