
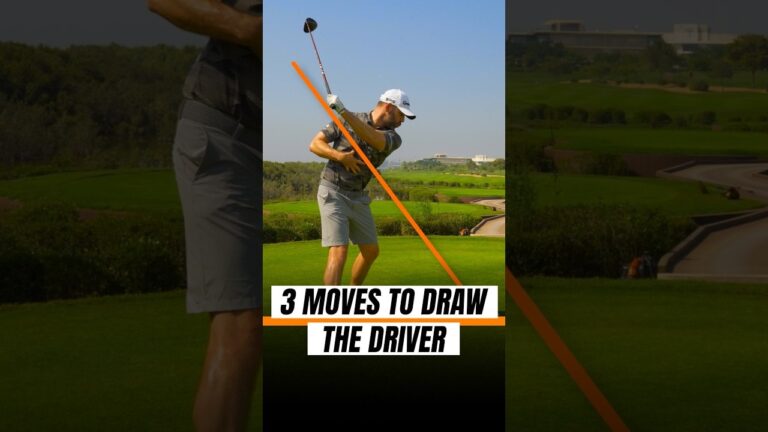
If you want to hit a reliable draw in golf, you need more than a vague idea of swinging from the inside. A good draw comes from matching three pieces correctly: your setup, your club path, and your clubface. When those elements work together, the ball starts on a sensible line and curves gently back, rather than slicing or over-hooking.
For many golf players, the draw is appealing because it can add control, improve flight, and make the driver feel far more powerful. But trying to force a draw with your hands alone usually creates inconsistent golf shots. The better route is to build the motion in a simple, structured way.
This guide breaks that process into three clear golf steps. The first shifts the swing circle so the club can travel more out to the right. The second improves how the club approaches the ball from the inside. The third adjusts the face so it is slightly more closed relative to that path, which is what turns a push into a draw.
Table of Contents
- Step 1: Use the Mo Norman drill to shift your golf swing circle
- Step 2: Use the Justin Rose drill to move the golf club more from the inside
- Step 3: Strengthen your lead-hand grip to close the golf clubface slightly
- Step 4: Blend the three pieces into one repeatable golf pattern
- Step 5: Know what ball flight you are trying to create in golf
- Step 6: Avoid the common golf mistakes that ruin a draw
- FAQ
- Final thought on building a dependable draw in golf
Step 1: Use the Mo Norman drill to shift your golf swing circle
The first priority in golf is to make it easier for the club to approach the ball on a path that travels more to the right of the target. If your normal motion cuts across the ball, the face can be square and you may still produce a fade or slice. So before worrying about hand action, start by changing the shape and location of your swing arc.
A simple drill for this is to begin with the clubhead set roughly a foot behind the golf ball. From there, make your motion as if that is your starting point. This small setup change can have a big effect because it encourages the swing circle to sit farther behind you and farther to the right through impact.
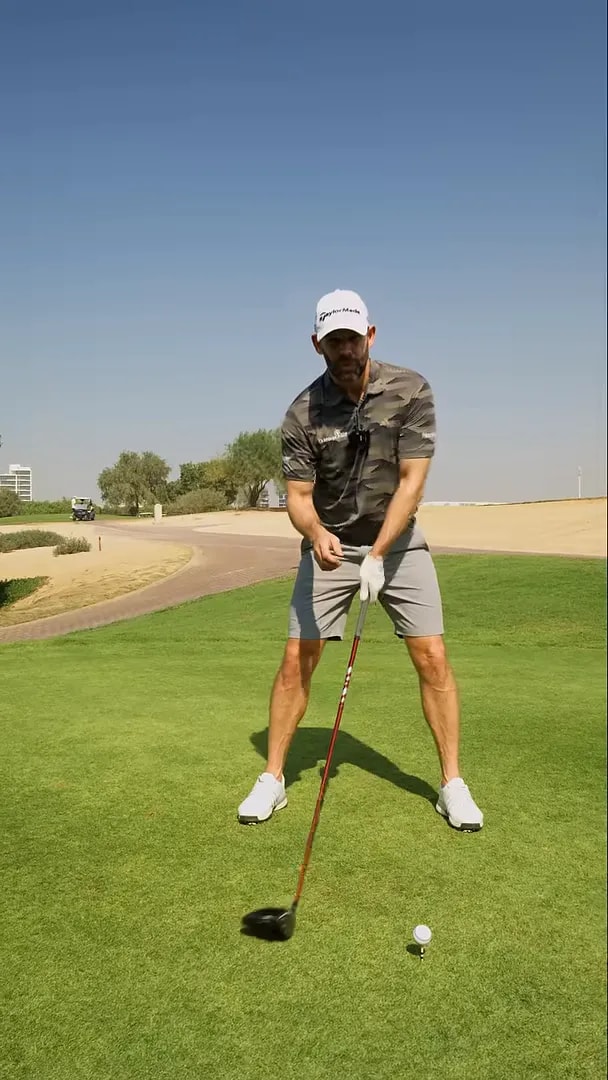
The intent here is not to create a strange or exaggerated golf swing forever. It is to give you a feel for where the club should travel if you want to launch the driver with a draw pattern. Starting the club behind the ball also helps encourage an upward strike, which is especially useful with the driver.
That matters because a good driver draw in golf is often paired with:
- A path that is moving slightly from the inside
- A strike that feels as though it is traveling up through the ball
- A face that is slightly closed to the path but still controlled
When you rehearse this drill, focus on rotating your chest and allowing the club to move naturally from that farther-back starting point. The chest rotation is important. If you simply snatch the club away with your hands, you lose the benefit of the drill and may create a motion that is too handsy to repeat on the golf course.
A good way to practice it is to make several slow rehearsals without hitting a ball. Set the clubhead behind the ball, rotate your chest, and sense how the club can shallow and travel more from the inside. Then hit a few gentle drivers at reduced speed. You are looking for a different ball flight, not maximum distance right away.
If this drill feels unusual at first, that is normal. Many golf players who struggle to draw the ball are used to seeing the club start from a more conventional address position and then moving steeply or across the line. This exercise gives you a fresh feel and helps retrain your path without a lot of technical clutter.
What this golf drill is really fixing
The Mo Norman-style rehearsal is designed to solve a common problem: a swing circle that is too far left through impact. When the circle is too far left, you are likely to cut across the ball. Starting with the clubhead farther behind the golf ball shifts that circle and improves the chance of approaching the ball from the inside.
It also supports a better driver action overall. Because the ball is teed up and positioned forward, a motion that works more up and out to the right is often a better match than a downward, across-the-ball move.
Step 2: Use the Justin Rose drill to move the golf club more from the inside
Once you have a better sense of where the swing circle should be, the next step is to improve how the club transitions into the downswing. This is where many golf players lose the draw. They may make a decent backswing, but then the upper body turns too early, the club moves out in front, and the path cuts across the ball.
The second drill addresses that sequence.
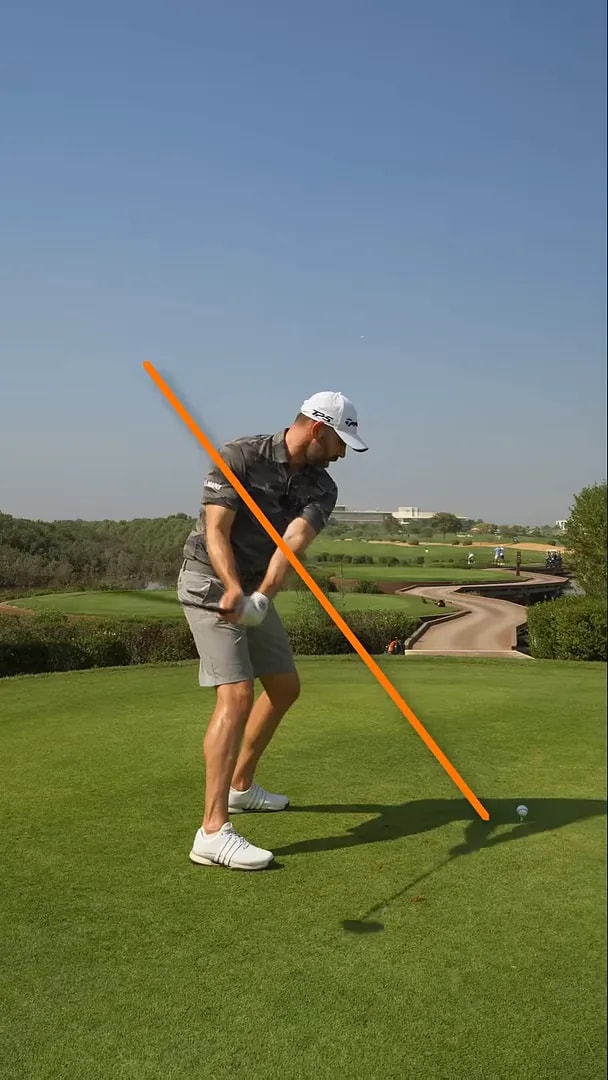
To rehearse it, make a backswing and then hold your body turn for a moment. From that paused position, feel your hands and the club work down behind you before you add the turn through the shot. That sensation helps the club approach from the inside rather than being thrown over the top.
This is a powerful golf feel because it separates two parts of the motion that often happen in the wrong order:
- The club dropping into a better delivery position
- The body rotating through impact
If the body spins too soon without the club shallowing, the clubhead tends to move out and across. If the hands and club can work down behind you first, then the turn can carry the club through on a path that is much better for a draw.
That does not mean your lower body and chest stop completely in a real golf swing. It is a rehearsal feel. The point is to exaggerate the correct sequence so your normal motion starts to improve.
When practicing this drill, keep these checkpoints in mind:
- Pause briefly at the top. This gives you time to sense the delivery instead of rushing down.
- Let the hands drop behind you. The club should feel as though it is approaching from the inside.
- Then rotate through. Add the turn only after the club is in a better place.
- Start slowly. A half-speed golf swing is enough to learn the pattern.
This drill is especially helpful if your miss with the driver is a pull, pull-fade, or slice. In each of those patterns, the path is often too far left through impact. Getting the club to work down behind you changes that approach and gives the face-path relationship a chance to produce a draw instead.
As you improve, blend the rehearsal into one continuous golf swing. At first, you may need a noticeable pause and drop. Later, it should feel more athletic and connected. The ball flight is your guide. If the shots begin starting a little more to the right and curving back, the drill is doing its job.
Why this step matters for driver golf shots
The driver is especially sensitive to path. Small differences in how the club approaches impact can create very different golf ball flights. A path that is only slightly out to the right can produce a pleasing draw if the face is matched correctly. A path that cuts across just a little can send the ball peeling off to the right.
That is why this second step is so useful. It gives you a practical feel for changing the direction of the swing without overloading you with technical thoughts.
Step 3: Strengthen your lead-hand grip to close the golf clubface slightly
Even with a much better path, you still need the clubface to cooperate. A golf ball only draws when the face is slightly closed relative to the path. If the path moves out to the right but the face remains too open, the result is often a push or a push-fade. So the final step is to make a small grip adjustment.
The change is simple. Take your top hand, or lead hand, and turn it fractionally more on top of the grip. This creates a slightly stronger hold. In practical terms, that stronger lead-hand position encourages the face to be a little more closed through impact.
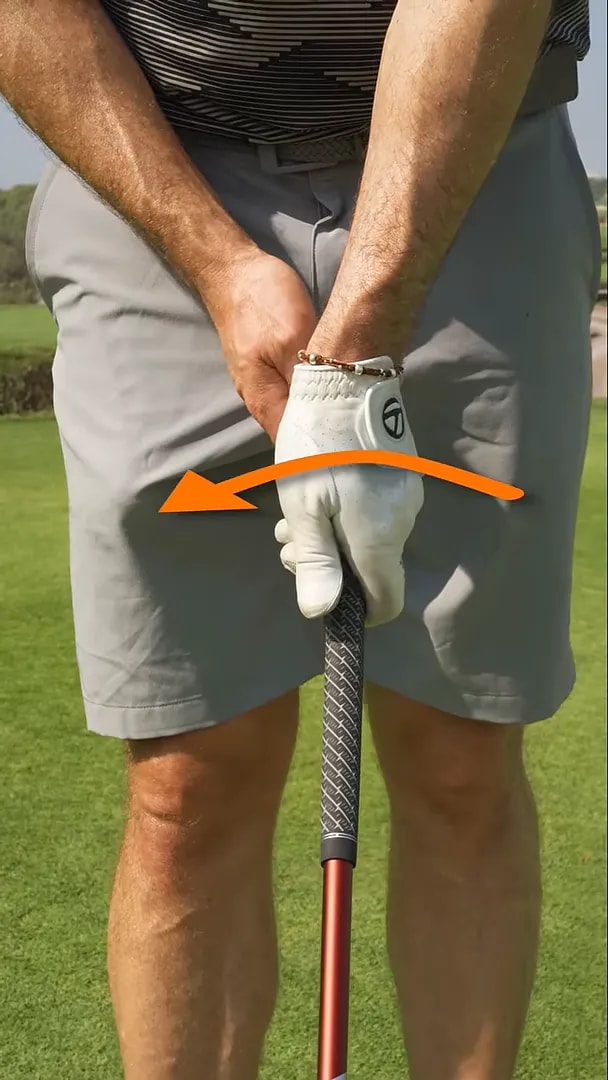
This is not about making a dramatic grip overhaul. The keyword is fractionally. Too much change can quickly turn a gentle draw into a hook, especially if you are also improving your path. Small adjustments are usually the smartest way to train a new golf shot shape.
Why does this work? Because the face does not need to be massively shut to hit a draw. It simply needs to be closed relative to the path. For example:
- If your path is traveling right of target and the face is slightly less right than that path, the ball can draw.
- If your path is right but the face is open to that path, the ball tends to stay right or fade.
- If your face gets too closed, the golf ball can start left and hook harder than planned.
That is why this step comes last. You first want to improve the swing direction, then tune the face. Many golf players make the mistake of trying to roll the hands over aggressively to produce draw spin. That can create timing issues and make the driver wildly inconsistent. A slightly stronger lead-hand grip is usually a cleaner, more reliable solution.
How to test the grip change in your golf practice
Hit short sets of five balls. Keep the same target and make the same swing rehearsal each time. Only change the lead-hand position slightly, then observe what the ball does.
If the shot starts right and stays right, the face may still be too open relative to the path. If the shot dives left quickly, the grip may be too strong or the face may be shutting too fast. Your ideal result is a golf ball that starts a little right of target and curves back gently.
Step 4: Blend the three pieces into one repeatable golf pattern
The real value of these ideas comes when you combine them. A draw is not one magic move. It is the result of three pieces supporting each other:
- The swing circle is shifted so the club can work more out to the right.
- The downswing delivery allows the club to approach from the inside.
- The face is slightly more closed relative to the path.
When all three are present, your golf ball flight starts to organize itself. The ball launches on a smarter line, curves with purpose, and feels far less accidental.
A useful practice sequence is this:
- Make the behind-the-ball setup rehearsal without hitting a shot.
- Rehearse the hands dropping behind you before the turn.
- Set the slightly stronger lead-hand grip.
- Hit a smooth driver at about 60 to 70 percent effort.
- Track the start line and curve.
Doing this slowly is important. If you jump straight to full speed, your old golf swing habits often return. Controlled reps build skill faster than rushed reps.
You should also pay attention to pattern rather than one individual shot. A single draw can happen by accident. A cluster of golf shots that start slightly right and curve back is the sign that the changes are taking hold.
Step 5: Know what ball flight you are trying to create in golf
Many golf players say they want a draw, but they do not always know what that should look like. A useful stock draw with the driver is usually a gentle curve, not a sweeping hook. The shot often starts a touch right of the target and then falls back toward it.
If you are trying to hit a draw and the ball starts left immediately, that often means the face is already too closed to the target. If it then curves more left, the face is also too closed to the path. That is not the controlled draw you want.
Instead, aim for this simple ball-flight picture in golf:
- Start line: slightly right of the target
- Curve: gentle movement back to the left
- Feel: balanced, smooth, and not forced
This mental picture can make your practice more effective because it keeps you focused on the result of the motion, not just the mechanics.
Step 6: Avoid the common golf mistakes that ruin a draw
Even simple draw drills can produce poor results if you overdo them. Here are the most common mistakes to avoid.
Trying to flip the hands
If you try to manufacture a draw with a last-second hand roll, timing becomes inconsistent. It is far better to use path and grip to shape the golf shot.
Turning too early from the top
This is one of the biggest issues for golf players who fight a slice. If the body opens too fast before the club can drop behind you, the path tends to go left.
Making the grip too strong
A small strengthening of the lead hand can help. A dramatic one can turn your driver into a hook machine. Make subtle changes and test them.
Hitting too hard too soon
Speed often exposes old golf movement patterns. Learn the shape at a controlled pace first, then add power once the ball flight becomes dependable.
FAQ
Why am I still slicing the golf ball even when I try to swing from the inside?
You may be improving the path, but if the face is still too open relative to that path, the golf ball can still fade or slice. That is why the grip adjustment matters. A small strengthening of the lead hand can help the face close enough to turn that improved path into a draw.
How far behind the golf ball should I start the club in the first drill?
Around a foot behind the golf ball is a useful reference. The exact amount does not need to be perfect. The goal is to create the feel of a swing circle that shifts more to the right and helps you hit up on the driver.
Should I use these golf drills only with the driver?
The ideas are especially helpful for the driver because the desired path and upward strike fit that club well. The core concepts of path and face also apply across golf, but this particular sequence is built around helping you draw the driver.
What does a stronger golf grip mean?
In this context, it means turning your lead hand slightly more on top of the grip. This can help the clubface sit a little more closed through impact. The change should be subtle, not extreme.
What should my ideal draw look like in golf?
A solid draw usually starts a little right of the target and curves back gently. You are not trying to hit a big hook. A controlled shape is more playable and easier to repeat on the golf course.
How do I know which part of my golf swing is the real problem?
Look at the ball flight. If the ball starts left and fades, your path may be too far left. If it starts right and never comes back, the face may be too open. If it hooks hard, the face may be too closed. These three drills help you organize both path and face so the pattern becomes clearer.
Final thought on building a dependable draw in golf
If you want to hit a draw in golf, keep the process simple. Shift the swing circle with the club starting behind the ball. Train the club to drop behind you before you turn through. Then strengthen the lead-hand grip just enough to close the face slightly relative to the path.
Those three changes work together. They help you move away from the weak wipe across the ball that causes so many poor driver shots in golf. More importantly, they give you a practical blueprint you can rehearse on the range and trust on the course.
A reliable draw is not about forcing shape. It is about creating the conditions that allow the golf ball to curve naturally. Build those conditions step by step, and the draw becomes far easier to produce.
0 Comments