
If you want better contact, more shaft lean, and a ball flight that starts slightly right and turns back gently, your right elbow in golf swing mechanics deserve serious attention.
Many golfers spend years trying to fix an over-the-top move, weak fades, thin shots, and inconsistent compression without realizing the trail arm is at the center of all of it. When your right arm is positioned correctly at setup, maintains width in the backswing, and stays underneath the lead arm in the downswing, the swing gets simpler. The club approaches from the inside, the shaft leans forward more naturally, and solid contact becomes much easier to repeat.
This guide breaks that pattern into a simple step-by-step system you can use on the range.
Table of Contents
- Step 1: Understand why the right elbow in golf swing controls so much
- Step 2: Set the right elbow in golf swing position at address with “bent, soft, and under”
- Step 3: Build the impact pattern by keeping the right arm under the left
- Step 4: Fix the first major mistake, a right arm that is too straight at setup
- Step 5: Fix the second major mistake, losing width in the backswing
- Step 6: Use simple bend-angle checkpoints for the right elbow in golf swing
- Step 7: Add body turn so width actually works
- Step 8: Use a training aid or split-hand drill to feel trail-arm width
- Step 9: Fix the third major mistake, straightening the right arm too soon in transition
- Step 10: Practice the 45-past-impact drill for a better release
- Step 11: Match the right elbow in golf swing pattern to your ball flight
- Step 12: Use this simple right-elbow checklist on the range
- Step 13: What “ball striking bliss” really comes from
- FAQ: Right elbow in golf swing
Step 1: Understand why the right elbow in golf swing controls so much
The right elbow does more than influence one checkpoint. It affects your path, your low point, your release pattern, and even your typical shot shape.
When your trail arm stays inside and underneath your lead arm on the way down, two good things tend to happen:
The club approaches more from the inside.
You create better shaft lean through impact.
Those two pieces are closely tied to solid ball striking. You compress the ball better, control start line more easily, and often produce a stronger, more penetrating flight.
The opposite pattern is common in struggling swings. If the right arm gets level with or above the lead arm in transition, the club tends to steepen. That often leads to:
Over-the-top path
Early release
Pulls and fades
Thin or glancing contact
That is why this one piece can make the golf swing feel dramatically easier. You are not just fixing an elbow. You are improving the geometry of the entire motion.
Step 2: Set the right elbow in golf swing position at address with “bent, soft, and under”
The easiest way to organize your setup is to use a three-word cue:
Bent
Soft
Under
That phrase describes what your trail arm should feel like before you even start back.
Bent
Your right arm should not be locked straight at address. A slight bend is ideal. The suggested model is about 15 degrees of bend, or roughly 165 degrees if a straight arm is 180 degrees.
This small bend helps you avoid a tense, high-elbow starting position that often causes the arm to work against the body during the swing.
Soft
The right arm should feel relaxed, not rigid. Tension in the trail arm makes it harder to keep the club working with your pivot. A soft arm makes it easier to move the club back with structure while still staying athletic.
Under
Your trail arm should sit underneath the lead arm, not on top of it. A helpful visual is to hold your arms out in front of you and place your right arm slightly under your left so you can see the left arm sitting above the right.
You can also add one more small detail that matters a lot: tuck the right elbow slightly toward your stomach. This presets the orientation you want later in the downswing.
If your normal setup has the right arm straight, high, and the elbow pointing behind you, this change may feel unusual at first. That is normal. For many golfers, unusual is exactly what starts to produce better ball striking.
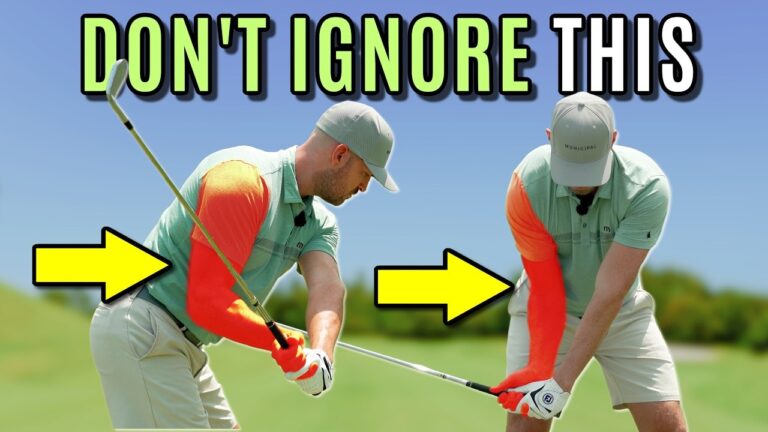
Step 3: Build the impact pattern by keeping the right arm under the left
Good players often show a visible “window” between the arms as they approach impact. That space appears because the trail arm is still underneath and inside the lead arm instead of climbing over it.
This is one of the clearest signs of quality delivery.
If you want a practical swing thought, use this:
Keep the right arm inside or under the left all the way down toward impact.
You may not hold the exact same relationship through the strike and beyond, but trying to preserve that orientation as long as possible helps organize the downswing correctly.
Why does this matter so much?
It helps the club shallow instead of steepen.
It improves the chance of forward shaft lean.
It supports a push-draw pattern rather than a pull-fade pattern.
Golfers who keep the trail arm too high typically see the opposite ball flight. The club gets thrown outward, the path cuts across the ball, and the release becomes less efficient.
If your common miss is a pull or a weak fade, there is a strong chance your right elbow in golf swing motion is part of the problem.
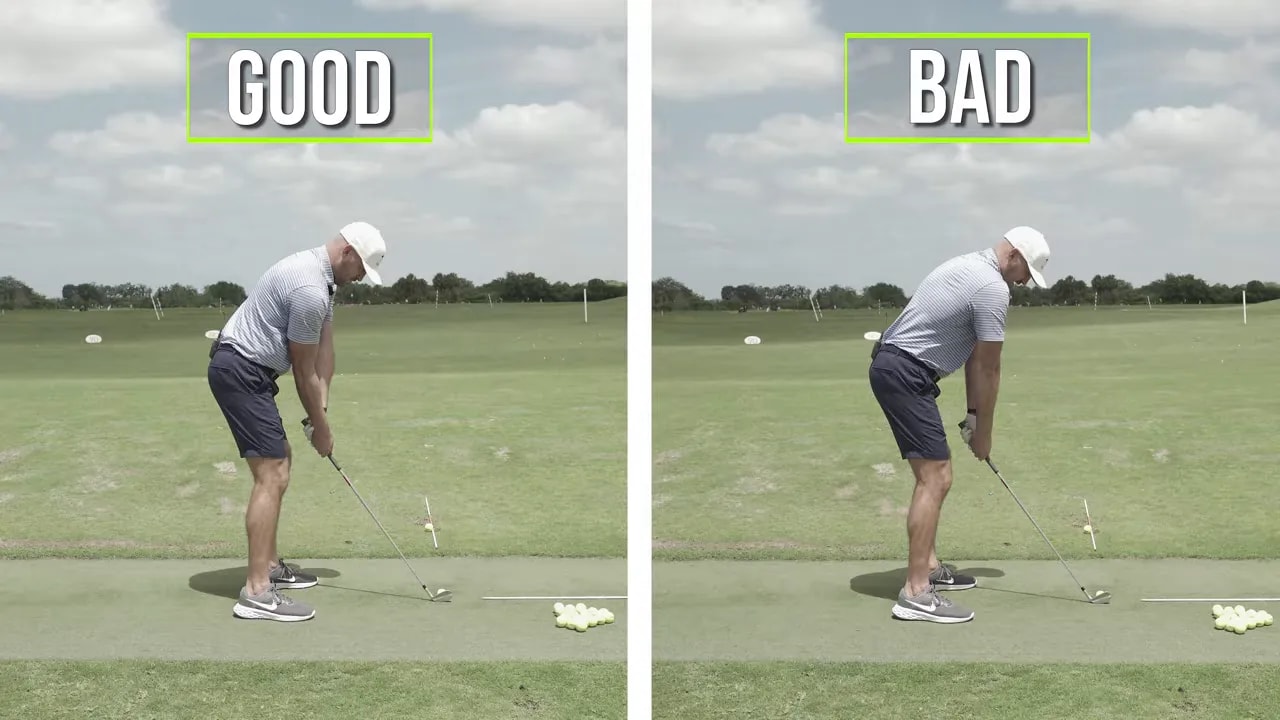
Step 4: Fix the first major mistake, a right arm that is too straight at setup
The first common error is simple: the right arm starts too straight.
When that happens, the elbow usually sits too high and too far behind the body. From there, it becomes harder to deliver the club from the inside because the trail arm has to reorganize itself during the swing.
Use this checkpoint before every shot:
Hold the arms out in front of you.
Make the right arm slightly bent.
Relax it.
Place it underneath the lead arm.
Tuck the elbow slightly inward.
That setup does not solve every swing issue on its own, but it removes a major obstacle. You are putting the trail arm in a position where it can work more naturally in both directions.
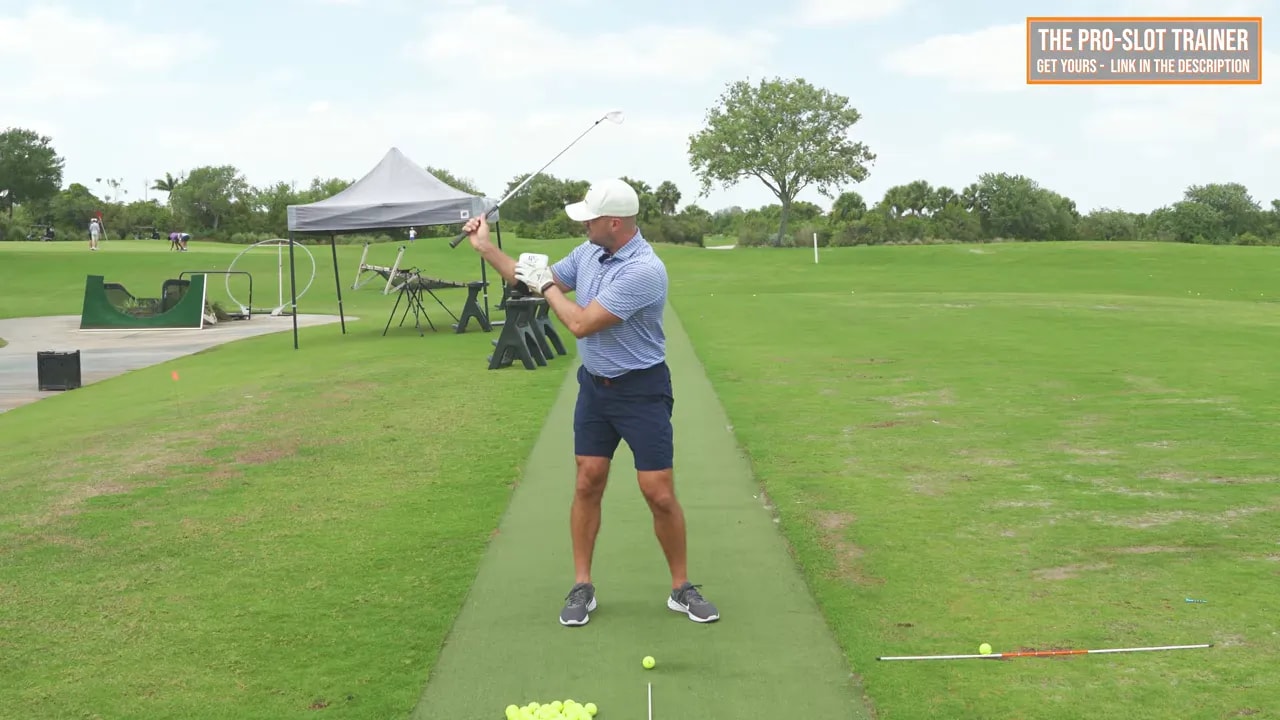
Step 5: Fix the second major mistake, losing width in the backswing
The next big issue is an overfolded trail arm in the backswing.
A lot of golfers start with the right arm too straight, then fold it too much going back, then throw it straight too early coming down. That sequence creates a narrow and steep motion.
The better pattern is this:
Slight bend at setup
Gradual folding during the backswing
Good width at the top
Delayed extension through and after impact
A useful phrase here is:
Too bent equals steep and narrow. Width helps you get shallow and from the inside.
If you overfold the trail arm, your hands tend to get too close to your right shoulder at the top. That crowding makes the club harder to organize in transition.
Instead, feel as though the right hand pushes away from you in the backswing. That creates width. Your hands will feel farther from your shoulder, and the arm structure at the top will look more organized.
Step 6: Use simple bend-angle checkpoints for the right elbow in golf swing
If you like exact reference points, these trail-arm bend numbers provide a clear blueprint:
Setup: about 165 degrees
Club parallel in takeaway: about 150 degrees
Lead arm parallel: about 120 degrees
Top of backswing: about 90 degrees
The key is not chasing perfection to the degree. The key is understanding the pattern.
Your trail arm should gradually fold on the way back, but not collapse. If it gets much tighter than 90 degrees at the top, you are likely getting narrow. Narrow usually makes the downswing steeper and less predictable.
This is one reason many strong ball strikers look so “easy.” Their trail arm maintains width, which keeps the club in a playable position without extra compensation.
Step 7: Add body turn so width actually works
Width in the backswing does not happen in isolation. If you do not turn your body enough, your arms have nowhere to go. The trail arm then tends to overfold because the torso has stopped supporting the motion.
That is why many golfers who overfold the right arm also lack enough pivot.
As you work on width, make sure your core and chest keep turning away from the target. A better turn gives your arms room to stay structured.
A simple pairing is:
Right hand pushes away
Body turns away
Those two sensations often work together. If the body stalls, the right arm folds too much. If the body turns, the arm can stay wider and more supportive.
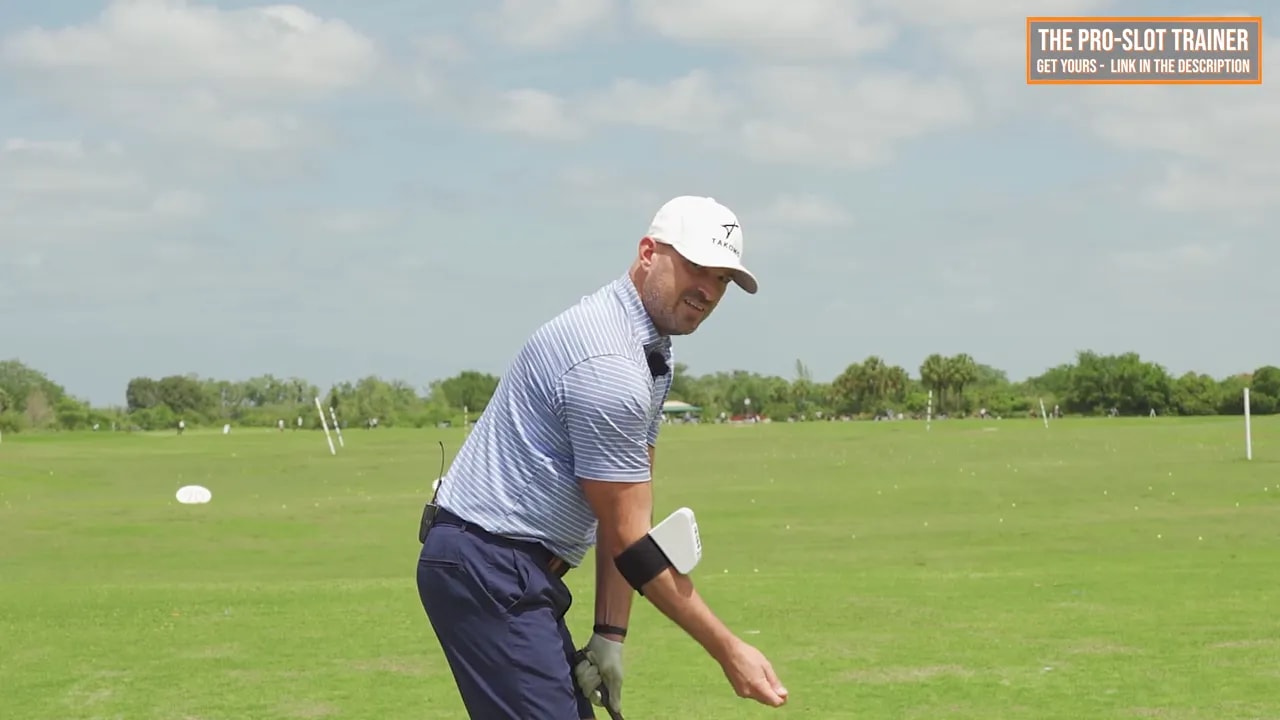
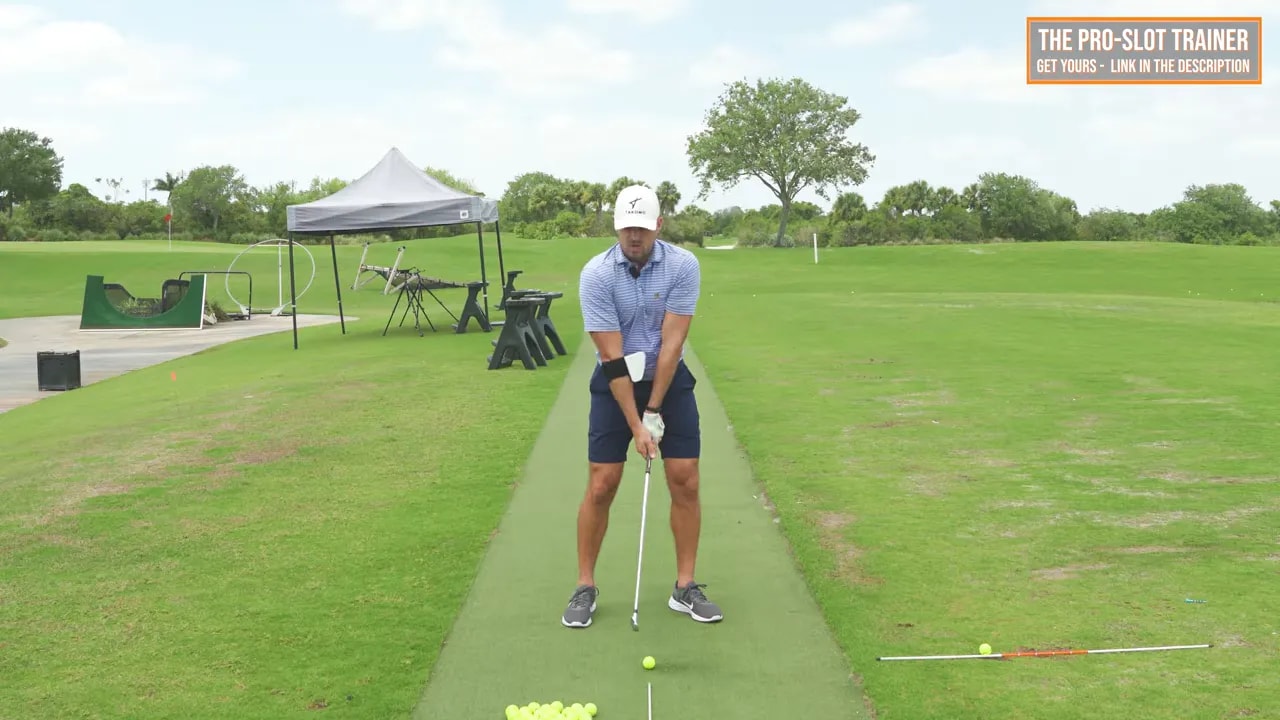
Step 8: Use a training aid or split-hand drill to feel trail-arm width
A training aid can help if you struggle to sense overfolding. In the lesson example, the Pro-Slot trainer is used to discourage the trail arm from collapsing too much and to promote better width and orientation.
The idea is not that the training aid magically fixes your swing. The value is that it gives you a physical boundary. If your right arm bends too much, you get immediate feedback.
That said, you can also use a simple drill with no special equipment.
Split-hand grip drill
Take your normal club and separate your hands slightly on the grip. Then make slow backswings while feeling the right hand push away from your body.
This helps in two ways:
It improves your awareness of width in the trail arm.
It encourages more body turn as the club moves back.
If you are one of the many golfers who gets the right arm above the left and folds too much in the backswing, this drill can be a very effective bridge from concept to feel.
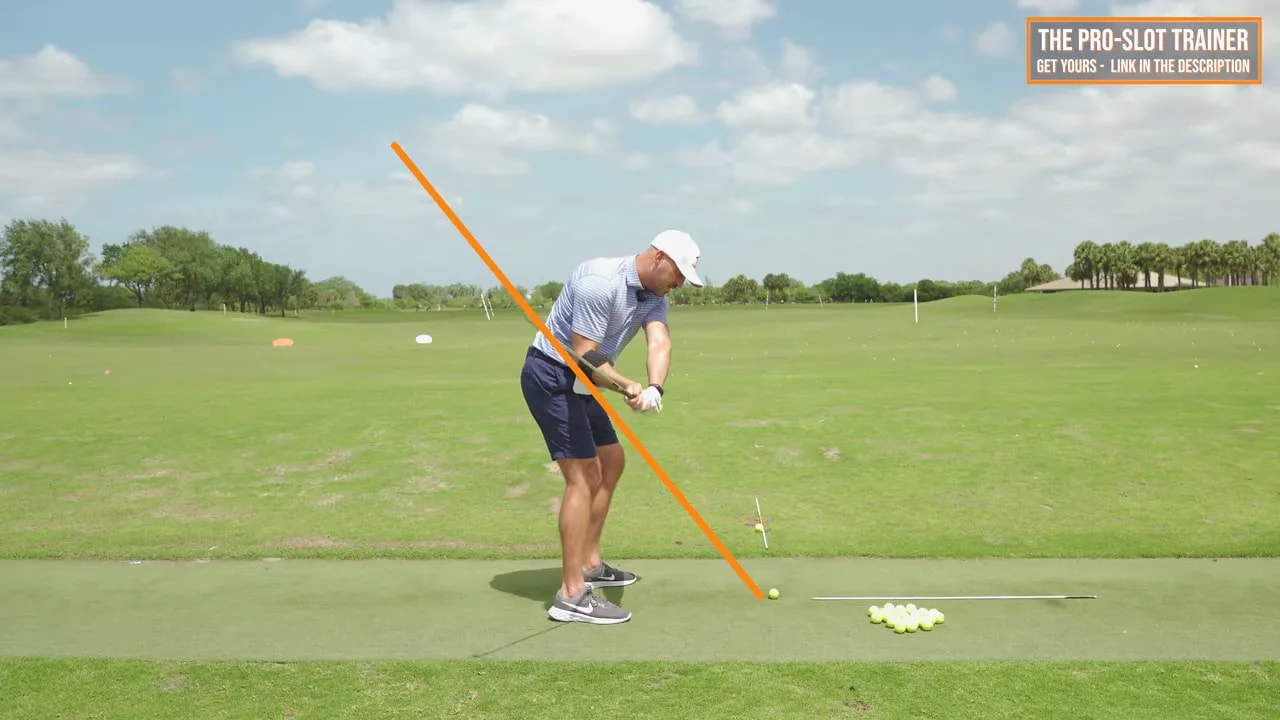
Step 9: Fix the third major mistake, straightening the right arm too soon in transition
The final common issue is a trail arm that straightens too early on the downswing.
This move is often associated with casting, loss of shaft lean, fat shots, thin shots, and even early extension. It can feel powerful because the arm is firing hard, but it usually makes impact worse.
The better sequence is slower and more controlled.
From the top, where the trail arm is around 90 degrees, keep that bend in early transition. Then let the arm slowly release as you approach impact.
The model described is roughly:
Top: about 90 degrees
Shaft parallel in downswing: about 120 degrees
Impact: about 150 degrees
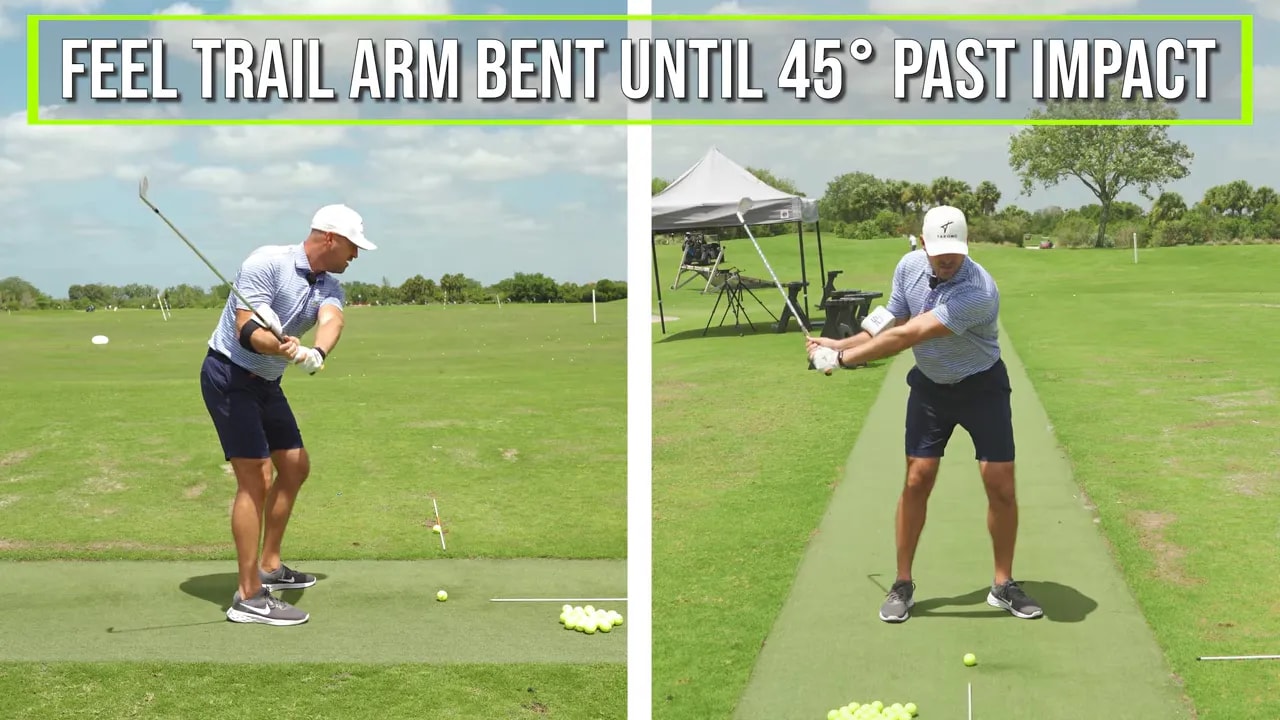
Fully straight: around 45 degrees past impact
That last point is important. The trail arm should not be fully straight at the ball. It should straighten after impact.
This delayed extension helps preserve shaft lean and allows the strike to happen before the full release of the club.
Step 10: Practice the 45-past-impact drill for a better release
One of the simplest drills is to place an object, such as a ball marker or spare ball, about one large step in front of the ball on your target line. Then make swings feeling as if the right arm does not fully release until it reaches that point.
The purpose is not to freeze the arm. It is to retrain the timing of the release.
Your practice sequence becomes:
Set up with the right arm bent, soft, and under.
Maintain width to the top.
Keep the right arm under and inside the left on the way down.
Allow the arm to fully extend only around 45 degrees past impact.
This creates the pattern associated with stronger compression and a cleaner strike.
Step 11: Match the right elbow in golf swing pattern to your ball flight
Ball flight can tell you whether you are moving in the right direction.
When the trail arm is bent, soft, under, and maintained correctly through the downswing, a common result is a high push-draw. The ball starts a touch right of target and curves gently left.
That pattern is often seen in elite players known for strong ball striking.
When the trail arm starts straight, gets too high, overfolds, then straightens too early, the more common outcomes are:
Pulls
Pull-fades
Weak fades
Inconsistent strike quality
You do not need to force a draw. Instead, improve the structure of the trail arm and let the ball flight become the feedback.
Step 12: Use this simple right-elbow checklist on the range
If you want one concise routine to take into practice, use this checklist before each shot:
Setup: Right arm bent, soft, and under. Elbow slightly tucked inward.
Backswing: Keep width. Feel the right hand push away.
Pivot: Turn your body enough to support the width.
Transition: Keep the right arm under and inside the left.
Release: Do not straighten the arm too early. Let it fully extend around 45 degrees past impact.
If you tend to think in errors and fixes, the whole lesson can also be reduced to three corrections:
Too straight at setup becomes slightly bent at address.
Too bent in the backswing becomes wider at the top.
Too straight too soon in the downswing becomes a slower release after impact.
Put those together and the swing becomes more organized without feeling overly technical.
Step 13: What “ball striking bliss” really comes from
The phrase “ball striking bliss” captures the result many golfers are chasing. It is that feeling when the strike is compressed, the start line is predictable, and the shot seems to come off the face with very little effort.
That feeling does not usually come from trying harder. It comes from better alignments and better timing.
The trail arm is one of the fastest ways to improve both.
When you combine:
Proper setup with the right arm bent, soft, and under
Good width to the top
Right arm staying inside the left in the downswing
A release that finishes after impact rather than at the ball
You give yourself a very strong blueprint for better golf shots.
FAQ: Right elbow in golf swing
Should the right elbow be tucked in at setup?
Yes, slightly. The right elbow should be bent, relaxed, and a little closer to your stomach rather than flying behind you. That small tuck helps preset the trail arm to work underneath the lead arm in the downswing.
How bent should the right arm be at address?
A useful reference is about 15 degrees of bend, or roughly 165 degrees if a straight arm is 180. The exact number matters less than avoiding a locked-out arm.
Why does my right elbow make me come over the top?
If the trail arm gets above or outside the lead arm in transition, the club often steepens and moves outward. That promotes an over-the-top path, weak fades, and poor shaft lean.
What does proper right-arm width feel like in the backswing?
It often feels as if the right hand is pushing away from your body while your torso keeps turning. Your hands feel farther from your right shoulder instead of collapsing inward.
Should the right arm be straight at impact?
No. A better model is for the right arm to still have some bend at impact and become fully straight around 45 degrees past impact. Straightening too early usually leads to casting and reduced shaft lean.
What ball flight usually comes from a better right elbow in golf swing pattern?
A common result is a high push-draw or a straight shot with a slight draw. That pattern reflects a more inside approach and better release structure.
If your swing has been fighting pulls, fades, or inconsistent contact, start with the trail arm. The right elbow in golf swing mechanics described here offer a practical way to improve your path, your shaft lean, and your strike without overcomplicating the motion.
0 Comments