
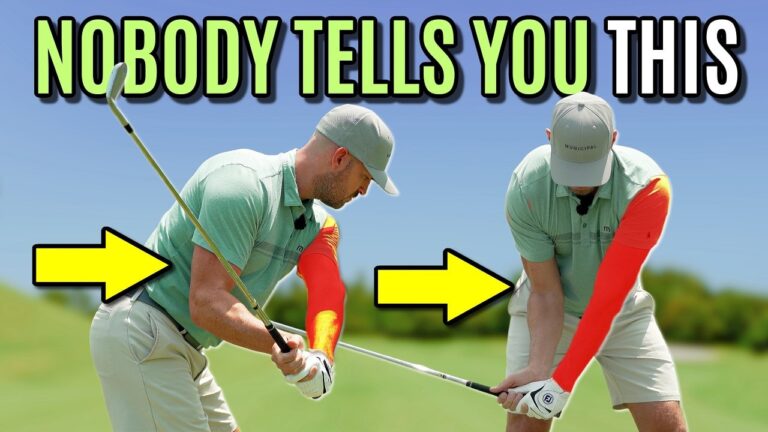
The fastest way to improve ball striking is not by adding more complexity. It is by fixing one repeatable motion in your follow-through: lead arm rotation. When your lead arm moves correctly through the ball, your clubface closes in a predictable way, your low point moves forward, and solid contact becomes much more likely.
This is the “lead arm move” Eric Cogorno teaches as the separator between good ball strikers and poor ball strikers. The core checkpoint is simple: elbow down, thumb up during your downswing and into follow-through.
Focus keyphrase: lead arm rotation
Table of Contents
- Step 1: Use your lead arm to identify a good ball striker
- Step 2: Learn the checkpoint: elbow down, thumb up (for lead arm rotation)
- Step 3: Self-check drill without a range trip
- Step 4: Lead arm only drill (the practical setup)
- Step 5: Add the trail arm and rotate your body correctly
- Step 6: What the ball should do when lead arm rotation is working
- Step 7: A simple between-shots practice habit
- Step 8: Front-end therapy drill (awareness at follow-through)
- FAQ
- Putting it together: a simple routine for better irons
Step 1: Use your lead arm to identify a good ball striker
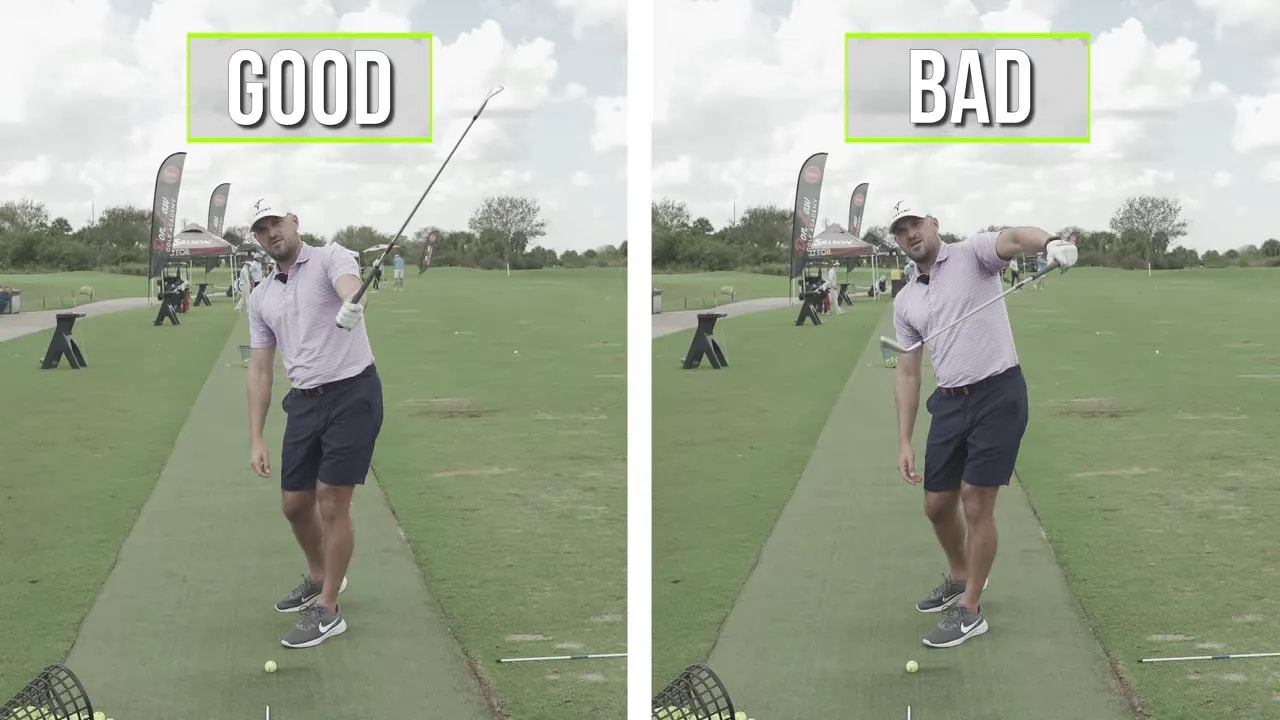
Stand near a range or look at golfers on tee boxes. Often you can tell who is a consistent striker just by seeing what the lead arm does through impact.
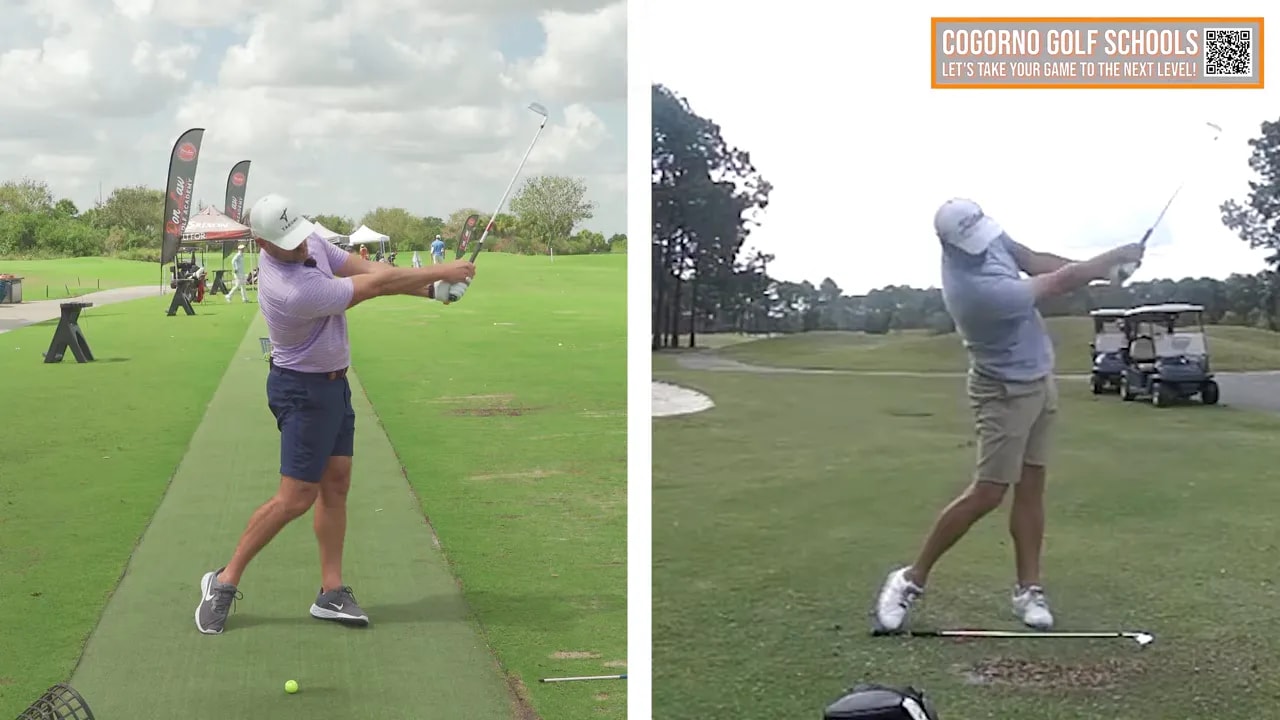
Good ball strikers tend to finish with the lead elbow pointing slightly down and left, while the lead thumb is positioned up and to the left. In plain terms, the lead arm is rotated in a way that helps the clubface close.
Poor ball strikers often show the opposite pattern at the same point in the swing. Instead of elbow down and thumb up, they come through with the lead elbow up and the thumb to the right. That tends to leave the clubface more open and contributes to the kinds of misses golfers hate most, such as:
- Weak right shots (often for right-handed golfers)
- Inconsistent contact quality
- Sloppy strike patterns from round to round
The most important takeaway is the cause. In this model, the clubface position you get is largely created by lead arm rotation, not by random hand action.
Step 2: Learn the checkpoint: elbow down, thumb up (for lead arm rotation)
You do not need a launch monitor to start. You need a clear physical target for what “right” feels like.
Set your body up so you can swing without hitting a ball. Use a club or even a remote to test the motion.
Checkpoint position (lead arm only):
- Your lead elbow should be slightly down and left
- Your lead arm should have a slight bend, not rigidly locked
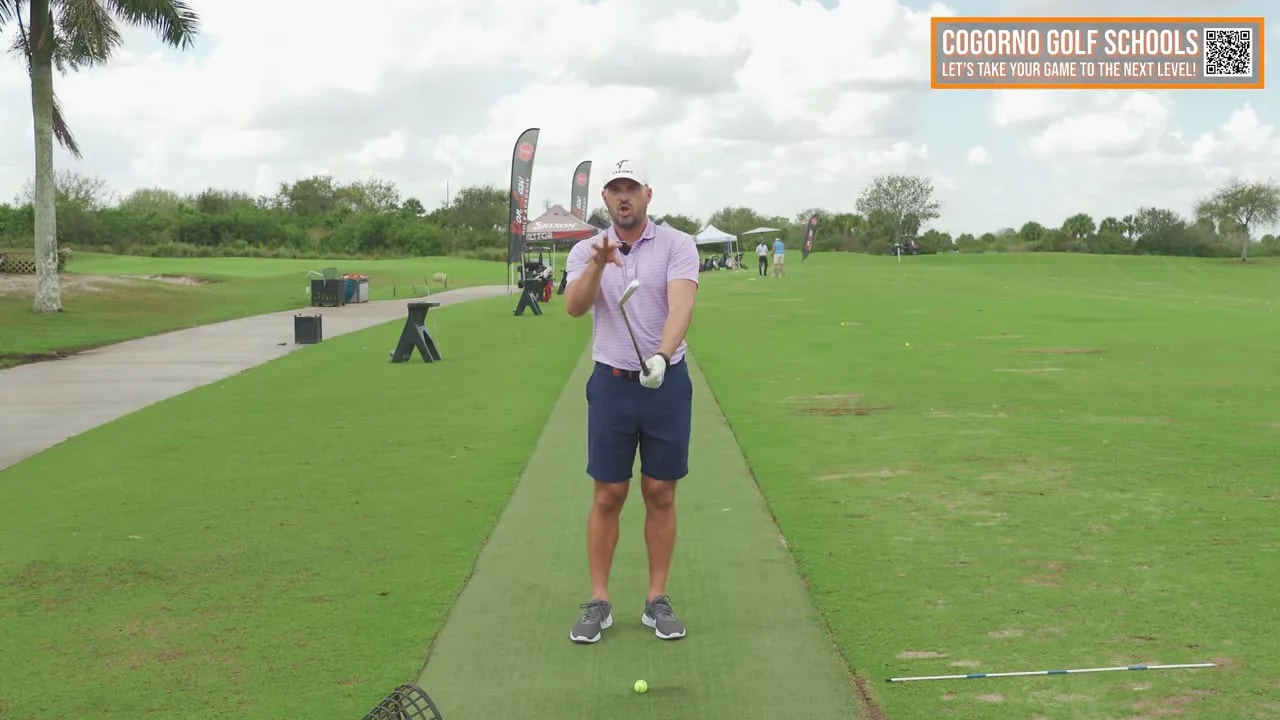
- Your thumb should point up and left (around “11 o’clock” if 12 o’clock is straight up)
- The clubface should be more closed at follow-through
Why this matters: when your lead elbow rotates into this “down and left” position and your thumb stays “up and left,” the clubface closes gradually through the downswing. That is what supports:
- Shaft lean
- Inside-out movement (for many golfers)
- Body rotation that stays connected
- Better low-point control for solid impact
- A more repeatable ball flight
If you feel your lead elbow is “up” and your thumb is “right,” treat it as a sign you are not using lead arm rotation to close the face. That mismatch is often why contact feels inconsistent.
Step 3: Self-check drill without a range trip
Before you swing a single ball, do a quick self-check.
- Grip a club (or use a remote).
- Make a few swings using your lead arm only.
- Finish with your arm around parallel to the ground and pause.
- Check your lead elbow and thumb position.
You are looking for elbow down, thumb up into the left. If you see the clubface tilting “up” toward the sky at that pause point, that usually corresponds to the miss pattern the model describes (often weak right and inconsistent strikes).
Do not chase perfection. This checkpoint is about direction and feel.
Step 4: Lead arm only drill (the practical setup)
This is the first drill sequence that translates the concept into something you can practice immediately.
Step 4A: Create the right backswing feel
- Set up to hit balls (or do this in your practice space).
- Take the club back until your club is around hip high.
- As you move back, keep your lead arm slightly engaged so the lead elbow stays closer rather than flaring far away from your body.
Step 4B: Swing through to your checkpoint
- Swing through until your lead arm is around parallel to the ground.
- Focus on having the lead elbow slightly down and left.
- Notice what your glove logo (or thumb direction) does.
- You want it to point left and slightly down, not up toward the sky.
Additional alignment preferences for this drill:
- The toe should not be behind the heel to the right
- The clubface should not point upward
- Your left elbow should not try to slam into the ground. “Down” means downward relative to your checkpoint, not extreme
Arm shape note: You should not lock your arms straight. The goal is a slight fold in the lead arm. Trail arm can be straighter at that checkpoint, but the lead arm should not be rigid.
One of the most common errors is going too far by trying to force the elbow all the way down. That usually causes compensations, like your body lifting or shoulders getting mismatched.
Step 4C: Reps
Do two to three swings with the lead arm only feel.
Then hit the same feel with a ball, but keep the priority on the lead elbow and thumb.
Step 5: Add the trail arm and rotate your body correctly
Once the lead arm only motion is close, bring the rest of the swing online without losing the checkpoint.
- Attach your right hand to the club.
- Repeat the same feel: elbow down, thumb up into the left.
- Allow your chest to rotate through (instead of freezing your torso).
- Keep the trail shoulder stable and connected rather than letting it drop or collapse.
This drill works best when you feel the lead arm rotation early enough that it can influence the clubface through the downswing. The “gradual through the whole downswing” idea matters more than a sudden hand flip.
There is also a body balance checkpoint to avoid a common mistake.
- Not good: left shoulder drops too low, trail shoulder rises, or your body lifts to “make the elbow go down.”
- Good: trail shoulder stays down, left shoulder stays more up as you rotate, while the left elbow finishes slightly down.
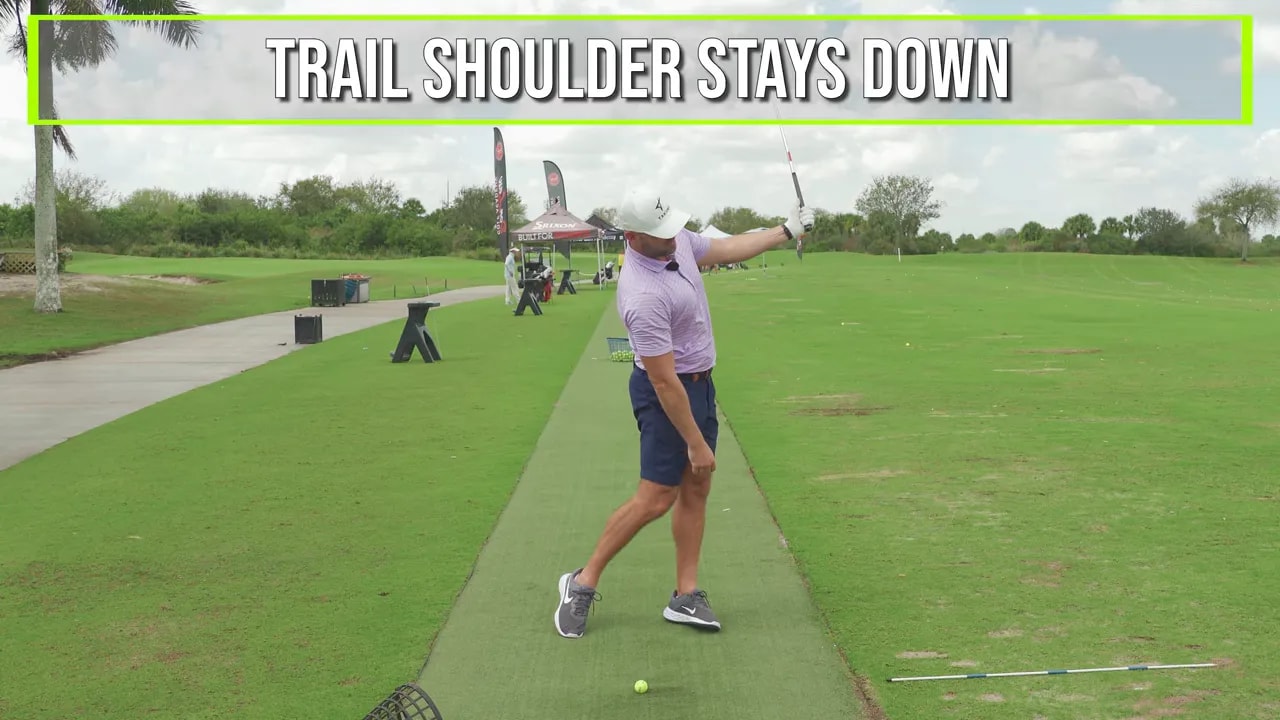
The correct intention is: lead arm down and left without collapsing your posture.
Step 6: What the ball should do when lead arm rotation is working
When lead arm rotation is on, you typically start seeing:
- Cleaner contact (often feeling slightly lower or more “thru” the strike)
- A more predictable strike pattern
- More stable distance control, especially with irons
In the described feel, golfers often see a small draw tendency. That can be a great sign because the clubface is closing in a controlled way.
If your miss is a slice to the right, you can turn the “elbow down, thumb up” feel up slightly. If you already draw the ball, use less of the exaggeration so you do not overcurve left.
Example intent (as described): aiming for a five-yard draw feel by applying the same elbow and thumb positions through impact.
Step 7: A simple between-shots practice habit
Practice does not need to wait for the range. Between shots, use short “shadow swings” to reinforce the motion.
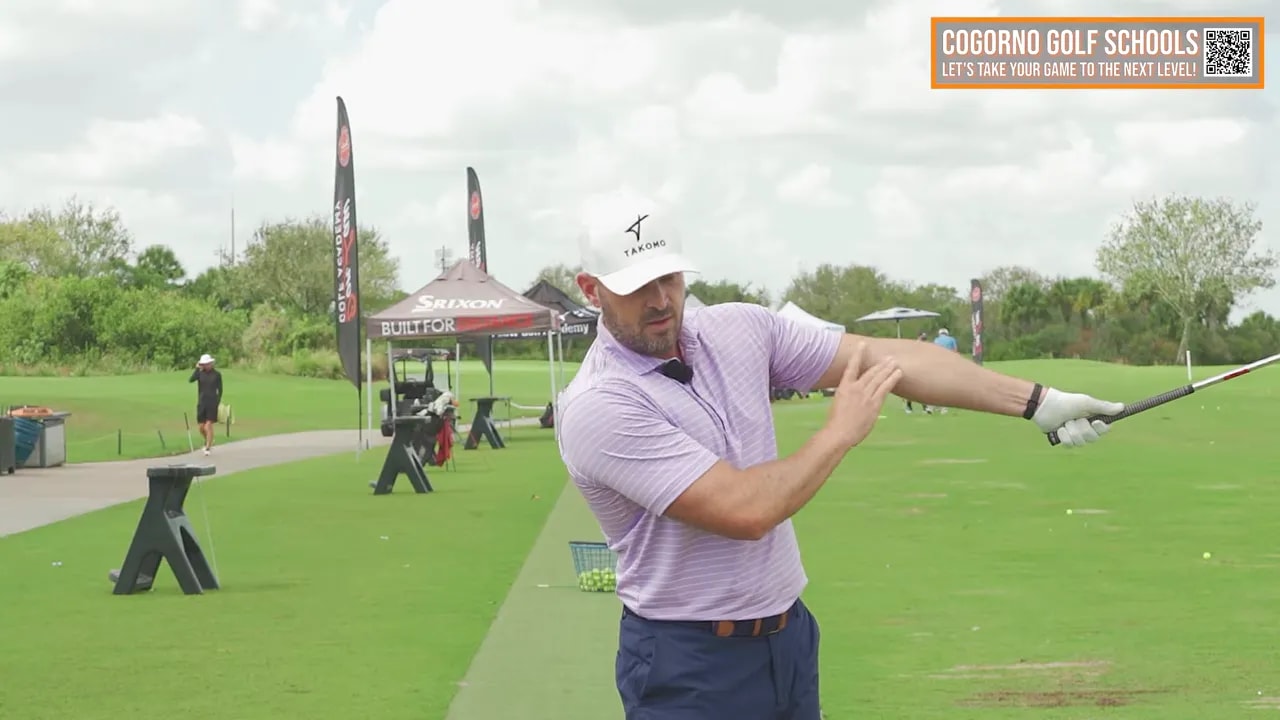
- Rotate your whole arm, not just your forearm
- Keep the elbow slightly down and left
- Let the glove logo point slightly down and left
- Maintain thumb up and left
This helps the club “re-hinge” along the ball target line. Re-hinging is the idea that the club does not just stay stuck with the handle pointing straight out the whole way. Instead, it changes angle naturally so the clubface can work toward square.

Perform this as a quick awareness tool, not as a full swing replacement.
Step 8: Front-end therapy drill (awareness at follow-through)
Another drill comes from Craig Hansen, described as “front-end therapy.” The premise is to:
- Go into the correct follow-through checkpoint
- Hold it briefly
- Swing back and return through that same “front end” position
How to do it
- Swing to a position where your arms are around parallel to the ground
- Ensure the checkpoint feel: elbow down, thumb up, and the right shoulder stays down
- Hold briefly for awareness
- Swing back and return through that same checkpoint
You can also use a visual awareness cue: the feeling of left fingers under right while keeping the trail shoulder down. This encourages the lead arm rotation that closes the clubface appropriately.
FAQ
How does lead arm rotation improve ball striking?
Lead arm rotation changes the direction and angle of your lead elbow and thumb through the downswing. That rotation helps the clubface close gradually and supports a more forward low point. The result is more consistent contact and improved strike quality, especially with irons.
What is the exact checkpoint to aim for?
Aim for elbow slightly down and left with the thumb up and to the left at a follow-through position where the lead arm is around parallel to the ground. Your lead arm should have a slight fold, not be locked straight.
What if I already draw the ball?
Use a smaller amount of the feel. You can keep the checkpoint but reduce exaggeration so you do not overcurve left. If you miss right, you can increase the “elbow down, thumb up” feel slightly.
Will this make me change my entire swing?
The intent is not to rebuild everything. The drills teach a repeatable lead arm rotation checkpoint. Your body rotation still matters, but you are using the lead arm to guide clubface closure and low-point control.
Can I practice this without hitting balls?
Yes. Use the lead arm only checkpoint drill with a club or remote, and do between-shot shadow swings. When you return to ball striking, keep the same elbow and thumb feel.
How often should I practice this?
At first, include it in your warm-up and practice routine. A few lead-arm-only reps, then a few full swings with the trail arm, is enough to reinforce the pattern. Consistency beats long sessions.
Putting it together: a simple routine for better irons
If you want a straightforward plan, practice this sequence next time you are on the range:
- Lead arm only reps (2 to 3): elbow down, thumb up into the left.
- Add the trail arm while keeping the same lead arm rotation feel and turning your chest.
- Between shots: 5 to 10 seconds of shadow movement to reinforce elbow down, thumb up.
- Optional finishing drill: front-end therapy hold at the correct follow-through checkpoint.
When your lead elbow and thumb do the right job, the rest of the swing becomes easier to organize. That is the promise behind this approach to lead arm rotation: a more stable clubface, a better strike position, and a swing that feels repeatable.
0 Comments