
If you want better golf ball striking, cleaner compression, and more effortless speed, your wrists may be the fastest place to improve. Many golfers struggle with fat shots, thin shots, weak contact, and inconsistent face control because the club is released poorly through impact. The good news is that a better golf release does not have to be complicated.
The key idea is simple: if your hands and wrists work more like skilled players, you can preserve your angles longer, square the face more naturally, and strike the ball with more shaft lean. That leads to one of the most important upgrades in golf: a motion that feels powerful without looking forced.
This guide breaks the concept into practical steps you can use in your own golf swing, including how the right wrist works, why the left thumb matters, how to avoid flipping, and how to shape different shots with iron and driver.
Table of Contents
- Step 1: Understand why poor golf wrist motion ruins contact
- Step 2: Build the correct golf impact picture first
- Step 3: Use the right wrist to create better golf rotation
- Step 4: Learn the left-thumb checkpoint for your golf swing
- Step 5: Understand how more golf wrist rotation reduces flipping
- Step 6: Use measurable feedback to train PGA-style golf wrist motion
- Step 7: Match your golf release to the shot you want
- Step 8: Use the water-bottle drill to feel your golf release
- Step 9: Feel the club working deep before it releases in golf
- Step 10: Practice the right golf feels without overcomplicating them
- Step 11: Use evidence and feedback instead of guessing in golf
- FAQ
- Final thoughts on improving your golf release
Step 1: Understand why poor golf wrist motion ruins contact
A weak release creates a chain reaction in the golf swing. If the clubface is too open as you approach impact, you have to make a last-second correction to square it. For many golfers, that correction shows up as a cast and flip.
Here is what usually happens:
The hands do not rotate enough on the way down.
The clubface stays open too long.
The player throws the angles away early.
The wrists flip to rescue the face.
Impact becomes inconsistent.
When that happens, the club tends to scrape along the ground rather than compress the ball. That is why poor golf release patterns often produce:
Fat shots
Thin shots
Low compression
Reduced speed
Loss of posture through impact
The fix is not to hold on tighter or simply try harder. It is to get your wrists into a position where the face can square up without panic. Once that happens, your golf swing starts looking and feeling very different.
Step 2: Build the correct golf impact picture first
Before working on feel, it helps to know what you are trying to create. A solid golf impact position includes a square clubface and shaft lean. In that position, the hands are ahead enough to compress the ball, but the face is not left open.
This matters because many golfers assume shaft lean alone is the answer. It is not. If you lean the shaft forward but do not rotate the hands correctly, the face stays open. Then you are forced into that familiar flip to square it up.
So the real goal is this:
Square face
Stored angles
Forward shaft lean
A release that happens through the strike instead of before it
In practical golf terms, you want to arrive at impact organized, not scrambling.
Step 3: Use the right wrist to create better golf rotation
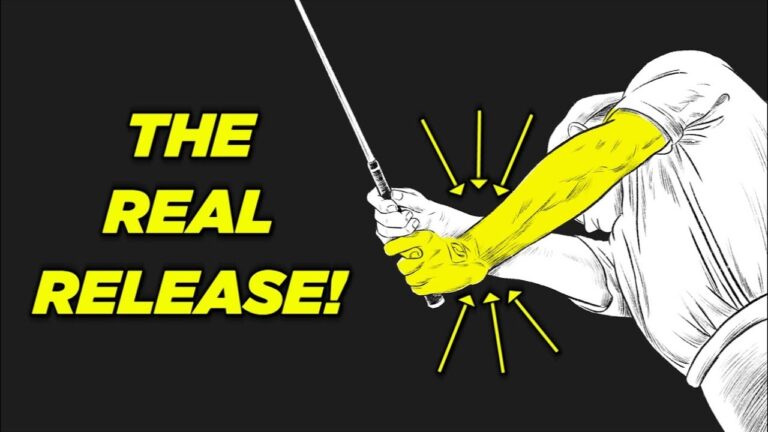
One of the most useful ideas in this lesson is the role of the trail wrist, or right wrist for a right-handed golfer. When the right wrist moves into a more extended or bent-back position, it helps preserve the angle between the club and the lead arm. That stored angle is a major source of both speed and control in golf.
It also changes how the clubface behaves. Instead of needing a late flip, the club can approach the ball in a much stronger delivery position.
A good visual checkpoint is this: as the right wrist works properly, you can often see more of the trail-hand fingers underneath. That appearance reflects a stronger delivery pattern and more functional hand rotation.
Bryson DeChambeau’s explanation points to a valuable feel. Rather than endlessly forcing the handle in a way that leaves the face open, he describes a sensation of the wrist staying more behind the elbow. That helps the clubhead stay more in front of him and makes it easier for the face to rotate through impact instead of lagging open.
“If I can feel like my wrist is behind my elbow, as I’m swinging, it keeps the head more ahead of me.”
That is a helpful golf feel because it shifts your attention away from a rigid handle drag and toward a release that is athletic and timed correctly.
Step 4: Learn the left-thumb checkpoint for your golf swing
Another smart way to monitor your wrist action in golf is to pay attention to the lead thumb. For a right-handed player, that means the left thumb.
The basic pattern works like this:
If the left thumb points up, you are generally preserving angle.
If the left thumb points down too early, you are usually losing angle.
This is a simple but powerful checkpoint. A thumb-up condition tends to match a deeper hand position and better stored leverage. A thumb-down condition often shows up when the wrists throw the club too early.
Why does this matter for golf contact? Because stored angle supports a better angle of attack, more shaft lean, and a later release. That gives you a much better chance to compress the ball instead of scooping it.
You do not need to obsess over the thumb itself. Think of it as a feedback tool. If the thumb is pointing down too soon, the club is often being spent too early. If it stays up longer, you are more likely to retain the structure needed for a quality strike.
Step 5: Understand how more golf wrist rotation reduces flipping
One of the strongest claims in this lesson is that higher-handicap golfers tend to show less wrist rotation. Less rotation makes it harder to square the face efficiently, and that encourages flipping.
In other words, flipping is often not the original problem. It is the emergency response.
If you improve hand and wrist rotation in your golf swing, several things get easier:
The face can square more naturally.
You can keep your angles longer.
You do not need to cast from the top.
You can release the club with more speed through impact.
This is where many golfers make a breakthrough. They stop trying to “hold lag” in a stiff, unnatural way and instead learn how proper wrist motion creates lag automatically. In effective golf mechanics, the angles are stored because the sequence supports them, not because you are freezing the club with tension.
Step 6: Use measurable feedback to train PGA-style golf wrist motion
Technology can make this much easier to understand. The lesson references wrist-measuring tools and software that show how close your motion is to skilled-player patterns. One benchmark discussed is roughly 45 degrees or more of right wrist extension, which is presented as a PGA average type of feel.
The value of this kind of feedback in golf is obvious. Instead of guessing, you can compare your wrist motion to a useful standard and see whether you are actually improving.
Good feedback tools can help you measure:
Right wrist extension
Hand rotation
Shaft lean at impact
Whether your motion fits PGA-style ranges
That does not mean you need technology to improve. But if you tend to chase random swing thoughts, measurement can speed up your golf progress because it shows whether your feel is real.
Step 7: Match your golf release to the shot you want
Not every release in golf should feel identical. The lesson makes a useful distinction between iron shots, drivers, and different shot shapes.
For straight shots or a slight fade with irons
A helpful feel is that the heel of the club stays a little higher and the club releases more “under.” This can support a straighter pattern with controlled face rotation.
For draws or more face rotation
The feel shifts toward the toe moving more over the heel. That represents a release that rotates more around, which can help close the face more relative to path.
For driver
Because you stand farther from the ball and the club is longer, the head naturally has more room to rotate. The release often feels a bit more around the body compared to a stock iron shot.
This is a subtle but important golf concept. Many players try to make every club and every shot use the exact same release pattern. In reality, the release can have slightly different feels depending on the task.
Step 8: Use the water-bottle drill to feel your golf release
One of the clearest training ideas in this lesson is the water-bottle image. It gives you an easy way to organize your release pattern in golf.
Imagine holding a water bottle as you move through impact.
If you want the release to feel more under, imagine the water pouring more forward in the direction of the target line.
If you want a more around release, such as for a draw or driver, imagine the water pouring more outward around your body.
This is useful because it turns an abstract wrist lesson into a real movement pattern. In golf, simple external cues often work better than complicated internal mechanics.
You can also adapt this idea for specialty shots. If you need a punch shot under branches, the release may feel more held off with a quieter face.
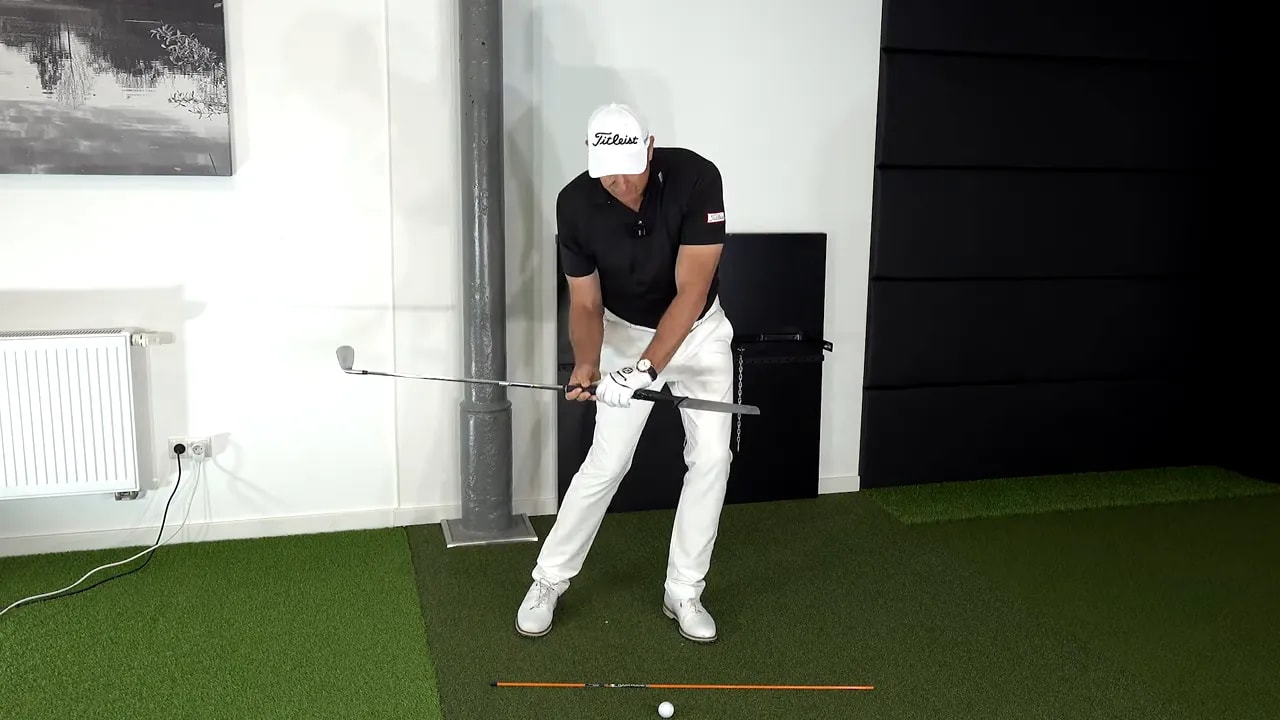
Step 9: Feel the club working deep before it releases in golf
Another recurring concept is getting the grip or butt end of the club “deep” as you approach impact. That means the hands and handle move into a stronger delivery position before the clubhead fully releases.
The lesson uses a dramatic visual of a knife taped to the club to make the point. The message is not to copy the prop. The message is to feel the handle driving in deep toward the back of the ball instead of the clubhead dumping early.
That sensation can help you avoid one of the most common golf mistakes: straightening the trail arm too soon and throwing away your angles before impact.
A better sequence looks like this:
Bring the hands in deep.
Keep the angles stored.
Reconnect the arms to the body.
Release the club after impact, not before it.
That creates the whip. And in good golf swings, whip is not a flip. It is a well-timed release of speed.
Step 10: Practice the right golf feels without overcomplicating them
If you want to turn this into results on the course, keep your practice simple. You do not need ten swing thoughts. You need one or two feels that help you stop flipping and start releasing the club correctly.
Here are some practical rehearsal ideas for your golf practice:
Trail wrist feel: Rehearse the right wrist staying bent back longer in transition and into delivery.
Lead thumb feel: Sense the left thumb pointing up longer to preserve your angle.
Deep handle feel: Feel the grip moving in deep before the clubhead releases.
Under vs around: Use the water-bottle image to match the release to the shot.
Start with small punch swings. Then progress to half swings. Then build to full speed only when contact improves. This makes the new golf motion easier to own.
Step 11: Use evidence and feedback instead of guessing in golf
A major theme in this lesson is evidence-based instruction. That matters because wrist action can feel very different from what it actually is. Many golfers think they are rotating the hands or preserving lag, but video or measurement often shows the opposite.
When you use feedback, you can identify the real point of failure in your golf swing. That is often what speeds up improvement. Rather than changing everything, you can target the release pattern that is costing you strike quality and face control.
If your ball striking is inconsistent, this is one of the best areas to investigate because it influences both contact and direction. Better wrist motion can improve the strike first, and direction often improves along with it.
FAQ
What causes flipping in the golf swing?
Flipping often happens because the clubface is too open approaching impact. To square the face in time, the golfer throws the clubhead early and loses shaft lean. Poor wrist rotation is usually a root cause.
How does the right wrist help in golf?
The right wrist helps store angle, control the clubface, and support a stronger delivery position. When it stays bent back appropriately, you can preserve lag longer and release the club more efficiently through impact.
What does the left thumb tell you in the golf swing?
The left thumb is a simple checkpoint for angle retention. If it points up longer, you are generally keeping your angles. If it points down too early, you are usually releasing the club too soon.
Should the golf release feel the same with irons and driver?
Not exactly. Iron shots often feel a bit more under, especially for a straight shot or slight fade. Driver usually feels more around because of the club length and setup. Different shot shapes can also change the release feel.
Can technology help improve golf wrist motion?
Yes. Tools that measure wrist extension, rotation, and shaft lean can show whether your motion matches skilled-player patterns. They help replace guesswork with measurable feedback.
What is the easiest drill for better golf release?
The water-bottle drill is one of the easiest. It gives you a clear feel for whether the release should go more under or more around, depending on the shot you want to hit.
Final thoughts on improving your golf release
If your golf swing feels inconsistent, the answer may not be a bigger backswing or more effort. Often, the fastest gain comes from learning how the wrists should work on the way down and through the ball.
A better release helps you do four things that matter in golf:
Compress the ball
Square the face more naturally
Keep speed until impact
Eliminate the flip that destroys consistency
Focus on the trail wrist, use the left-thumb checkpoint, feel the handle working deep, and match the release to the shot. Those ideas can change your golf strike quickly because they improve the motion that matters most near impact.
When your wrists start working better, the rest of the golf swing has a much better chance to fall into place.
0 Comments