
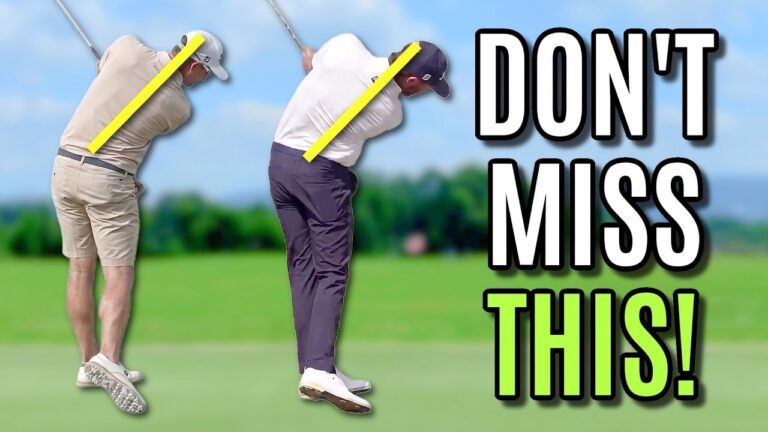

If you have been trying to stay down through impact but still hit thin shots, topped balls, or inconsistent strikes, the fix may not be in your chest, shoulders, or head. It may start much lower.
The key move in this golf downswing lesson is simple but powerful. Your trail foot controls your trail knee. Your trail knee influences your hip depth. Your hips then determine whether your upper body can stay tilted over the ball through impact.
That chain reaction matters because many golfers try to repair the final symptom instead of the real cause. If your hips move toward the ball, your torso stands up. If your torso stands up, solid contact gets much harder.
This guide breaks that motion down step by step so you can train the hidden downswing move that improves ball striking and helps you stay down through impact.
Table of Contents
- Step 1: Understand why the lower body controls staying down through impact
- Step 2: Fix the trail foot first with the trail big toe pressure move
- Step 3: Train the move with half swings before you hit full shots
- Step 4: Move the trail knee toward the lead knee
- Step 5: Use the thighs together feel if you need a clearer cue
- Step 6: Add lead hip depth so your hips stop moving toward the ball
- Step 7: Let upper body tilt happen as a byproduct, not a forced move
- Step 8: Build the full four step sequence for this hidden downswing move
- Step 9: Use the alignment rod drill to train the correct knee path
- Step 10: Understand the payoff of correct trail big toe pressure
- Step 11: Practice this golf downswing lesson the smart way
- FAQ
Step 1: Understand why the lower body controls staying down through impact
The first thing to know is that staying down is not just an upper body task. Great ball strikers often look like they keep their chest and shoulders more tilted over the ball through impact, but that look is created by what happens from the ground up.
Here is the sequence:
- Trail foot controls pressure and push off
- Trail knee responds to that pressure
- Lead hip stays deeper instead of moving toward the ball
- Upper body can remain tilted over through impact
If one link breaks, the whole motion breaks. For many golfers, that starts when pressure goes onto all the toes of the trail foot during the downswing. That sends the trail knee out toward the ball, pushes the hips forward, and causes early extension.
When that happens, your upper body has no room to stay down.
Step 2: Fix the trail foot first with the trail big toe pressure move
The focus keyphrase here is trail big toe pressure, because this is the foundation of the whole lesson.
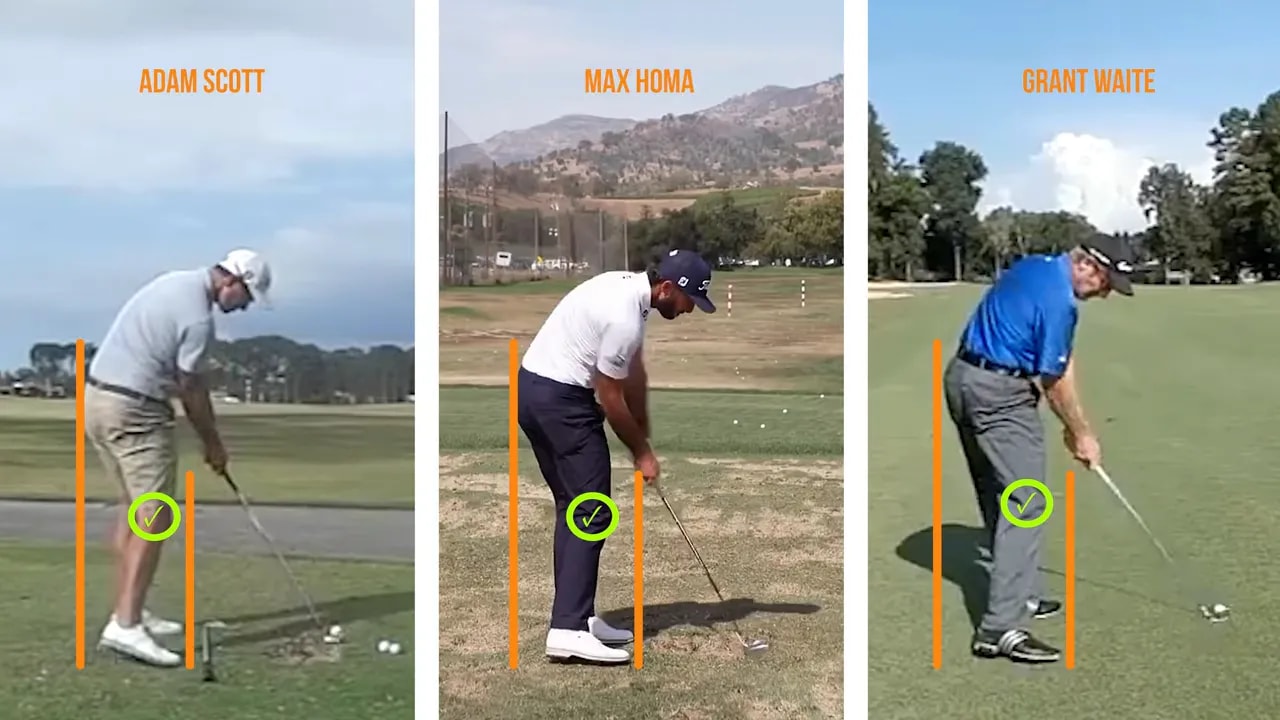
A common mistake is keeping pressure across the entire trail forefoot and all the trail toes through the strike. That usually shoves the trail knee outward. Instead, you want pressure more specifically on the inside of the trail big toe and the inside of the trail foot.
That is a very different feel.
Rather than feeling all your trail toes pressing into the turf, feel as if the inside of the trail big toe is the main point of pressure. The other trail toes can feel much lighter. That small change can dramatically alter the direction of your trail knee.
Why this works:
- Pressure on all the toes tends to send the knee out
- Pressure on the inside of the trail big toe helps the knee work inward
- An inward moving trail knee helps preserve hip depth
- Hip depth helps your upper body stay tilted over
If you have struggled with standing up in the downswing, this may be the first feel worth testing.
Step 3: Train the move with half swings before you hit full shots
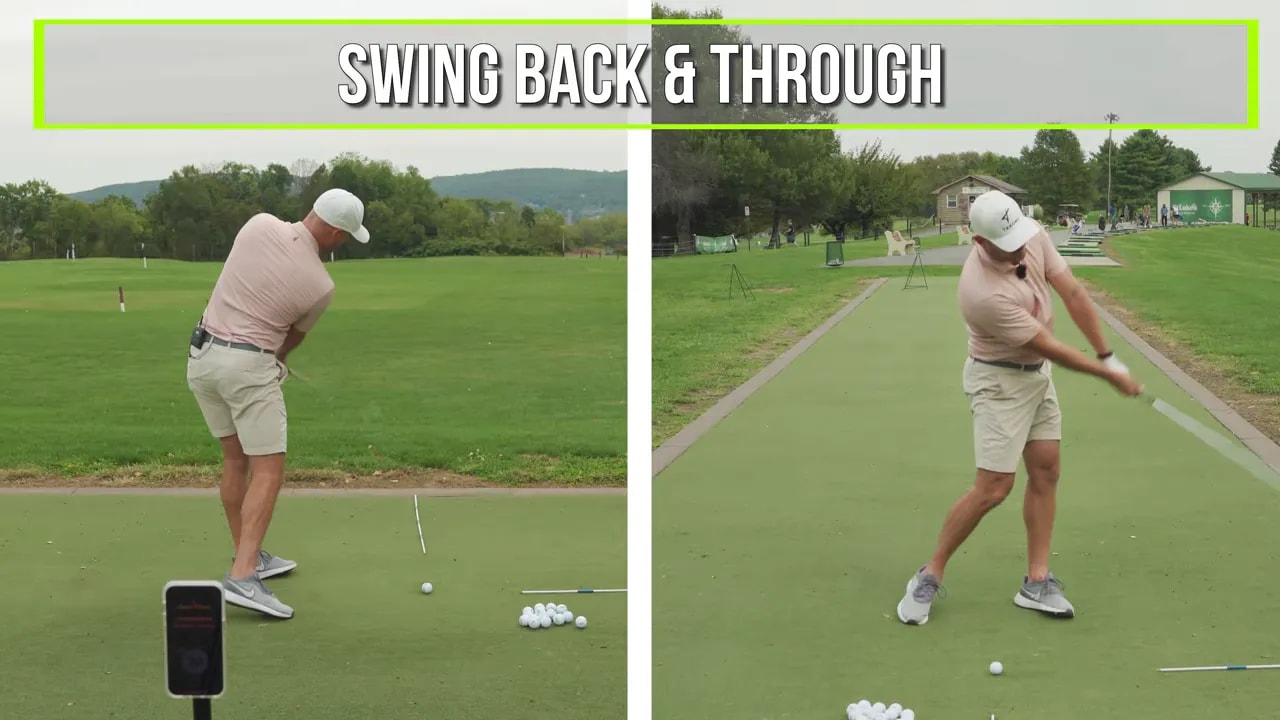
Do not rush this into full speed swings. Start with a short iron, such as an 8 iron, and make small half swings.
Your only job at first is to feel this:
- Swing back and through
- Keep pressure on the inside of the trail big toe
- Do not let pressure spill across all the trail toes
Half swings are ideal because they reduce speed and help you notice how the foot pressure changes your motion. At this stage, you are not trying to produce a perfect swing. You are trying to build a new ground reaction pattern.
A useful feel is that the inside of the trail foot is gently rolling and pushing as you move through impact. That pressure should help the trail knee move more forward and inward instead of out toward the golf ball.
Step 4: Move the trail knee toward the lead knee
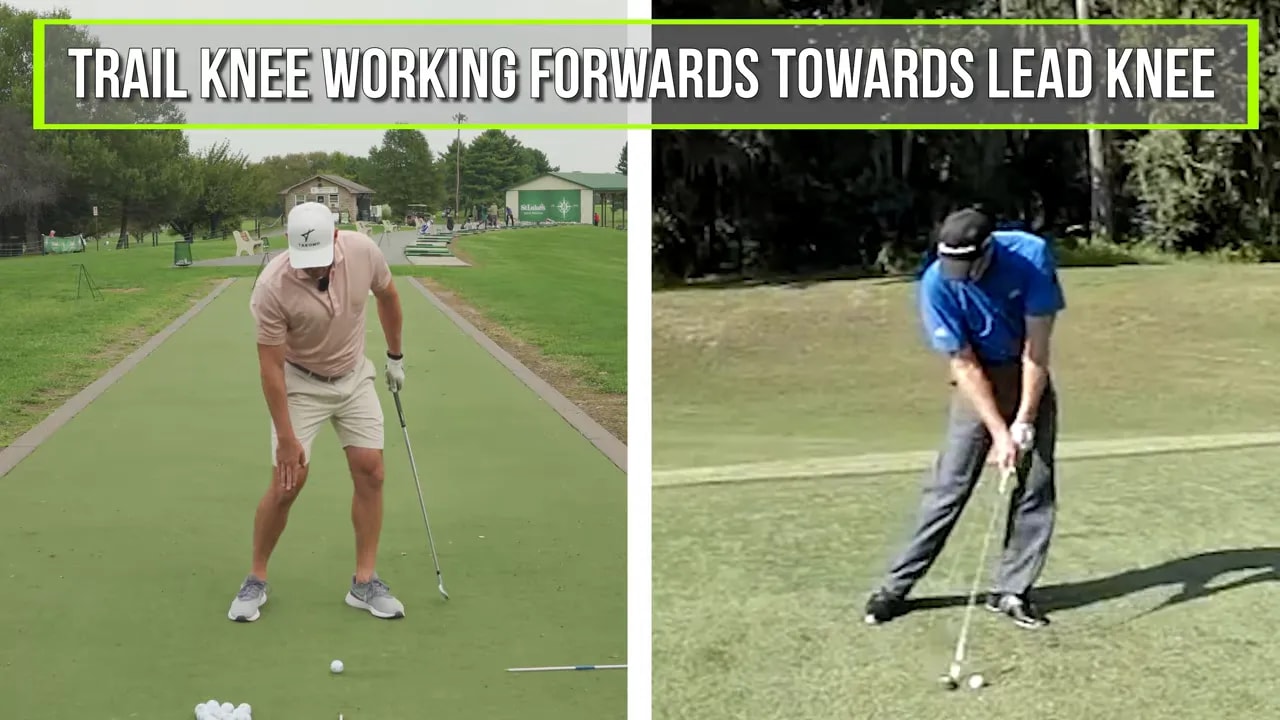
Once the trail big toe pressure starts to make sense, add the next link in the chain. Feel your trail knee move toward your lead knee.
This does not mean sliding your whole lower body. It means the trail knee works inward and slightly forward as pressure pushes from the inside of the trail foot.
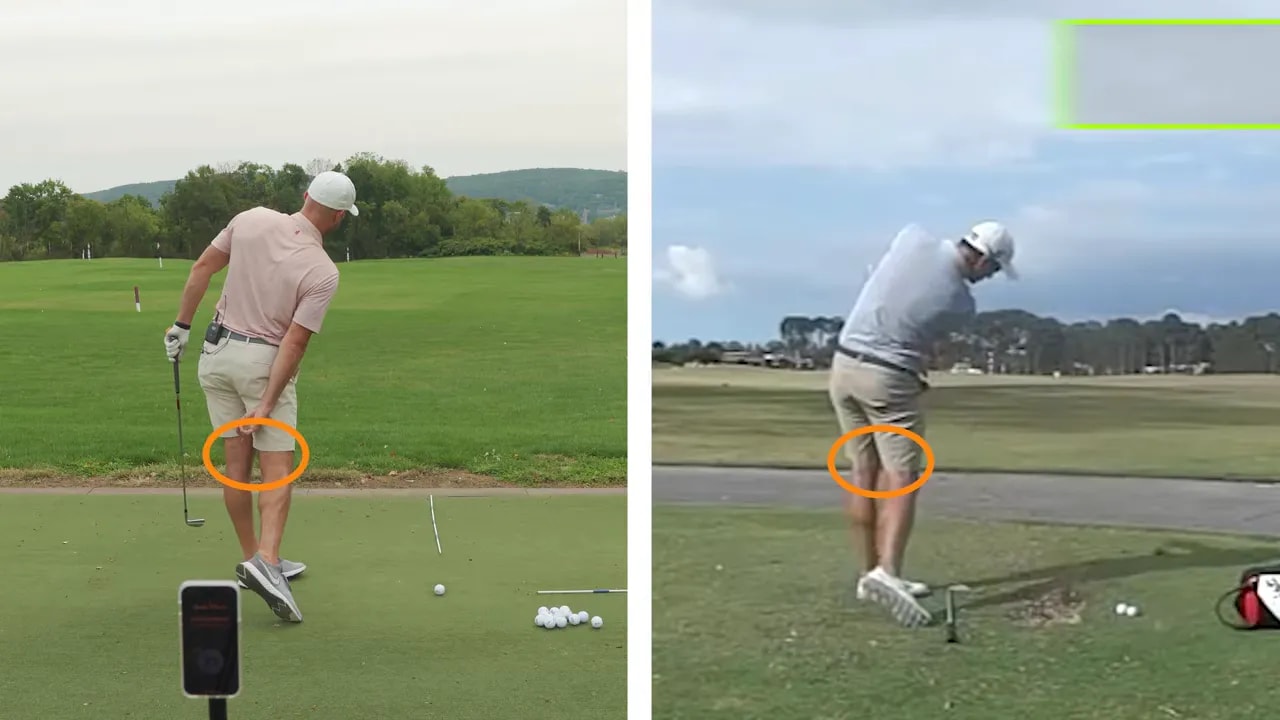
A simple checkpoint from face on is the space between your knees. In the poor version, there is a big gap between the knees through impact. In the better version, that gap is reduced.
Some golfers like the cue thighs together. That can be a good athletic feel if it helps your trail knee work toward the lead side rather than out toward the ball.
This is one of the clearest pieces of the whole golf downswing lesson because it gives you a motion you can actually sense. If your trail knee goes out, your hips tend to lose depth. If your trail knee works in, your hips usually behave much better.
Step 5: Use the thighs together feel if you need a clearer cue
Not every golfer responds to the same words. If trail knee toward lead knee feels too technical, try this simpler cue:
Feel your thighs move together through impact.
This can be especially helpful if you tend to spin the trail leg out or leave too much space between your knees through the strike.
The point is not to squeeze your legs unnaturally. The point is to create the inward trail leg action that supports better hip depth. When the thighs feel closer together, many golfers also notice improved contact and a straighter start line.
Step 6: Add lead hip depth so your hips stop moving toward the ball
Now you are ready for the next benefit of correct trail big toe pressure. As the trail foot and trail knee work properly, your lead hip can feel deeper.
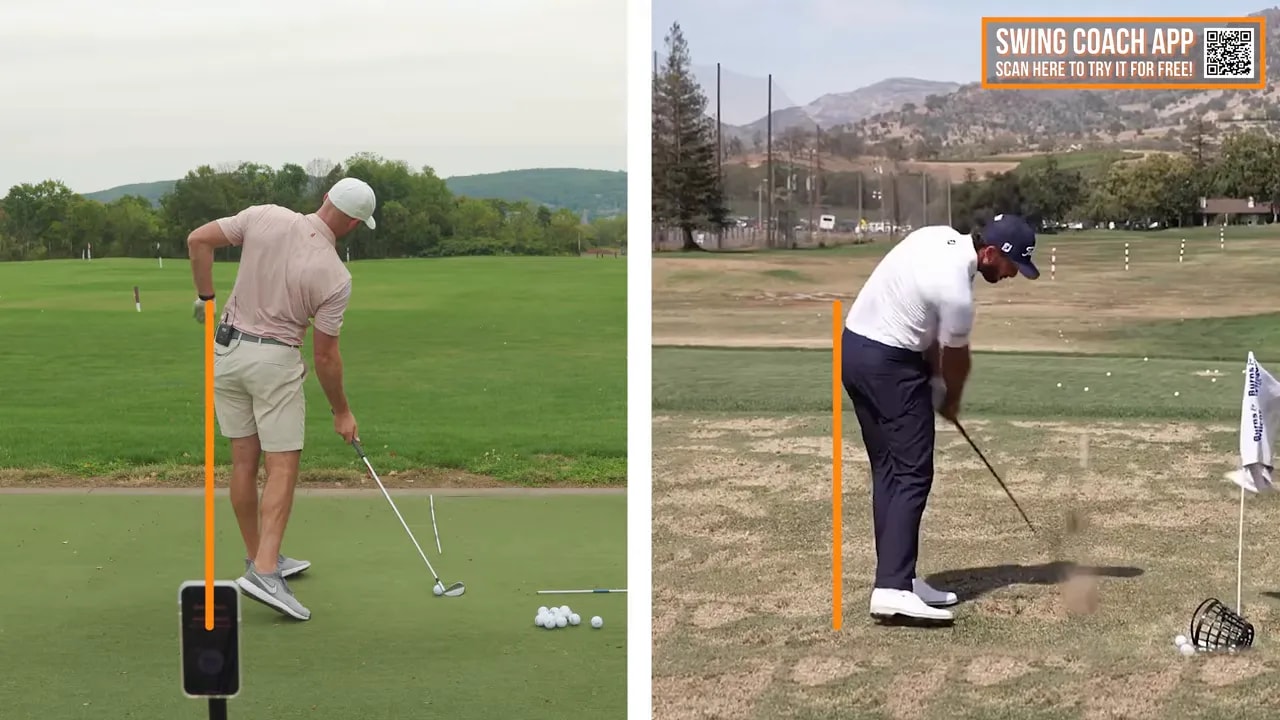
Hip depth means your lead hip stays back instead of thrusting toward the ball. A common training image is to imagine your hips staying on a wall behind you.
That deeper lead hip does two very important things:
- It creates room for the arms and club through impact
- It helps preserve spine tilt and posture
This is the real secret hidden inside the downswing move. Many golfers try to keep their chest down manually, but the better route is to improve the lower body so the upper body can remain tilted naturally.
If your lead hip gets deeper while rotating, your trail side stays down far more easily.
Step 7: Let upper body tilt happen as a byproduct, not a forced move
This is where the golf swing starts to feel much more natural.
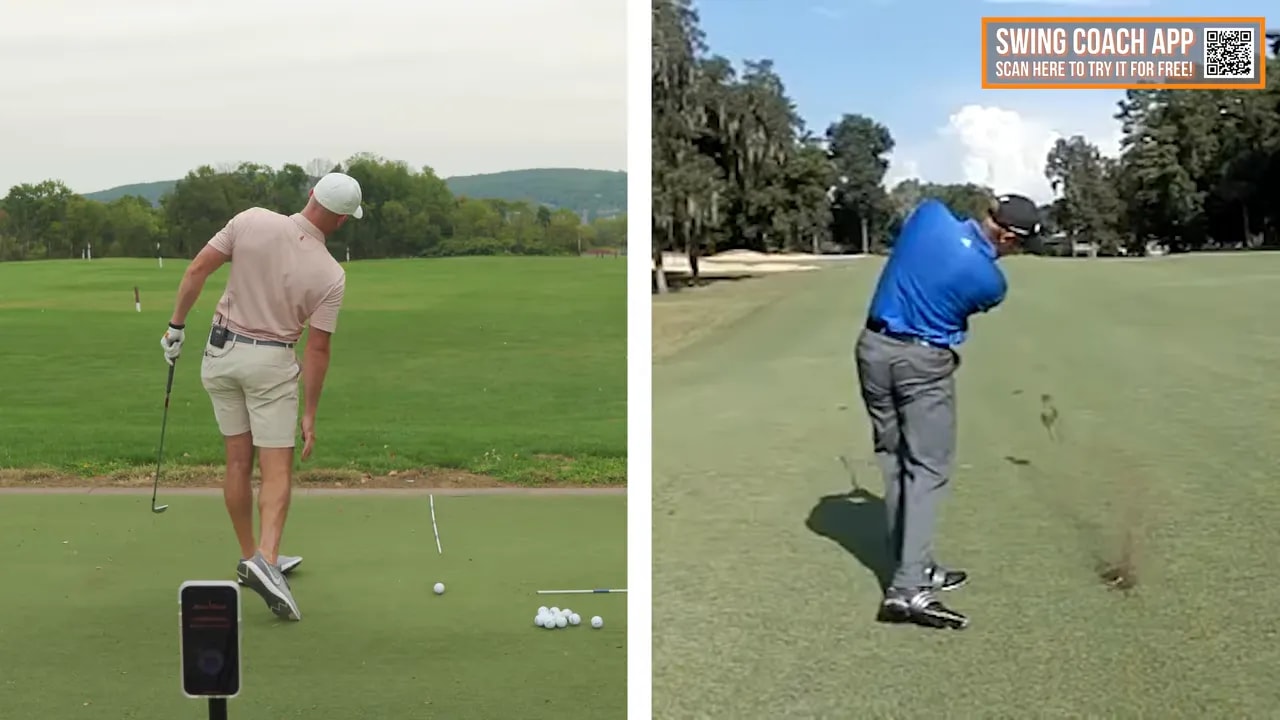
When your lead hip works deeper and rotates, your upper body is encouraged to stay tilted over. You do not need to force your head down or jam your shoulders toward the ground. In fact, forcing that look without fixing the lower body often creates more problems.
The better thought is this:
- Push from the inside of the trail big toe
- Move the trail knee toward the lead knee
- Feel the lead hip get deeper
- Allow the trail side to stay tilted over
That final piece is the result, not the starting point.
If you want a checkpoint, look for your spine angle staying more stable through impact and into the follow through. Great ball strikers tend to remain on their spine line rather than standing up early.
Step 8: Build the full four step sequence for this hidden downswing move
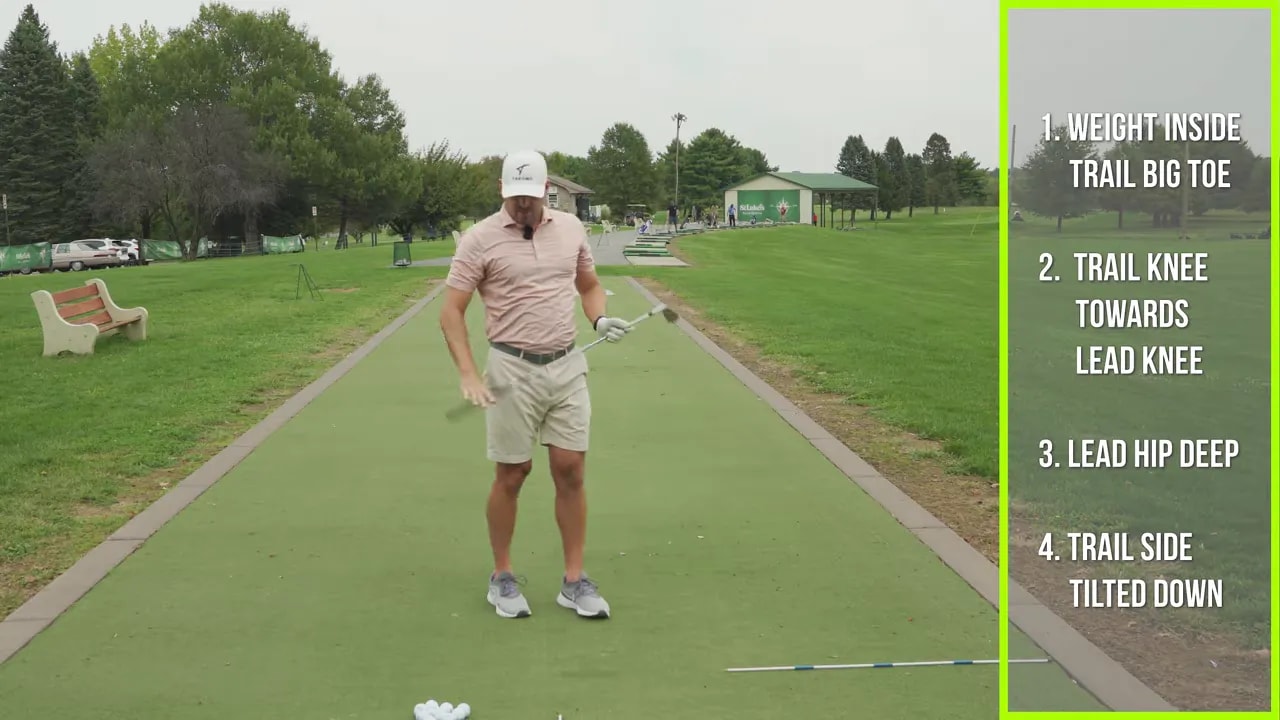
Once the individual parts make sense, blend them into one simple pattern. This is the full sequence from the lesson:
- Pressure on the inside of the trail big toe
- Trail knee toward the lead knee
- Lead hip deeper
- Trail side tilted down
Use as few swing thoughts as possible. If one feel creates the rest, stay with that. For many golfers, the first feel alone, trail big toe pressure, is enough to start the chain reaction.
If not, layer the motion one piece at a time from the ground up.
Step 9: Use the alignment rod drill to train the correct knee path
If you want fast feedback, use an alignment rod drill.
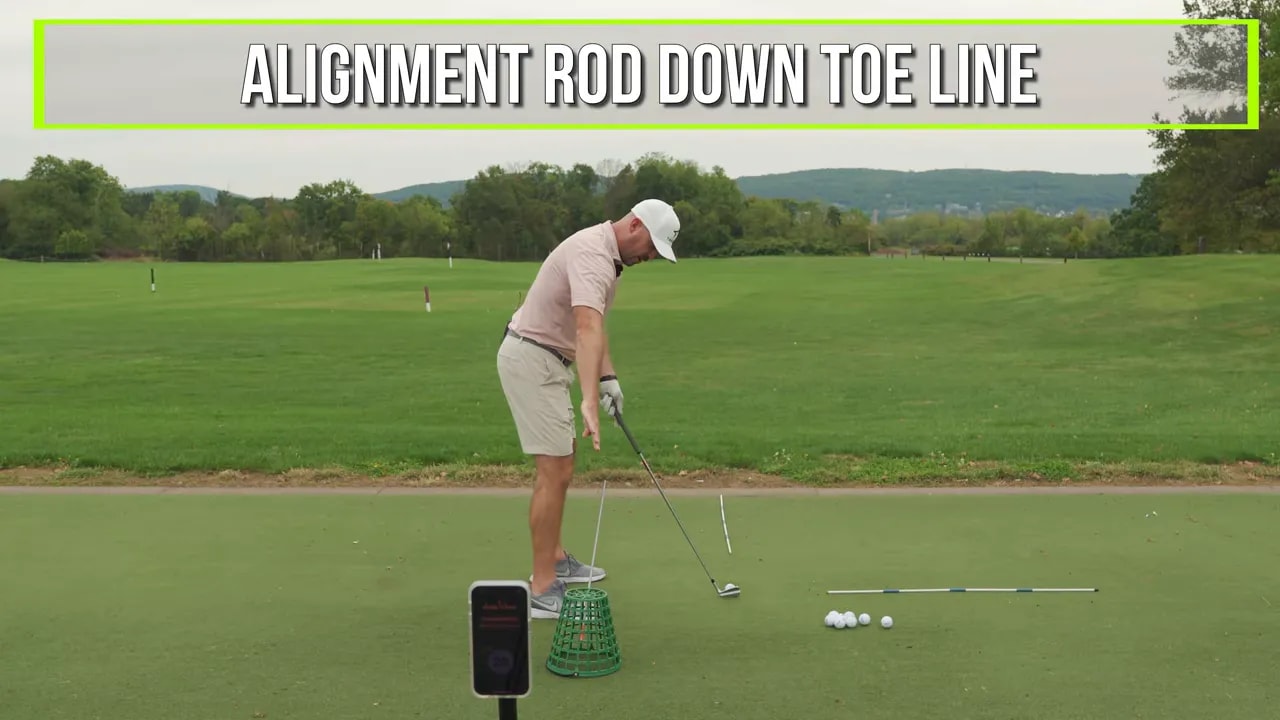
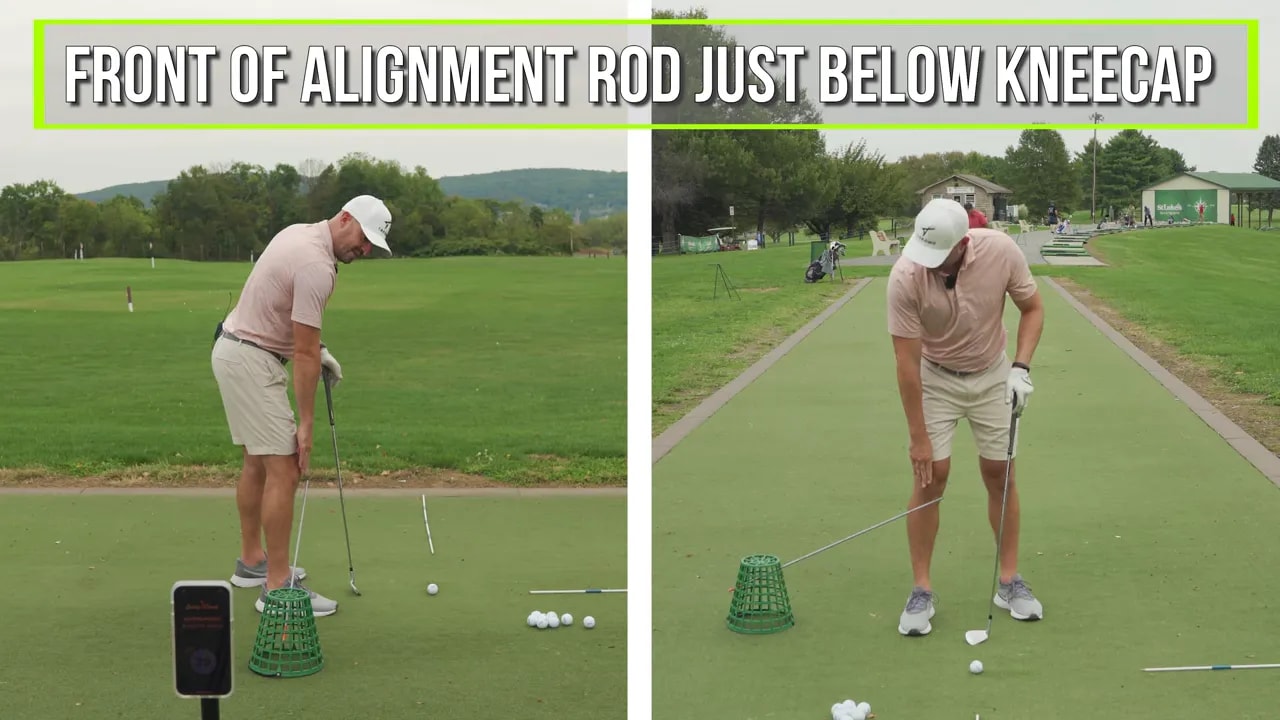
Place an alignment rod just inside your toe line so it gives you a visual reference for where the trail knee should not go. The rod should be:
- Just inside the toe line
- With the front end slightly behind the ball
- Roughly just below kneecap height
The goal is simple. Your trail knee should not move out toward the rod and toward the ball. It should work inward toward the lead knee.
This drill is especially useful if you have a habit of pushing pressure onto all the toes and losing posture. The rod gives you immediate awareness of knee direction, which then improves hip depth and upper body tilt.
When you rehearse the drill, repeat the same four checkpoints:
- Weight on the inside of the trail big toe
- Trail knee toward the lead knee
- Lead hip deeper
- Trail side tilted down
Step 10: Understand the payoff of correct trail big toe pressure
This hidden downswing move does more than help you stay down through impact. When your trail foot works correctly, you often get several important pieces at once.
Done well, trail big toe pressure can give you:
- Hip rotation
- Hip depth
- Weight shift
That is a huge return from one lower body fix.
It is also why this move can be so effective for high handicap golfers who have spent too much time chasing upper body corrections without changing the source of the problem.
If you have tried drills for keeping the chest down, holding posture, or maintaining spine angle and they have not stuck, this lower body pattern is worth serious practice.
Step 11: Practice this golf downswing lesson the smart way
To make this stick on the range, use a simple progression:
- Start with slow rehearsals and no ball
- Add half swings with a short iron
- Focus on trail big toe pressure first
- Add the trail knee toward lead knee feel
- Notice whether the lead hip stays deeper
- Only then build toward fuller speed
If contact improves and your posture feels easier to maintain, you are likely moving in the right direction.
If you still stand up, go back down the chain. Most often, the issue is that pressure has drifted back onto all the trail toes, which sends the knee out and ruins the rest of the sequence.
FAQ
Why do I keep standing up through impact?
In many cases, the problem starts in the lower body. If pressure goes onto all the trail toes, the trail knee often moves toward the ball, the hips lose depth, and your upper body stands up. Improving trail big toe pressure can clean up that chain reaction.
What is the most important feel in this hidden downswing move?
The most important feel is pressure on the inside of the trail big toe. For many golfers, that single move helps the trail knee move correctly, improves lead hip depth, and allows the upper body to stay tilted over.
Should I try to force my upper body to stay down?
Usually no. It works better when upper body tilt is the result of improved lower body motion. Focus first on trail foot pressure, trail knee direction, and lead hip depth.
What club should I use to practice this golf downswing lesson?
Start with a short iron such as an 8 iron and make half swings. That makes it easier to feel the trail big toe pressure and trail knee motion without adding too much speed.
How do I know if my trail knee is moving correctly?
From face on, the gap between your knees should reduce through impact instead of widening. From down the line, the trail knee should stay inside the toe line and work toward the lead knee rather than toward the ball.
How should I set up the alignment rod drill?
Place an alignment rod just inside your toe line, with the front end slightly behind the ball and about just below kneecap height. Use it as a visual guide so your trail knee does not move outward toward the ball.
If you want better ball striking, more consistent contact, and a swing that stays in posture longer, start from the ground up. This hidden downswing move is not flashy, but it can transform how your swing works through impact.
Begin with trail big toe pressure. Then let the rest of the chain reaction do its job.
0 Comments