
If you slide off the ball in the downswing, struggle with fat shots, or feel like your low point is all over the place, this golf swing wall drill can help. The core idea is simple. In transition, you do not want your body drifting laterally into your trail side reference point. You want pressure staying organized so you can rotate, cover the ball, and move the bottom of the swing forward.
This concept is especially useful if you tend to sway, hang back, or create too much side bend early. When you “bump the wall,” your body often gets stuck, your chest hangs behind the strike, and solid contact becomes harder to repeat.
The steps below show you how to use the golf swing wall drill, what body motions matter most, and how to avoid the common mistakes that turn a simple feel into a frustrating one.
Table of Contents
- Step 1: Understand what “don’t bump the wall” means in the golf swing
- Step 2: Build the setup pieces that support the golf swing wall drill
- Step 3: Create a trail-side brace without swaying
- Step 4: Keep pressure on the inside of the right foot in transition
- Step 5: Use the trail leg to open up around the lead side
- Step 6: Learn how the golf swing wall drill moves low point forward
- Step 7: Practice the golf swing wall drill with simple reps
- Step 8: Avoid the most common mistakes with the golf swing wall drill
- Step 9: Know who benefits most from this golf swing wall drill
- Step 10: Use a simple on-range checklist before every rep
- Step 11: Make the feel transfer from drill swings to real shots
- Step 12: Take away the right feel from the golf swing wall drill
- FAQ
Step 1: Understand what “don’t bump the wall” means in the golf swing
The phrase refers to a common backswing and transition fault. Imagine a wall just outside your trail hip or trail side. During the motion, you do not want to shove into that wall with excessive lateral movement.
Instead, you want to:
Stay centered enough to keep pressure on the inside of your trail foot
Brace the trail side so the lower body has something stable to push from
Rotate through the ball rather than sliding sideways
Move the low point forward for cleaner iron contact
This is not about freezing your body. You still load into your trail side. The key is that the pressure stays contained and functional, not loose and drifting.
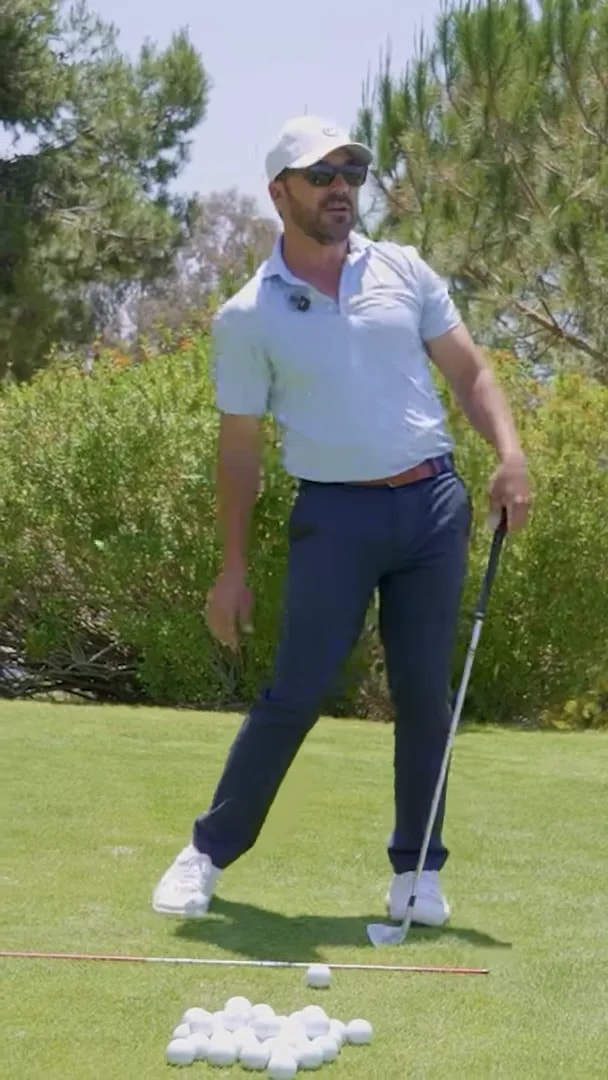
Step 2: Build the setup pieces that support the golf swing wall drill
Before the lower body can work correctly, your setup needs to make the motion easier.
Two details stand out:
Get the left hand more on top
Keep the elbows working together to improve connection
These ideas help square the clubface and keep your arm structure from getting disconnected. If your arms separate too much or the face gets wildly open, your body often reacts with compensations. That can include sliding, hanging back, or trying to save the strike at the last second.
A connected setup does not mean squeezing your arms tightly against your body. It means your arms and torso work together so the club can stay organized as you turn.
Setup checkpoints
Neutral athletic posture
Pressure balanced across both feet at address
Trail foot grounded, with awareness of the inside edge
Arms positioned so the elbows feel coordinated rather than independent
If you skip this step, the golf swing wall drill can feel awkward because your body is trying to fix a hand or arm issue that started before the club even moved.
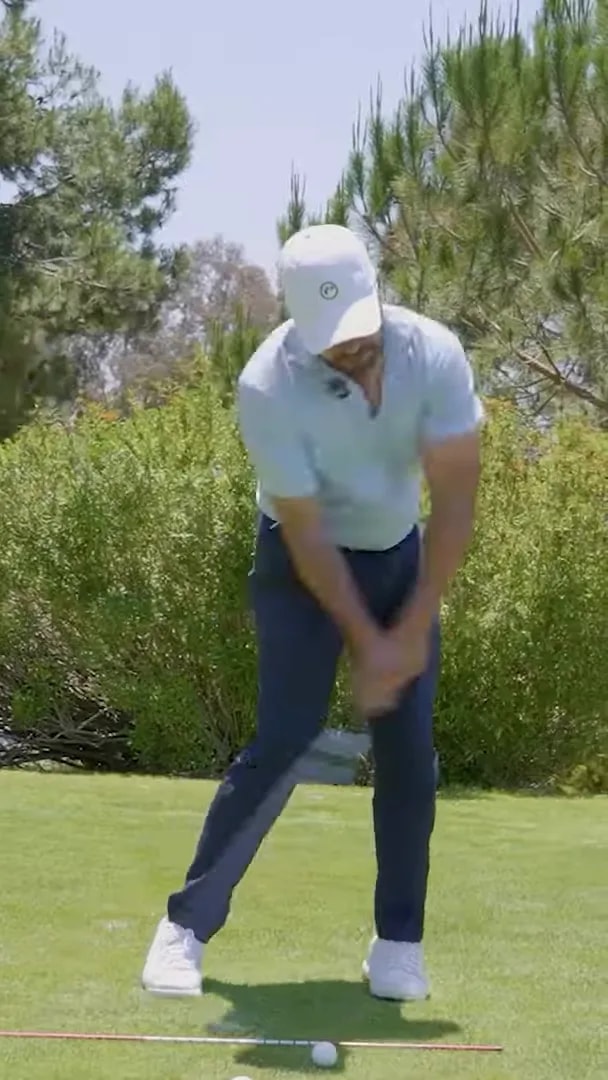
Step 3: Create a trail-side brace without swaying
This is the heart of the move. In the backswing, you want a post or brace on the trail side. That brace gives you something to push from in transition.
The feel is not a shove into the outside of the trail foot. It is more controlled than that. Pressure stays on the inside of the trail foot. That helps you stay loaded without over-shifting your pelvis away from the target.
Think of it this way:
Good load: pressure into the inside of the trail leg and foot
Bad sway: mass drifting outside the trail foot and into the imaginary wall
When you sway too much, you make it much harder to rotate back through. You may also add stress to your lower back because your body now has to recover from a poor position.

A useful feel
If you struggle to sense this, place an object just outside your trail foot or trail hip area during practice. The goal is not to crash into it. The object simply gives you feedback that your load is staying contained.
This can help you feel pressure gathering on the inside of the trail leg instead of rolling to the outside.
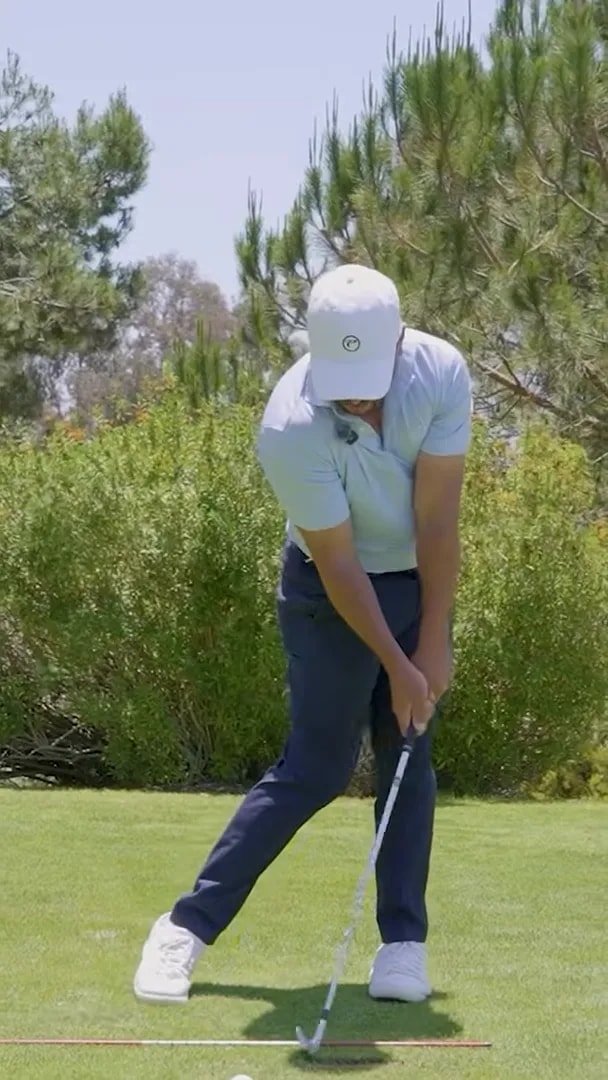
Step 4: Keep pressure on the inside of the right foot in transition
For a right-handed golfer, the inside of the right foot is a major checkpoint in this golf swing wall drill. If pressure stays there long enough, you can use the ground better and start rotating through the shot.
If pressure races outward or your body drifts too far laterally, you lose the brace. Then the downswing often becomes a rescue mission.
Why this matters:
It improves your ability to push from the ground
It helps your pelvis open instead of slide
It keeps your chest and sternum in a better position to cover the ball
It makes forward low point easier to produce
This is one of the main reasons golfers hit heavy shots after a sway. The body moved too far off the trail side brace, so the club bottoms out too early or the strike becomes inconsistent.
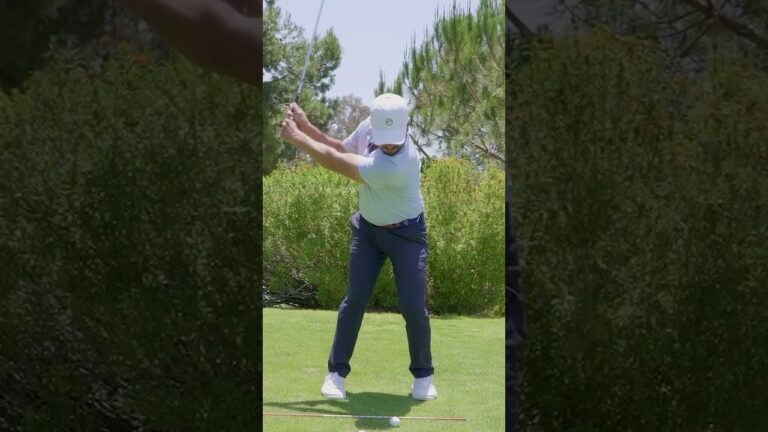
Step 5: Use the trail leg to open up around the lead side
Once you are braced properly, your trail leg can work for you instead of against you. From that stable inside pressure, you can push and rotate. That is what helps the body open through impact.
The sequence is important:
Load without swaying
Keep pressure organized on the inside of the trail foot
Push from that pressure point
Rotate around the lead side through the strike
This gives the swing a more rotary look and feel. It also helps you avoid the stalled pattern where the hips slide, the upper body tilts excessively, and the hands have to flip to find the ball.
If you do this well, your finish will usually look more balanced and your divot will tend to be farther forward.
Step 6: Learn how the golf swing wall drill moves low point forward
Many golfers search for a cure to hitting behind the ball without realizing that low point control starts with body motion. If your pivot keeps you centered and lets you rotate through, the club can bottom out in front of the ball more reliably.
That is one of the biggest benefits of the golf swing wall drill.
When your body stays organized:
Your sternum gets farther forward through impact
Your chest can keep covering the strike
Your divot tends to start after the ball with irons
Your contact becomes more compressed
When your body sways and hangs back:
Your low point often stays too far behind the ball
You are more likely to hit fat or thin
Your face and path can become harder to control
If you have ever felt like your swing has motion but no strike, this is often the missing link. Better structure and better pressure control usually beat adding more effort.
Step 7: Practice the golf swing wall drill with simple reps
You do not need a complicated station to rehearse this. A simple step by step practice routine works well.
Drill 1: Trail-side awareness rehearsal
Set up to the ball normally.
Make a small backswing.
Feel pressure stay on the inside of your trail foot.
Pause and check that you did not sway into the outside of the foot.
Return to address and repeat.
Drill 2: Brace and rotate
Take your setup with your normal iron stance.
Make a half backswing while keeping the trail side braced.
From there, push from the inside of the trail leg.
Rotate your body around your lead side into a held finish.
Do this slowly before hitting balls.
Drill 3: Divot feedback
Hit short to mid iron shots at reduced speed.
Watch where the divot begins.
If the divot starts behind the ball, check for sway or a loss of trail-side brace.
If the divot is forward and the finish is balanced, you are likely using the ground better.
Start with short swings. The bigger the swing, the easier it is to revert to old habits.
Step 8: Avoid the most common mistakes with the golf swing wall drill
Like any golf feel, this one can be overdone. Here are the main errors to watch for.
Mistake 1: Locking up instead of loading
“Don’t bump the wall” does not mean “don’t move.” You still need a backswing turn and trail-side load. If you get too rigid, you may lose speed and make the swing look stuck.
Mistake 2: Rolling to the outside of the trail foot
This defeats the purpose of the drill. The feeling should stay more on the inside of the trail foot, where you can actually push from the ground and rotate.
Mistake 3: Sliding the hips instead of opening them
If the pelvis keeps shifting without rotating, contact usually suffers. The goal is not a big lateral bump. It is a stable load followed by rotational motion.
Mistake 4: Forgetting the arms and clubface
If your hands are poorly placed or your arms disconnect, your body may still compensate even if the lower body is better. Keep the grip and elbow connection in check.
Mistake 5: Chasing positions instead of pressure
This drill is really about how pressure works in your feet and legs. If you only pose at the top without sensing where the pressure is, the move may not transfer into a real swing.
Step 9: Know who benefits most from this golf swing wall drill
This pattern is especially helpful if you:
Hit behind the ball with irons
Feel your body slides too much in the backswing or downswing
Finish with poor balance
Struggle to take a divot in front of the ball
Feel stuck on your trail side through impact
Get lower back discomfort from excessive side bend and sway
It may be less useful if your main issue is the opposite pattern, such as spinning open too early with no pressure shift at all. In that case, you still need to learn how to load properly, not just prevent a bump.
Step 10: Use a simple on-range checklist before every rep
If you want the golf swing wall drill to stick, keep your rehearsal checklist short.
Grip: left hand more on top
Connection: elbows working together
Load: pressure stays inside the trail foot
Transition: push from the inside, do not drift into the wall
Through swing: rotate around the lead side
Strike: cover the ball and move low point forward
This gives you one clear chain of cause and effect. Good hand structure supports connection. Good connection supports a stable pivot. A stable pivot supports rotation. Rotation supports forward low point and cleaner contact.
Step 11: Make the feel transfer from drill swings to real shots
Many golfers can do a drill slowly, then lose it completely when a ball is in front of them. To bridge that gap, use this progression:
No club rehearsal with your arms across your chest
Slow motion swings with a club
Half shots at low speed
Three-quarter shots while tracking strike and divot
Full swings only after contact improves
If the old sway returns at full speed, go back one step. The goal is not to force a perfect look. The goal is a repeatable strike pattern.
Step 12: Take away the right feel from the golf swing wall drill
The best summary is this: brace, do not sway. Keep pressure on the inside of your trail foot, then use that pressure to rotate through the shot. That is what helps you cover the ball, open up through impact, and shift low point forward.
If you are fighting heavy contact or a hanging-back release, this is one of the simplest concepts to test in practice. Small changes in pressure and body organization can produce a much more solid strike.
FAQ
What is the golf swing wall drill?
The golf swing wall drill is a feel that helps you avoid excessive lateral sway into your trail side. It teaches you to stay braced on the inside of the trail foot so you can push, rotate, and move low point forward.
Why do golfers bump the wall in the swing?
Golfers usually bump the wall because they over-shift laterally in the backswing or transition. This often comes from poor pressure control, a disconnected arm structure, or a body motion that slides instead of rotates.
How does keeping pressure on the inside of the right foot help?
For a right-handed golfer, pressure on the inside of the right foot creates a stable brace. From there, you can push from the ground, rotate through the ball, and improve contact without hanging back.
Can this golf swing wall drill help stop fat shots?
Yes, it can help if your fat shots come from swaying and leaving the low point behind the ball. By staying more centered and rotating through, you make it easier to strike the ball first and then the turf.
Should I feel weight on the outside of my trail foot?
No. The better feel is usually pressure on the inside of the trail foot. Rolling to the outside often makes it harder to rotate and easier to sway.
Does “don’t bump the wall” mean keep the lower body still?
No. You still need motion and pressure shift. The idea is to avoid uncontrolled lateral drift, not to become rigid. You want a braced load followed by rotation, not a frozen lower body.
0 Comments