
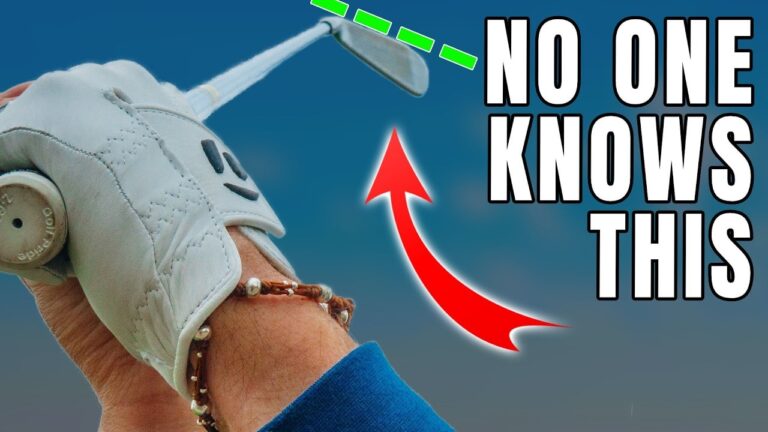
If you want to improve your golf ball striking, you need to understand what the clubface is really doing during the swing. One of the most confusing ideas in golf instruction is the belief that the clubface is “square” at the top of the backswing. In reality, the clubface naturally opens by roughly 90 degrees as you swing the club back.
That single concept explains a lot. It helps you understand why so many golfers struggle with face control, why common swing faults keep appearing, and why impact can feel so hard to repeat. It also gives you a much clearer way to train your release in golf.
Elite players manage this reality exceptionally well. The clubface opens in the backswing, then gets returned properly in the downswing and through impact. If you can learn that same pattern, your golf swing becomes simpler, more efficient, and much easier to trust.
Table of Contents
- Step 1: Understand why the clubface is not actually square at the top in golf
- Step 2: Recognize why this misunderstanding hurts your golf swing
- Step 3: See how good golf players manage the clubface
- Step 4: Build the correct delivery position for better golf face control
- Step 5: Learn what actually squares the clubface in golf
- Step 6: Train the release without a ball first
- Step 7: Add ground contact and short shots to your golf practice
- Step 8: Know the difference between a straight golf shot and a good golf release
- Step 9: Use the two-stage method to improve your golf swing
- Step 10: Make this part of your regular golf training
- Frequently Asked Questions
Step 1: Understand why the clubface is not actually square at the top in golf
Many golfers hear the word “square” and assume that means the clubface should look square to the target line at the top of the swing. That is not how the swing works.
As you take the club away and begin folding your arms, the shaft and clubface rotate naturally. If you attached a visual marker to the shaft and swung the club back in a normal way, that marker would rotate from vertical to horizontal. That is about 90 degrees of rotation.
In other words, the clubface is not square to the target at the top. It is open relative to the target line, even though many instructors and players casually describe that position as “square.”
This matters because language shapes how you move. If you think the face is already square at the top, you may never fully understand why you keep making compensations on the way down in your golf swing.
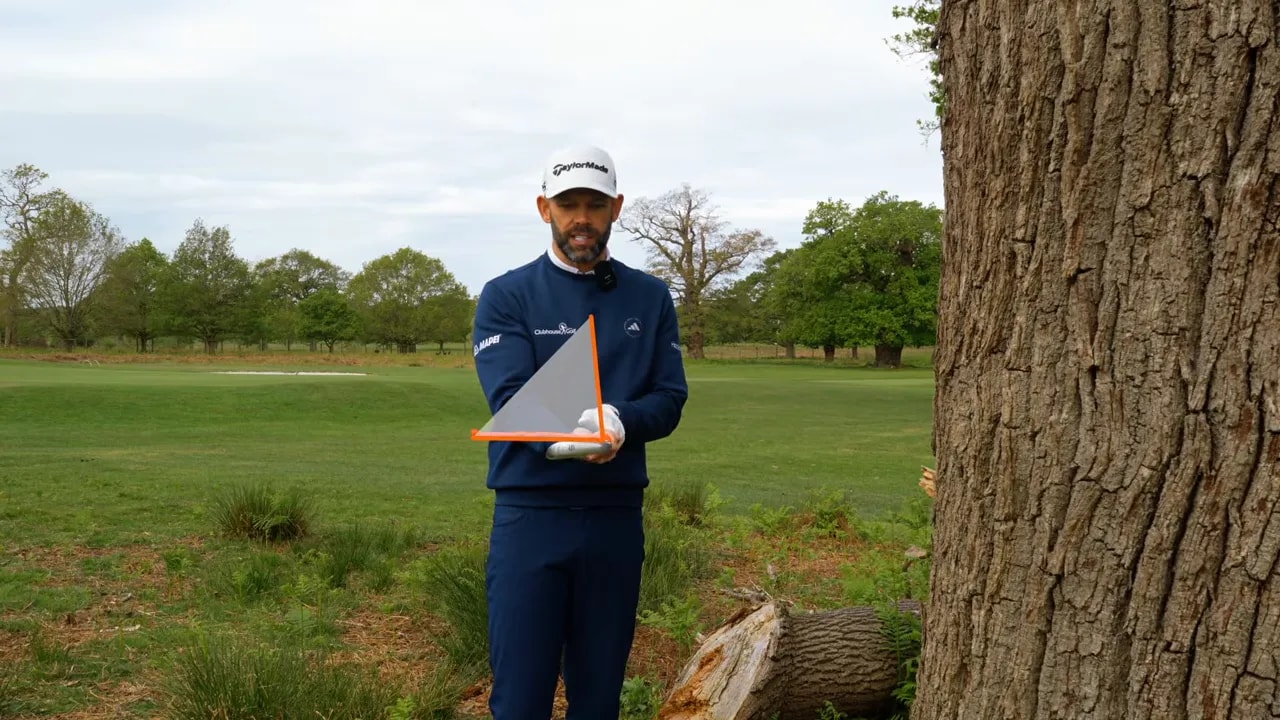
A simple way to picture this is to imagine holding a stick and trying to swing it around your body. You would not keep it in the same orientation all the way back. Your arms and the club would rotate together. That is normal. That is natural. And that is exactly why the clubface opens during the backswing in golf.
Step 2: Recognize why this misunderstanding hurts your golf swing
Once you accept that the face is open at the top, the next issue becomes obvious. If the clubface is open in the backswing, it has to be squared again before impact. That does not happen automatically.
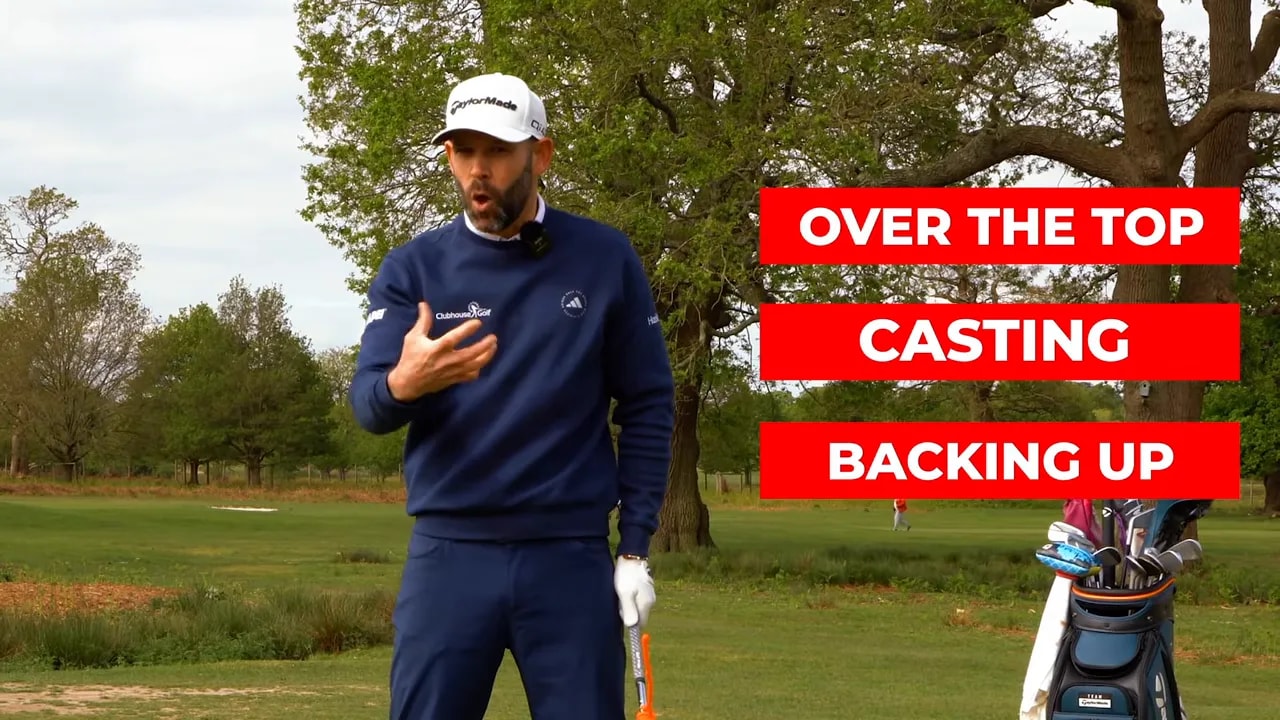
This is where many golfers get stuck. They know, consciously or subconsciously, that the clubface must be returned to the ball. But instead of doing it in a functional way, they use compensations.
Those compensations often show up as:
- Steepening the shaft
- Coming over the top
- Early release or casting
- Backing up through impact
- Handle moving backward instead of forward
These patterns are not random. Very often, they are the body’s attempt to square the face in time. A golfer may hit the ball fairly straight now and then, but the strike is inconsistent and the motion is inefficient.
That is an important insight for better golf. A fault is often not the original problem. It is the compensation for a face-control problem that started earlier.
Step 3: See how good golf players manage the clubface
Top players still have the face open at the top. That includes some of the greatest names in golf. The difference is not whether the face opens. The difference is how they organize the club in transition and how they release it into impact.
Instead of making last-second manipulations, great players match the clubface and body motion so the face can be delivered in a stable, powerful way.
The goal is not to keep the face square all the way back. The goal is to:
- Allow the natural opening in the backswing.
- Avoid making it even more open in transition.
- Learn how to square it correctly from delivery into impact.
That is the framework that makes this easier to train.
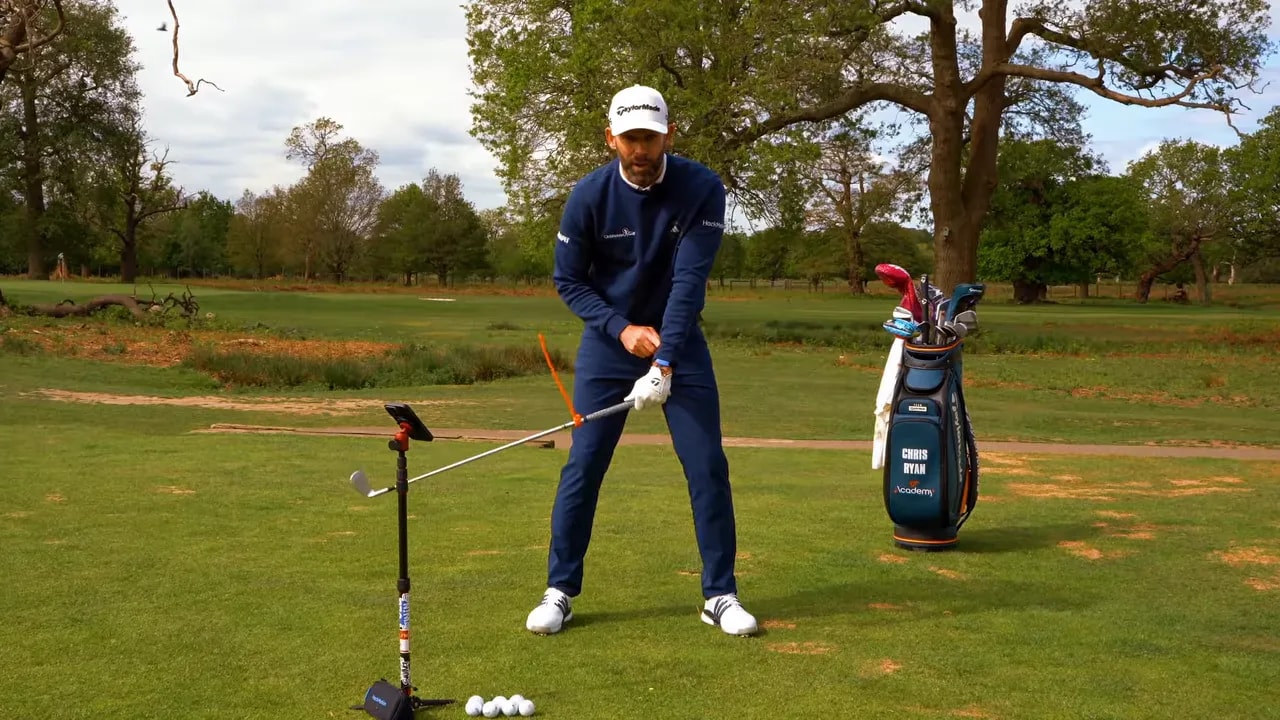
Step 4: Build the correct delivery position for better golf face control
The first stage of squaring the clubface happens before impact. It starts in the delivery position.
From the top of the swing, bring your lead arm down to a delivery position and check the clubface. In a good delivery position, the face is slightly turned down. Many golfers would call this square, but it is still open relative to the final impact alignments. There is still work to do.
The key point is this: do not make the face more open from the top down to delivery.
That mistake is extremely common in golf. A golfer starts from a normal top position, then pulls down on the handle in a way that twists the shaft and leaves the lead wrist looking more cupped or open. Now the face is even farther from square than it was at the top.
Once that happens, the downswing becomes a rescue mission. To square the face from there, you are almost forced to throw the clubhead, lose shaft lean, bend the elbows, or hang back through impact.
A better checkpoint is simple:
- Lead wrist looks fairly flat
- Clubface appears slightly turned down
- You feel that you have preserved the face, not opened it further
This is phase one of better clubface control in golf. You are not fully squaring the face yet. You are just making sure you have not made the job harder.
Practice drill for phase one
Use short shots of around 40 to 50 yards. Rehearse the move from the top down into delivery, pause there, check the face, then clip a small shot.
Your priority is not power. Your priority is awareness.
Try to notice:
- Whether the lead wrist stays organized
- Whether the face looks slightly down rather than wide open
- Whether you can repeatedly arrive in the same delivery position
If you can improve this stage, many issues in your golf swing become easier to solve.
Step 5: Learn what actually squares the clubface in golf
This is the part many golfers misunderstand most.
There is a popular idea that body rotation squares the clubface. Another common idea is that simply unhinging the wrists squares the clubface. Neither is enough on its own.
If you start from delivery and just rotate your body, the face can still remain open. If you only uncock your wrists and let the club drop, the face can still remain open.
What actually squares the clubface is a combination of movements:
- The club moves down toward the ground
- The forearm rotates
- The shaft and face respond to that rotation
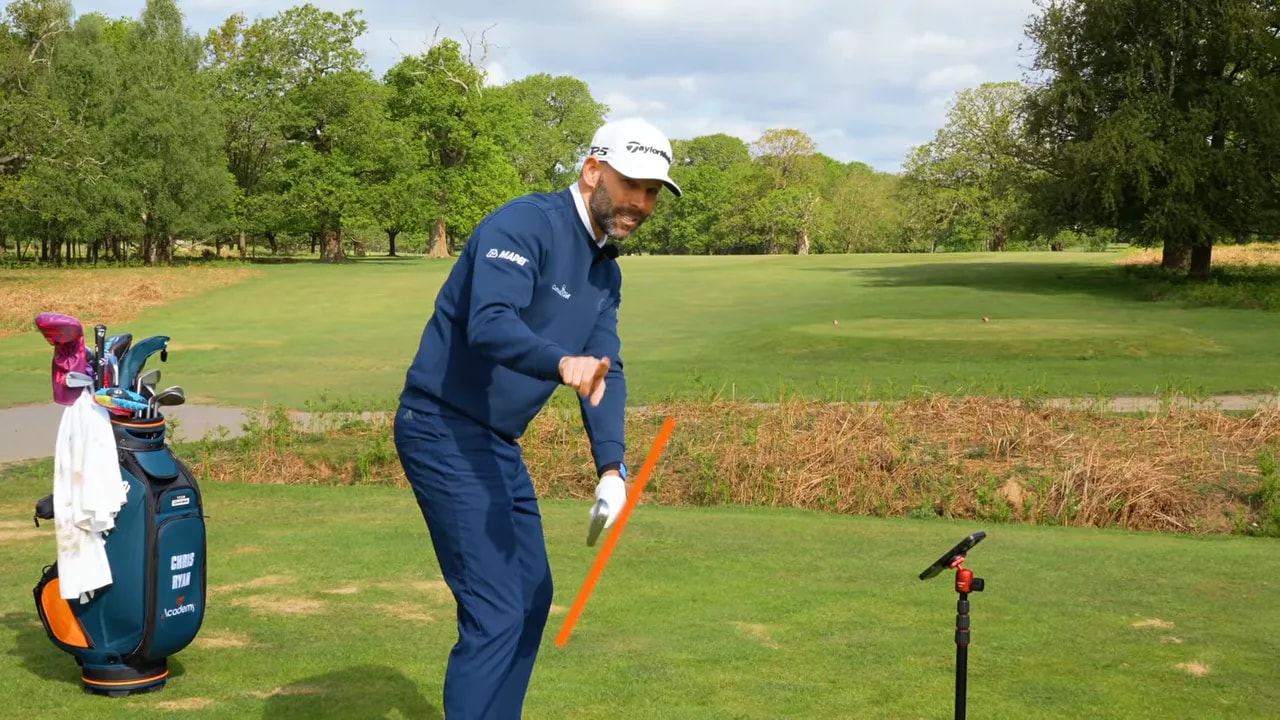
That is the real release pattern. In practical terms, your thumb pressure helps send the club downward, and your lead arm rotates back toward the target so the face can return to square.
A useful image is to think of the arm rotating away from the target in the backswing, then rotating back in the downswing. That reversal is a crucial part of face control in golf.
Step 6: Train the release without a ball first
The release happens fast. At full speed, it takes place in a blink. But you can still train it slowly and effectively.
Start from your delivery position. From there, rehearse three clear checkpoints:
- Hands forward
- Elbows close
- Clubface returned to square
That is the movement pattern you want through impact in golf. The challenge is that many golfers can square the face, but they do it with poor impact structure.
For example, you might be able to square the face by:
- Throwing the clubhead past your hands
- Letting the handle fall behind
- Leaning your upper body away from the target
Those moves may produce a straight shot occasionally, but they do not produce reliable, high-level golf.

The better pattern is to rehearse slowly until you can coordinate the release with solid impact alignments. If you wear a glove with a visible logo on it, you can even use that as feedback. In delivery, the logo may be less visible. Through release, as the forearm rotates, it becomes more visible. That tells you the arm is rotating back correctly.
Slow-motion release rehearsal
Use this sequence:
- Move into your delivery position.
- Check that the face is not excessively open.
- Rehearse the club moving down.
- Rotate the forearm so the face squares.
- Keep the hands forward and elbows connected.
Do it very slowly at first. The goal is to build a repeatable motor pattern for your golf swing.
Step 7: Add ground contact and short shots to your golf practice
Once you can rehearse the release without a ball, start clipping the ground and then progress to short shots.
This bridge is important. You are taking a slow technical rehearsal and turning it into a strike pattern.
Your priorities are:
- Clubface organized in delivery
- Proper forearm rotation through impact
- Hands still leading
- Clean, controlled contact
At this stage, distance is irrelevant. A crisp 40-yard shot with correct alignments teaches more than a full swing built on compensation.
As the movement improves, you can gradually lengthen the swing. The release should still feel like a product of good sequencing, not a rescue move.
Step 8: Know the difference between a straight golf shot and a good golf release
One of the biggest traps in practice is assuming that a straight shot means you used a good movement.
In many cases, golfers square the face the wrong way and still hit the ball fairly straight. That is why bad habits can survive for years in golf. The ball flight is good enough to hide the underlying issue.
But if you keep squaring the face through last-second manipulation, you will usually see one or more of the following:
- Inconsistent strike quality
- Poor compression
- Weak contact under pressure
- Timing-dependent ball flight
- Difficulty improving beyond a certain level
A proper release is not just about getting the face square somehow. It is about squaring the face the right way.
That distinction can transform your golf practice. Instead of judging every swing by whether the ball started online, you begin judging it by whether the movement pattern was efficient and repeatable.
Step 9: Use the two-stage method to improve your golf swing
The simplest way to organize all of this is with a two-stage method.
Stage 1: Manage the face from the top to delivery
- Accept that the face is open at the top
- Do not add more opening in transition
- Arrive in delivery with the face slightly turned down and the lead wrist organized
Stage 2: Release the face correctly into impact
- Do not rely only on body rotation
- Do not rely only on wrist unhinging
- Use arm rotation and proper release mechanics to square the face
- Keep the hands forward and elbows close through strike
This gives you a much more useful model for your golf swing than simply trying to “stay square.”
Step 10: Make this part of your regular golf training
If clubface control has always felt confusing, this concept can clear up a lot of frustration. The clubface opens in the backswing. That is normal. The skill is learning how to return it correctly.
For practice, keep it simple:
- Rehearse the top-to-delivery move slowly
- Check that you are not opening the face more in transition
- Practice slow release drills without a ball
- Move to short shots before full swings
- Focus on movement quality, not just ball flight
If you train these pieces consistently, your golf swing can become more stable, your strike can become more compressed, and many of your old compensations may begin to disappear.
That is the real value of understanding the clubface. It does not just change one technical detail. It gives you a clearer map for how the entire downswing works in golf.
Frequently Asked Questions
Is the clubface really open at the top of the golf backswing?
Yes. In a normal golf swing, the clubface naturally rotates open by about 90 degrees as the club moves back and the arms fold. Many golfers call this top position “square,” but it is not square to the target line.
Why do so many golfers struggle to square the clubface?
Many golfers do not realize how open the face is during the backswing and into delivery. As a result, they use compensations such as casting, steepening, or backing up to square it at the last moment. Those moves can work occasionally, but they are hard to repeat.
Does body rotation square the golf clubface on its own?
No. Body rotation helps the overall motion, but by itself it does not fully square the clubface. Proper face control in golf also requires the correct release pattern, including forearm rotation.
What should the golf delivery position look like?
A good delivery position has the clubface slightly turned down, not excessively open, with the lead wrist looking fairly flat and organized. The goal is to avoid making the face more open as you start down.
How should you practice clubface control in golf?
Start with slow rehearsals from the top to delivery. Then practice the release without a ball, focusing on hands forward, elbows close, and the face returning to square. After that, move to short shots before building up to fuller swings.
0 Comments