
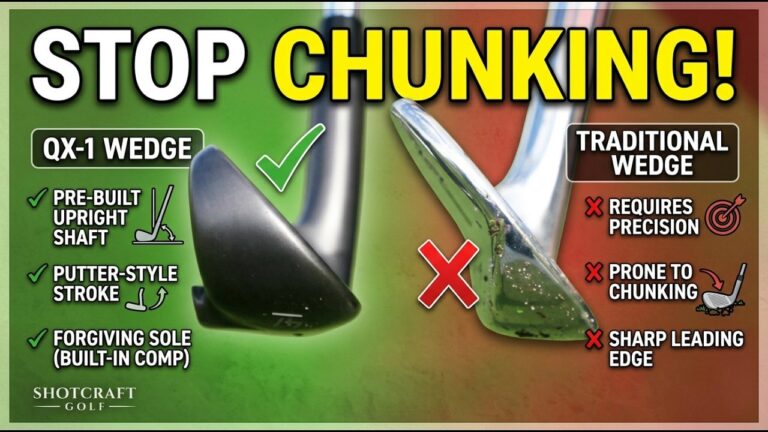
If your golf chipping feels unpredictable and you keep chunking shots, the issue is usually not your “swing.” It is how your wedge is interacting with the turf. Many wedges are designed to work with a sharper leading edge and narrower contact, which can punish slight mishits and create a dig when you hit behind the ball.
A better approach is to simplify the golf motion and make the club more forgiving. One effective strategy is learning to use your wedge like a putter: stable setup, minimal face and stance manipulation, and distance control using stroke length instead of changing technique.
Table of Contents
- Why golf wedges chunk (and why it feels like you “need” to change everything)
- Step 1: Decide how you want your golf wedge to interact with the turf
- Step 2: Use a putting-style setup for golf chipping consistency
- Step 3: Make the golf chipping stroke like a putting stroke
- Step 4: Control golf chipping distance with stroke length (not technique changes)
- Step 5: Dial in yardages for golf chipping using sticks and targets
- Step 6: If you miss hit, aim for “glide,” not “grab”
- Common mistakes in golf chipping that still cause chunking
- FAQ: Golf wedge putting-style chipping
- Bottom line: make your golf chipping repeatable and glide through the turf
Why golf wedges chunk (and why it feels like you “need” to change everything)
Chunking happens when the leading edge of your wedge catches the turf instead of sliding under it. Even if your swing is decent, a small strike error can expose the leading edge and cause the club to dig. That dig slows the club through impact, kills the ball speed, and often sends the ball short or inconsistently.
With many traditional wedges, this problem is amplified by three common factors:
- Sharper leading edge that can grab turf more easily when the club strikes low or behind the ball.
- Narrower sole that can concentrate pressure and make it easier for the leading edge to “find” the ground.
- Mis-hit sensitivity, where slightly behind the ball turns into a true chunk rather than a harmless skid.
The result is a cycle golfers often repeat: you add more manipulation, change your setup, open the face, adjust the path, or try to scoop. Those compensations can help sometimes, but they also make repeatability harder.
Step 1: Decide how you want your golf wedge to interact with the turf
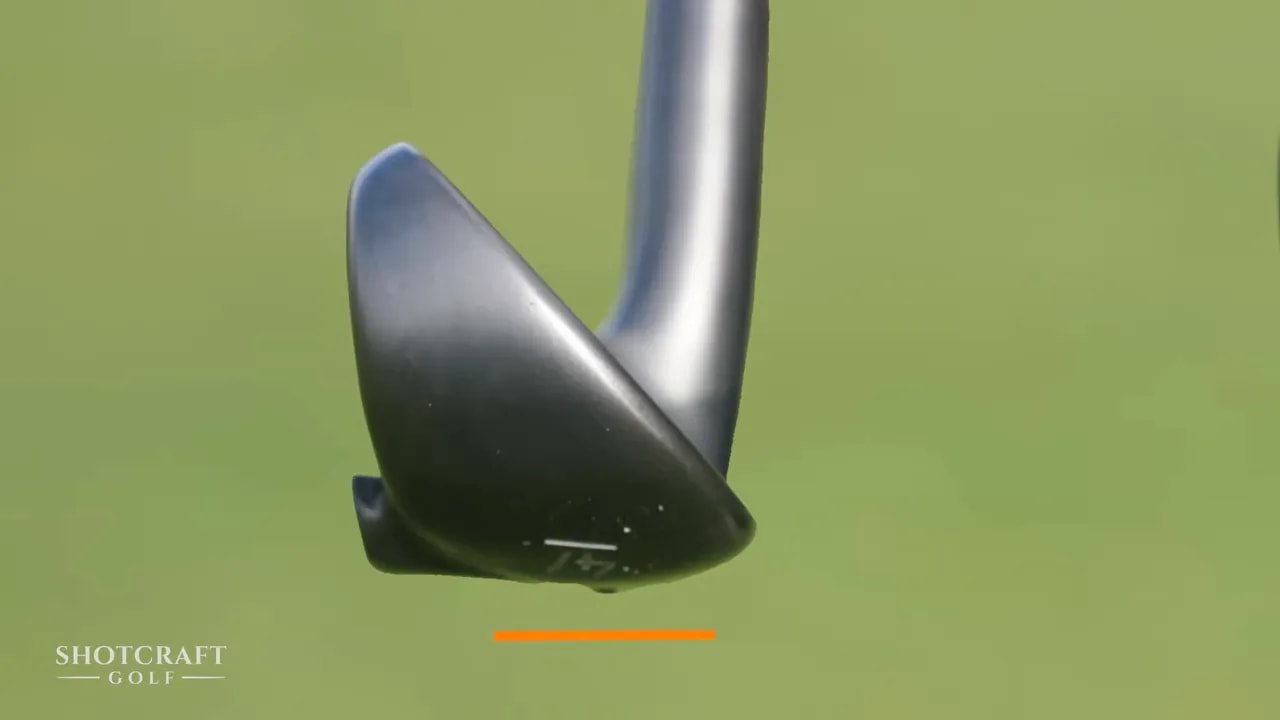
The key concept is to stop relying on delicate contact. You want a golf wedge and sole design that can tolerate a slightly “late” strike without digging. The goal is sliding, gliding, and consistent speed.
When a wedge does not dig, even imperfect contact produces better outcomes. That matters because around the greens, you are not hitting off a teed lie. You are hitting from grass, uneven surfaces, and sometimes damaged turf.
What to look for in a wedge that resists chunking
If you are choosing a wedge for golf chipping forgiveness, prioritize features like:
- More rounded and beveled leading edge to reduce turf grab.
- A wider sole that stays active from front to back so pressure distributes instead of “biting.”
- Bounce positioning that supports gliding even when you add shaft lean.
This combination can allow the club to keep moving through the turf instead of digging, which reduces the “PTSD” feeling that many golfers develop after repeated chunks.

Step 2: Use a putting-style setup for golf chipping consistency
To chip like a putter, your setup must remove decisions. You should not constantly open the face, widen your stance, or change your strike location. Instead, you create one repeatable address position that you can use from short and mid distances.
Start with these golf-friendly setup checkpoints:
- Stance: Keep it stable and simple. Many golfers benefit from a narrower, putting-like stance.
- Grip: Use a putting grip feel if it helps you keep the club face calm.
- Body: Let your upper body stay quiet and let your shoulders guide the motion.
- Ball position: Place the ball so your normal strike happens without forcing you to “cover” the ball with a sharp leading edge.
- Club face: Keep it square to your target line for the core motion. If the wedge design requires it, fine adjustments may be needed, but the goal is consistency.
When setup is consistent, your strike window becomes predictable. That is what turns chipping from “luck” into a routine.
Step 3: Make the golf chipping stroke like a putting stroke
The most reliable way to reduce chunking is to change the job of the stroke. Instead of “swinging at” the ball and turf, you “rock” the club through with controlled motion.
Use this motion pattern:
- Backstroke: Keep it short to medium. Avoid forcing extra wrists or lifting the handle.
- Forward stroke: Keep the motion smooth and let the club reach the ball.
- Arms and shoulders: Think shoulders and posture stability, not independent hand manipulation.
The goal is that the club interacts with turf in a controlled way, rather than by “catching” ground. A wedge with the right sole characteristics can make this dramatically easier.
Step 4: Control golf chipping distance with stroke length (not technique changes)
One of the biggest reasons golfers chunk more when they add distance is that they begin changing swing mechanics. They try to hit harder, open the face, or alter the path. Those changes often make turf contact worse.
Instead, use a straightforward distance dial based on stroke length:
- Shorter shots: Shorter backstroke and shorter follow-through.
- Medium shots: Add length and allow a natural release.
- Longer shots: Continue to increase the swing arc gradually, while keeping the same setup and putting-like feel.
Think of it like turning a clock hand. The farther back you go, the farther the ball goes.
Step 5: Dial in yardages for golf chipping using sticks and targets
Yardage control improves faster when you test with consistent setup and repeatable starting positions. A simple practice method is to place two markers behind the ball to represent the “landing zone” goal.
Try this:
- Choose a target near the flag, and then choose the landing point.
- Mark the back area (for example, two short sticks or small markers behind the target area).
- Set up the same each rep using your putting-style address.
- Vary only one variable: stroke length.
- Record results: note where the ball ends up and how far back your stroke went.
After a few sessions, you can map “20-yard,” “30-yard,” “40-yard,” and so on to a specific stroke feel.
Example golf chipping plan (short to mid range)
- 20-yard: Small putting-style rock, minimal body rotation.
- 30-yard: Slightly longer backswing, slightly longer follow-through.
- 40-yard: More arc and a natural release, while keeping the face square to your setup line.
- 50 to 60 yards: Gradually increase stroke length and allow more rotation. Still avoid changing technique mid-stroke.

Step 6: If you miss hit, aim for “glide,” not “grab”
The best system for reducing chunks is not only good technique. It is forgiving interaction. A properly designed wedge can keep its sole sliding even if you strike a bit behind the ball.
On mishits, you are looking for:
- Less turf bite when contact is late.
- More consistent ball speed when the club catches less ground.
- More predictable roll because the ball is not getting killed by a heavy dig.
In practice, this means that even if you do not land every rep perfectly, you do not have to fear the chunk as much. That reduces the urge to “fix it” with tension and frantic face changes.
Common mistakes in golf chipping that still cause chunking
Even if you adopt a putting-style approach, chunking can return if you repeat old habits. Watch for these common errors:
- Changing the face angle every shot instead of keeping it stable to your setup line.
- Trying to “help” the ball up by lifting the handle or scooping.
- Going too hard and losing the putting-like tempo.
- Adding shaft lean with fear, which can expose a sharp leading edge and grab turf.
- Moving the ball position repeatedly rather than testing yardages with consistent placement.
A wedge design can help, but you still need repeatable setup
Even the most forgiving golf wedge will not solve inconsistent setup. Your putting-style routine is what keeps your contact in the club’s “safe zone.”
FAQ: Golf wedge putting-style chipping
Can you use this golf chipping approach with a traditional wedge?
Yes, but it is usually harder. Traditional wedges often have narrower soles and sharper leading edges that dig more easily when contact is late. You may need more careful technique adjustments. The putting-style approach still helps because it reduces decision-making, but the club may be less forgiving on chunks.
What should I change first if I am chunking chip shots?
Start with contact and turf interaction. Use a putting-like setup and stroke first, then practice distance control by stroke length. If chunks continue, evaluate your wedge sole and leading edge forgiveness, since small strike errors can expose sharp edges on traditional designs.
How do I stop chunking when my lie is slightly rough?
Keep your same routine and increase effort through stroke length rather than changing mechanics. With a wedge that glides through turf, slight mishits in rough usually cost less. Avoid trying to “pinch” the turf with extra chop.
How far can this golf chipping method go?
Many golfers use it from short touch distances out to about 50 to 60 yards for bump-and-run style shots. For longer carries or high loft requirements, different club selection and swing approaches may be needed.
What is the main reason chunking improves with a putting-like stroke?
The putting-like stroke reduces timing stress. It keeps your upper body quiet, limits face manipulation, and helps you strike consistently. When your setup is repeatable, you spend less time trying to “save” the shot with compensations.
Bottom line: make your golf chipping repeatable and glide through the turf
To stop chunking chip shots, simplify the motion and control distance with stroke length. Pair that with a wedge sole and leading edge designed to resist digging, so even slightly late contact does not turn into a heavy dig-and-short shot.
If you adopt a putting-style setup, practice yardages with consistent markers, and prioritize stable face and tempo, your golf short game becomes far more predictable. The turf becomes less of an enemy and more of a surface the club can work with.
Next practice session, choose one yardage range, keep your setup unchanged, and adjust only your backswing length. That single change builds confidence fast and reduces chunking.
0 Comments