
Table of Contents
- Step 1: Master the Free Release — How to hit driver longer & straighter
- Step 2: The Glove Logo Drill — Train the rotation that squares the face
- Step 3: Re-hinge the club — add power without flipping
- Step 4: Keep Your Head Back — control angle of attack
- Step 5: Shoulder Down — stay tilted and deliver from the inside
- Step 6: Setup Fundamentals that unlock the through-ball moves
- Step 7: Practice drills and a simple routine
- Checklist: The Three Words to Remember
- Step 8: Troubleshooting common problems
- Practice plan for 4 weeks
- FAQ
- Final notes and a short checklist to practice today
Step 1: Master the Free Release — How to hit driver longer & straighter
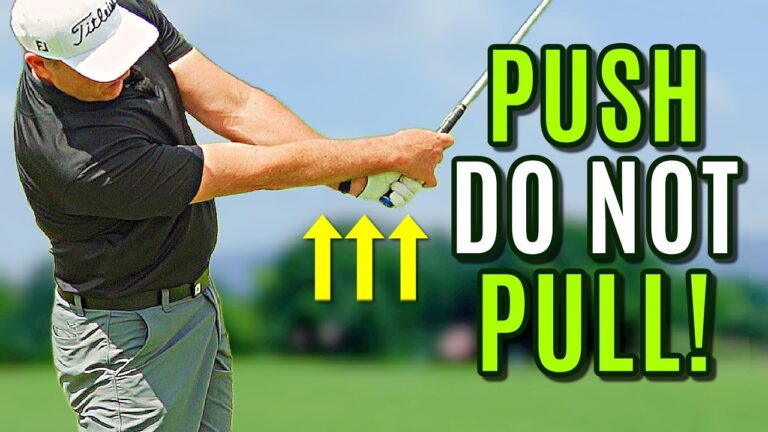
Driving well comes down to three coordinated actions through impact: a free release of the hands, the head staying back, and the trail shoulder staying down. Together these moves square the face, control the angle of attack, and send the ball on a powerful, predictable flight. The single most important of those is the free release. If you do not free release the club through the ball, you will struggle with weak right misses, topped shots, inconsistent contact, and lost distance.

The free release is not a flippy wrist motion. It is a combination of two things:
- Arm rotation — your lead hand and forearm turning through impact.
- Re-hinging — the wrist set coming back through impact rather than staying flat or opening too early.
A simple visual indicator you can use right away is the left fingers moving under the right fingers as you come through impact. That position signals the arm rotation that elite drivers use. But you must achieve that rotation without the right shoulder hiking up. If the right shoulder rises, your body will stand up, contact becomes inconsistent, and distance is lost.
Step 2: The Glove Logo Drill — Train the rotation that squares the face
Use the glove logo on your lead hand as a measurable feel to build the correct amount of arm rotation. At a point in the downswing when your hands are just below hip height:
- Start with the glove logo pointing away from you.
- Rotate through so the glove logo points behind you at impact.
Repeat this motion slowly without a ball until it feels natural: glove logo away, glove logo behind. Doing several repetitions builds the neural pattern of rotation and helps you square the club face consistently. If your ball flight drifts to the right (weak right miss), add more rotation. If you overdraw left, moderate the rotation slightly.
Step 3: Re-hinge the club — add power without flipping
The second half of the free release is the re-hinging action of the wrists. Many amateurs leave the wrists too flat through impact or fail to let the hands re-cock so they never unlock the club face properly. The effective re-hinge angle is usually around 30 to 45 degrees — think halfway between pointing straight at the target and straight to the sky.
A quick feel drill:
- Start with the glove logo pointing away and the thumb of your lead hand up toward the sky in your delivery position.
- As you swing through, let the glove logo move slightly down and away while the thumb rotates to point back up toward the sky.
The combination of the glove logo turning down and the thumb turning back up produces the face rotation necessary to square the club and deliver speed to the ball without needing to swing harder.
Step 4: Keep Your Head Back — control angle of attack
A correct angle of attack with the driver is essential for distance. To hit the ball long, the clubhead should approach from slightly low and inside. If your head and upper body move too far forward through impact, the club will strike too far down the face and likely produce pulls, weak fades, and loss of distance.

Use this mental image: picture a vertical wall rising from the ball. During your free release you want to keep the head behind that imaginary wall while the hips continue forward. Head back, hips forward. That split movement lets the club approach from below the ball and maximize launch while maintaining a more neutral face at contact.
Step 5: Shoulder Down — stay tilted and deliver from the inside
The trail shoulder (right shoulder for right-handed players) should stay down relative to the lead shoulder through impact. This keeps you tilted into the shot, prevents standing up, and encourages an inside path for the club. When the shoulder remains down, the shaft approaches on the desired plane and the club is more likely to arrive square to the target.
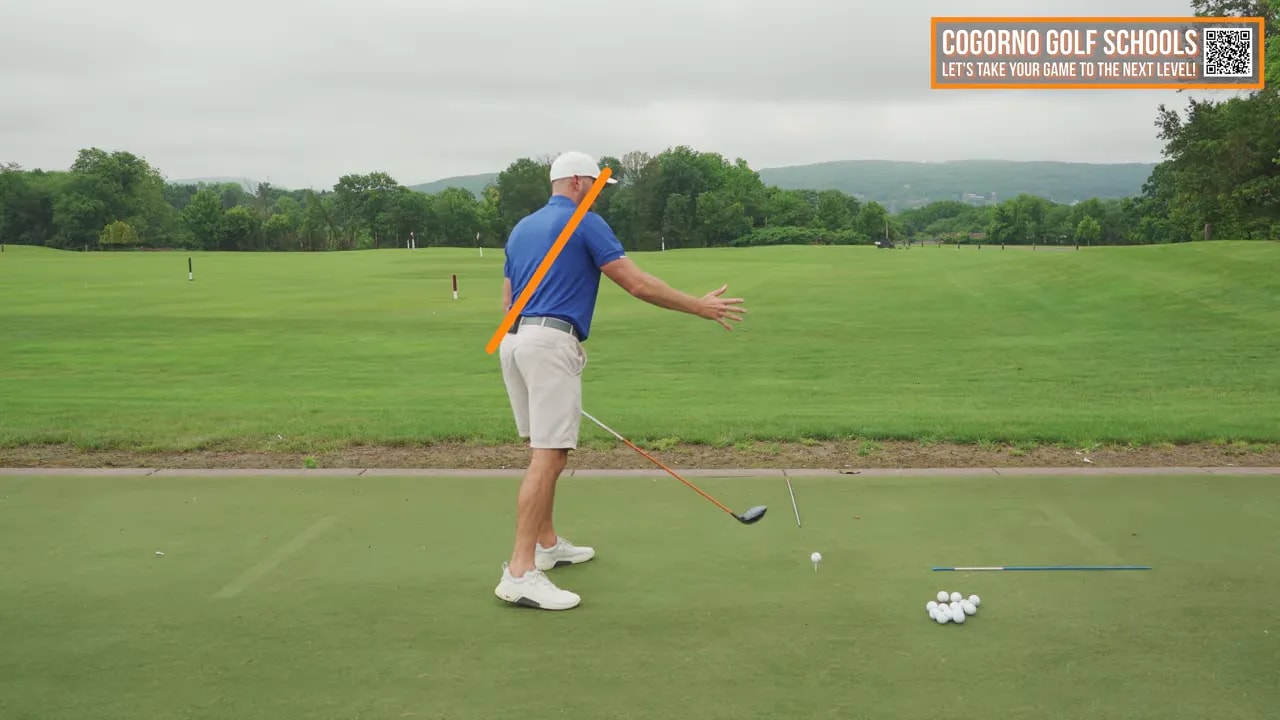
Think of the follow-through positions of elite drivers: they freely release the club and their hips drive forward, but their head stays back and the trail shoulder remains lower. This posture preserves the inclination to the ground and helps maintain consistent, centered contact.
Step 6: Setup Fundamentals that unlock the through-ball moves
The through-ball sequence is powerful, but setup sets the table. If your address position does not support a low-and-inside approach, the free release and head/shoulder positions will not produce consistent results.
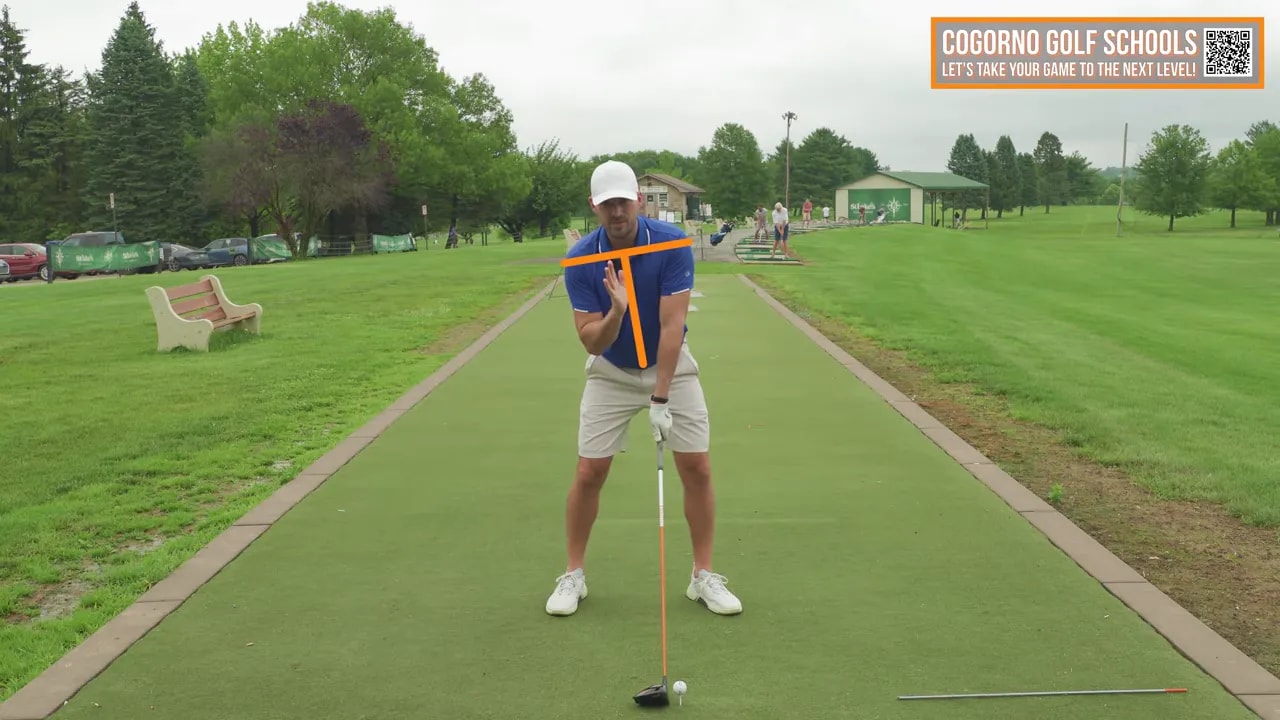
Key setup elements:
- Lead-side tilt: Every segment on your lead side should be slightly higher than the trail side — ankle, knee, hip, elbow, shoulder, and even the ear. This creates the spine tilt needed to swing up and left through the ball with the driver.
- Stance: Feet just outside shoulder width gives the base for balance and rotation.
- Ball position: Place the ball roughly at your lead armpit. Not too far forward toward the shoulder and not too far back past the shirt logo.
When you combine a proper setup with the free release, head-back feel, and shoulder-down action, the club will consistently approach the ball from low and inside, the face will be more square at impact, and you will see gains both in accuracy and distance without needing extra effort.
Step 7: Practice drills and a simple routine
The following progressive routine will help you ingrain these changes:
- Warm-up with half swings focusing on the glove logo drill — glove away, glove behind. Perform 10 reps with a light tempo.
- Practice the re-hinge without a ball: start in your delivery position and rotate the glove logo down and thumb up-back through a step-through motion. 8 to 12 reps.
- Address the ball and hit mid-length swings with a fairway wood concentrating on head back of the ball line and shoulder down. Use a narrow target window to monitor dispersion.
- Gradually move to driver while preserving the feel: free release, head back, shoulder down. Start with 70 percent swings and move up as contact becomes consistent.
- Record a few swings from down-the-line to check that the left hand is under the right and the glove logo points behind the body through impact.
Add these practice habits to each session for a few weeks and you will build the coordination required to make the free release automatic under pressure.
Checklist: The Three Words to Remember
- Free release — arm rotation plus re-hinge through the ball.
- Head back — keep the head behind the vertical line from the ball so the club approaches low and inside.
- Shoulder down — trail shoulder stays lower to preserve tilt and inside path.
Combine those three and your driver will move from inconsistent to dependable. The movement creates a square face, better launch conditions, and more speed at impact without over-swinging.
Step 8: Troubleshooting common problems
If the ball curves to the right (weak right miss)
You probably lack sufficient arm rotation. Use the glove logo drill and exaggerate the rotation slightly until the ball flight straightens out. Make sure the right shoulder does not rise as you rotate.
If you pull or overdraw to the left
You may be over-rotating or re-hinging too aggressively. Reduce the arm rotation and check that the clubface is not closed at setup. Slightly chill the glove-logo turn until the flight is neutral.
If you top or hit poor contact
Most often your head is moving forward or you are standing up. Re-focus on keeping the head back of the ball line and the trail shoulder down. Slow practice swings and impact position checks will help.
Practice plan for 4 weeks
- Week 1: Build the feel — 10 minutes every session on glove logo rotations and re-hinge, no ball required.
- Week 2: Apply with club — 20 minutes on half to 3/4 swings, focusing on head-back and shoulder-down feel.
- Week 3: Add driver — work on 70 to 90 percent swings, monitor dispersion, and record a few swings for feedback.
- Week 4: Play and test — use the new setup on the course, focus on the three words during each tee shot, and adjust minor details as necessary.

FAQ
How do I know if I have enough arm rotation?
At a hands-below-hip position in the downswing your lead-hand glove logo should move from pointing away from you to pointing behind you by impact. If the ball consistently flies weak right, add rotation. If it overdraws left, reduce rotation slightly.
What exactly is re-hinging and how do I feel it?
Re-hinging is allowing the wrist set to rotate back through impact so the thumb of your lead hand turns up and back while the glove logo moves down and away. The feel is a subtle wrist cock coming back during the release — about a 30 to 45 degree feel between pointing at the target and pointing at the sky.
Won’t rotating the arms make the club flip and cause hooks?
Proper arm rotation combined with controlled re-hinging squares the face. The hardest part is keeping the right shoulder down and the head back. When those are together, arm rotation creates consistency and distance rather than a flip.
How should my ball be positioned for driver?
Place the ball close to your lead armpit. Avoid moving it too far forward toward the shoulder or too far back past the shirt logo. This position supports the desired low-and-inside approach to the ball.
Will this technique add distance without swinging harder?
Yes. Squaring the face at impact, delivering the club from a low-inside path, and letting the wrists re-hinge efficiently increase effective clubhead speed at impact and improve launch conditions. The result is more distance with controlled effort.
How do I stop my head from moving forward?
Use the “imaginary wall” visual: picture a vertical line rising from the ball and keep your head behind that line while your hips drive forward. Slow practice swings and impact-position checks help turn the feel into a habit.
Final notes and a short checklist to practice today
- Warm up with the glove-logo rotation drill for 5 to 10 minutes.
- Practice re-hinging without a ball until the wrist feel is consistent.
- Address the ball with lead-side tilt, ball at lead armpit, and feet slightly outside shoulder width.
- Hit controlled driver swings focusing on free release, head back, shoulder down.
- Record a couple swings, check that the left hand is under the right through impact, and adjust accordingly.

These steps give you a clear, repeatable path to drive the ball longer and straighter. Practice deliberately, prioritize one change at a time, and use the feel-based drills to lock the mechanics into your swing.
0 Comments