

Unlock consistent, powerful drives with our expert tips on optimizing your golf driver setup. Forget complex swing changes—your path to precision starts here.
If your drives are slicing, hooking, or lacking distance, the solution isn’t as elusive as you might think. It’s all about your golf driver setup. Spend a moment checking these setup essentials before each tee shot to cut slices, cure hooks, improve contact, and add yards to your drive.
Why Driver Setup Matters
The quickest improvements often don’t come from rehauling your swing. Instead, small tweaks to your setup can produce remarkable results. Let’s dive into the key adjustments:
Step 1: Ball Position – Set for Launch
Start with the ball positioned off your lead heel. This placement helps your swing reach a low point just behind the ball, promoting an upward strike for higher launch and optimal spin.
- Allows your body to rotate naturally without overreaching.
- Prevents delofting, ensuring stronger, more accurate shots.
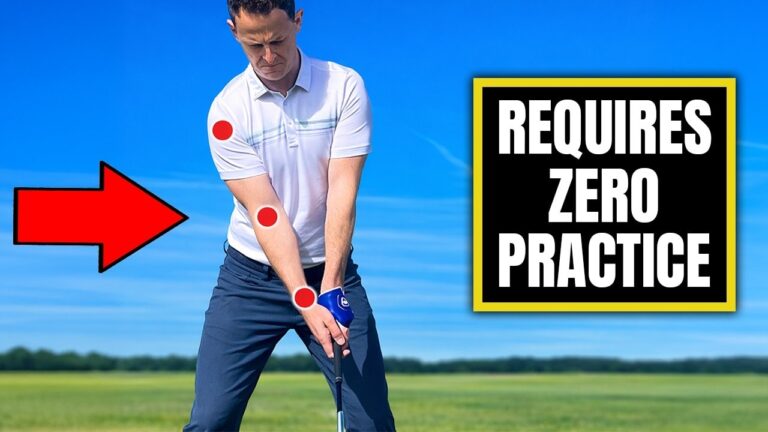
Step 2: Trail Arm and Club Alignment
Ensure your trail arm rests on your chest, with the club extended forward. This alignment:
- Encourages a natural inside-to-out swing path.
- Keeps the clubface squared with the target line.
- Increases delivered loft for higher flight.
Step 3: Elbow and Forearm Setup
Proper elbow orientation can dictate your shot’s shape:
- Lead elbow points towards the target.
- Trail elbow points towards the trail hip.
This alignment aids in closing the face through impact, promoting draw or straight shot.
Step 4: Pre-Shot Routine – Quick Mirror Check
Embrace the mirror before the course. Verify your setup with:
- Ball position and arm alignment.
- Lead elbow to target; trail elbow to hip.
- Tilt from hips, arms naturally hanging.
- Visualize target and body “box”.
Step 5: Distance From the Ball
Avoid being too close or far by ensuring:
- Forward tilt from hips.
- Arms hang naturally, forming a club-width gap from thighs.
- Consistent center strikes.
Step 6: Visualize the “Box”
Visualize a box around your body, ensuring your lead hip stays inside, preserving swing radius and enabling upward ball strikes.
Pre-Shot Checklist
- Ball off lead heel.
- Trail arm on chest.
- Elbows aligned: lead to target, trail to hip.
- Correct posture and distance.
- Visualize your body box.
These five setup points ensure you start with a foundation for straighter, longer drives.
Setup Changes for Common Swing Problems
- Slicing: Adjust arm and elbow alignment to influence your path.
- Hooking: Check ball position and spacing.
- Thin shots: Ensure correct body tilt and arm hang.
Debunking Setup Myths
A proper setup often trumps swing overhauls, proving more reliable and less complex.
Progressive Practice
- Master setup in front of a mirror.
- Integrate the routine on the practice range.
- Increase swing speed while maintaining form.
FAQ
How should I position the ball?
Place it just inside your lead heel to encourage upward strikes without overreaching.
Will setup changes benefit skilled players?
Yes, optimized setups can enhance any golfer’s consistency and distance.
How long until setup changes feel natural?
With consistent practice, many golfers adapt within a few sessions.
Final Notes
Delving into your setup unlocks immediate improvements without swing changes. Adopt these setup capabilities for more accurate, confident drives. Consistency begins at address and translates into remarkable on-course performance. Track your setup with videos for continued progress.
0 Comments