
Struggling with an inside or looping takeaway? The problem is usually not that you need to force the club outside. It is that the club never gets off the ground and up in front of your hands. This article gives a clear, step-by-step golf takeaway fix you can practice immediately: how to set your hand path, hinge properly, and reconnect your arms to your body turn so the club arrives on plane and you can rotate through for more consistency and power.
Table of Contents
- Why the takeaway matters and what “inside takeaway” really is
- What you must understand before you practice: hand path, hinge, and turn
- Step 1: Setup and the “love zone” for club butt alignment
- Step 2: Train the correct hand path — hands stay low, club gets above (focus keyphrase: golf takeaway fix)
- Step 3: Create the hinge correctly — heel-to-toe hinge direction
- Step 4: Drill sequence — three drills to fix an inside takeaway
- Step 5: How to diagnose your takeaway quickly
- Common mistakes and how to avoid them
- Practical practice plan (4-week progression for the golf takeaway fix)
- Checklist to know you fixed it
- How do I know if my takeaway is inside or simply not hinged?
- Should I try to push the hands outside to correct an inside takeaway?
- What does “hands stay below, club gets above” mean in practice?
- How long will it take to see improvement?
- What if I lose my posture or height when trying to hinge?
- Final takeaway
Why the takeaway matters and what “inside takeaway” really is
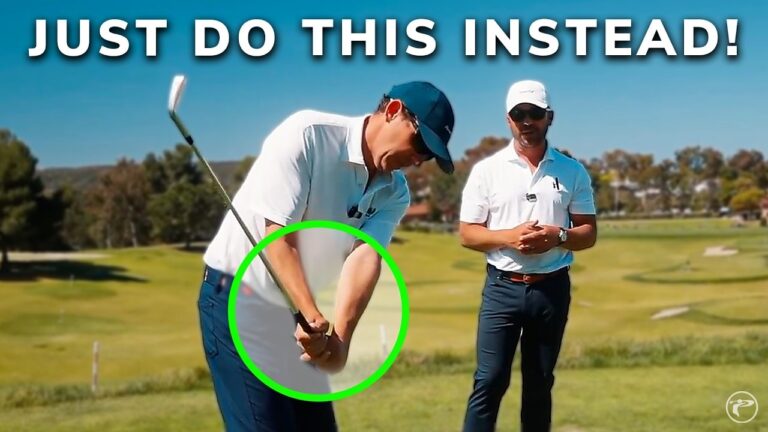
The takeaway sets the geometry for the entire swing. If the club starts too far behind your hands or too low, the rest of the swing must compensate with flips, over-the-top moves or manipulated wrist actions. An “inside takeaway” commonly looks like the club head sitting several inches below your hands when your arms are in line with your feet. That visual is less about a path problem and more about failing to hinge the club early enough so the shaft rises up in front of the forearm.
Key idea: Your hands should follow the direction of your body turn. The club should hinge up and sit in front of the forearm as your shoulders rotate. If that hinge does not happen, the club will appear to travel inside and behind.
What you must understand before you practice: hand path, hinge, and turn
- Hand path: Your hands should move back along the line of your feet (pocket high) as your torso begins to turn. Do not try to lift your hands up and out independently.
- Hinge: The wrist angle that lifts the butt of the club so the shaft travels up in front of your trail forearm. Hinge is created by the body turn pushing the hands away—not by flicking wrists alone.
- Turn: Your shoulder rotation is the engine that both moves the hands and creates the hinge. Turn and hinge must happen together; one without the other produces little or nothing.
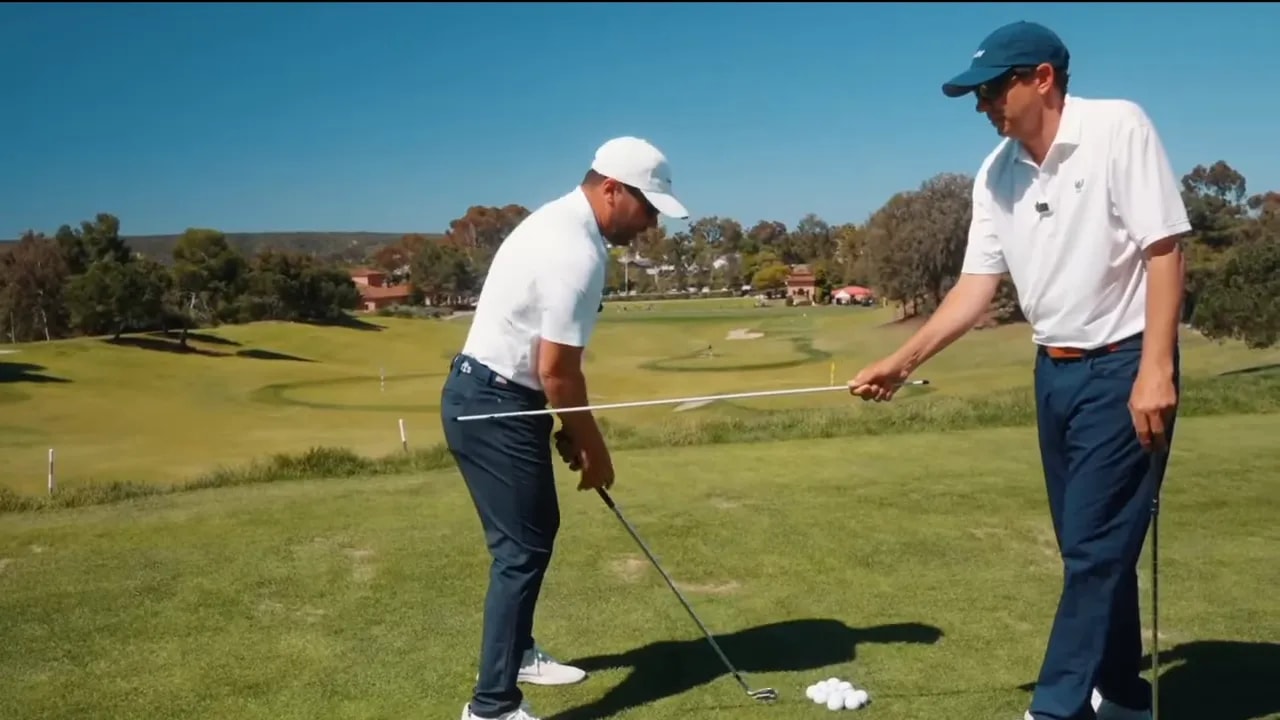
Step 1: Setup and the “love zone” for club butt alignment
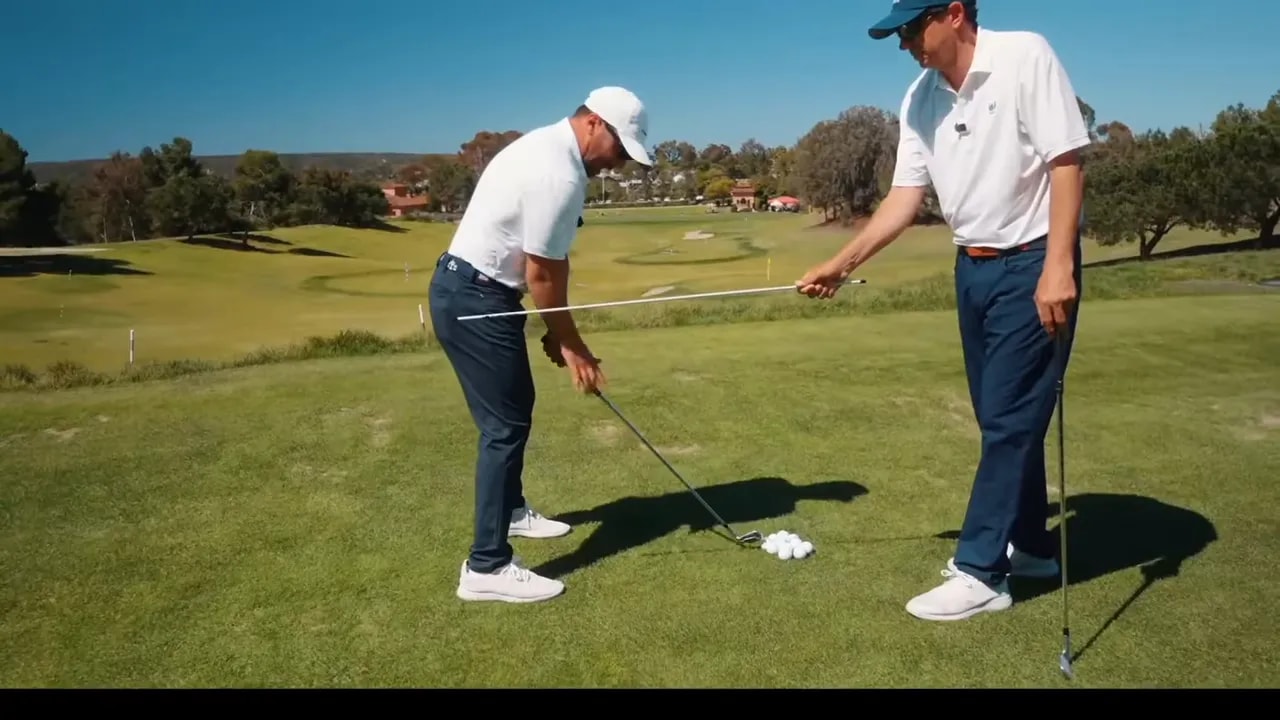
Before you move the club, check the address position. The butt of the club should point either to the golf ball or slightly inside the ball line—about 0 to 6 inches inside. If the butt points over the golf ball toward the target at address, that often causes early flipping or attempts to shove the club outside.
How to check at address:
- Address the ball with your usual posture and grip.
- Extend the trail arm down and visualize where the butt of the club would intersect the ground. It should be roughly at the ball or just inside it.
- Make micro adjustments to grip or setup until you feel the butt is in the “love zone.” This helps your hinge move the shaft up the right plane when you start the takeaway.
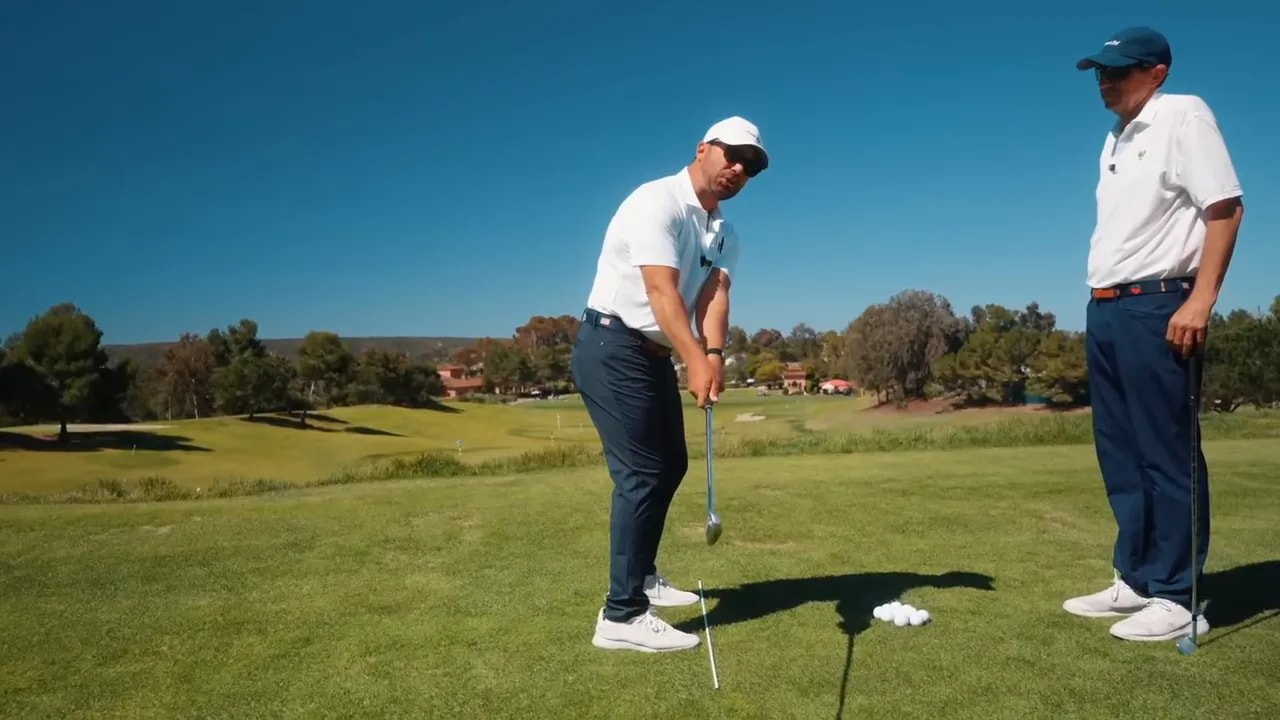
Step 2: Train the correct hand path — hands stay low, club gets above (focus keyphrase: golf takeaway fix)
The mantra for this step is hands stay below, club gets above. That means your hands move back on the line of your feet at about pocket height while the shaft rises into its hinge in front of your forearm as your shoulders rotate.
Why this works:
- Keeping your hands low prevents you from “jacking up” the path and creating an artificial looping motion.
- It enforces connection between the body turn and arm movement so the hinge is created by the shoulder moving the hands, not by your wrists or arms acting alone.
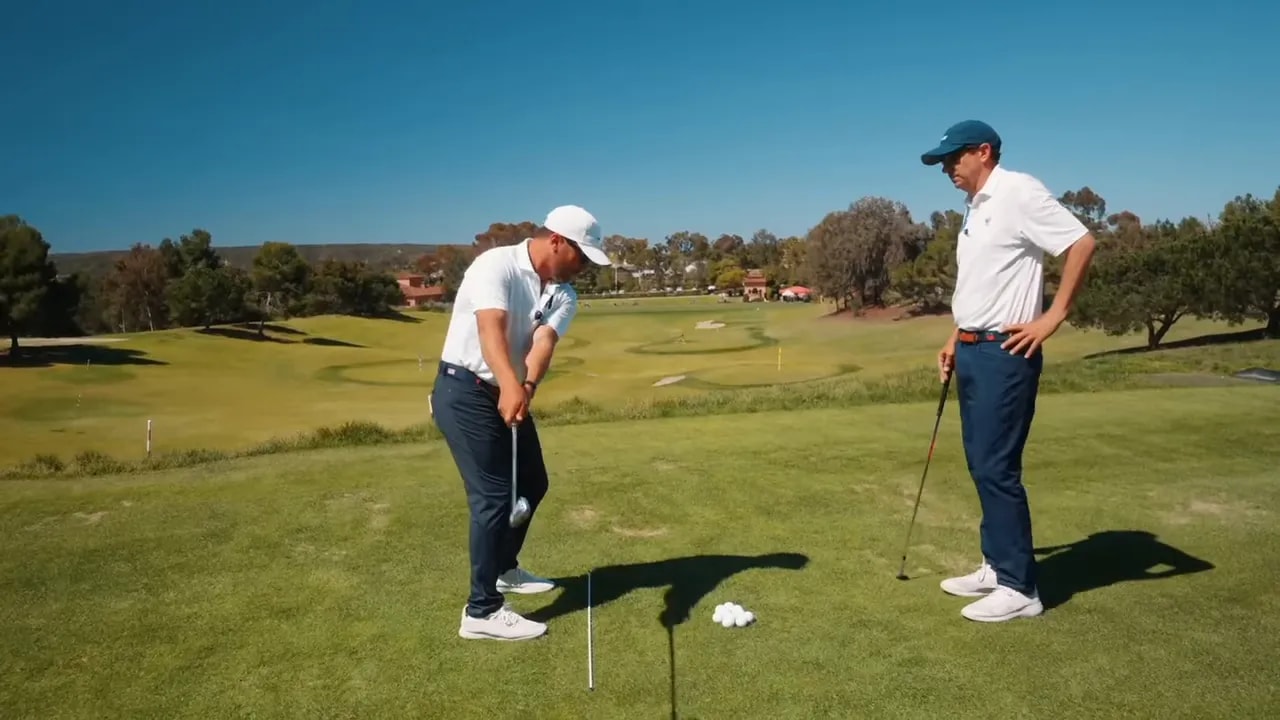
Simple check:
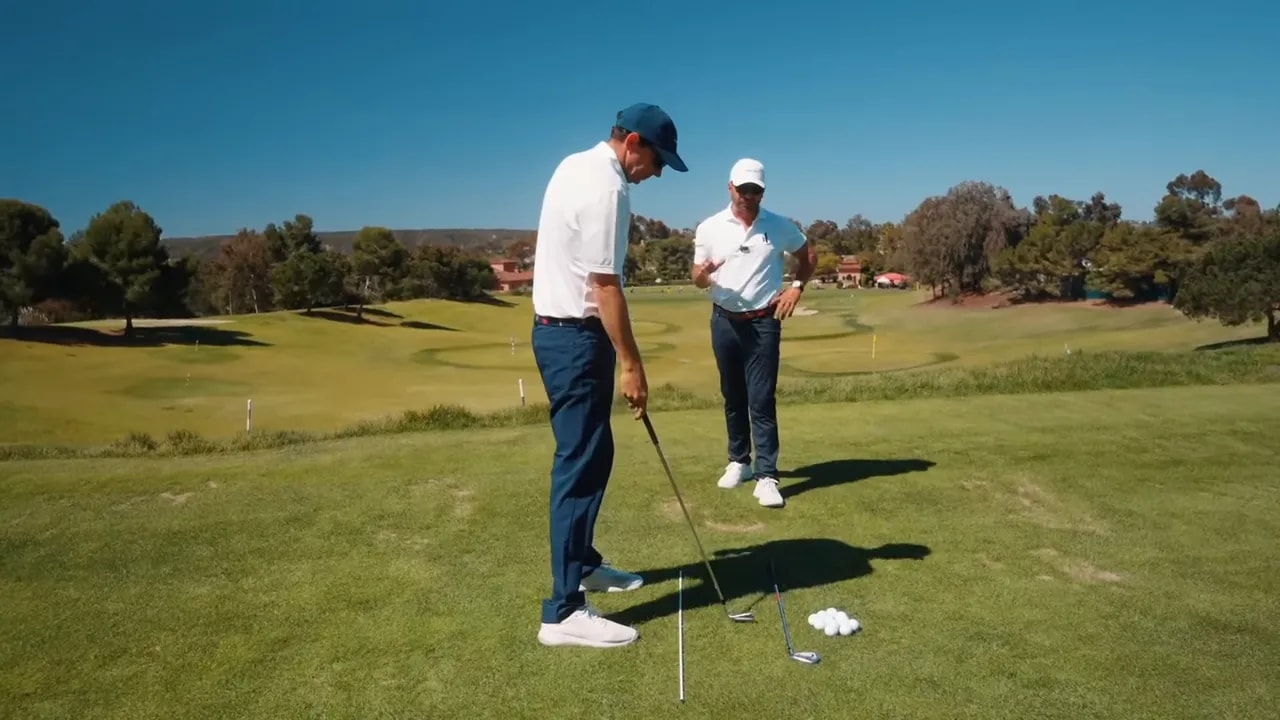
- From setup, take the club back slowly until your hands are aligned with the line of your feet and at pocket height. Pause.
- If the club head is several inches below the hands at that moment, you likely failed to hinge enough. The club must get off the ground and rise in front of your trail forearm.
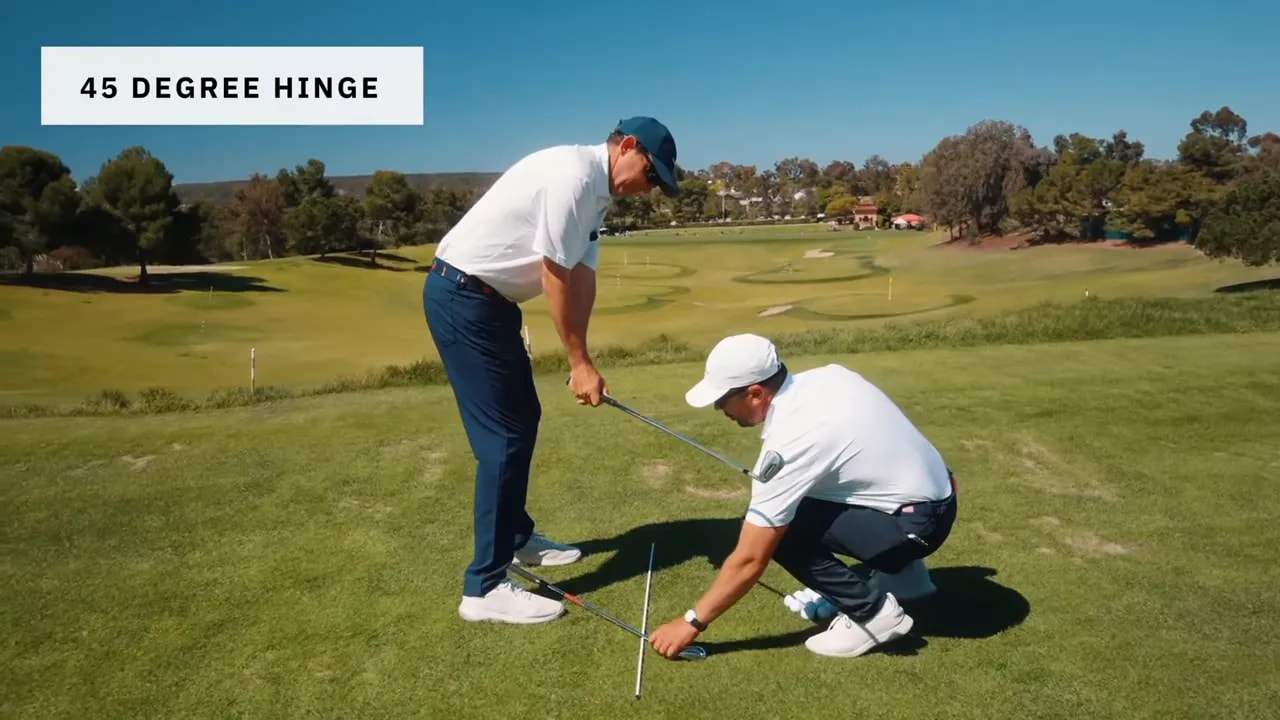
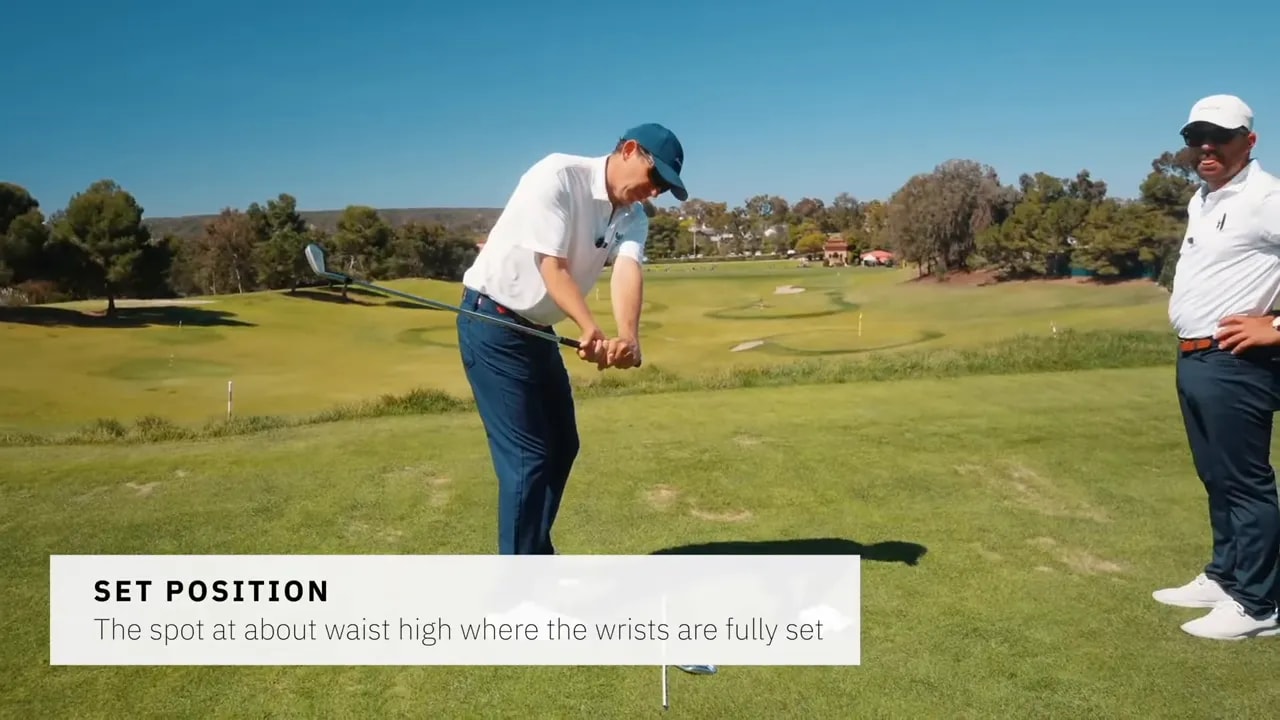
Step 3: Create the hinge correctly — heel-to-toe hinge direction
Hinge direction matters. The correct hinge tips the club from trail hand heel toward the toe, which moves the shaft up and behind your lead forearm and places the butt roughly in the love zone. Do not hinge by simply lifting the wrists upward; let the turning shoulder push the lead hand back and away and use the leverage between the lead arm and the club.
How to feel it:
- Grip the club with a normal hold and address the ball.
- Start your takeaway with a slow, controlled shoulder turn and feel the lead shoulder push the lead hand slightly back and away from the target.
- Allow the trail hand to feel a bit of trigger action; this helps the shaft rise on the proper heel-toe axis.
- Maintain a small downward pressure on the lead hand’s heel pad to preserve connection and avoid picking the club up with isolated wrist action.
This produces a hinge where the shaft rises in front of the forearm and the butt points to the love zone instead of over the ball.
Step 4: Drill sequence — three drills to fix an inside takeaway
Do these drills in order. Start slowly and exaggerate the feel; speed will come as the motion becomes automatic.
Drill A: The Pause-at-pocket drill
- Take your normal setup.
- Slowly take the club back until your hands are at pocket height and in line with your feet. Pause for two seconds.
- Check the shaft: is it in front of your trail forearm? Is the butt pointing toward the ball or slightly inside? If not, adjust hinge and try again.
- Make 20 controlled reps without hitting balls, then move to the next drill.
Drill B: Towel under the arms drill
- Place a light towel between your chest and arms to encourage connection.
- Slowly take the club back using a shoulder-driven turn. The towel prevents the arms from flying away and forces the hands to stay connected to the torso.
- Feel the hinge happen as the lead shoulder pushes the lead hand back and away. The towel supports a correct hand path and discourages lifting the hands alone.
- Do 10 to 20 reps, then progress to hitting half shots without the towel.
Drill C: Hinge-and-turn swing feel
- Take the club to the pocket-height pause point and hold the hinge. From that hinged position, rotate through to a soft impact feeling and finish.
- If you only hinge and do not turn you will feel no power. If you only turn and do not hinge you will feel nothing. Combining both creates effortless rotation and a natural release.
- Repeat with short chips or half swings until the feel becomes consistent.
Step 5: How to diagnose your takeaway quickly
Use this short checklist to determine whether your issue is path, hinge, or setup:
- Visual check at pocket-height: If the club head is 6 to 7 inches below your hands when your hands are aligned with your feet, you did not hinge enough.
- Butt alignment at address: If the butt points over the ball at setup, you are more likely to cup or flip through impact.
- Hand motion during takeaway: If your hands jack up (move too high), you are creating a disconnected hand path. Keep hands lower and let the turn lift the shaft.
- Posture changes: If you push down into the swing and lose height, you are collapsing the body and losing width. Maintain spine angle and posture while turning.
Common mistakes and how to avoid them
- Forcing the club outside: Trying to shove the club outward with your hands breaks the connection to your body turn and creates a loop. Instead, develop hinge through rotation.
- Lifting the hands: Jacking hands up disconnects the swing and encourages an over-the-top move. Keep hands low and pocket height on the start.
- Hinging without turning, or turning without hinging: Both isolate the mechanics and produce little result. Always hinge and turn together.
- Losing posture while pushing down: Some golfers push the hands down to create hinge but collapse the upper body, lose width, and reduce rotation. Keep your spine angle and chest level as you hinge and turn.
Practical practice plan (4-week progression for the golf takeaway fix)
Follow this progressive plan to ingrain the correct takeaway and hinge. Do the on-range routine 3 times per week and the drills on practice days.
- Week 1 — Awareness and reps: 15 minutes of Pause-at-pocket drill, 10 minutes of towel under arms, then 20 slow, controlled swing-throughs. Focus on feeling the hinge in front of the forearm.
- Week 2 — Slow strikes and feedback: Add half swings with an alignment stick on the ground to monitor club butt pointing. Make 50 practice swings per session, alternating drills and slow strikes.
- Week 3 — Speed integration: Gradually increase swing speed while preserving the hinge and hand path. Hit 30 half-to-3/4 swings focusing on a consistent pause at the pocket position.
- Week 4 — On-course application: Start using the feel on the course. For the first 6 holes, take one or two practice swings with the hinge-and-turn feel before each tee shot to reinforce the motion under pressure.
Checklist to know you fixed it
- The butt of the club points at the ball or about 6 inches inside at setup.
- At the pocket-height pause, the shaft sits in front of the trail forearm, not several inches below the hands.
- You can rotate and hit a controlled straight shot from the set position without manipulating wrists late.
- Ball flight becomes more consistent and you experience easier power because rotation and release are happening on plane.
How do I know if my takeaway is inside or simply not hinged?
If you pause when your hands reach pocket height and the club head sits low several inches below your hands, you probably did not hinge enough. An inside takeaway is often a hinge issue. Use the Pause-at-pocket drill to confirm and then practice hinging while turning the shoulders.
Should I try to push the hands outside to correct an inside takeaway?
No. Forcing the hands outside typically disconnects the swing and creates worse timing issues. The proper solution is to hinge the club so it rises in front of your forearm while your shoulders rotate. Let the body turn set the hands and the hinge, not an isolated hand push.
What does “hands stay below, club gets above” mean in practice?
It means you keep the hands moving back at pocket height (below the level where you might raise them) while the shaft hinges and rises on the proper axis. The hands should feel connected to the shoulder turn; the club head should move up and forward in front of the forearm rather than trailing behind and low.
How long will it take to see improvement?
Many golfers notice immediate changes in feel after a few focused practice sessions. Muscle memory and consistency can take several weeks to build. Follow a structured practice plan, use the drills above, and track progress with the pause-at-pocket check and on-course results.
What if I lose my posture or height when trying to hinge?
That usually indicates you are pushing down rather than turning. Keep your spine angle and chest level; let the lead shoulder drive the hinge while maintaining posture. The towel drill helps prevent collapsing the chest and losing width.
Final takeaway
Fixing an inside or looping takeaway is rarely about forcing the club outside. The true golf takeaway fix is learning to hinge the club properly while keeping your hands low and letting your shoulders turn. Use the pocket-height pause, hinge drills, and the progressive practice plan to rebuild the start of your swing. When hinge and turn work together, you get cleaner plane, a natural release, and effortless power.
Start every practice session with 10 controlled Pause-at-pocket reps, then progress through the drills. Use the checklist and the FAQ to diagnose and confirm your progress. With consistent attention to hinge, hand path, and rotation you will see the takeaway transform your ball striking.
0 Comments