
Focus keyphrase: trail arm punch
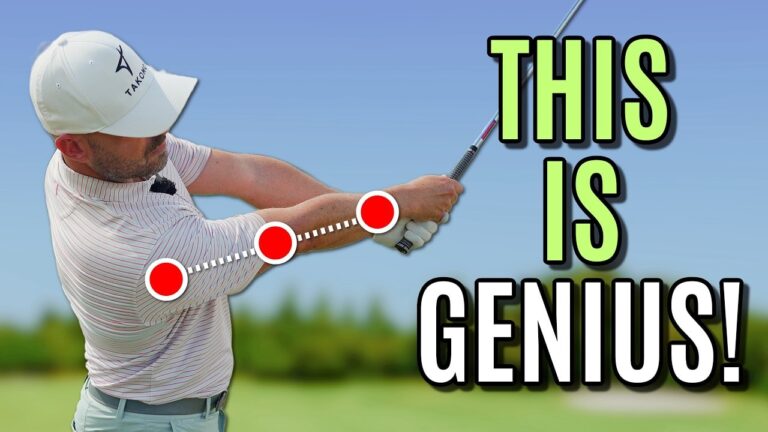
Great ball striking comes from extension through impact. Many golfers obsess over keeping the lead arm straight, but the real unlock is the timing and action of your trail arm. When you learn to execute a controlled trail arm punch—combined with the correct shoulder, hip, and chest positions—you create reliable, compressed contact and consistent distance with every club.
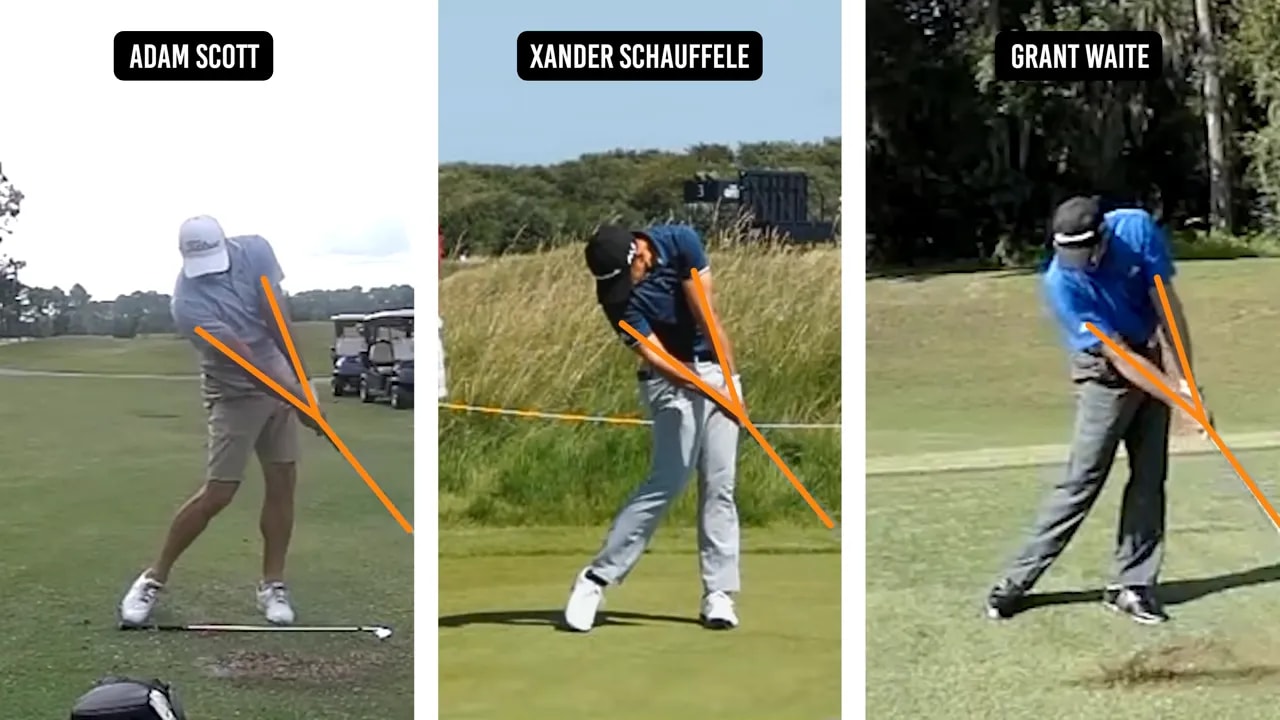
Table of Contents
- Step 1: Why the trail arm punch matters (trail arm punch)
- Step 2: Learn the trail arm punch drill (trail arm punch)
- Step 3: Add the trail shoulder under — the body motion that pushes your arms forward
- Step 4: Drive the hips forward to create arc and width
- Step 5: Chest extension—give the arms room to punch
- Step 6: Timing the trail arm punch
- Step 7: Putting it together — a practice sequence
- Step 8: Use feedback to refine timing
- Common error corrections
- How long will it take?
- FAQ
- Final checklist: your on-course routine for the trail arm punch
Step 1: Why the trail arm punch matters (trail arm punch)
Picture two swings: one where the trail arm stays bent through impact, and one where it straightens in the correct sequence. If the trail arm stays bent, the left arm will be forced to fold to meet it. That leads to weak contact, thin shots, and unpredictability.
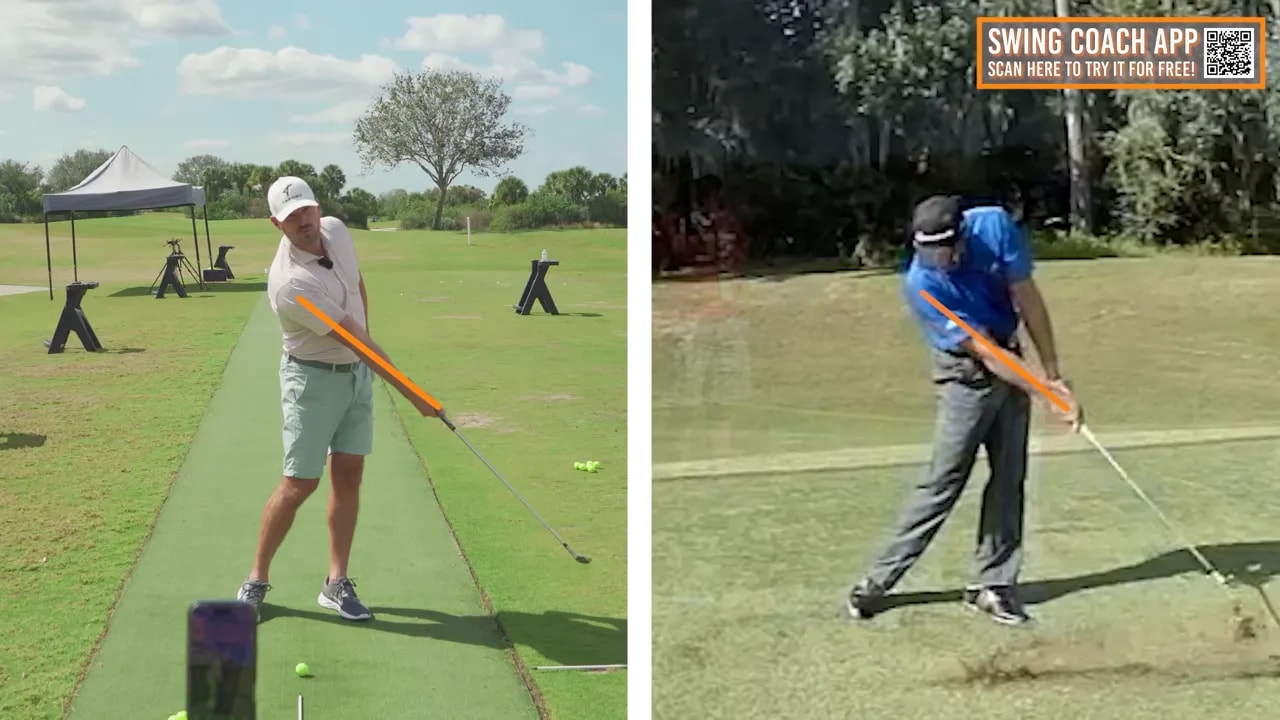
Pros achieve a look-through impact: both arms feel long, with full extension around 45 degrees past the ball. That extension does not happen by focusing only on the lead arm. Instead, the trail arm must actively straighten, or punch, in the downswing so the lead arm can stay long as the club moves through the ball.
Step 2: Learn the trail arm punch drill (trail arm punch)
This drill isolates the trail arm and trains the release that good ball strikers use. It is simple, repeatable, and safe to do with any club.
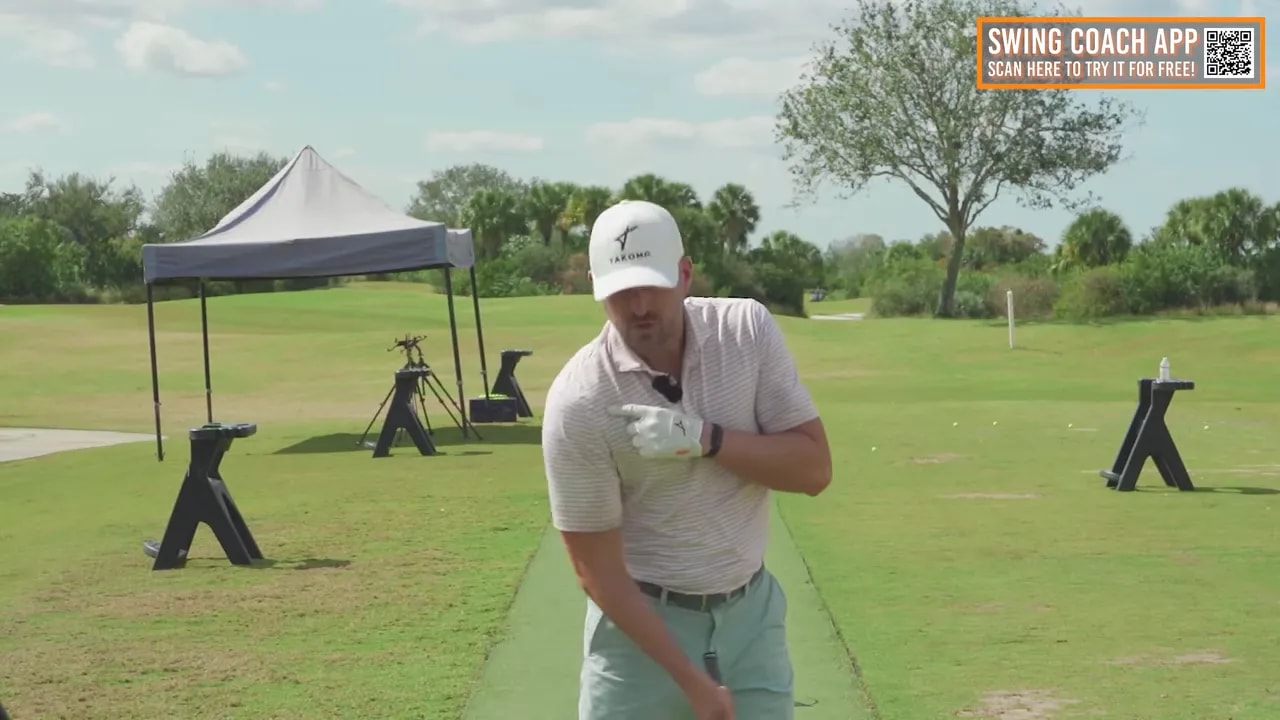
- Make a small backswing while deliberately folding your trail arm and cocking your trail wrist.
- On the downswing, feel like you “punch” the trail arm straight and release the trail wrist so the clubhead moves down and strikes the turf every rep.
- Practice three focused reps at first: fold the trail arm, then punch it so the clubhead hits the ground. The goal is clubhead to ground, not clubhead to ball.
The muscle memory you build here trains the trail arm to be an active driver of the release. Without this, you will constantly be chasing the lead arm and forcing your hands into awkward positions at impact.
Step 3: Add the trail shoulder under — the body motion that pushes your arms forward
Straightening the trail arm is only one part of the equation. If you punch the arm but your body stays back, your hands will still be too close and the butt of the club will sit near your body. The result is limited arc, weak contact, and poor compression.
The correct sequence adds a body motion: as you punch the trail arm, your trail shoulder must move forward and under the chin. That single action pushes the hands and clubhead forward, creating the extension you see on tour players.
Step 4: Drive the hips forward to create arc and width
Hips forward equals hands away. Good ball strikers do not finish with their hips back and hands close to their body. They rotate and shift, pushing the hips forward so the butt of the club extends away from the torso.
Sequence these three moves: trail arm punch, trail shoulder under, then hips forward. Hips forward creates the width of the arc, allowing the trail arm extension to reach that 45-degree past-impact position rather than being cramped close to the body.

Step 5: Chest extension—give the arms room to punch
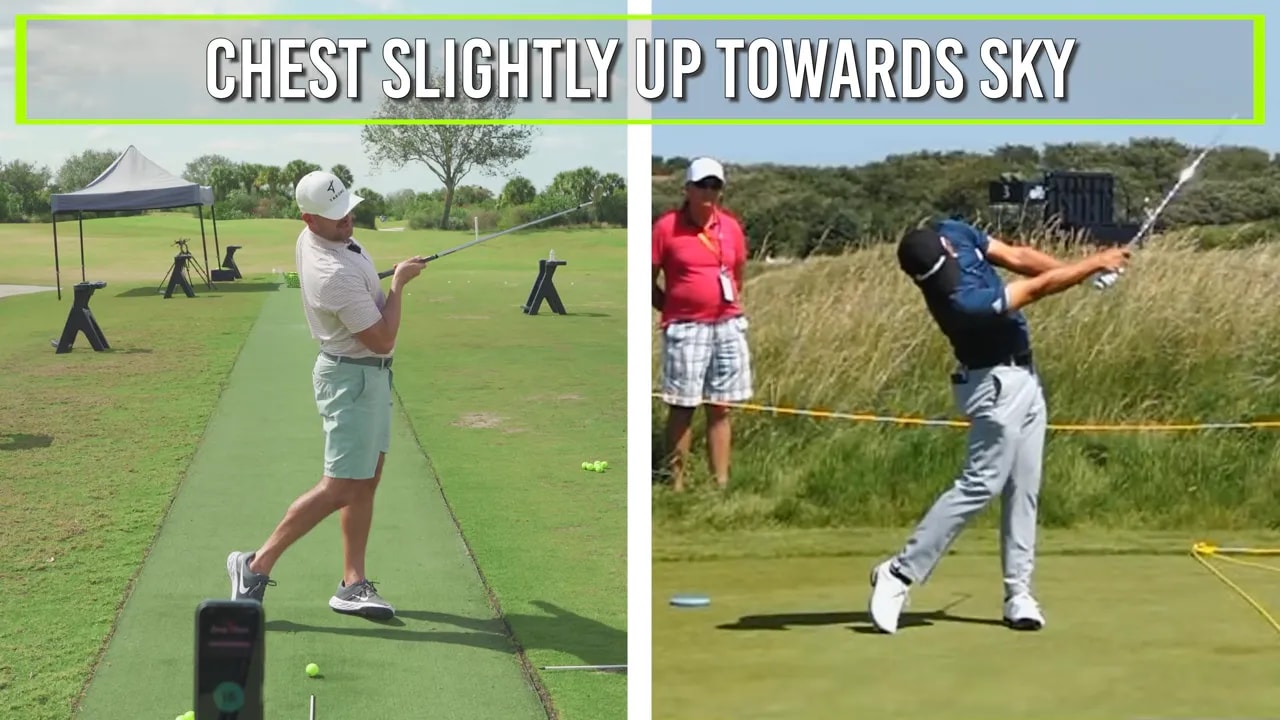
A final but critical piece is chest extension. As you punch the trail arm and drive the hips forward, the chest should slightly rise—think of brief extension through your mid-upper torso. That chest extension gives the arms the space to finish the punch without collapsing the upper body.
Important detail: the chest can rise while the trail shoulder stays relatively low and under. That separation—upper-chest extension with shoulder staying down—creates the room your trail arm needs to finish the release properly.
Step 6: Timing the trail arm punch
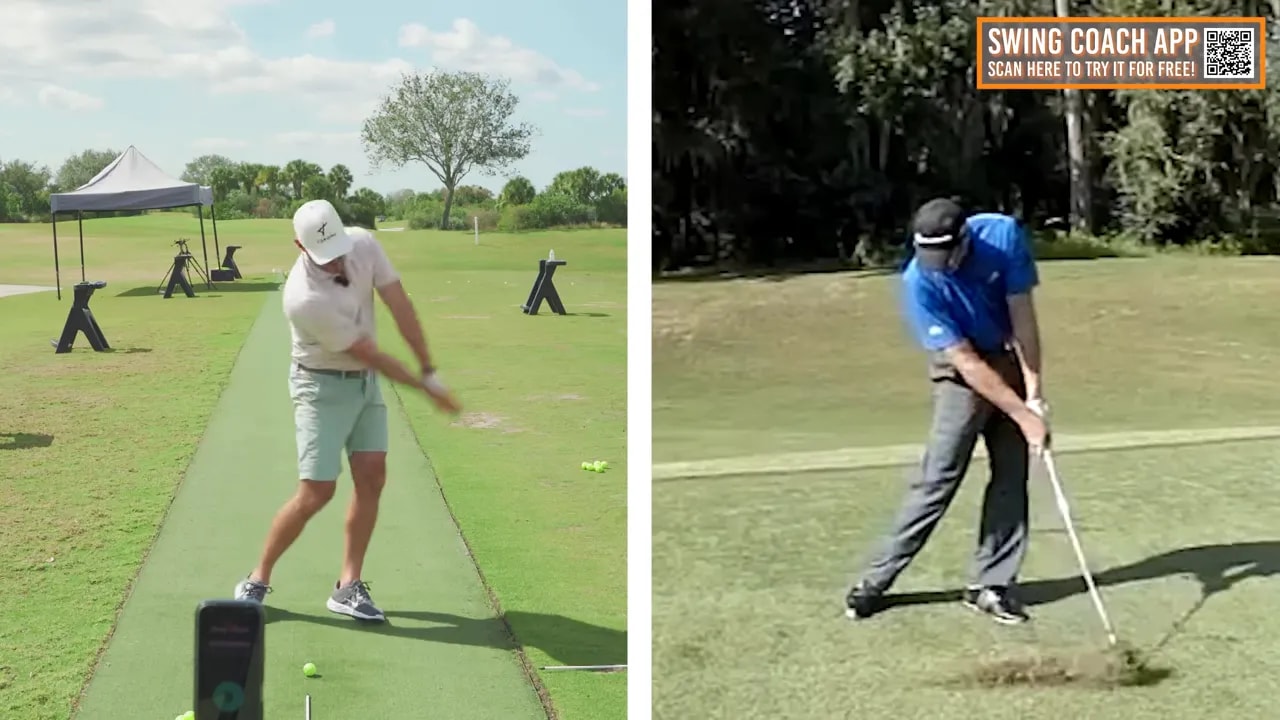
Timing is the single most common mistake. If you fully straighten the trail arm too early, you will hit behind the ball. If you keep it bent too long, the lead arm folds and you miss compression. The trail arm should be in the process of straightening at impact and reach full extension roughly 45 degrees past the ball.
Key feelings to practice:
- Feel the trail arm punching “at the ball”—not too early, not too late.
- As the arm moves through, get the trail shoulder working forward and under and your hips pushing your belt buckle past your trail ankle.
- Maintain slight chest extension so the arms have room to finish.
Step 7: Putting it together — a practice sequence
Use this step-by-step practice sequence to groove the full move. Work one piece at a time, then combine.
- Trail arm punch only: 3 sets of 10 reps focusing on punching the arm and hitting the ground with the clubhead each rep.
- Trail arm plus shoulder under: 3 sets of 8 reps adding the forward-under motion of the trail shoulder to move the club out front.
- Add the hips forward: 3 sets of 8 reps, feeling the belt buckle move forward, the butt of the club extend away, and the arc widen.
- Full sequence with chest extension: 4 sets of 6–8 reps with full speed, focusing on punch, shoulder under, hips forward, chest up.
- Transfer to ball: hit short irons on the range with the final sequence. Aim for crisp contact: ball first, turf second.
Vary the club. The same mechanics apply to a 9-iron, 5-iron, or hybrid. If the move feels exaggerated with a long club, reduce the swing length and focus on the sequence rather than power.

Step 8: Use feedback to refine timing
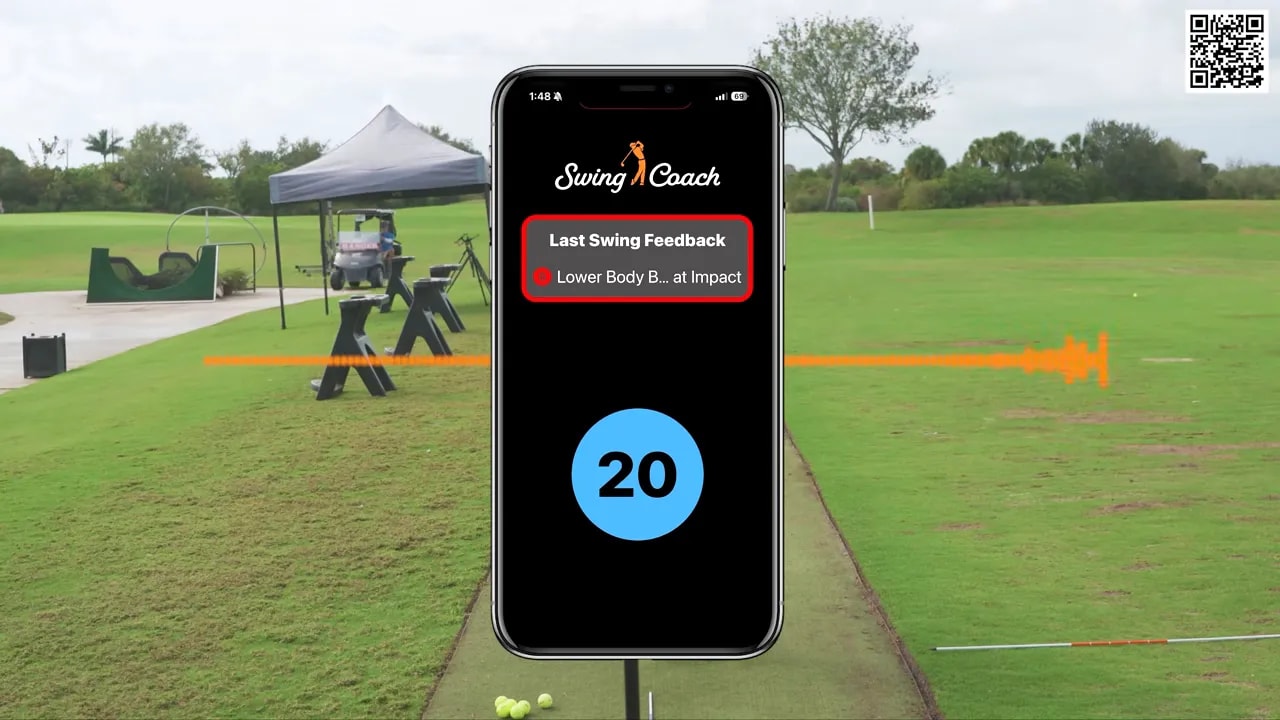
Immediate feedback dramatically speeds progress. Video analysis or an AI coach that provides face-on metrics can show whether your trail arm is straightening too early, too late, or at the right moment. Look for metrics showing the trail arm angle at impact and whether your hands are ahead of the ball.
Two simple signs you are improving:
- Your strike pattern moves to ball-first, turf-second with consistent divots.
- Shots feel more powerful and compressing, with better consistency of distance.
Common error corrections
Here are simple fixes for the typical breakdowns you will see when practicing the trail arm punch:
- If you straighten too early: delay the punch slightly. Try the trail-arm-only drill and make the punch later in the downswing so the club reaches the turf after the ball.
- If your hands stay too close and the clubhead won’t extend: add the trail shoulder-under and hips-forward sequence. Without them, the punch has nowhere to go.
- If your chest collapses and the arms can’t finish: feel a slight chest extension through impact while keeping the trail shoulder low.
How long will it take?
Muscle memory for a new release pattern varies by golfer. Expect initial improvement in a few practice sessions if you isolate the drill correctly. Consistent swings with the full sequence typically require 4 to 8 practice sessions to become repeatable under mild pressure. Use slow-motion practice, then gradually increase speed while keeping the same feels.
FAQ
How do I know if my trail arm is straightening too soon?
If you strike behind the ball or your divots start deeper/longer behind impact, the trail arm likely straightened too early. Video from down-the-line shows the trail arm angle at impact; if it is already fully extended at the ball, delay the punch slightly so full extension happens around 45 degrees past impact.
Can trail arm punching cause hooks or draws?
The punch itself does not inherently cause hooks. Ball flight is influenced by clubface angle and swing path. A proper trail arm punch with balanced rotation tends to produce compressed, controlled shots. If you notice an unwanted draw or hook, check face control and path alongside the punch sequence.
Which clubs should I practice this with first?
Start with a short iron or wedge to focus on feel and impact. Shorter clubs make it easier to control tempo and observe turf interaction. Once the sequence feels natural, move to mid and longer irons, then hybrids and woods.
How do I practice this without losing balance?
Use half swings and reduced speed to lock the sequence before adding power. Focus on trail shoulder under and a controlled hip drive rather than aggressive force. Keep your head stable and allow your chest to extend slightly to maintain balance while creating room for the punch.
Will this fix common thin shots and poor compression?
Yes. Training the trail arm punch so that the clubhead hits the turf consistently after the ball helps you compress the ball. Combined with trail shoulder under, hips forward, and chest extension, you create the conditions for ball-first, turf-second contact—the textbook indicator of solid compression.
Final checklist: your on-course routine for the trail arm punch
- Pre-shot: visualize the punch and feel the trail shoulder move under.
- Backswing: maintain a comfortable trail arm fold and wrist set.
- Downswing: initiate the punch at the ball, feel the trail shoulder under, and drive hips forward.
- Finish: chest slightly up, trail arm fully punched around 45 degrees past the ball, hands extended away from your body.
- Confirm: ball-first, turf-second, and consistent divots moving forward from the ball.
The trail arm punch is a deceptively small change that yields big results. Train it deliberately, add the body sequence that allows it to finish, and use consistent feedback to time the release correctly. When all pieces line up, your ball striking will feel and look like the pros: long arms through impact, powerful compression, and repeatable results.
0 Comments