

Few things in golf are more frustrating than losing your strike right before an important round. One day your irons feel crisp and reliable. The next day you are hitting shots fat, thin, off the toe, and off the heel. Confidence disappears quickly in golf, especially when a big tee time is approaching.
The good news is that this kind of golf slump often responds best to a simple reset, not a pile of technical thoughts. If your golf swing has suddenly gone off, one of the most effective ways to restore solid contact is the 9-to-3 drill. It gives you a clear finish position to rehearse, helps you improve impact without obsessing over impact, and can be scaled from a short drill into a more normal golf swing.
This method is especially useful because it focuses on where you finish, not on forcing movements through the ball. In golf, that can be a powerful shift. When your finish is organized, impact often improves as a result.
Table of Contents
- Step 1: Understand why this golf drill works
- Step 2: Learn the four golf checkpoints in the finish
- Step 3: Start the 9-to-3 golf drill with a preset setup
- Step 4: Use the finish to diagnose common golf faults
- Step 5: Hit short golf shots and hold the finish
- Step 6: Scale the drill up without losing the golf checkpoints
- Step 7: Bridge the gap from drill swing to normal golf swing
- Step 8: Add speed back into your golf swing the right way
- Step 9: Use this golf drill before a big round and during good form too
- Step 10: Keep your golf thoughts simple
- FAQ
- Final thought
Step 1: Understand why this golf drill works
When your golf swing starts breaking down, the temptation is to chase whatever seems wrong at impact. You might try to fix your wrists, force your hands forward, stay down on the ball, or hit harder. That usually adds more noise to an already unstable golf swing.
The 9-to-3 drill takes a different approach. Instead of filling your head with swing thoughts, it gives you a destination. If you can repeatedly move into the correct follow-through position, your golf impact tends to organize itself.
That is what makes this such a practical golf reset drill:
- It simplifies your focus. You are thinking about a finish position, not ten separate mechanics.
- It improves strike. Better body motion and club delivery help you control low point.
- It builds feedback into practice. Your finish tells you whether the golf swing was functional or not.
- It scales up easily. You can start with tiny swings and gradually return to full golf speed.
If your golf game feels like it has fallen off a cliff, this matters. Often, the issue is not that you forgot how to swing a club. It is that your movement pattern lost its structure. This drill restores that structure.
Step 2: Learn the four golf checkpoints in the finish
The core of this golf drill is a simple checklist. After each swing, assess your finish against four checkpoints. These positions give you a fast, reliable way to judge whether the motion was sound.
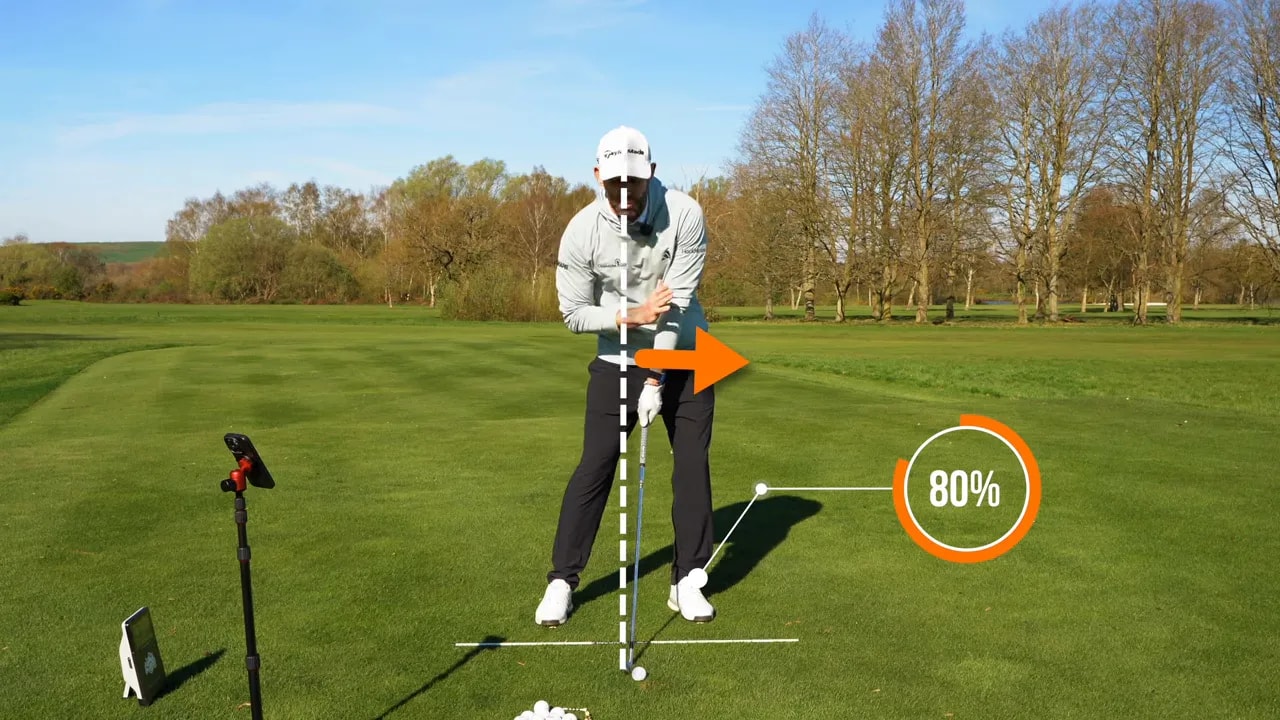
1. Get almost all your weight onto your lead leg
By the finish, you want essentially all of your pressure on your lead side. The trail foot should feel light enough that it could almost lift off the ground.
This matters in golf because weight staying back can shift your low point behind the ball. That often leads to heavy strikes, thin shots, or weak contact.
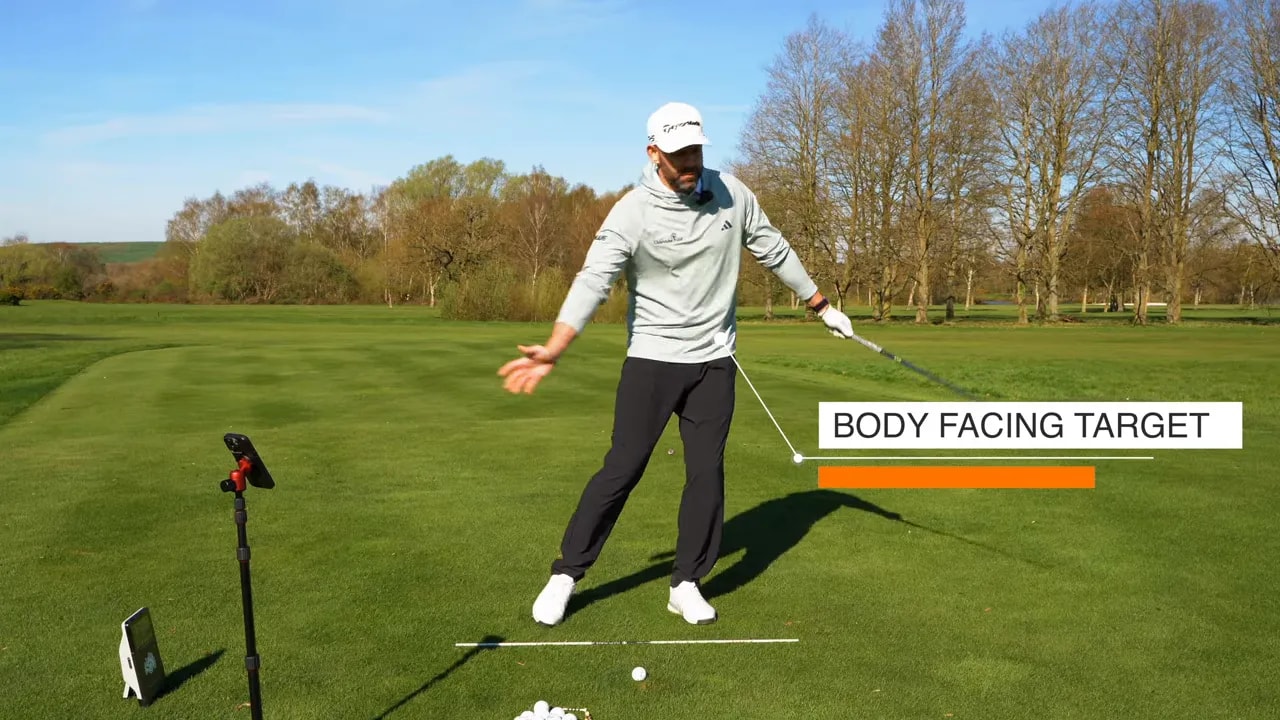
2. Turn your body so your belt buckle and sternum face the target
Your chest and belt buckle should be facing the target in the finish. This checkpoint confirms that your body kept rotating through the shot.
In golf, stalled rotation is one of the quickest ways to lose consistency. If the body stops turning, the arms tend to overtake, separate, or throw the club into the ball unpredictably.
3. Keep your elbows close together
When the elbows stay close, the arms are more extended and organized. If the elbows separate, the arms have usually bent or disconnected.
This is a useful checkpoint because it often reveals a deeper golf problem. Elbows that fly apart are commonly a symptom of poor body rotation, not just an arm issue.
4. Let the club point back toward you
In the basic version of this drill, the grip end of the club should point back toward your body in the finish. It should not point up into the air or down into the ground.
This helps you monitor your release pattern. In many poor golf strikes, the wrists become too active through impact. If that happens, the club tends to look wrong in the finish.
Together, these four checkpoints give you a simple post-shot evaluation:
- Weight forward
- Body facing target
- Elbows close
- Club pointing back toward you
When all four are present, your golf impact is usually in a much better place.
Step 3: Start the 9-to-3 golf drill with a preset setup
To begin, use a short iron such as a 7-iron, 8-iron, or 9-iron. The goal is not distance. The goal is to regain control of strike and motion.
Here is how to set up the basic version of the 9-to-3 golf drill:
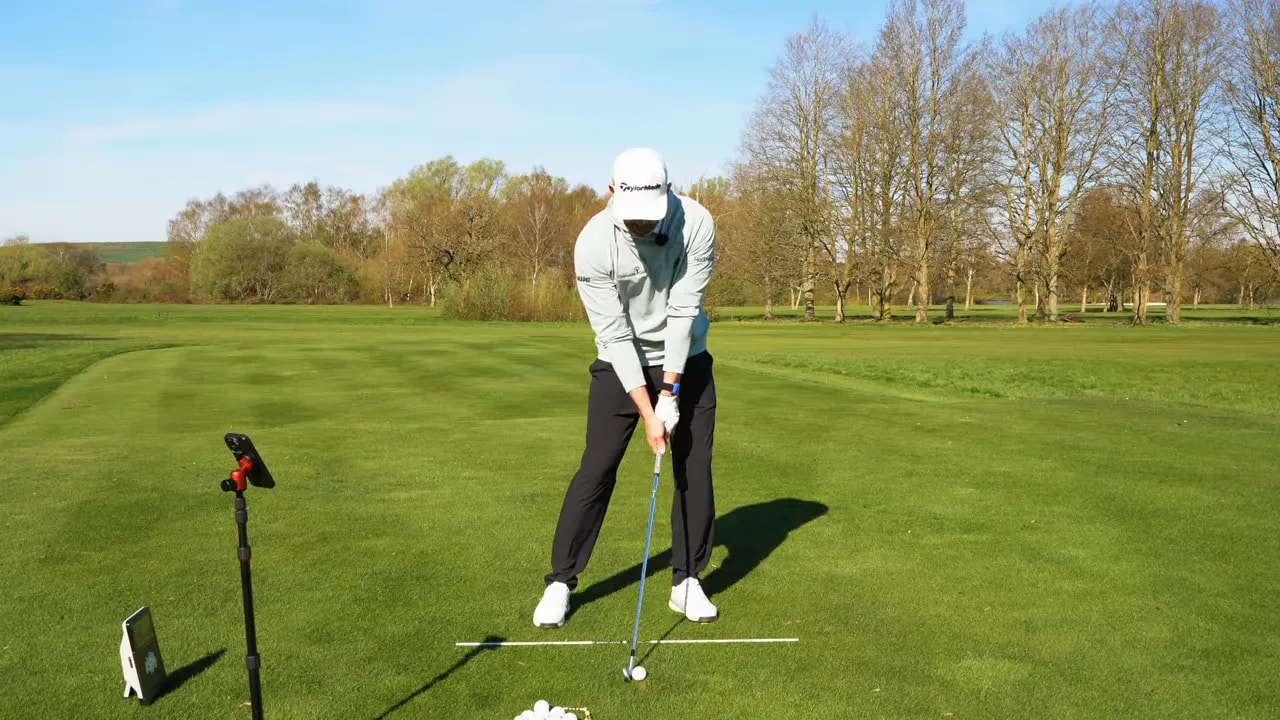
- Take your normal setup with a mid or short iron.
- Preset your weight onto your lead side.
- Keep your head relatively centered while doing this.
- Move your hands slightly forward.
- Make a small swing from 9 o’clock to 3 o’clock.
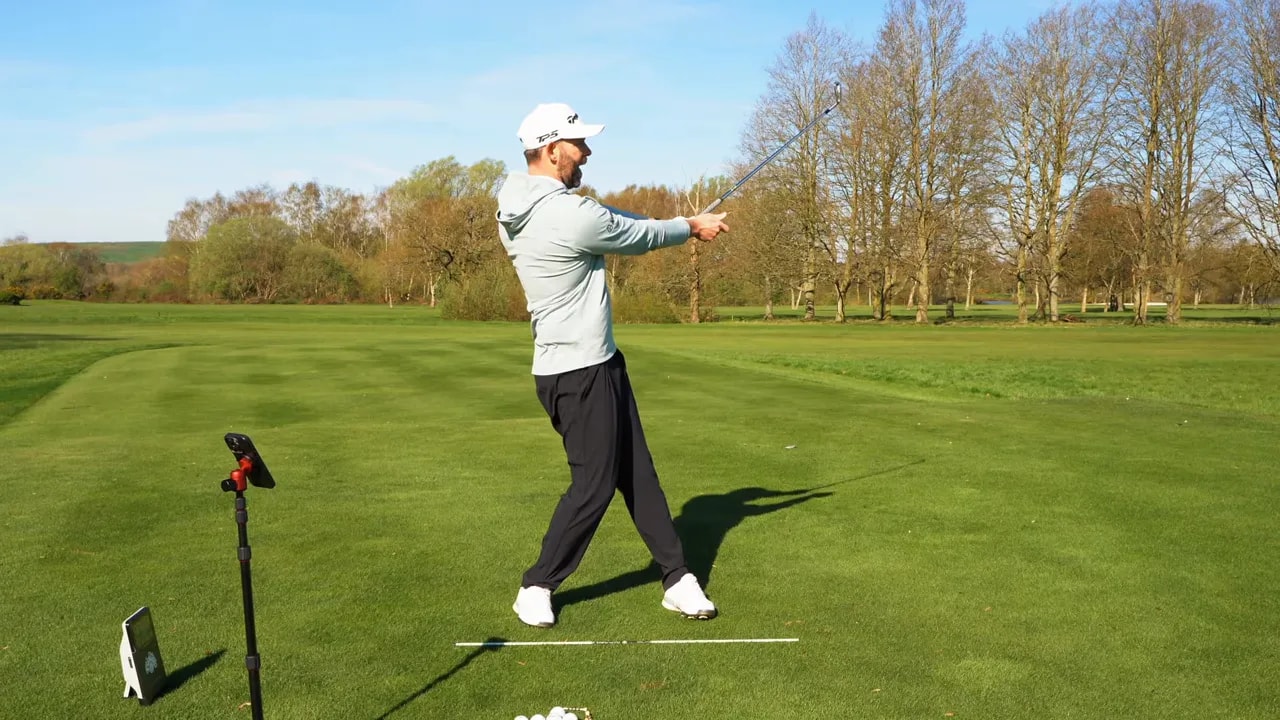
In this drill, 9 o’clock means your lead arm is about parallel to the ground on the backswing. 3 o’clock means your lead arm is about parallel to the ground on the through-swing.
After each shot, hold the finish and run through the four checkpoints.
This is what makes the drill useful in golf practice. You are not guessing whether the swing was good. You are checking it.
At this stage, expect the ball flight to be low and the distance short. A shot of 40 to 50 yards is completely fine. This is not a full golf swing. It is a rebuilding exercise.
Step 4: Use the finish to diagnose common golf faults
One of the best features of this golf drill is that your finish acts like a coach. If the finish is wrong, it usually points directly to the likely issue in the swing.
Fault 1: Your elbows are apart
If you finish with your elbows separated and your arms not fully extended, there is a good chance your body did not turn through enough.
In golf, the arms are always traveling. If the body stops turning, the arms have nowhere clean to go. They separate, fold, and lose structure. The result is inconsistent strike and weak contact.
If you see this finish, focus less on your arms and more on getting your chest and belt buckle to the target.
Fault 2: The club points down toward the ground
If your arm structure looks reasonable but the club points down instead of back toward you, your wrists were probably too active through impact.
This is a common golf issue when players try to help the ball into the air or flick the club through the strike. Excess wrist action can ruin compression and create poor contact patterns.
If this is your miss, rehearse a quieter release and hold the proper drill finish.
Fault 3: Your weight stays back
You may also see a finish where your body is facing the target and the arms look decent, but your pressure stayed on your trail side.
That is a major low-point problem in golf. If your weight begins forward but then moves back during the swing, the bottom of the arc can shift and the club can brush the ground too shallowly or strike the turf in the wrong place.
This often shows up as the classic pattern of alternating thin and heavy iron shots.
Step 5: Hit short golf shots and hold the finish
Once you understand the positions, start hitting short shots while deliberately holding the finish. This is where the drill begins to retrain impact.
Your process should look like this:
- Preset the weight forward.
- Set the hands slightly ahead.
- Make a controlled 9-to-3 swing.
- Hold your finish.
- Check all four points.
The key idea is simple: when you achieve the right finish, you tend to achieve the right impact. That is the real value of this golf drill.
You may notice that some shots are still slightly thin at first. That is not unusual. What matters is the pattern. As the finish positions improve, the contact usually becomes more reliable, the strike gets more downward, and the ball flight becomes more predictable.
For many golfers, this is also calming. It replaces panic with a plan. Instead of thinking, “I have lost my golf swing,” you now have a specific move to rehearse and evaluate.

Step 6: Scale the drill up without losing the golf checkpoints
As your strike improves, increase the length of the swing slightly while keeping the same basic structure.
You are still making a small golf swing, but now you are adding a little more motion and a little more speed. The goal is to hit the ball farther without losing the finish.
At this stage, you should still see:
- Weight finishing on the lead side
- Body turned to the target
- Elbows close together
- Club relationship still matching the drill pattern
The ball flight should remain relatively low, and the strike should begin to feel more compressed. In golf, a lower ball flight during this drill is usually a sign that the club is delivering better shaft lean and a more solid downward strike.
If the contact starts breaking down again as you lengthen the swing, do not push forward too fast. Return to the shorter version until the finish positions become automatic.
Step 7: Bridge the gap from drill swing to normal golf swing
The next progression is important. Instead of presetting your weight onto your lead side before the swing, take a normal setup with a more standard 50-50 weight distribution.
Then make the same little swing and move into the same finish.
This version is harder because you now have to create the movement dynamically. You are no longer starting in the answer. You have to move into the answer.
That is exactly why this stage matters in golf practice. It starts bridging the gap between a training drill and a playable motion on the course.
Use the same checklist after every shot:
- Did the pressure move to the lead side?
- Did the body rotate fully?
- Did the elbows stay close?
- Did the club finish in the right place for the drill?
If you can produce the same ball flight and the same finish from a normal setup, your golf swing is becoming more stable under more realistic conditions.
Step 8: Add speed back into your golf swing the right way
The final progression is to add speed.
This is where many golfers get confused, because the finish starts to look a little different. At higher speed, the club naturally begins to recock or reset in the follow-through. That means you may no longer be able to hold the club exactly pointing back toward you as you did in the slower drill version.
That is normal.
What should remain the same in your golf swing is the body motion and the arm structure:
- Your weight still finishes on the lead side.
- Your body still faces the target.
- Your elbows still stay close.
- Your impact conditions remain strong, even if the club has rehinged more in the finish.
As speed increases, two things tend to happen:
- The ball flight gets higher.
- The club re-cocks more in the follow-through.
This is an important golf concept. The drill finish is a training exaggeration at slow speed, not a rigid full-swing requirement. You are training the feel of better impact and better body motion. Once speed returns, the shape of the finish evolves naturally.
Step 9: Use this golf drill before a big round and during good form too
The 9-to-3 drill is ideal when your golf swing suddenly feels lost before an important round. It is simple, structured, and easy to trust under pressure.
But it is not only a rescue drill.
It is also excellent maintenance practice when you are playing well. In golf, the best drills are often the ones that work both as repair and prevention. This one helps you monitor impact, keep your body moving correctly, and sharpen strike quality before bad habits take over.
If you are heading into a competitive round, a club event, or a golf day where you want to feel prepared, this drill can become part of your range routine. Start with short swings, rehearse the checkpoints, and only then build toward fuller shots.
That gives you a clear progression:
- Preset version with short 9-to-3 swings
- Slightly longer swings with the same finish
- Normal setup with the same checkpoint goals
- More speed with the same body motion
That sequence is practical, repeatable, and especially useful in golf when confidence is fragile.
Step 10: Keep your golf thoughts simple
The bigger lesson here goes beyond one drill. When your golf swing is under pressure, simple often wins.
Trying to fix impact directly can make golf more complicated. Focusing on a clear destination can make golf more athletic and less stressful. The 9-to-3 drill works because it organizes movement through a finish position you can check and repeat.
If your irons suddenly start coming out heavy, thin, or inconsistent, resist the urge to chase ten fixes. Start with one pattern, one finish, and one checklist.
For many golfers, that is enough to bring the swing back quickly.
FAQ
What club should you use for the 9-to-3 golf drill?
A short to mid iron works best. A 7-iron, 8-iron, or 9-iron is ideal because it helps you focus on strike and control rather than distance.
How far should the ball go during this golf drill?
Not far. Early reps may travel only 40 to 50 yards with a low flight. That is perfectly fine because the goal is quality of motion and contact, not full distance.
Why does this golf drill focus on the finish instead of impact?
The finish is easier to rehearse and assess. If you can repeatedly move into the correct finish, impact often improves as a consequence. This keeps your golf thoughts simple and practical.
What does it mean if your elbows separate in the finish?
It usually means your body did not turn through enough. In golf, a stalled body often forces the arms to separate and lose structure.
Should the club always point back toward you in the finish?
In the slow drill version, yes. That is one of the checkpoints. As you add speed to a more normal golf swing, the club will naturally rehinge more in the follow-through, so the finish will not look exactly the same.
Can you use this golf drill even when you are hitting the ball well?
Yes. It is not just a recovery drill. It is also excellent for maintaining solid impact, compression, and consistency in your golf swing.
Final thought
If you have lost your swing before a big round, do not assume your whole golf game has disappeared. Often, you just need a reliable reset that cleans up your movement and restores your strike. The 9-to-3 drill does exactly that.
Start small. Hold the finish. Check the four points. Then build the golf swing back up one layer at a time.
When you need control, confidence, and a clearer pattern, this is one of the smartest golf drills you can keep in your bag.
0 Comments