


If your bunker shots tend to rocket into the face or travel only a few feet before dropping back into the sand, you may be trying to do the wrong job. Your instinct is to lift the ball. A more useful task is to move the sand beneath it.
Picture pushing sand forwards into the back of the golf ball. That simple image gives your swing a purpose: enter the sand behind the ball, keep the sand moving towards the target, and allow it to carry the ball out.
You still need to control where the club enters and how deeply it travels. But instead of juggling a long checklist, you can build your greenside bunker technique around one clear intention. From there, you can adapt to compact sand, fluffy sand, and the distance you need to cover.
Table of Contents
- Step 1: Give Your Bunker Shots a Sand-First Purpose
- Step 2: Recognise Why You Thin or Chunk the Shot
- Step 3: Enter the Sand Roughly Two or Three Inches Behind the Ball
- Step 4: Start Open and Let the Clubface Square Through the Sand
- Step 5: Adjust Your Bunker Shots for Hard, Compact Sand
- Step 6: Take a Thinner Layer from Soft or Fluffy Sand
- Step 7: Build a Simple Setup That Supports the Motion
- Step 8: Use a Fuller, More Relaxed Swing and Review the Strike
Step 1: Give Your Bunker Shots a Sand-First Purpose
Start by changing what you are trying to move. Rather than scooping the ball off the surface, imagine creating a small wave of sand that carries it out of the bunker.
This distinction matters because your body responds to the task you give it. If your task is to lift the ball, you may lean backwards, flick your wrists, or send the club into the sand too early. If your task is to push sand forwards into the ball, you have a clearer reason to keep the motion travelling through the strike.
You do not necessarily need to rebuild your setup before trying this. In the lesson example, a struggling golfer named David escaped on his first attempt after receiving this visual, even though his starting position was far from ideal.
The useful lesson is not that setup is irrelevant. It is that a clear task can help you make productive adjustments without consciously arranging every body part.
At a practice bunker, begin with your normal stance and make a few rehearsal swings. Pay attention to whether the club moves sand forwards or simply drops into a hole behind where the ball would be. Your first goal is to understand that difference.
Step 2: Recognise Why You Thin or Chunk the Shot
Before adding more technique, identify what your usual miss tells you about the club’s journey through the sand.
If you thin the ball
A thin bunker shot involves the leading edge catching the ball rather than enough sand getting between the clubface and ball.
One cause demonstrated in the lesson is entering the sand too far behind the ball. The club can then begin travelling upwards before it reaches the ball, bringing the leading edge into play. Trying harder to lift the next shot can repeat the same pattern.
If you leave the ball in the bunker
Taking too much sand creates a different problem. If you lower your body excessively during the downswing, the club can travel too deeply beneath the ball. You move plenty of sand, but the ball does not travel far enough.
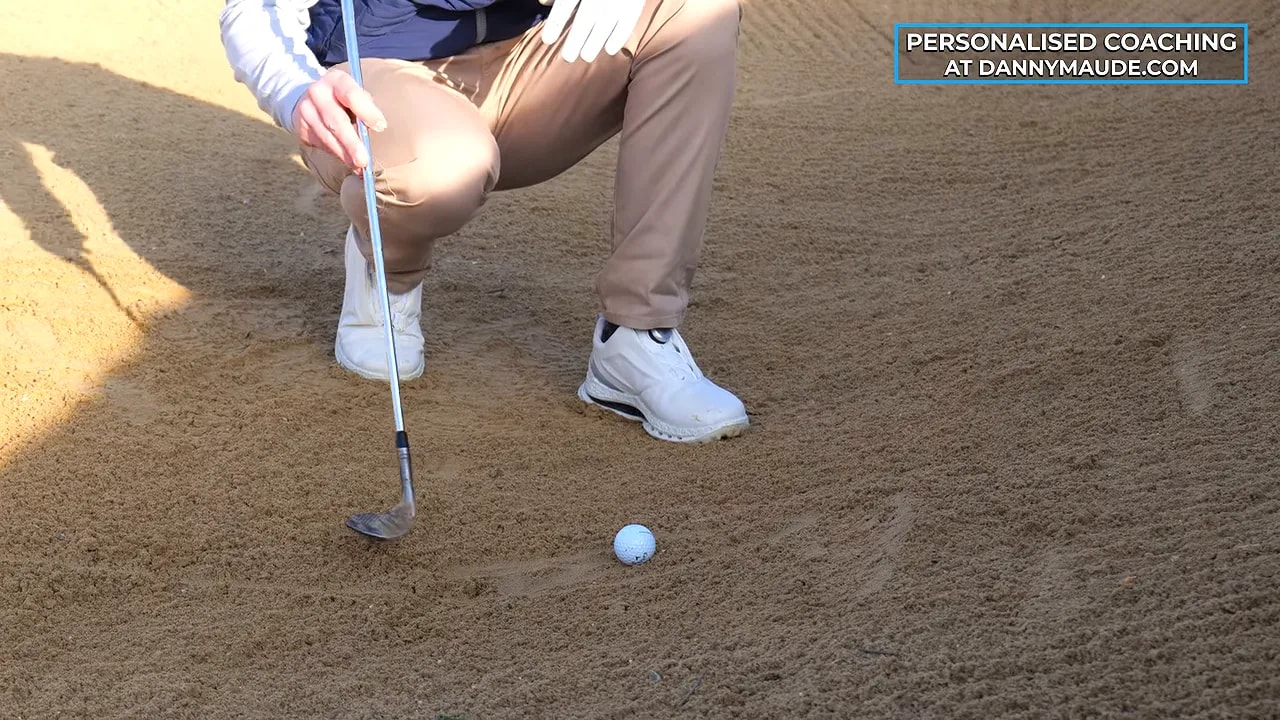
Use these two checks to guide your practice:
- Thin contact: notice whether the club enters too far back and rises into the ball.
- Heavy contact: notice whether you dip down and bury the club too deeply.
Both misses bring you back to the same objective: move a controlled amount of sand forwards into the back of the ball. Simply hitting harder does not solve an inconsistent entry point or excessive depth.
Step 3: Enter the Sand Roughly Two or Three Inches Behind the Ball
For the basic shot described here, aim to enter the sand approximately two or three inches behind the golf ball. Then keep that sand moving forwards through the area beneath it.
The entry point is only the beginning of the strike. If you focus exclusively on hitting a spot, you can still stab down or stop the club in the sand. Combine the location with a direction: enter behind the ball, then push sand into it and towards the flag.
In your practice rehearsals, use this sequence:
- Picture where the ball sits relative to your intended entry point.
- Make a flowing swing that contacts the sand behind that position.
- Notice where the sand first moves.
- Check whether the sand continues forwards through the ball’s position.
You are learning the relationship between entry, depth, and forward motion. Avoid turning the exercise into a test of how much sand you can throw.
Once you add a ball, retain the same task. You are not switching back to a direct strike or trying to help the ball upwards. The ball sits in the path of the sand you are moving.
Step 4: Start Open and Let the Clubface Square Through the Sand
The clubface movement is the part of this technique that may feel unfamiliar. You start with an open face, but you do not try to keep adding loft throughout the downswing.
Instead, you allow the face to move towards a more square position as the club enters and travels through the sand. In the demonstrated impact position, the face is reasonably square and the shaft leans slightly forwards.
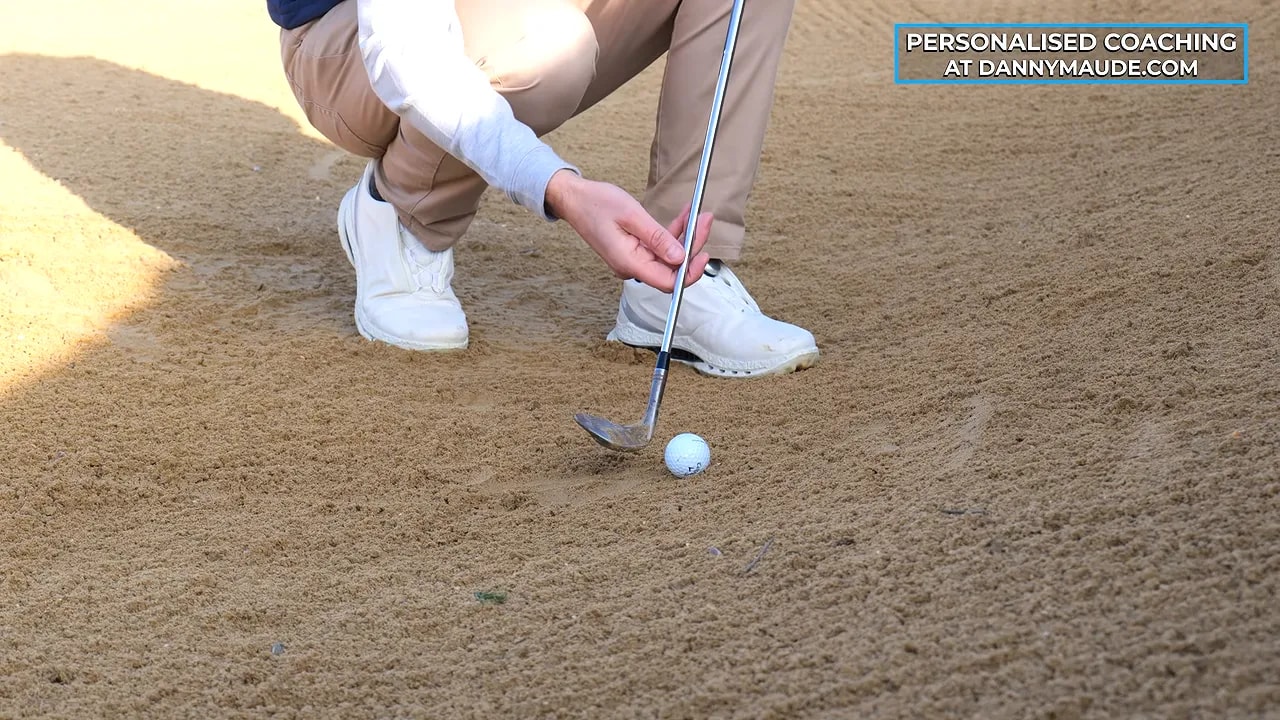
That does not mean you should begin with a square face and drive the handle aggressively towards the target. The distinction is between your starting position and the motion into impact.
Beginning with loft already available gives you room to square the face while pushing sand forwards. The hand and arm motion involved also helps generate speed through the sand.
Avoid the opposite pattern
If you start square and then try to add loft to lift the ball, the club can work behind you. That makes it harder to control where it lands and can encourage the flicking action associated with heavy and thin strikes.
For a right-handed golfer, the open face initially points to the right. As you rehearse, picture it gradually returning towards square while the club keeps moving sand forwards. Reverse that directional reference if you play left-handed.
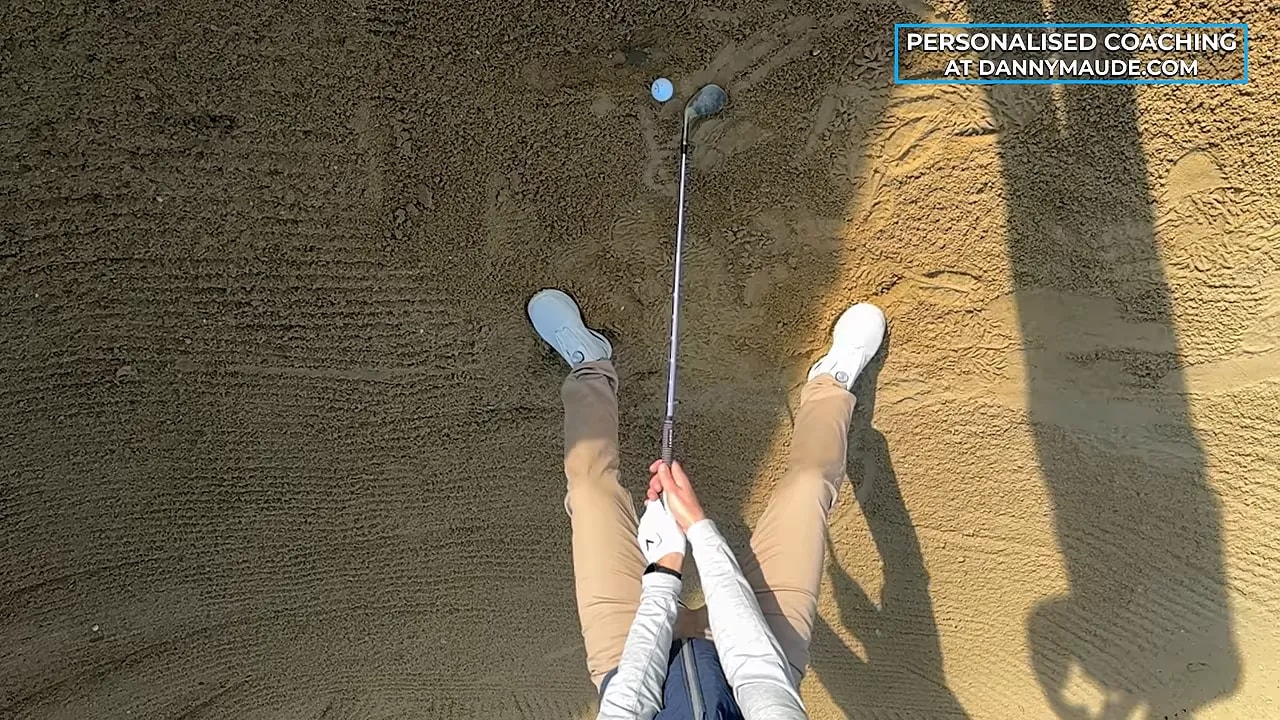
You may wonder how the ball can launch high if the face becomes more square and loses some loft. The sand changes the contact compared with a fairway shot. With sand between the face and ball, friction is reduced, allowing the ball to slide or roll higher up the face rather than responding like a clean strike from grass.
Your practical cue remains simple: start open, let the face square, and move the sand. You do not need a forceful last-second hand action.
Step 5: Adjust Your Bunker Shots for Hard, Compact Sand
Firm sand can make the shot more demanding because you have less loose material available beneath the ball. However, the underlying task stays the same: create enough moving sand to carry the ball out.
For the compact-sand example, you need the leading edge to dig enough to create that layer. Leaning backwards makes this harder because it works against getting the club into the surface.
A more forward-supported position helps you deliver the club into the firmer sand. Think of that adjustment as a response to the task, rather than an isolated instruction to shift your weight.
- Recognise that the surface is compact rather than fluffy.
- Keep the open-to-squaring clubface pattern.
- Support the movement more towards your lead side.
- Allow enough penetration to move sand forwards beneath the ball.
The objective is sufficient digging, not maximum digging. You still need to control the depth and keep the club moving through.
Also separate a successful escape from perfect distance control. In the compact-sand demonstration, the ball comes out cleanly but travels a little too far. That gives you useful feedback: the strike can work while the amount of swing still needs refining.
Step 6: Take a Thinner Layer from Soft or Fluffy Sand
With a generous amount of soft sand beneath the ball, the challenge changes. You no longer need to work as hard to create a layer of sand. You need to avoid taking too much of it.
In this situation, controlling depth becomes especially important. A pronounced downward dip can send the club too far beneath the ball, leaving you with a heavy shot and very little distance.
Keep the same forward-moving sand picture, but imagine pushing a thinner layer into the back of the ball.
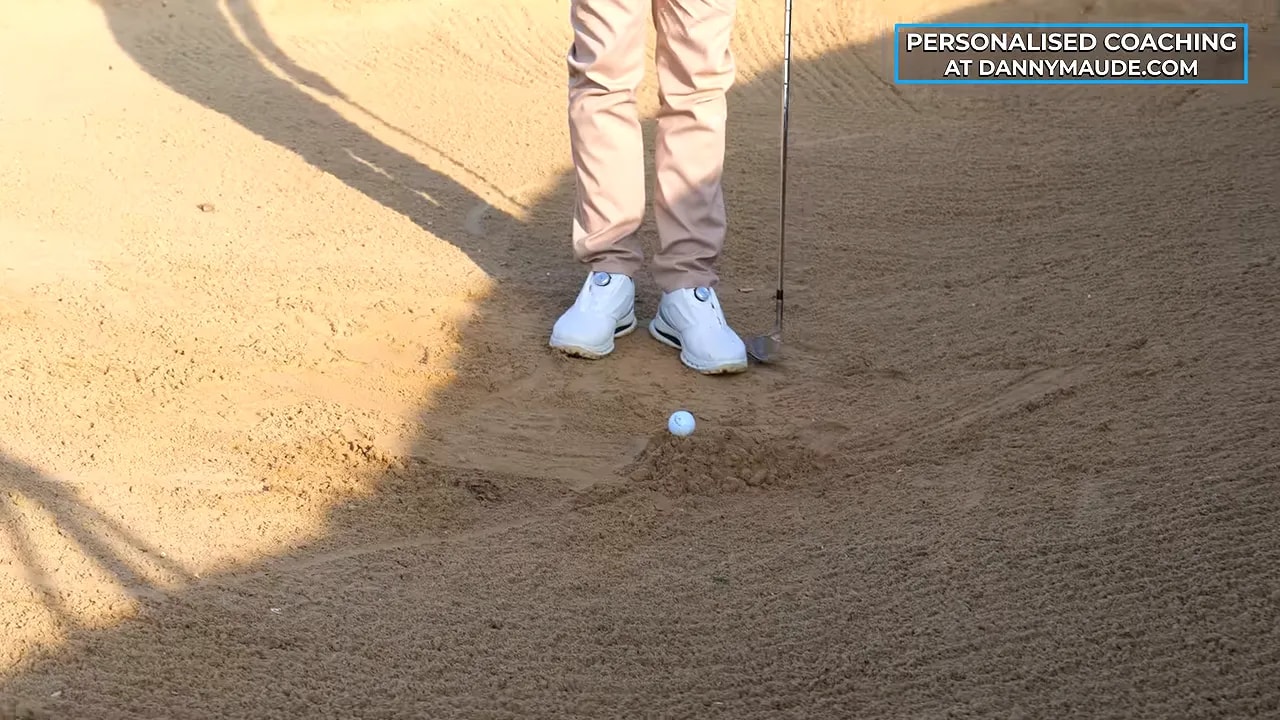
Compared with the firm-sand version, you may need less pressure towards your lead side and a more balanced position. The demonstration includes a slight adjustment away from the strongly forward-supported approach used on compact sand.
Do not turn that into a general instruction to hang back and scoop. Your intention is still forwards. You are changing how deeply the club travels, not reversing the direction of the shot.
Pay particular attention to your body height. You can start in a low, settled posture without continuing to sink during the downswing. Let the club travel through and out of the sand rather than burying it deeper.
This is a more demanding depth-control exercise, so judge your progress by the quality of the sand contact as well as the result.
Step 7: Build a Simple Setup That Supports the Motion
Once you understand the task, use your setup to make it easier. You do not need to chase a perfect-looking address position, but you do need a position that supports the strike you want.
A useful reference from the demonstration is a ball position approximately one clubhead width inside your lead heel. You also begin in a relatively low, settled posture with the clubface open.

Keep these setup details connected to their purpose:
- Forward ball position: gives you a reference for entering the sand behind the ball.
- Open clubface: provides loft at the start so you can square the face through the strike rather than trying to add loft.
- Low starting posture: lets you begin settled instead of needing to drop sharply during the swing.
- Pressure suited to the lie: supports more penetration on compact sand and better depth control on fluffy sand.
The important distinction is between starting low and dipping lower. Your address position should help you move the club through the sand, not encourage you to dig progressively deeper.
If the setup becomes a distraction, return to the sand-first visual for bunker shots. Use the task to check whether your adjustments are helping.
Step 8: Use a Fuller, More Relaxed Swing and Review the Strike
A short bunker shot can require a much fuller swing than its distance suggests. You are moving sand as well as the ball, so a tiny, cautious movement may not provide enough energy.
For the short shot in the demonstration, the swing intention is closer to playing a 40-yard shot. That is a feel for the motion, not a fixed distance formula for every bunker lie.
Make a fuller swing without making it a harder, more tense swing. Stay aware of the club and the task rather than forcing your hands through impact.
During rehearsals, ask yourself:
- Where is the club entering the sand?
- Is the face moving towards square rather than opening further?
- Is there a little forward shaft lean without an exaggerated handle push?
- Am I moving sand forwards with a relaxed, flowing motion?
Then bring those observations into a straightforward practice routine. Begin with sand-only rehearsals to establish contact. Add a ball and keep the same intention. Notice whether the sand is firm or fluffy, then adjust penetration and depth accordingly.
If you struggle, resist changing everything at once. A thin shot asks you to examine entry and upward movement. A heavy shot asks you to examine depth and dipping. A clean escape that travels too far asks for a distance adjustment, not necessarily a new technique.
Your reliable starting point is one clear picture: push sand forwards into the back of the golf ball. Pair that with an open face that gradually squares, a depth suited to the lie, and enough flowing swing to carry the sand through. You give yourself a much simpler route out of the bunker and a better foundation for controlling where the ball finishes.
0 Comments