
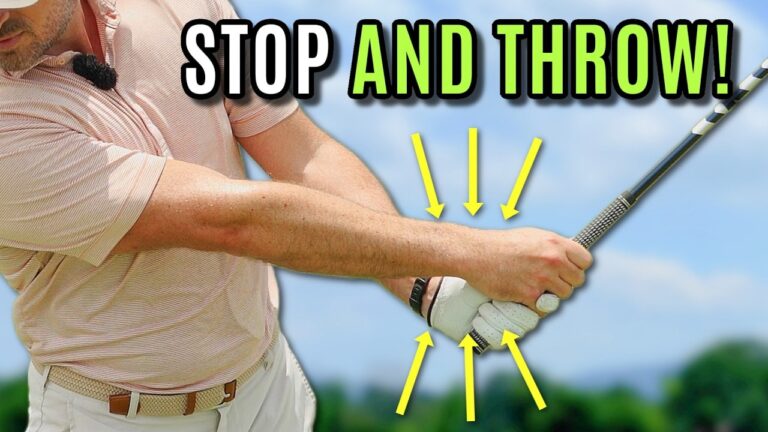

If your stock miss is a pull with the short irons and a weak fade or wipey shot with the longer clubs, you may not need a full swing rebuild. Often, the fastest way to improve your golf swing technique is to fix the pieces that control path and face through impact.
That is exactly the pattern covered here. The golfer already had plenty of good motion, but his downswing got a little steep, his chest opened a touch early, and the club exited too low and too far left. The result was predictable: pulls, fades, and inconsistent contact.
The solution came from two simple changes:
- Close the shoulders slightly at setup.
- Train the club to move more out to the right with a little face rotation through the ball.
Later, a third layer was added for even more inside out delivery: more right side depth in the second half of the backswing.
If you want a golfer-friendly, range-ready plan to stop pulling it left and start seeing a soft draw, follow these steps.
Table of Contents
- Step 1: Identify the miss pattern your golf swing technique is creating
- Step 2: Build an alignment stick station to train better golf swing technique
- Step 3: Close your shoulder line at setup to shallow your golf swing technique
- Step 4: Rehearse the follow through that fixes pulls and fades
- Step 5: Use a simple practice formula for this golf swing technique
- Step 6: Accept the opposite miss while your golf swing technique changes
- Step 7: Match the club exit to your body rotation
- Step 8: Add right side depth in the backswing for better golf swing technique
- Step 9: Blend setup, backswing depth, and through-swing direction
- Step 10: Take the same golf swing technique to the driver
- Step 11: Keep your expectations realistic on the course
- Step 12: Make this your range plan for the next 30 days
- FAQ
Step 1: Identify the miss pattern your golf swing technique is creating
Before changing anything, match the ball flight to the likely swing issue.
In this case, the pattern was:
- Pulls with shorter clubs
- Weak fades or right misses with longer clubs
- Toe strikes mixed in
That pattern usually points to a club path that is too steep and too far left through the hitting area. When the face lines up with that leftward path, the ball starts left and stays left. When the face hangs open a bit, especially with longer clubs, the ball leaks right.
This matters because many golfers chase the wrong fix. They try to manipulate the hands, force a draw, or slow the body down. But if the club is entering and exiting on the wrong track, those band-aids rarely hold up.
The better approach is to reverse engineer the shot pattern. If your normal move is low and left, your practice move should feel more high and right. If your usual flight is a weak fade, your training pattern may need to look more like a push draw for a while.
Step 2: Build an alignment stick station to train better golf swing technique
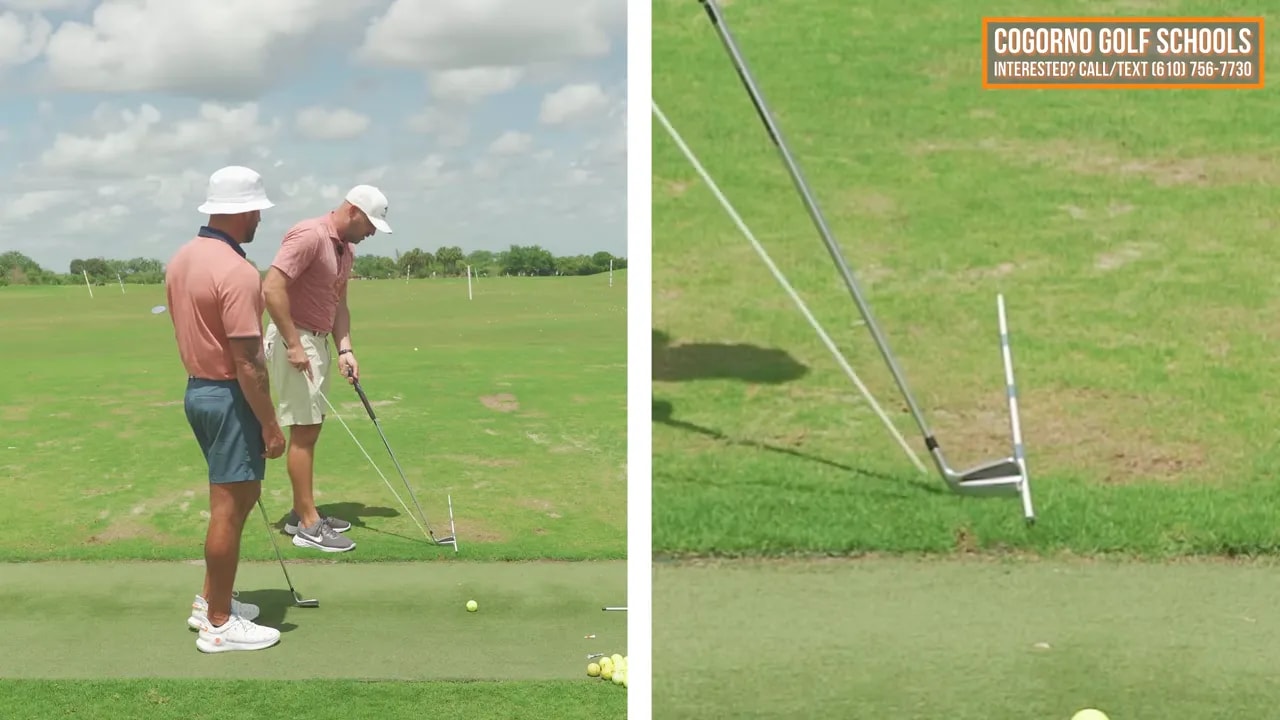
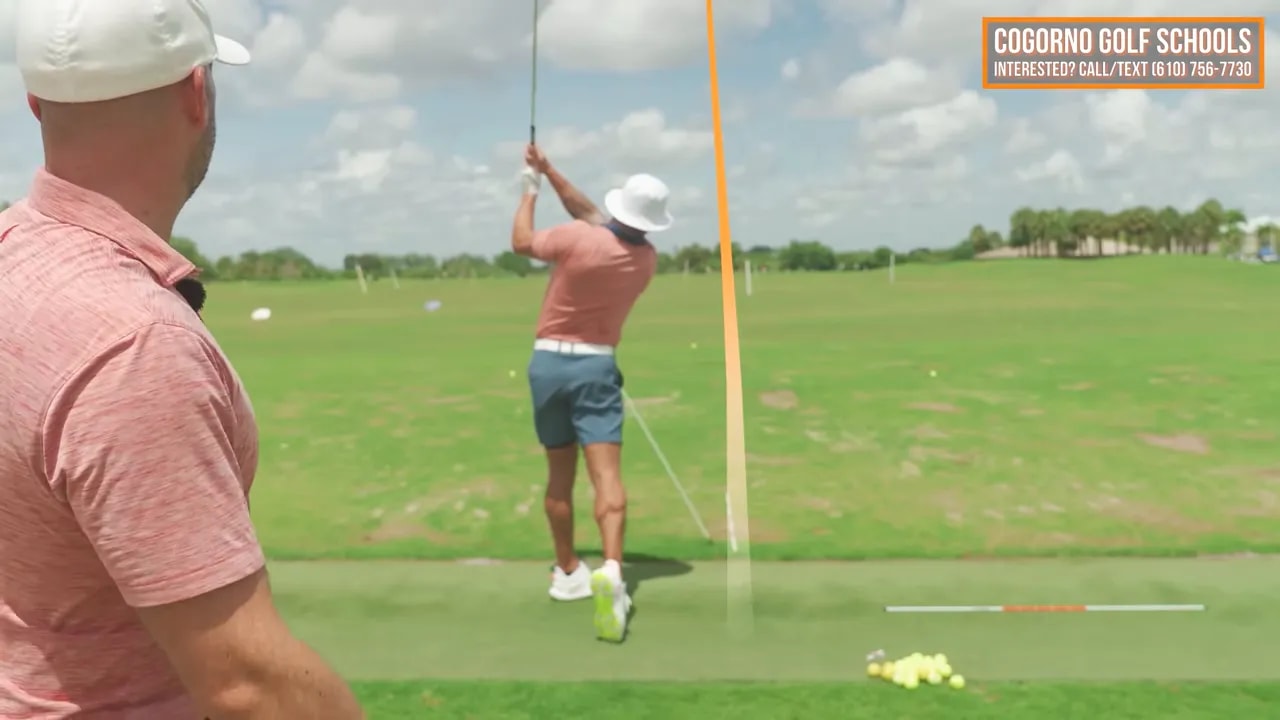
The first drill uses an alignment stick to give you a clear visual for follow through direction.
Set it up like this:
- Place one stick on the ground along your ball target line.
- Place a second stick about one clubhead inside that line.
- Angle the second stick to roughly match the shaft angle of your wedge.
This second stick becomes your reference for where the club should move after impact. Instead of letting the club dump low and left across your body, you are training it to travel more out to the right.
Why does this work so well?
Because it gives your body a task. Rather than trying to think about ten positions, you are simply swinging the club through a corridor. That is a much more athletic way to train path.
For golfers who fight pulls and fades, this station can be a game changer. It creates a physical checkpoint for the exact opposite of the miss pattern.
Step 3: Close your shoulder line at setup to shallow your golf swing technique
This was the first big breakthrough.
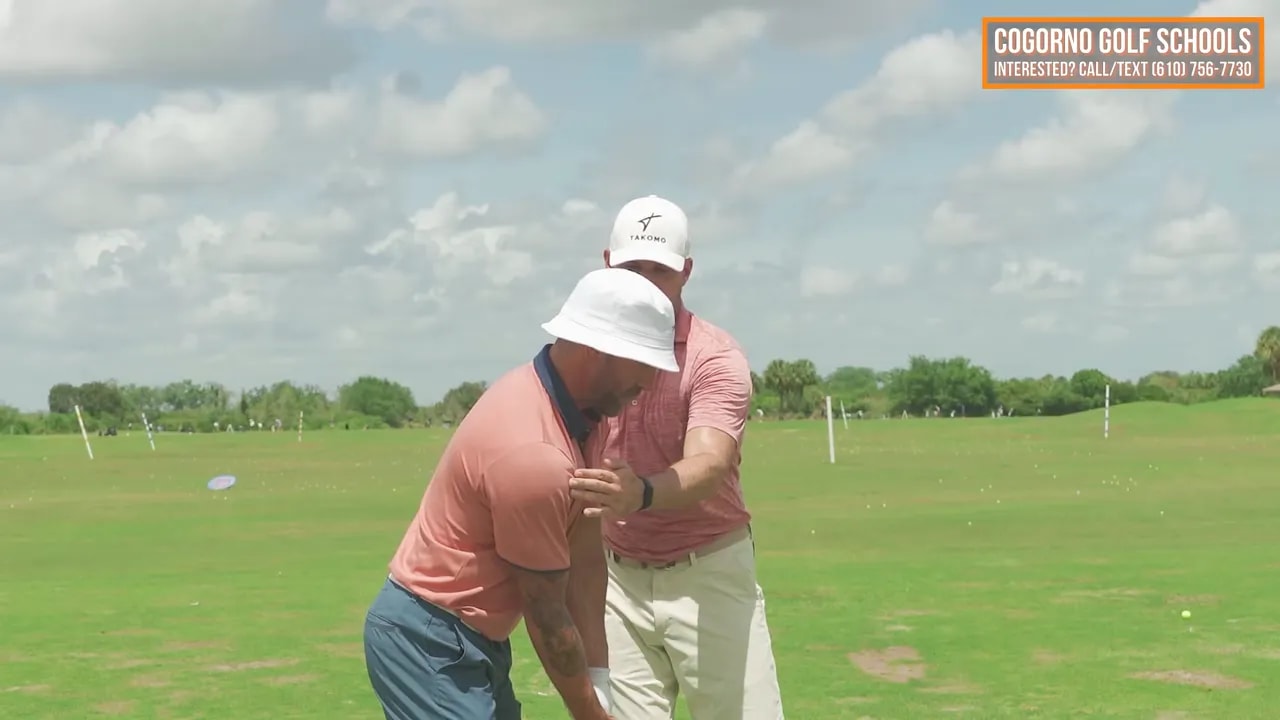
The shoulder line was sitting a little open at address. That may sound minor, but shoulder alignment is one of the biggest influences on swing path. Open shoulders tend to encourage a path that works left. That can also steepen the angle of attack.
The adjustment was simple:
- Pull the trail shoulder back slightly.
- Let the lead shoulder sit a touch more forward.
- Feel as if your chest is aimed a little behind the ball.
To the golfer, it felt like he was aimed to the right. That is normal. If you have lived with open shoulders for a long time, neutral can feel closed, and slightly closed can feel very exaggerated.
A useful checkpoint from down the line is this: you should be able to see a bit of the lead forearm in front of the trail arm. That is a good sign the shoulders are no longer overly open.
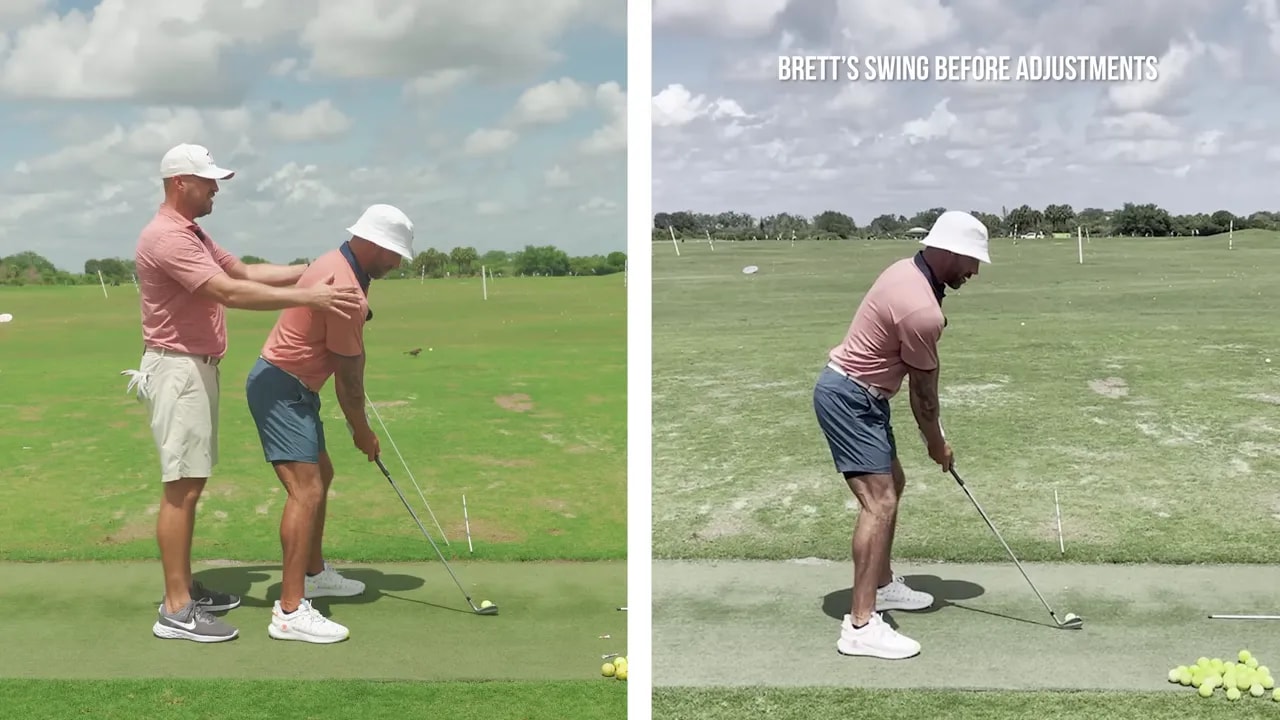
This setup change alone can make the club feel like it has more room to work from the inside. It also makes it easier to reduce those across-the-ball pulls.
For many players, this is the highest return move they can make because it changes path before the swing even starts.
Step 4: Rehearse the follow through that fixes pulls and fades
Once the setup was improved, the next piece was a short rehearsal drill.
Start with the club only halfway back, roughly lead arm parallel. From there, swing through to about arms parallel in the follow through. Keep the motion slow and controlled.
The key feels are:
- The clubhead and shaft move more to the right through the ball.
- The toe rotates slightly on top of the heel.
- The finish feels higher and more out, not low and left.
Notice the emphasis here. The feel is not that the hands are shoved out. The feel is that the clubhead and shaft travel in a better direction while the face rotates enough to square or slightly close.
This is important because many golfers who slice or fade hold the face too passive through impact. Pair that with a path that goes left and the ball has no chance.
By rehearsing a more rightward exit with a touch of face closure, you start creating the opposite ball flight. If you overdo it, you may see a push draw or even a hook. In training, that is often a good sign. It tells you the old pattern is finally changing.
Step 5: Use a simple practice formula for this golf swing technique
One reason this lesson worked quickly is that the practice structure was simple.
Use this formula:
- Two rehearsal swings
- One golf ball
- Quick feedback
- Repeat the same feels
That is it.
Do not turn one range session into a buffet of swing thoughts. If you are working on closed shoulders and a club that exits more to the right with some face rotation, stay there. Repeat those same messages over and over until they start to become familiar.
A good practice session should almost sound boring. You want the same cue repeated again and again:
- Shoulders closed
- Club out to the right
- Little face closure
That kind of repetition is what transfers. The golfer in this lesson began seeing a gentle draw almost immediately because the practice was clear and focused.
Step 6: Accept the opposite miss while your golf swing technique changes
This is where a lot of golfers get stuck.
You finally start making the right movement, then the ball hooks or starts right and curves back. Instead of recognizing progress, you panic and retreat to your old swing.
That is the wrong move.
If your normal pattern is pulls and weak fades, the opposite pattern is a push draw. During training, a little overdraw is often exactly what you need. It proves you are no longer trapped in the steep, leftward delivery.
The target ball flight that emerged here was a beauty:
- Start just right of target
- Curve back a yard or two
- Finish near the intended line
That is a strong stock shot for many players. It eliminates the weak right miss and reduces the straight pull.
So if you are rebuilding this part of your game, give yourself permission to exaggerate. Overhooks in the short term can be much healthier than hanging onto a weak fade forever.
Step 7: Match the club exit to your body rotation
Another useful concept from the lesson was how the club exits relative to the body.
The golfer’s old move had the arms and club traveling too far across the body after impact. That exit was too low and too left for the amount of body rotation he had produced.
In a solid stock swing, the club should exit more in line with your body motion. For this golfer, that meant the club should work more up toward the shoulder area rather than cutting sharply across the torso.
If the shaft reappears on a line that looks more parallel to the original plane, you are in a much better place. It usually means the club is no longer being dragged left across the ball.
This is another reason the alignment stick drill is so effective. It gives you an external guide for what a better exit looks like, and it helps your feel match reality.
Step 8: Add right side depth in the backswing for better golf swing technique
After the first fixes started producing a draw, a second layer was added.
This was not mandatory, but it made the through-swing change easier. The idea was to add more right side turn and hand depth in the second half of the backswing.
Here is the key timing:
- From setup to takeaway, keep things mostly normal.
- Do not over-rotate the hips immediately.
- From takeaway to the top, feel the trail hip and rib cage turn around more.
- Let the trail leg extend a bit to support that turn.
This creates more depth at the top. More depth gives the club more room to approach from the inside on the way down.
That timing point is huge. Too many golfers either sway too long or spin too early. In this lesson, a little sway in the earliest part of the backswing was considered fine. The important part was that the hip did not keep drifting right forever. After the takeaway, the right side needed to turn around, not just slide.
A simple feel was to keep the belt buckle quieter early, then let the right side turn more in the second half. That sequencing helped prevent the club from getting too vertical and steep.
Step 9: Blend setup, backswing depth, and through-swing direction
Once all the pieces were combined, the swing had three built-in shallowing elements:
- Closed shoulders at setup
- More right side turn and depth in the backswing
- A more rightward, higher exit through impact
That is why the ball flight changed so quickly. Instead of trying to fix the downswing from one tiny internal position, the lesson changed the conditions that shape the downswing.
This is smart golf instruction. It is minimally invasive. The grip stayed the same. The golfer’s athletic motion stayed intact. Only the biggest drivers of the miss pattern were adjusted.
If you are a decent player who already has good hand eye coordination and plenty of speed, this approach often works better than chasing cosmetic positions.
Your goal is not to look mechanical. Your goal is to remove the one or two big issues that keep producing the same bad shot.
Step 10: Take the same golf swing technique to the driver
The same ideas were then applied to the driver, and the logic was exactly the same.
If your driver tends to produce weak rights, you need to make that shot very difficult to hit. A better path and more face closure through impact do exactly that.
With the driver, the golfer used these feels:
- Shoulders closed at setup
- Big right side turn in the second half of the backswing
- Swing out to the right through the ball
The early results included some strong hooks. That was not treated as a problem. In the beginning, it was treated as proof that the old wipey cut pattern was being replaced.
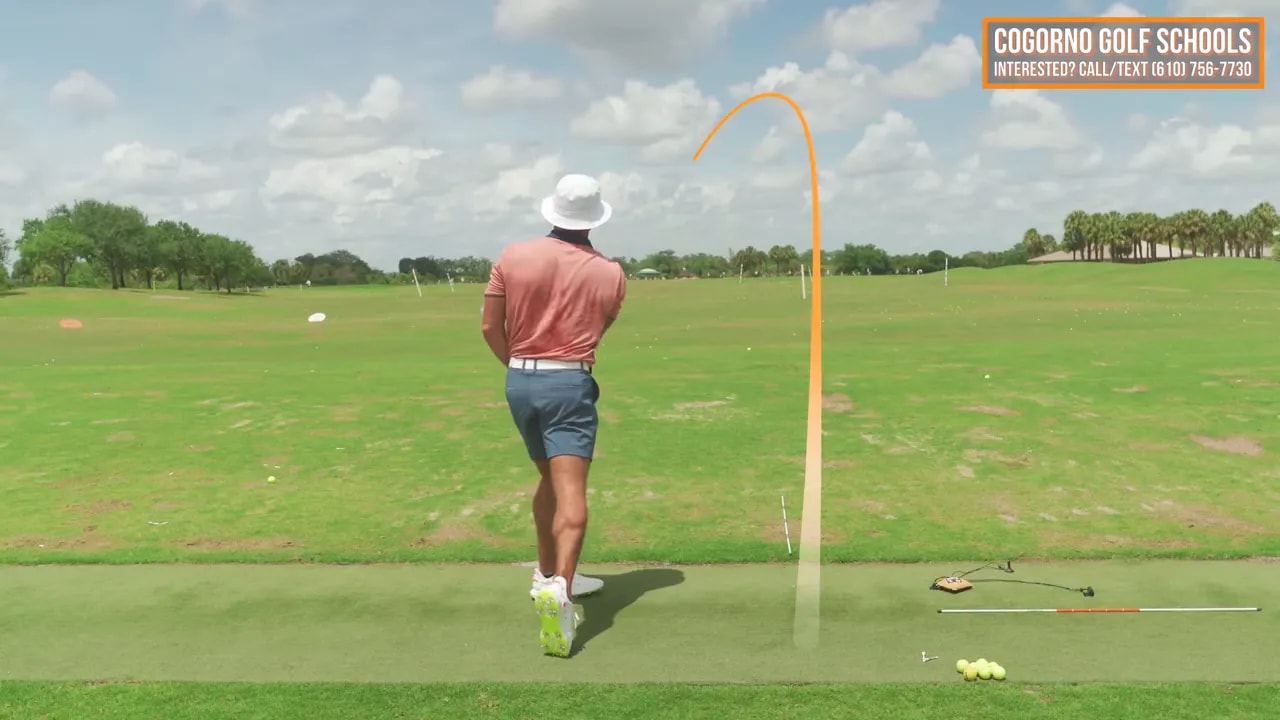
This is a smart training mindset. On the course, your exaggerations usually shrink. So if your practice swing is producing clear inside out, draw-biased shots, your playing swing may settle into a controlled version of that.
For many golfers, that means more distance too. A better inside approach with the driver can improve strike, launch, and curve all at once. In this case, it also suggested the potential for noticeably more yardage.
Step 11: Keep your expectations realistic on the course
Practice exaggerations rarely show up exactly the same way when you play. Adrenaline, target focus, and old habits all tend to pull you back toward your normal swing.
That is why it is often wise to overdo the new move in training.
If your old swing shows up late in the round, that does not mean the fix failed. It means the new motion needs more reps. Stick with the same checkpoints:
- Check shoulder alignment first.
- Use two rehearsals before a ball.
- Favor the opposite miss during practice.
- Keep the same cue set for an entire session.
The objective is not perfection in one day. It is to make your worst miss less likely and your stock shot more predictable.
That is how consistency starts to show up.
Step 12: Make this your range plan for the next 30 days
If this miss pattern sounds familiar, use this progression the next time you practice:
- Set an alignment stick station just inside the target line.
- At setup, close your shoulders slightly.
- Make short half-back to half-through rehearsals.
- Feel the club move out to the right with a little face closure.
- Hit balls using two rehearsals for every shot.
- Accept push draws or even hooks during training.
- Add more right side turn from takeaway to the top if you still feel steep.
- Repeat the same process with the driver.
Done consistently, this golf swing technique gives you a practical route to eliminate pulls, reduce weak fades, and build a stronger stock shot without tearing your whole move apart.
FAQ
Why does an open shoulder line cause pulls and fades?
An open shoulder line tends to direct the swing path more left through impact. That can steepen the downswing and create pulls when the face matches the path, or weak fades when the face stays a little open.
What should this golf swing technique feel like through the ball?
It should feel like the clubhead travels more out to the right and a little higher than normal, with the toe rotating slightly over the heel. If you normally swing low and left, this will likely feel exaggerated at first.
Is it okay to hook the ball while practicing this?
Yes. If your normal miss is a pull or weak fade, a push draw or even an overhook during practice can be a healthy sign. It means you are moving away from the old steep, leftward pattern.
How many swing thoughts should you use in one range session?
Keep it to one or two core cues. For this lesson, the main reminders were shoulders closed and club out to the right with some face closure. Too many thoughts make it much harder to build a repeatable motion.
Does this golf swing technique work with the driver too?
Yes. The same setup and through-swing ideas can help remove weak right driver shots. Adding more right side turn in the backswing can make it even easier to deliver the club from the inside.
What is the fastest checkpoint to start with?
Start with shoulder alignment at setup. It is one of the simplest changes to make and often produces the biggest return right away for golfers who fight pulls and fades.
0 Comments