
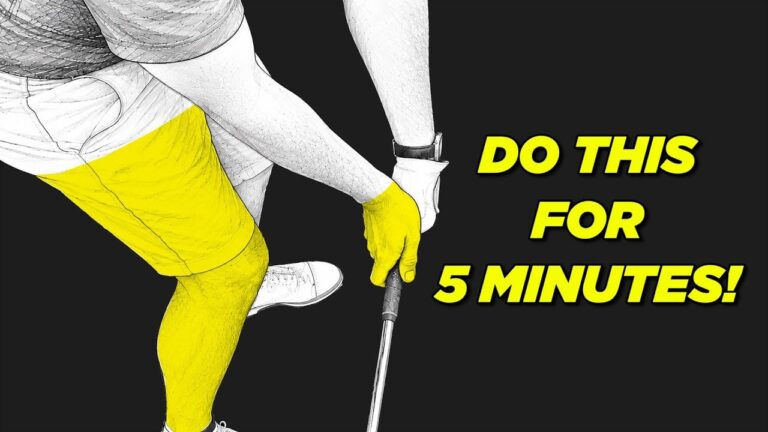

If you want better golf ball striking, there is one move you should understand before chasing more tips, more gadgets, or more swing thoughts. The key idea is simple. Your lower body needs to move toward the target while your head stays back enough to preserve space, pressure, and compression.
That pattern shows up again and again in elite golf swings. Many amateur golfers do the opposite. They slide everything forward together, lose tilt, straighten the lead leg too early, and arrive at impact with less room, less compression, and less control.
This guide breaks that move into practical steps you can use in your own golf practice. You will learn what the move is, why it matters, what it should feel like, and how to train it with simple drills.
Table of Contents
- Step 1: Understand the golf move that separates great ball strikers
- Step 2: Build the correct golf feel with an exaggerated rehearsal
- Step 3: Keep your lead leg bent longer in your golf downswing
- Step 4: Learn the hidden golf move called the step over
- Step 5: Add a slight lead-heel setup adjustment if your golf body needs help
- Step 6: Train the move with the tennis ball golf drill
- Step 7: Keep your chest up in golf so your head does not chase forward
- Step 8: Use the wall drill to teach forward and under in your golf swing
- Step 9: Check whether your golf impact matches better player averages
- Step 10: Blend the motion into real golf swings
- Step 11: Avoid the most common golf mistakes with this move
- Step 12: Make this golf move part of your regular practice
- FAQ about this golf move
Step 1: Understand the golf move that separates great ball strikers
The move is this: your hips and knees shift toward the target in transition, but your head does not move forward with them.
That creates separation. Your lower body goes forward while your upper body stays organized enough to keep the club delivering from a powerful position. In practical golf terms, this helps you compress the ball instead of just brushing at it.
The lead knee works forward. The trail knee moves in. The pelvis shifts. But the chest does not lunge. The head does not chase the ball line toward the target.
When you do this well, several useful things happen:
- You create more pressure into the lead side.
- You keep room for the arms and club to shallow and deliver.
- You improve your chances of striking the ball before the turf with irons.
- You avoid the weak, hanging-back or spin-out patterns that ruin solid golf contact.
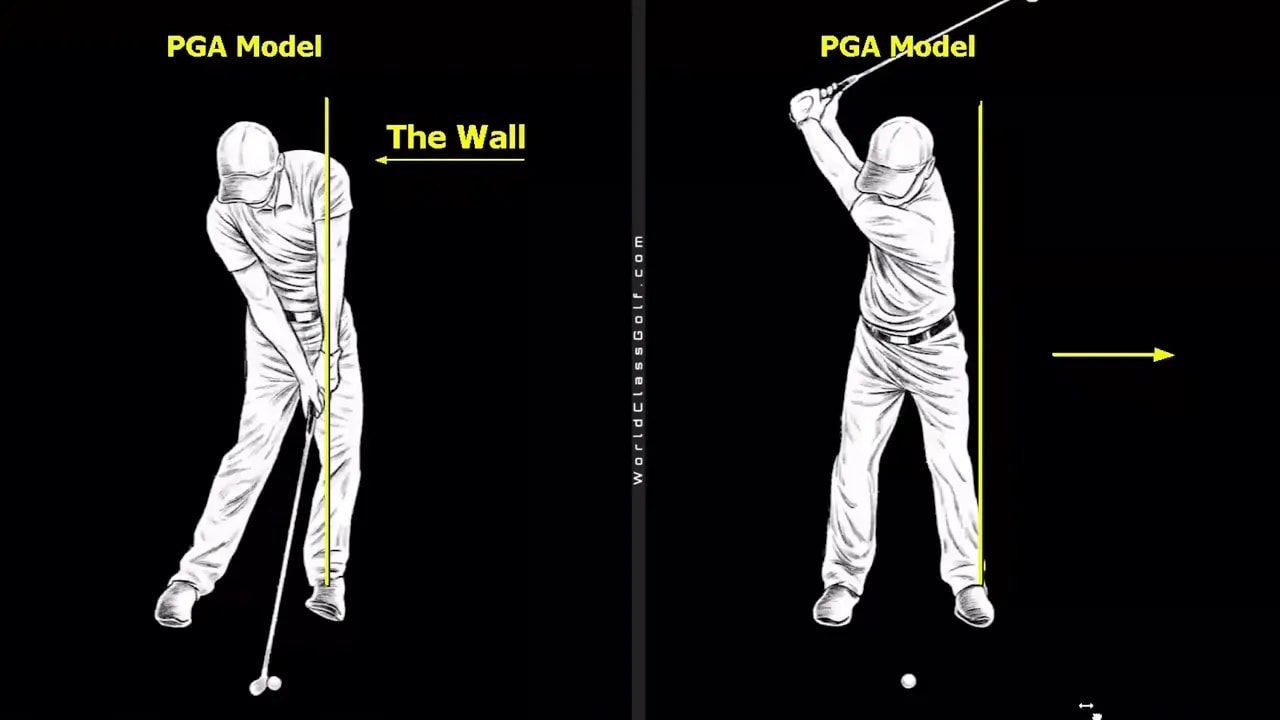
A good visual is to imagine a wall just outside your lead side. High level players move a large portion of the lead leg through that wall by impact while keeping the head from drifting into it.
Step 2: Build the correct golf feel with an exaggerated rehearsal
Before you hit balls, exaggerate the motion. Push your hips forward as far as you can without letting your head move forward.
It will feel unusual. That is normal. The move is not especially natural at first because most recreational golf swings either stay stuck on the trail side or send the whole body forward together.
As you rehearse, notice these checkpoints:
- Your lead knee moves toward the target.
- Your trail knee works inward and toward the ball.
- Your head stays back relative to your lower body.
- Your body begins to feel as if it is turning from underneath rather than standing up early.
This is not just a slide. It is a forward move that blends into rotation. If you slide and never turn, you get stuck. If you only turn and never shift, you often lose pressure and strike.
Step 3: Keep your lead leg bent longer in your golf downswing
One of the biggest pieces in this lesson is what your lead leg does through impact. Many amateur golfers straighten the lead leg too early. That early straightening pushes the chest up and forward at the wrong time, moves the head with the hips, and changes the low point.
Instead, keep the lead leg bent longer.
Think of it as staying in a seated position through the strike. That bent lead leg gives you time to move pressure forward, keep the right side working under, and deliver the club with control.
In strong golf impact positions, the lead knee is often well forward of the ball and still flexed. That is a very different look from the early-posted amateur pattern.
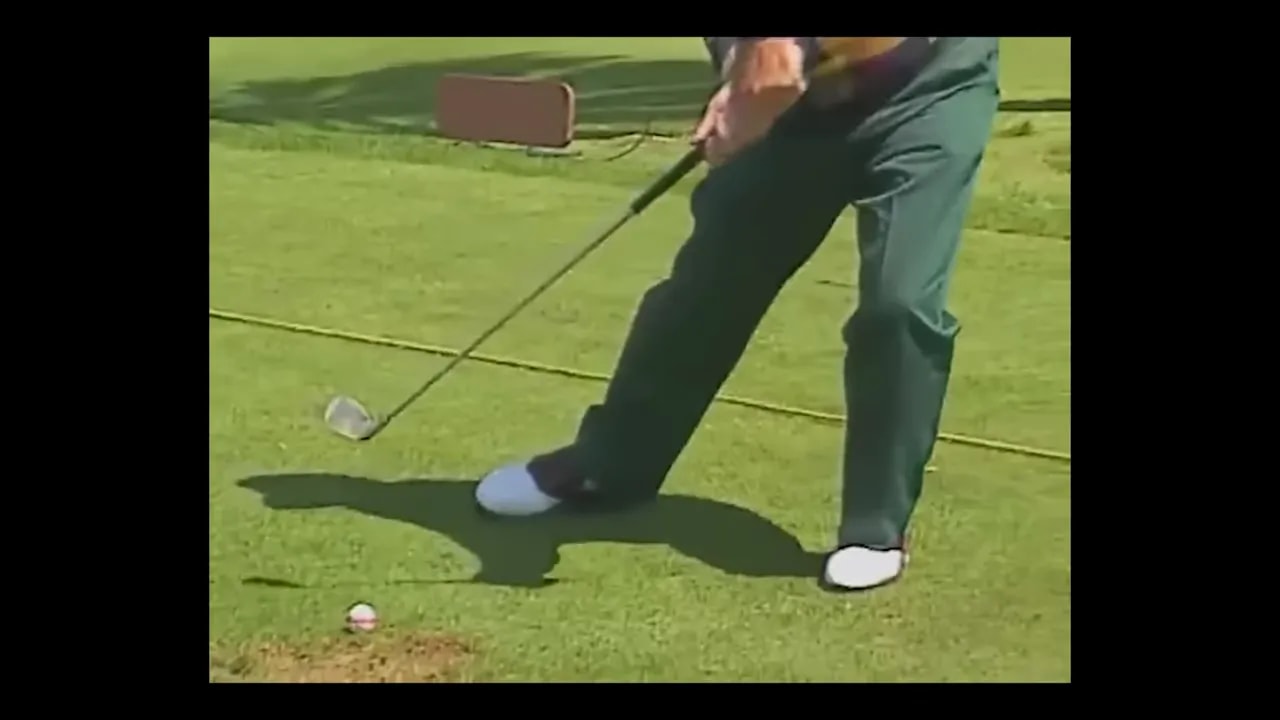
If you struggle with thin shots, chunks, or weak fades, this lead-leg pattern is worth your attention. It often changes strike quality quickly.
Step 4: Learn the hidden golf move called the step over
A standout pattern in many elite swings is a subtle step-over look through impact. This is not a literal walking step during the swing. It is the sensation that the trail side is moving through and under as pressure shifts into the lead side.
The move helps you create a larger lateral shift without driving your head forward. It also helps the trail hip get down and under the lead hip so you can rotate through the ball instead of standing up out of it.
This pattern appears in swings from several famous ball strikers. The exact style varies from player to player, but the lower-body intent is very similar.
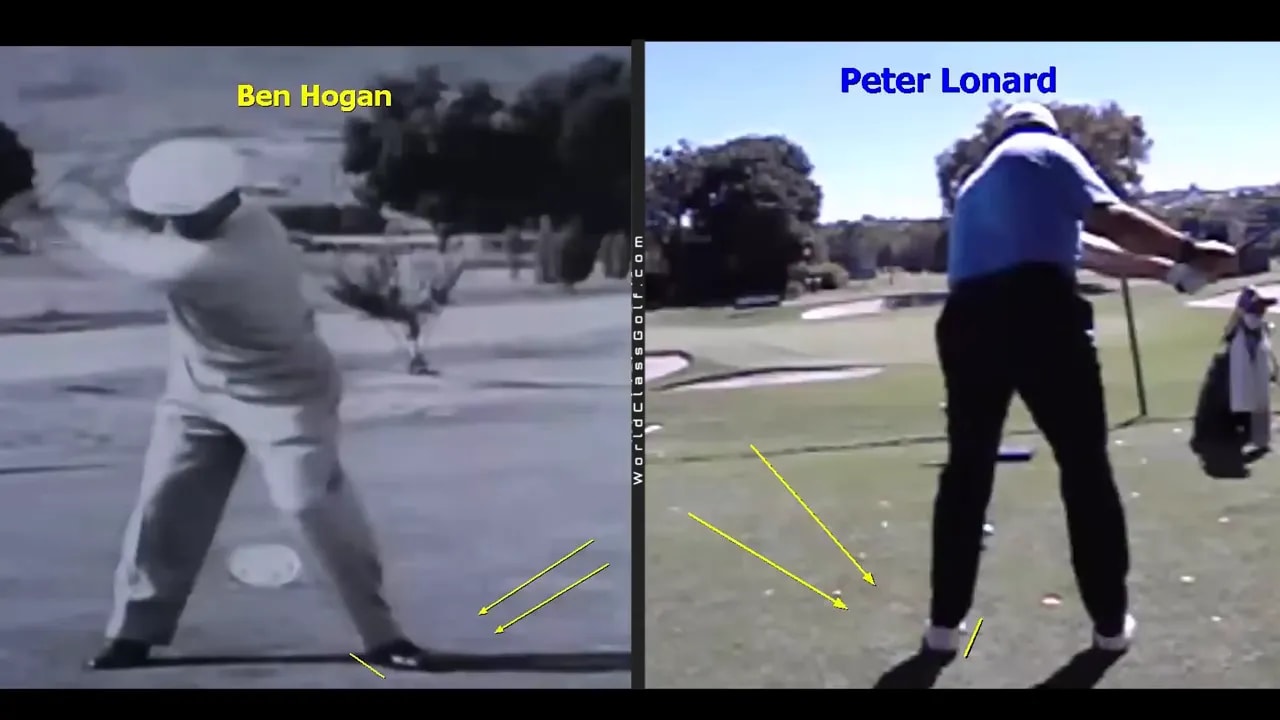
For your own golf swing, treat the step over as a drill first. Use it to teach your body how to shift and rotate together. You do not need to force a dramatic move on the course.
Step 5: Add a slight lead-heel setup adjustment if your golf body needs help
There is also a small setup idea that can make this easier. Lift your lead heel just a fraction at address. Only a sliver. This can help your lead knee, thigh, and hip travel more freely.
For many golfers, especially older players or anyone with limited mobility, this reduces strain and allows a better backswing tilt and transition move.
The key is to set it lightly from the start rather than trying to lift it mid-swing as a conscious action. You want a simple athletic setup, not another complicated sequence to manage.
In golf, the best feels are often the ones that remove restrictions rather than add effort.
Step 6: Train the move with the tennis ball golf drill
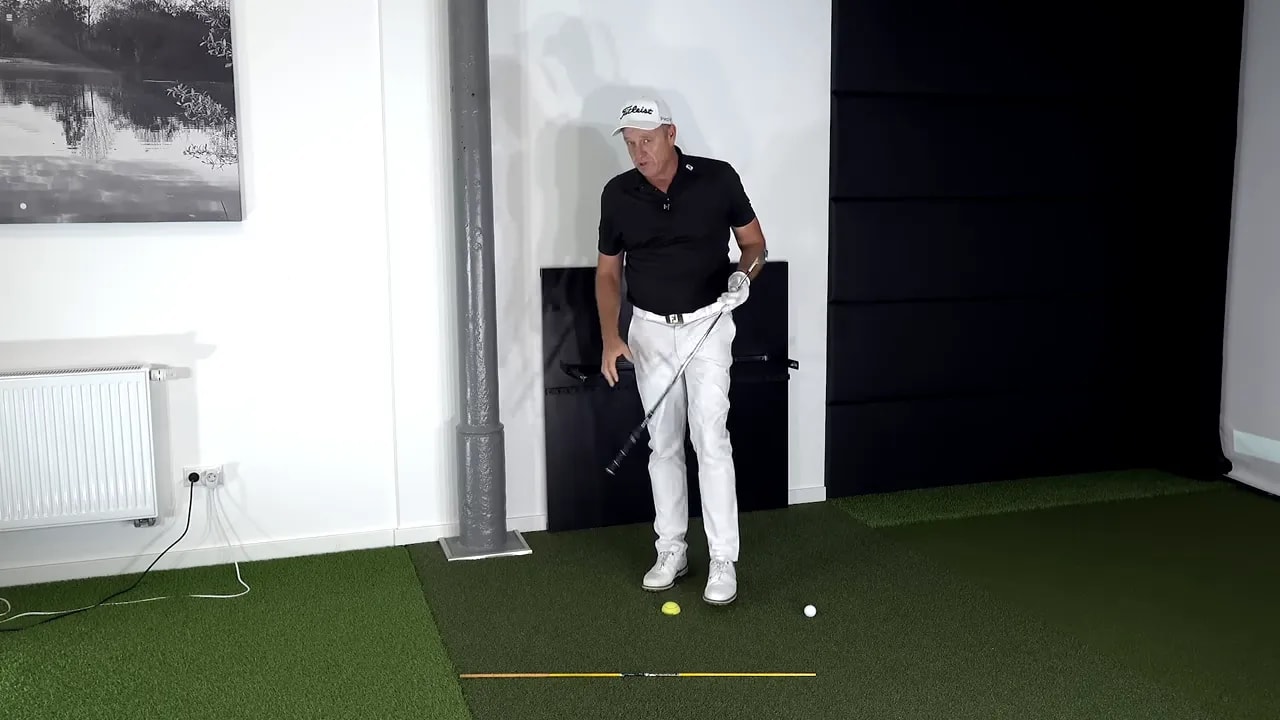
One of the most useful drills shown is built around a cut tennis ball. Place half a tennis ball near your lead foot so it acts as a physical barrier or reference point.
The goal is to move through the ball and step across that reference as you swing. The motion is slightly exaggerated, but that is exactly why it works.
Here is how to do it:
- Take an old tennis ball and cut it in half.
- Place it just outside or near the lead foot area as a marker.
- Make a backswing rehearsal.
- On the way down, feel the lower body shift and step across the tennis ball marker.
- Keep your chest up slightly as you move through.
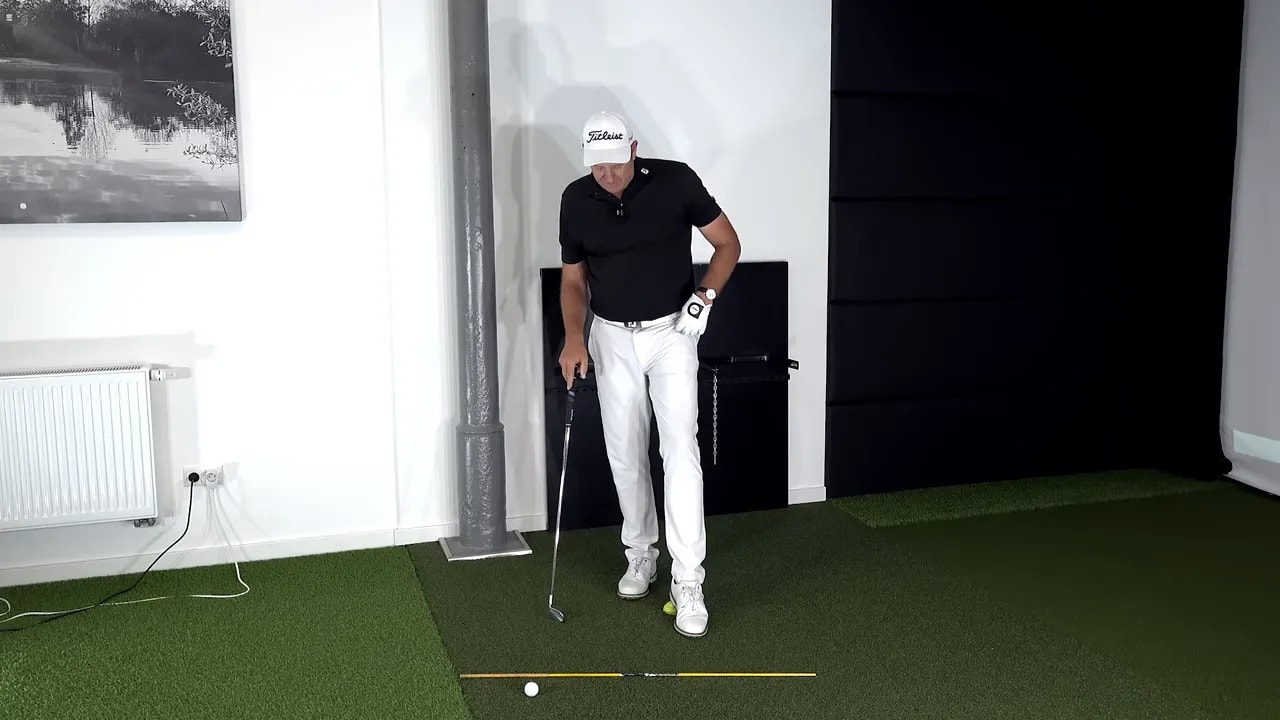
This drill teaches three important golf pieces at once:
- Forward pressure shift
- Lead-side posting without early extension
- Trail side moving under instead of out toward the ball
Because it is exaggerated, it can quickly wake up a motion that has been missing for years.
Step 7: Keep your chest up in golf so your head does not chase forward
The lower body move only works well if your chest supports it. A second major idea here is to keep the chest slightly up through the strike and finish.
This does not mean leaning backward wildly. It means avoiding too much forward bend through impact.
When the chest stays too tipped down and forward, the head tends to move with the hips. That wipes out the separation you need. By keeping the chest slightly more up, you give your body room to turn while the lower body shifts.
A useful thought is this: move forward, then turn under, not level.
If you turn too level, your body often spins open without enough tilt. If you tilt without turn, you can get trapped and lose speed. Good golf motion blends both.
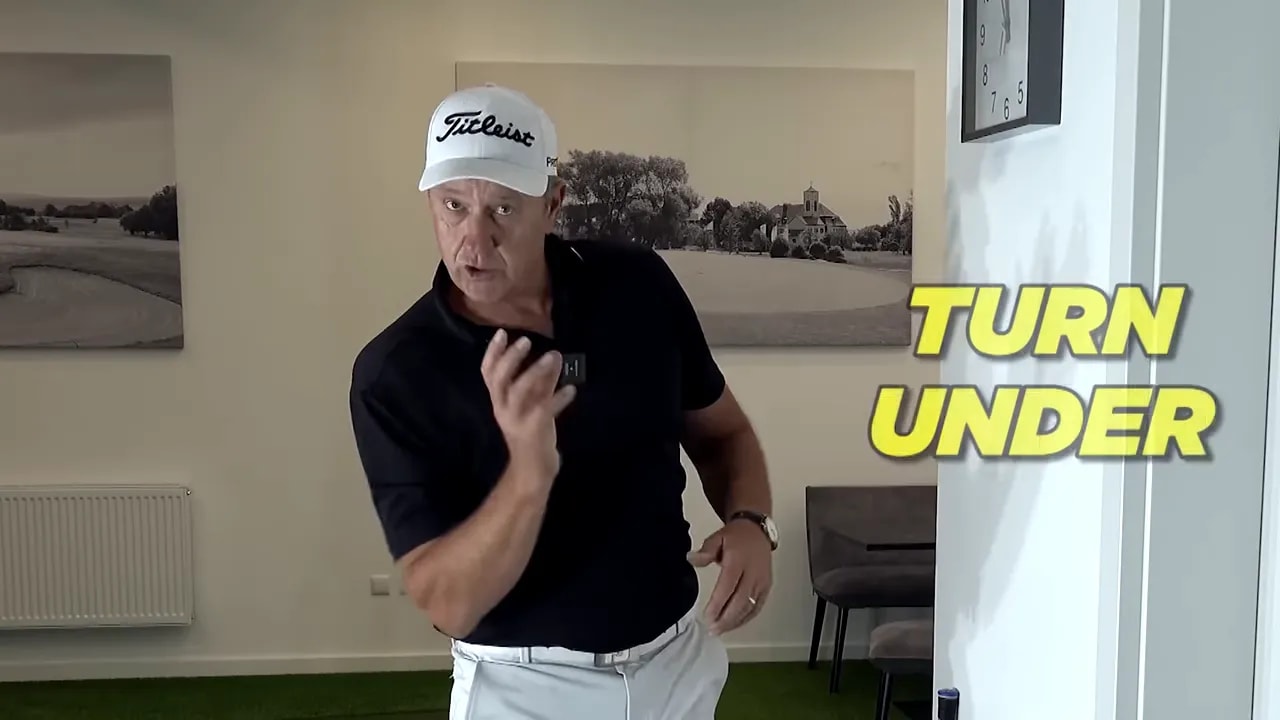
Step 8: Use the wall drill to teach forward and under in your golf swing
The wall drill is another excellent way to understand the difference between turning level and turning under.
Set a club against a wall and stand roughly half a yard away. Then rehearse your downswing and follow-through while trying to feel your body move under the top of the club grip area.
The purpose is not to perform a perfect pose. The purpose is to give your brain a clear task.
This drill helps you feel:
- Forward shift without head lunge
- Side bend through impact
- Rotation that works under rather than around and up
- Knees closing the gap as pressure moves left
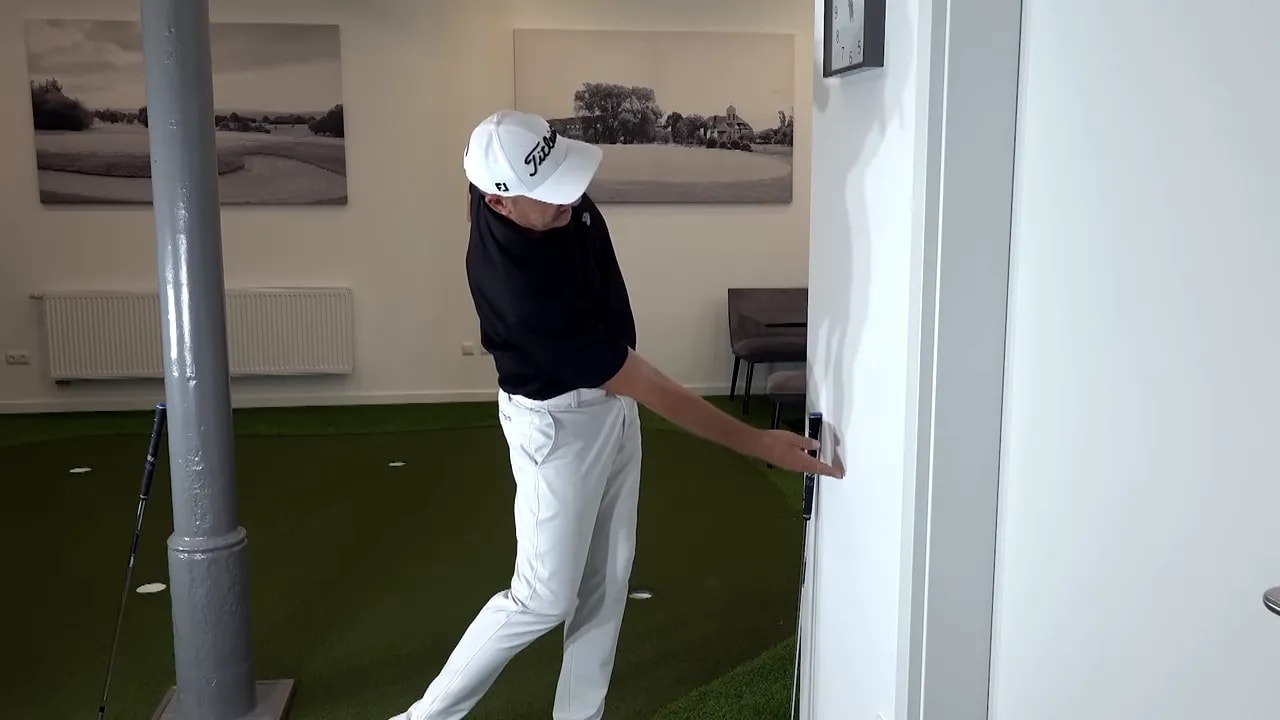
If you cannot reach the exact rehearsal position because of flexibility limits, that is fine. The value is in the intention. Do the best version your body allows.
Step 9: Check whether your golf impact matches better player averages
A valuable part of this lesson is the emphasis on evidence. Great golf instruction gets easier when you compare your impact position with strong player patterns.
One benchmark mentioned is the angle from the lead knee down toward the ankle at impact. The average shown for high level players is about 65 degrees, with strong ball strikers often staying below 70 degrees.
The exact number matters less than the concept. Better players usually have the lead leg moving more forward and inward at impact than most amateurs do.
By contrast, many amateur golf swings show much larger numbers because the lead leg has not moved enough through impact. That often reflects a stalled shift, a head lunge, or an early straighten pattern.
If your strike is inconsistent, compare your swing with solid impact models. You may find that your problem is not mysterious at all. It may simply be that your body is not getting into a proven impact structure.
Step 10: Blend the motion into real golf swings
Once the drills make sense, start blending them into short shots first.
Use this progression:
- Make slow motion rehearsals with no ball.
- Hit short punch shots with a 7 iron.
- Add the step-over feel lightly.
- Keep the chest slightly up through the strike.
- Gradually lengthen the swing while preserving the same pressure pattern.
Do not rush straight into full speed. In golf, pattern change happens faster when the feel is clear and the speed is manageable.
As you practice, look for these signs of improvement:
- More compressed contact
- Cleaner turf interaction
- Better starting lines
- A more stable head position through impact
- Less feeling of hanging back or flipping the club
Step 11: Avoid the most common golf mistakes with this move
Even a good drill can go wrong if the intention gets distorted. Here are the big mistakes to avoid.
Do not slide the whole body forward
Your hips and knees go forward, but your head should not ride along with them. If everything moves together, you lose the very separation that makes the move powerful.
Do not straighten the lead leg too early
This is one of the biggest errors in amateur golf. Keep the lead leg bent longer so you can drive through the ball before fully posting up.
Do not turn level
A flat, level turn through impact often sends the pelvis toward the ball and the chest too high too soon. Feel the trail side turning under.
Do not overdo the step over on the course
Use it as a training exaggeration. The real swing should look athletic and balanced, not forced.
Step 12: Make this golf move part of your regular practice
If this pattern is new to you, do not treat it as a one-time discovery. Build it into your weekly golf practice.
A simple routine could look like this:
- 10 exaggerated rehearsals without a ball
- 10 tennis ball drill swings
- 10 wall drill rehearsals
- 15 punch shots with a short iron
- 10 normal swings while keeping only one feel
The goal is to turn a smart concept into a reliable pattern. Once your body learns how to shift, stay centered enough with the head, and turn under, your contact can improve fast.
For many golfers, this is the missing link between knowing what good impact looks like and actually being able to produce it.
FAQ about this golf move
What is the main golf move being trained here?
The main move is shifting your hips and knees toward the target while keeping your head from moving forward with them. That creates separation and helps improve compression and strike quality in golf.
Why does keeping the lead leg bent matter in golf?
Keeping the lead leg bent longer helps you stay in posture, move pressure into the lead side, and avoid early extension. It gives you more time to deliver the club with a stronger impact position.
Is the step over a real swing move or just a golf drill?
For most golfers, it is best used as a drill and a feel. It exaggerates how the lower body shifts and how the trail side moves under through impact. Your actual golf swing should usually look subtler.
What does turn under mean in a golf swing?
Turn under means blending rotation with the right amount of tilt so the trail side works down and under through impact instead of turning flat and level. This helps protect space for the arms and club.
Can older golf players use these drills?
Yes. The drills can be adjusted to match your flexibility and mobility. Even if you cannot make a dramatic rehearsal, the concepts of forward pressure, stable head position, and turning under can still help your golf swing.
How quickly can this improve golf ball striking?
Many golfers feel better contact quickly because the drills improve impact structure right away. Long-term improvement depends on how consistently you practice and whether you avoid sliding the head forward or straightening the lead leg too early.
Solid golf often comes down to impact, not appearance. If your lower body can move forward while your head stays stable enough and your chest turns under, you give yourself a much better chance to strike the ball with authority. For many players, that one change can make the swing feel simpler, more powerful, and more repeatable.
0 Comments