
If your golf has started to feel inconsistent, a lot of it often comes back to how your arms organize during the transition. One simple movement check can help: training your right forearm position so it gets underneath your lead arm through the downswing.
This guide shows you how to use that golf arm position to improve sequencing, create space for lag, and reduce the “over-the-top” pattern that ruins power and accuracy.
Table of Contents
- What it means to get your right forearm underneath (and why it matters in golf)
- Step 1: Learn the “last parallel” checkpoint for golf
- Step 2: Use the “club gap” test to confirm your forearm position
- Step 3: Build the motion with a controlled “pause and then swing” drill
- Step 4: Fix “over-the-top” tendencies with the forearm-under cue
- Step 5: Make it measurable with camera feedback (without chasing your angle)
- Mistakes to avoid when training your right forearm in golf
- Practical golf practice plan (10 minutes) to ingrain the forearm-under move
- FAQ about right forearm position in golf
- Takeaway: Use the forearm-under-left checkpoint to build a better golf downswing
What it means to get your right forearm underneath (and why it matters in golf)
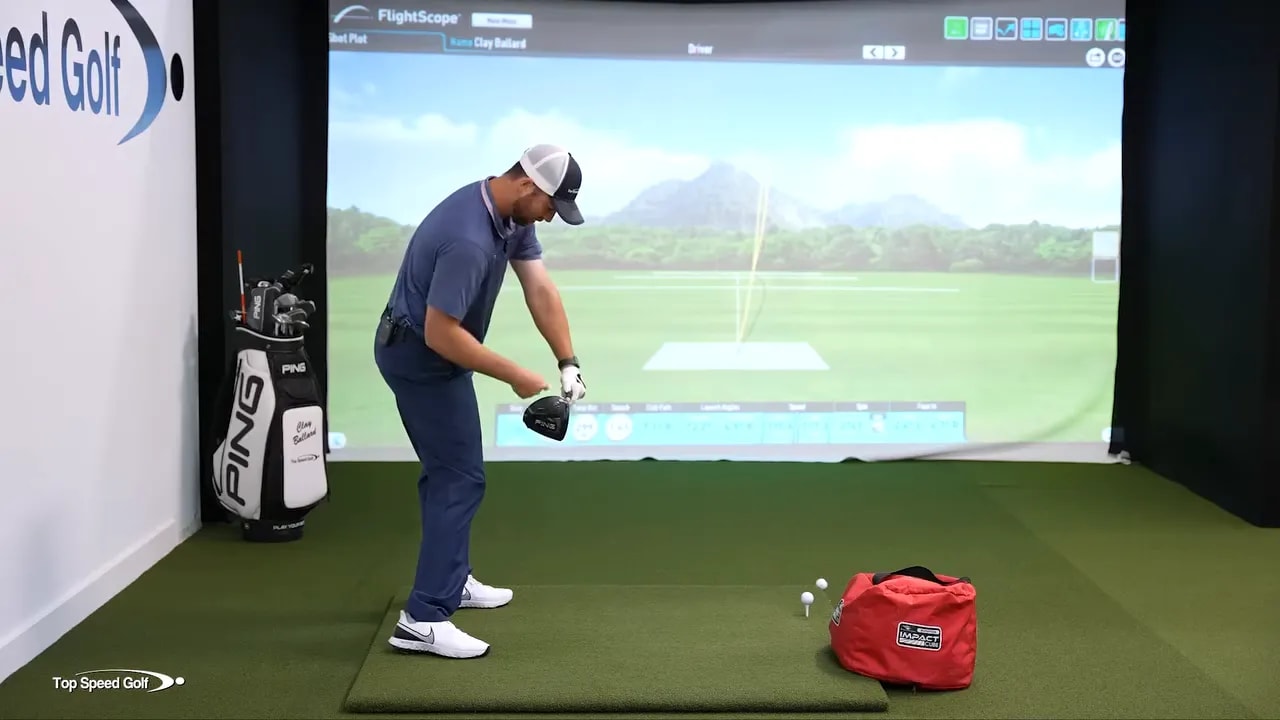
During the downswing, your goal is not just “rotate harder.” It is to organize your forearms and hands so the club can shallow and whip through impact.
When you come from the outside with an over-the-top or too-steep motion, your right forearm often ends up too high across the body. That can cause a couple of common problems in golf:
- Loss of lag because the arms get forced instead of loading.
- Thinner contact or sliding because the club gets thrown at the ball.
- Direction issues such as fades, pulls, or inconsistent face control.
- Hard-to-repeat swings because the arms take over when legs and rotation should lead.
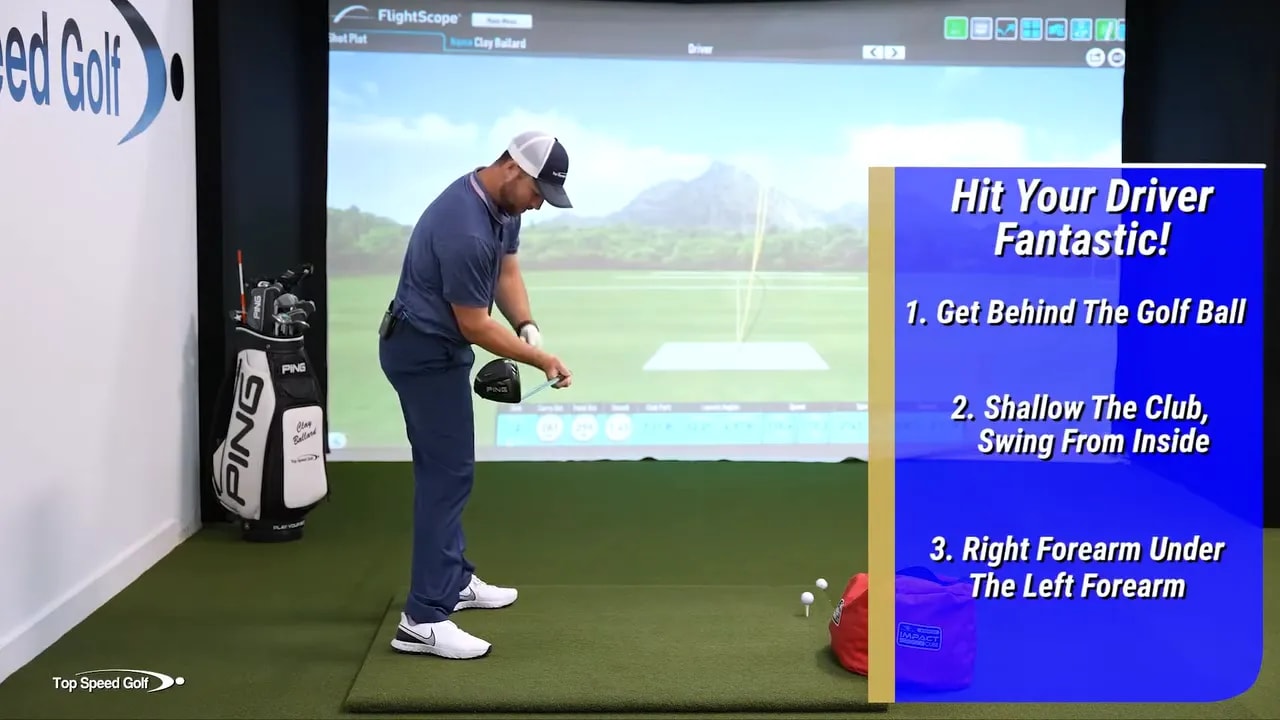
When you correctly organize the arms, your right forearm can move to sit under your left forearm as you approach and pass the “last parallel” position. That under-relationship is a powerful visual checkpoint for shallowing and efficient delivery.
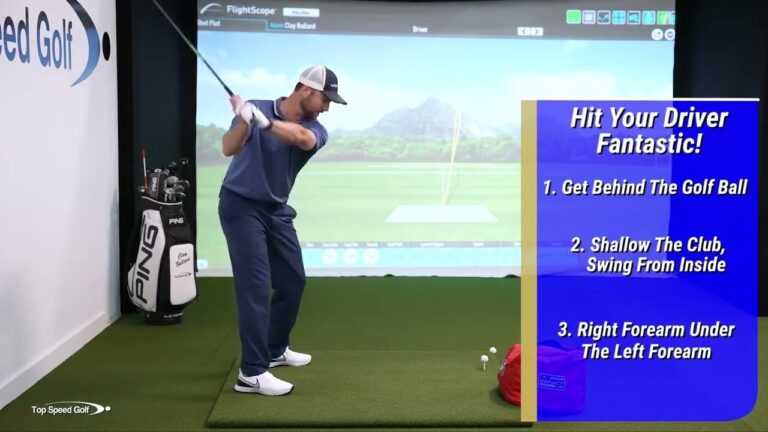
Step 1: Learn the “last parallel” checkpoint for golf
In golf training, “last parallel” is a commonly used reference point. It is the moment in the downswing when the club shaft is roughly parallel to the ground.
At this point, you should be able to feel that your arms are organized rather than crossed or stacked.
A simple at-home description
- Assume normal setup and grip.
- Start down using a controlled transition (don’t yank with the hands).
- Pause in your mind at the point where the shaft would be parallel to the ground.
- Focus on whether the right forearm is under the left forearm.
The goal is not to “hold a pose” forever. It is to build a better downswing shape that you can repeat at speed.
Step 2: Use the “club gap” test to confirm your forearm position
One of the most practical ways to confirm the right forearm-under-left position is using a simple obstruction test.
Have a partner hold a golf club shaft so it runs between your forearms when you are in the last parallel position. The idea is:
- If your arms are organized correctly, a club shaft should be able to fit through the space between your forearms.
- If you are too steep or coming over the top, the arms typically block that space and you will not be able to fit the shaft in.
This gives you real feedback. It also helps you avoid a common trap: copying a camera angle without knowing whether the arms are actually in the right relationship.
Step 3: Build the motion with a controlled “pause and then swing” drill
You will get better results by training the position before you test it at full speed.
How to do the drill
- Address the ball normally.
- Make a slow backswing and start down using your usual transition rhythm.
- As you approach last parallel, stop briefly. Focus on the right forearm being under the left.
- Resume the downswing and hit a normal shot.
Do not try to “force” the arm position by pulling across with your hands. Instead, aim to feel that the downswing gets the arms into a better slot as the body rotates.
What you should feel
- A sense of the club “staying connected” rather than ripping from the top.
- Hands not racing past the arms.
- Rotation and lower body motion helping your arms organize.
Progression
- Week 1: short swings, slower tempo, more pauses.
- Week 2: fewer pauses, build speed while keeping the same arm relationship.
- Week 3: apply to full swings, using one checkpoint per shot (not five).
Step 4: Fix “over-the-top” tendencies with the forearm-under cue
Many golfers who struggle with steepness also struggle with timing. They often throw the arms out and up, then try to save it with an abrupt pivot or flipping at the ball.
The forearm-under-left cue helps because it naturally encourages a more efficient path. Here are the most common reasons golfers cannot achieve the position:
- You start down too steep with your hands.
- Your arms cross too early during transition.
- You rotate late, causing the arms to handle everything.
- Your body gets stuck back so the club has to “come over.”
Use this practical sequencing approach:
- Initiate with the lower body (hips and legs) rather than the hands.
- Keep the club moving down with your body, not across with your arms.
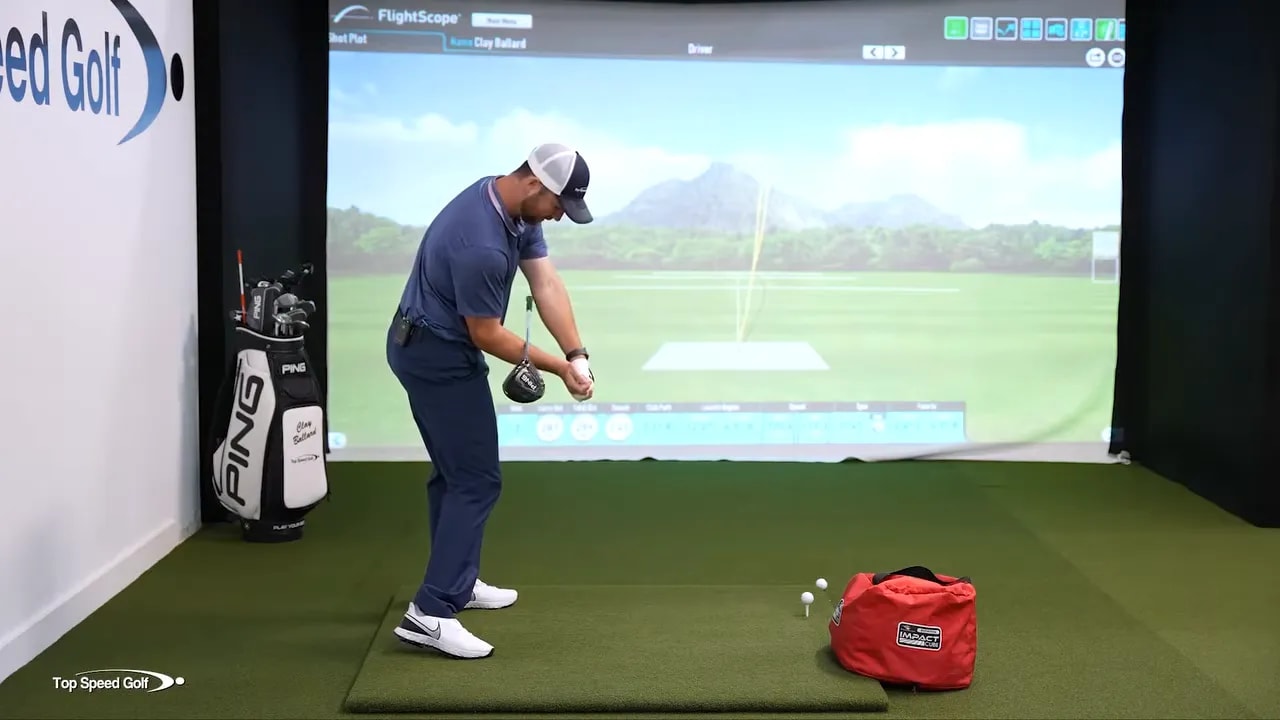
- Let the right forearm travel under the lead forearm as you approach last parallel.
- Finish the swing by maintaining rotation through impact.
Step 5: Make it measurable with camera feedback (without chasing your angle)
It is tempting to “chase” what you see on a screen. The better approach is to link the camera view to a physical checkpoint.
Set up a consistent camera position (for most golfers, front or front-right at about waist-to-chest height works well). Then compare two things:
- Position: does the right forearm appear underneath the left at last parallel?
- Shape: is the club dropping more behind you instead of sweeping across?
If your right forearm stays high and across the body through transition, you will likely struggle to achieve the forearm-under relationship and the club gap test will fail.
Mistakes to avoid when training your right forearm in golf
1) Forcing the arms with the hands
Trying to “place” your forearms without good sequencing often causes tightness, loss of lag, and inconsistent contact.
2) Chasing the position at full speed too early
If you try to do it only at driver speed, you will likely revert to your old pattern under pressure. Build the shape with controlled drills first.
3) Not using last parallel as a repeatable reference
People often train at the wrong moment. Your arms can look good at one point but be wrong where it counts. Last parallel keeps the training honest.
4) Forgetting about body rotation
Even with the right forearm cue, rotation still drives the swing. If your lower body and torso do not help the club drop, the arms will compensate.
5) Overcorrecting into too-flat or too-closed delivery
Some golfers respond to over-the-top by swinging too far inside. If you start hitting hooks or losing face control, return to the checkpoint and rebuild from a balanced transition.
Practical golf practice plan (10 minutes) to ingrain the forearm-under move
- 2 minutes: dry swings in front of a mirror or with camera setup, focusing on the arm relationship at last parallel.
- 3 minutes: pause-and-go drill with 30 to 60 percent power.
- 3 minutes: repeat the pause drill but strike normal balls at half swings.
- 2 minutes: full swing attempts but only one focus cue: right forearm under left near last parallel.
Stop when your ball flight becomes more consistent and your strike quality improves. Quality beats volume for learning movement patterns.
FAQ about right forearm position in golf
Will this right forearm cue work for every golfer?
It can help most golfers because it targets a common problem source: incorrect arm organization during the downswing. However, the ideal solution still depends on your swing tendencies. Use the last parallel checkpoint and the club gap test to confirm you are actually improving the required relationship.
What if I cannot get my forearms to fit the “club gap” test?
That usually means your downswing is too steep or your arms are crossing and blocking the space. Slow down, use the pause drill, and emphasize initiating with your lower body instead of forcing the arms into position.
Should I keep the forearms under each other the entire downswing?
The key is how they organize near last parallel and into delivery. You are training a relationship that supports lag and a better path, not locking into one static position.
Can this improve power?
Often yes, because improved organization typically preserves lag longer and improves club delivery through impact. Better lag and cleaner sequencing usually translate into more consistent speed and contact.
How long does it take to notice results in golf?
Some golfers see changes within a few practice sessions, especially with shorter swing work and pauses. For lasting results, plan on a few weeks of consistent practice with the checkpoint.
Takeaway: Use the forearm-under-left checkpoint to build a better golf downswing
Training your right forearm to sit under your left near last parallel is a high-value golf checkpoint. It helps you avoid over-the-top steep delivery, improves arm organization, and supports lag and cleaner impact.
Start with the pause-and-go drill, confirm the feel with a last parallel reference, and use the club gap test if possible. Once the motion becomes repeatable at lower speed, it is much easier to apply it to full swings.
0 Comments