
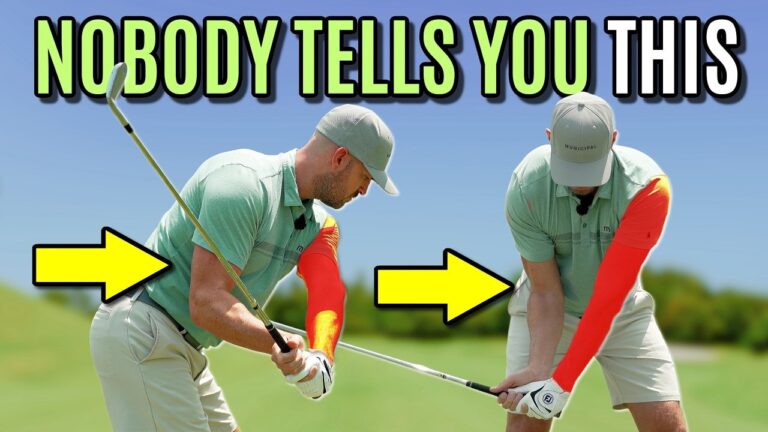
Transform your golf game by mastering one key swing motion: lead arm rotation. Perfecting this component can enhance your shot precision, control the clubface, and refine ball contact.
Step 1: Use Your Lead Arm to Identify a Good Ball Striker
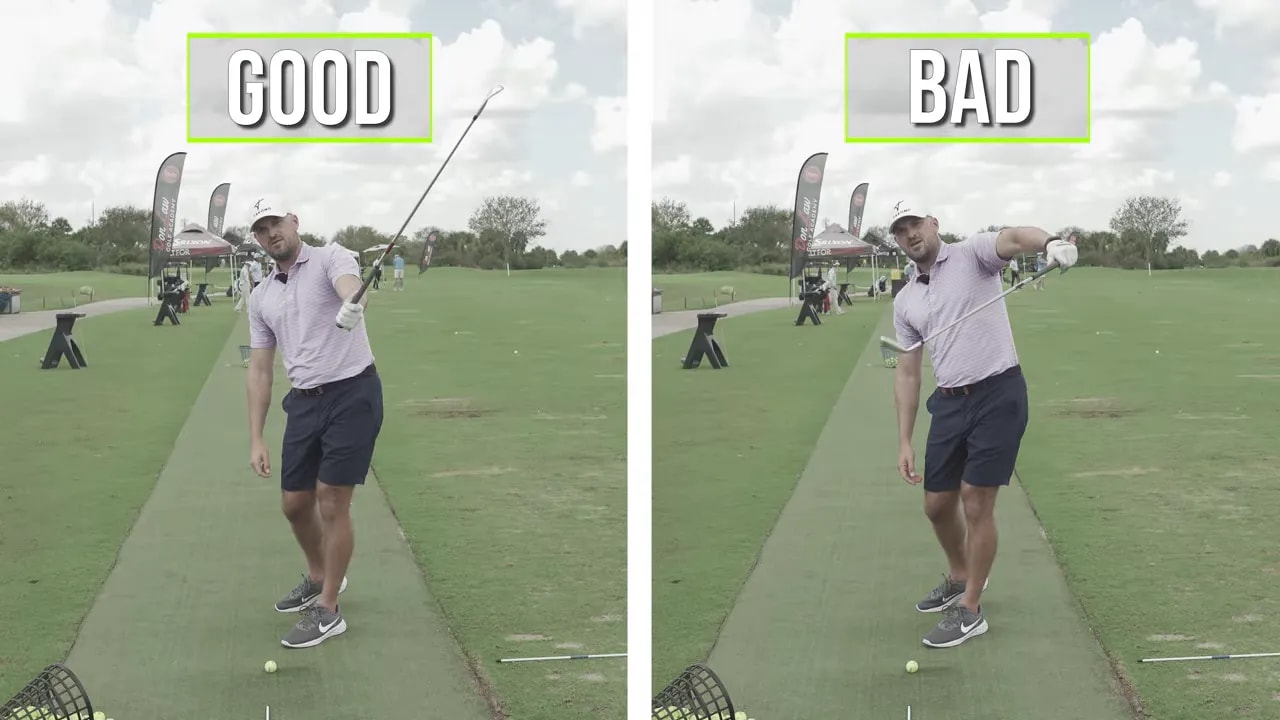
Observe the finish of proficient golfers. Their lead elbow points down and slightly left, while the thumb aims up and left, showcasing proper lead arm rotation. This results in a more closed clubface for consistent shots. Conversely, if the elbow points up and the thumb right, it indicates open clubface, often leading to weak right shots.
Step 2: Learn the Checkpoint: Elbow Down, Thumb Up
Without needing extensive tools, set your swing checkpoint: lead elbow slightly down and left, thumb pointing up and left. This position aids in closing the clubface effectively and promotes better shaft lean and low-point control, essential for a stable ball flight.
Step 3: Self-Check Drill Without a Range Trip
- Grip your club.
- Practice swings focusing on lead arm only.
- Pause with arm parallel to ground, ensuring elbow and thumb positions are correct.
This simple drill helps align your perception with form, reducing the inconsistencies in ball striking.
Step 4: Lead Arm Only Drill (The Practical Setup)
Step 4A: Create the Right Backswing Feel
- Stand in a hitting stance.
- Keep lead arm engaged during backswing.
Step 4B: Swing Through to Your Checkpoint
- Focus on parallel arm position and correct elbow orientation.
Ensure a slight arm fold and avoid extreme elbow movements to maintain consistent posture and body balance.
Step 4C: Reps
Perform two to three practice swings with lead arm emphasis, then try hitting balls keeping the same focus.
Step 5: Add the Trail Arm and Rotate Your Body Correctly
- Include the right arm in your swing.
- Maintain proper lead elbow and thumb orientation.
Rotating the chest naturally supports this motion, ensuring the body dynamic complements lead arm rotation.
Step 6: What the Ball Should Do When Lead Arm Rotation is Working
Proper lead arm rotation results in clean contact, predictable strike patterns, and stable distance control, commonly resulting in a natural draw.
Step 7: A Simple Between-Shots Practice Habit
Use shadow swings to solidify the muscle memory of your lead arm rotation during practice or play. Focus on the complete arm, not just the forearm.
Step 8: Front-End Therapy Drill (Awareness at Follow-Through)
Craig Hansen’s ‘front-end therapy’ reinforces the swing path and finish position for continual improvement.
FAQ
How does lead arm rotation improve ball striking?
Lead arm rotation helps the clubface close gradually, enhancing consistency and contact quality.
What is the exact checkpoint to aim for?
Around the follow-through, your lead elbow should be slightly down with the thumb pointing up and left.
What if I already draw the ball?
Tone down the motion slightly to balance the draw, avoiding excessive leftward curve.
Will this make me change my entire swing?
The goal is to integrate a repeatable lead arm rotation without overhauling your swing.
Can I practice this without hitting balls?
Yes, utilize shadow swings to develop the feel before implementing it in full swings.
How often should I practice this?
Incorporate it into warm-up routines. Consistent, brief practices yield better results.
Putting it Together: A Simple Routine for Better Irons
- Perform lead arm only swings (2-3 reps) focusing on elbow and thumb orientation.
- Add the trail arm and incorporate full swing feel.
- Do brief shadow movements between shots to reinforce muscle memory.
- Finish with the ‘front-end therapy’ for controlled follow-through.
Utilizing these techniques can significantly stabilize your clubface, leading to a more repeatable and efficient golf swing, enhancing your overall performance.
0 Comments