
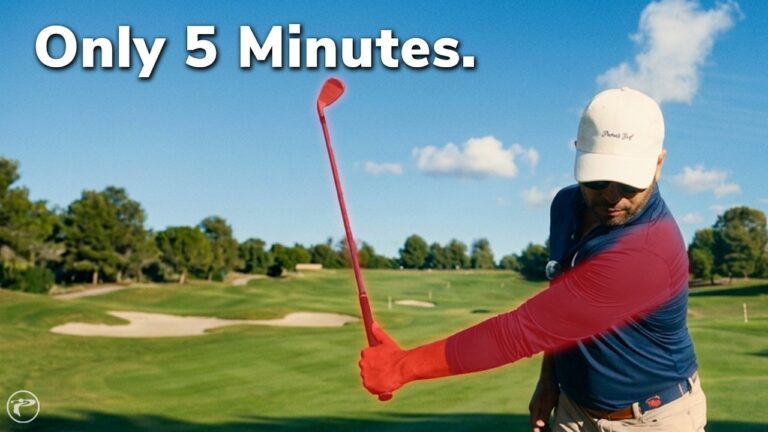

Better ball striking starts with a more useful first few minutes on the range. Instead of immediately making full swings and searching for a fix after each miss, you can begin with a simple checkpoint: take the club halfway back, pause, then turn through the ball.
This ball striking drill, called the set-go drill, gives you time to check your takeaway, wrist hinge, and connection before you hit. You are not trying to manufacture a perfect impact with a last-second hand movement. You are rehearsing a position that makes the move through impact less complicated.
Five minutes is a practical starting point, not a guarantee of a tenfold improvement. Your goal is to establish solid contact, a controlled starting direction, and one reliable swing feeling you can carry into the rest of your session.
Work through the checkpoints below, then use the five-minute ball striking drill routine to put them together.
Table of Contents
- Step 1: Give Your Ball Striking Drill a Clear Target
- Step 2: Start the Takeaway with Your Lead Shoulder
- Step 3: Build a Connected Halfway-Back Set Position
- Step 4: Pause, Check, Then Rotate Through the Ball
- Step 5: Use Each Shot to Find One Helpful Correction
- Step 6: Put the Ball Striking Drill into a Five-Minute Routine
- Step 7: Carry the Feeling into Your Normal Swing
Step 1: Give Your Ball Striking Drill a Clear Target
The set-go drill is a shortened swing with a deliberate pause halfway back. From that paused position, you rotate through and strike the ball without first completing a full backswing.
You can use it at the beginning of a practice session or as part of your pre-round range routine. In either setting, the purpose is the same: establish how your body, arms, and club should move together before adding a longer swing.
Start with direction, not distance
Choose a clear target and get comfortable at address. Settle your grip, establish your aim, and notice the direction of your foot line. That line becomes a reference for checking how your hands travel during the takeaway.
Do not judge these early shots by how far they fly. With a shortened backswing, your useful feedback is simpler:
- Contact: Did the strike feel solid?
- Starting direction: Did the ball begin along your intended line?
- Connection: Did your hands and body feel coordinated?
- Control: Could you pause and recognize where the club was?
This gives you a specific task for each repetition. Rather than hitting another ball and hoping something improves, you can connect the result to a movement you actually checked.
Step 2: Start the Takeaway with Your Lead Shoulder
Your first movement sets up the position you will pause in. Begin by feeling that your lead shoulder starts the turn and sets the pace for your hands.
Your lead side is the side closest to the target at address: the left side for a right-handed golfer and the right side for a left-handed golfer.
The important distinction is between moving your hands with your turning body and moving them independently. If your hands race away while your chest remains behind, you can reach the halfway point without the connection this drill is designed to establish.
Rehearse the movement before hitting
- Take your address position. Get comfortable rather than rushing into motion.
- Begin with your lead shoulder. Let that movement initiate your turn.
- Allow your hands to follow the turn. Avoid snatching the club away with an isolated hand action.
- Stop halfway back. Notice whether your hands still feel coordinated with your chest.
You do not need to force your arms against your body to create connection. Think of connection as coordination: your arms and hands remain organized with your torso rather than becoming a separate moving part.
At this stage, slow enough is fast enough. You need a pace that lets you recognize the movement, not one that makes you guess afterward.
Step 3: Build a Connected Halfway-Back Set Position
The set position is the halfway-back checkpoint from which you will hit the ball. Its purpose is to organize your hand path, wrist hinge, and body turn so you need less corrective action on the way through.
Use three related checks rather than treating it as a pose you must copy exactly.
Check your hand path from down the line
As your hands move back toward pocket height, feel them travel along the direction of your feet rather than immediately wrapping deep behind you.
The key is to preserve room in front of your body. If your hands get pulled too far inside and become trapped behind your torso, you may have to wait for them or make a compensating move through impact.
This is a directional feel, not an instruction to keep your hands on a perfectly straight track throughout the backswing. Your body is turning. The checkpoint helps you avoid letting that turn drag your hands excessively behind you.
Check the angle between your lead arm and the club
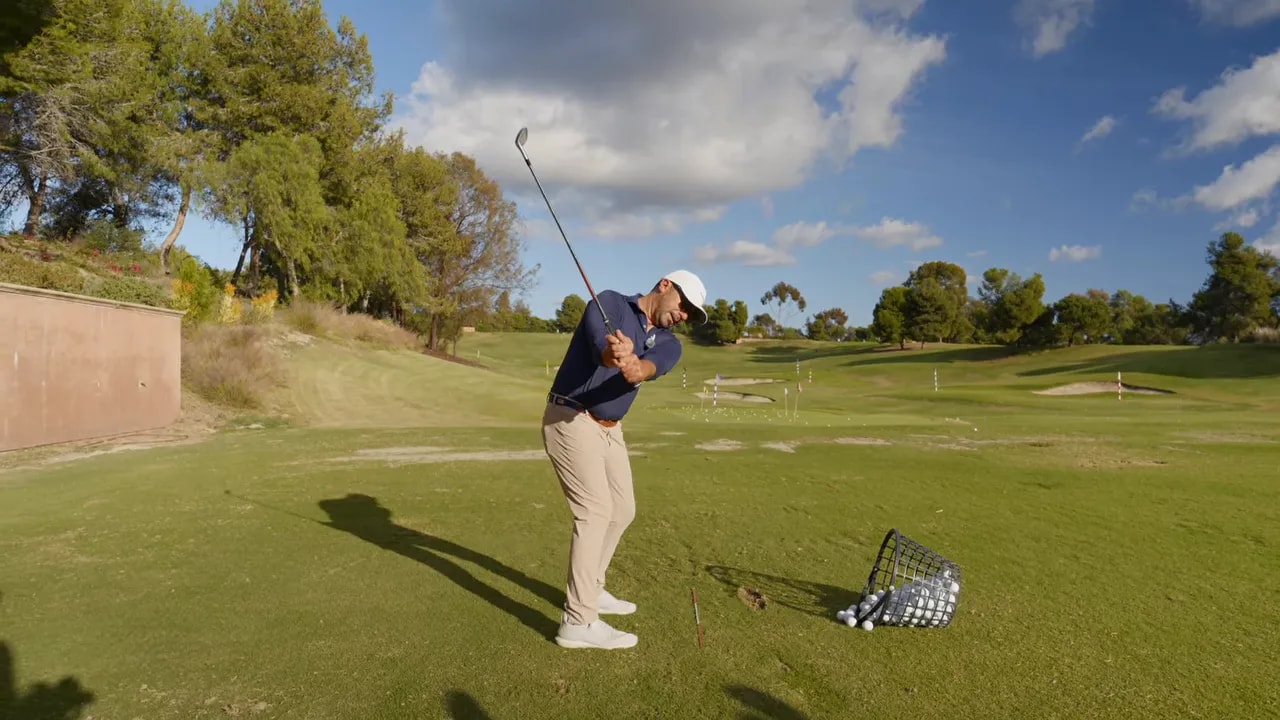
At the set position, look for an L-shaped relationship between your lead arm and the shaft. That wrist hinge provides the leverage emphasized in this drill.
You are not simply sweeping the club back with no angle between your arm and the shaft. Equally, you are not trying to create the position by letting your hands take over the entire takeaway. The hinge and body turn need to work together.
Check the grip end and body connection
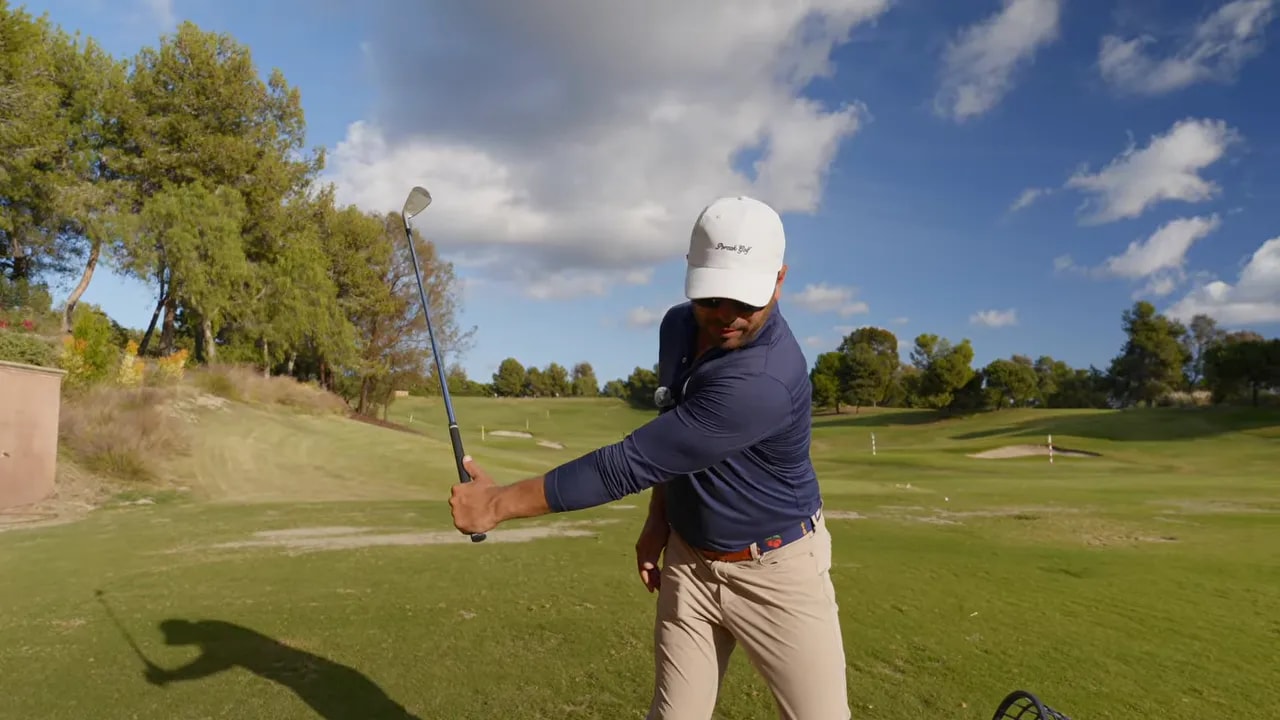
From down the line, the butt end of the club should point toward the ball or slightly inside it at this checkpoint. Use that as a reference for how the shaft is organized relative to your posture and turn.
Also notice whether your hands remain in front of your turning chest. The intended feeling is that your hands and sternum stay coordinated, allowing you to turn through without waiting for your arms to catch up.
Before hitting, ask yourself:
- Did my shoulder movement pace my hands?
- Have my hands stayed in front of me rather than becoming pinned behind me?
- Have I established an L-shaped arm-and-club relationship?
- Does the grip end point toward the ball or slightly inside it?
Step 4: Pause, Check, Then Rotate Through the Ball
The pause is what makes this ball striking drill useful. It separates finding the position from hitting the shot, giving you a chance to identify an error before you repeat it at speed.
There is no need to turn the pause into a timed hold. Stop long enough to recognize whether you have reached the intended position.
Use the set-go sequence
- Set: Make your shoulder-led takeaway into the halfway-back position.
- Pause: Check your hand location, wrist hinge, and connection.
- Reset if necessary: If the position feels wrong, return to address and rehearse it again.
- Go: From a satisfactory set position, rotate through and hit the ball.
For the drill itself, you do not need to continue to the top of a full backswing after the pause. You are learning to strike the ball directly from the organized halfway-back position.
Turn through instead of rescuing the shot with your hands
Once you are set, feel your body rotate through around your lead leg while retaining your posture. Your hands and arms move with that rotation.
The aim is to reduce the need for a last-second flip to square the clubface. That does not mean your wrists become rigid or the club never releases. It means you are not deliberately relying on a perfectly timed hand correction to save the strike.
Think of the set position as a rehearsal of an organized delivery relationship, approached from the backswing direction. It gives you a useful reference, not a reason to force the club through a frozen shape.
Step 5: Use Each Shot to Find One Helpful Correction
The first attempt does not need to be perfect. The value comes from linking what you felt at the pause with the contact and direction that followed.
After each shot, take a moment before pulling another ball into place. Ask whether the set position matched your intention and whether the result supported that feeling.
If your hands feel stuck behind you
Revisit the takeaway. You may need to feel that your hands stay farther in front of your body and move more along your foot line as you turn.
For a golfer who habitually pulls the hands too far inside, a more outward feeling can be a useful correction. But a corrective feeling is not a universal swing instruction. You are trying to recover an appropriate hand path, not push your arms progressively farther away on every repetition.
If the ball starts right of your target
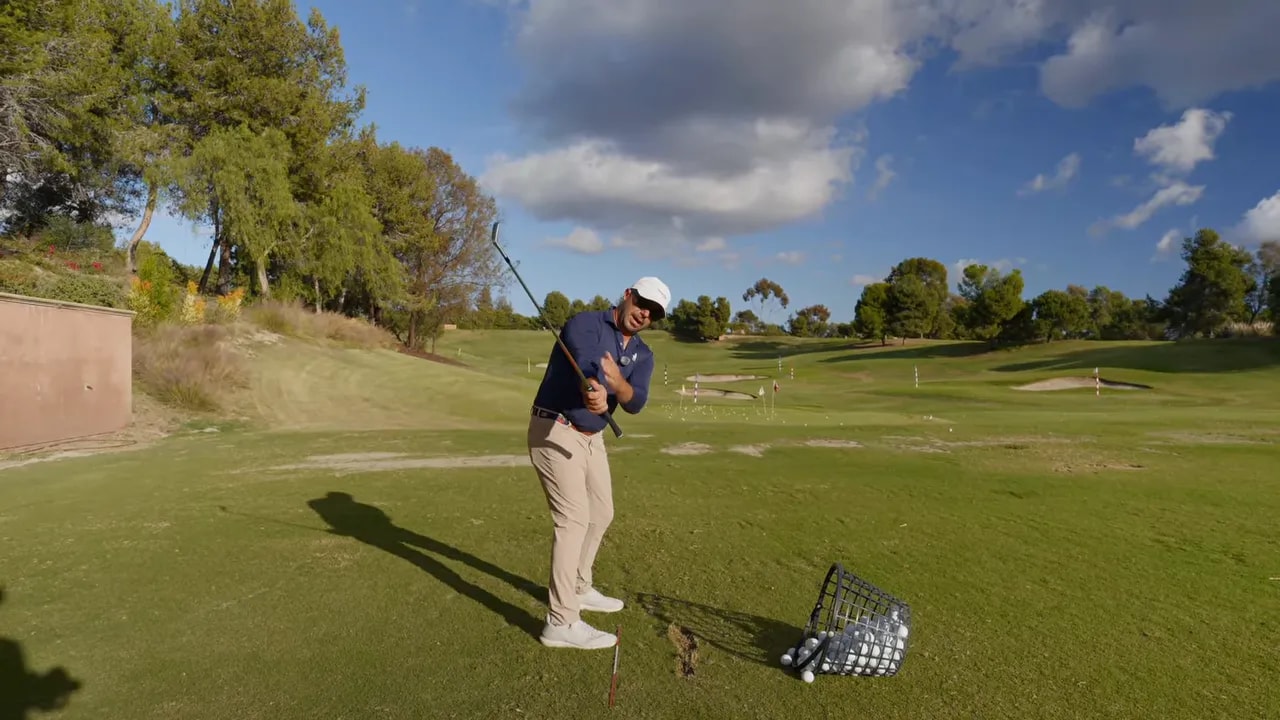
For a right-handed golfer, a shot that begins right and stays there can be a reason to recheck whether the hands became trapped behind the body. However, that flight alone does not prove the cause.
Use the paused position to investigate. If your hands were behind you and the next, better-connected repetition produces an improved start line, you have more useful feedback than the ball flight alone.
If your hands move independently
Return to the lead-shoulder cue. Make a rehearsal in which the shoulder sets the pace, then pause again. Avoid trying to solve a disconnected takeaway by adding another quick hand action later in the swing.
If you feel rushed
Reduce the pace until you can identify the checkpoint. Rapid-fire practice removes the opportunity to notice what changed. A manageable pace lets you make a deliberate correction instead of stacking several swing thoughts onto the next shot.
Keep the process narrow: one observation, one adjustment, one new repetition.
Step 6: Put the Ball Striking Drill into a Five-Minute Routine
You can organize your opening five minutes around the sequence below. These time blocks are a practical way to apply the drill, not mandatory intervals or a required ball count.
Minute 1: Establish your setup and takeaway
Choose your target, settle your grip, and get comfortable at address. Make controlled rehearsals, feeling your lead shoulder initiate the movement and your hands follow its pace.
Your task is simply to reach halfway back without rushing or pulling your hands behind you.
Minute 2: Make the checkpoint recognizable
Pause in the set position and review the essentials: hands in front of your body, an L-shaped arm-and-shaft relationship, and the grip end directed toward the ball or slightly inside it.
If you cannot recognize the position, keep rehearsing before adding a shot.
Minutes 3 and 4: Hit deliberate set-go shots
Take the club halfway back, pause, then rotate through. Assess contact and starting direction after each attempt.
If something needs attention, make one adjustment. For example, if you felt your hands move too far inside, rehearse a hand path that stays more in front of you before hitting again.
Minute 5: Confirm your best feeling
Repeat the cue that produced your clearest combination of connection, contact, and direction. Your aim is to finish this opening block with a feeling you can recognize and repeat.
Do not squeeze in extra balls simply because time remains. The useful outcome is a clearer movement reference, not the largest possible number of swings.
Step 7: Carry the Feeling into Your Normal Swing
Once the shortened drill feels organized, build toward your normal swing while retaining the same takeaway relationship. Let the shoulder continue to pace the hands, preserve space in front of your body, and keep the sense that your turn carries the motion through impact.
The pause is a practice tool. You do not have to insert it into every regular shot. Its job is to make a useful position familiar enough that you can move through it with greater confidence.
Keep the checkpoint consistent, but allow the feeling to change
A movement that felt natural last week may require a different cue today. If your hands have started drifting inside again, keeping them in front may feel more exaggerated than it previously did.
That does not automatically mean your intended position has changed. It means your perception of the movement can change. Use the checkpoint and shot feedback together rather than trusting an old feeling without checking it.
Avoid these practice traps
- Chasing distance too early: Establish contact and direction before making the swing longer.
- Holding the shape rigidly: Find the set position, then allow a coordinated motion through the ball.
- Overcorrecting the hand path: Staying in front does not mean pushing the arms endlessly outward.
- Diagnosing everything from ball flight: Check the movement as well as the result.
- Collecting swing thoughts: Keep the most useful cue instead of changing your plan after every shot.
Your next range session can begin with one simple task: set the club halfway back, confirm the connection, and turn through. Use those first five minutes to find a repeatable feeling, then build your practice around it.
0 Comments