
If your golf feels like effort instead of effortless speed, the problem is often not your swing path first. It is usually your release. When your wrists and hands do not create and hold the right positions, the clubface cannot square efficiently, and you end up casting and flipping at impact.
The easiest way to create effortless speed comes from a hidden move: storing wrist angles and then releasing them at the right moment through the ball. This is one reason elite players can hit the golf ball hard while still looking smooth.
Let’s build a simple, repeatable sequence that helps your golf swing create power without forcing everything from your arms.
Table of Contents
- Step 1: Understand the hidden move behind effortless speed in golf
- Step 2: Replace guessing with wrist checkpoints
- Step 3: Use a “wrists touching through the golf ball” drill
- Step 4: Add the “drive the right leg” timing cue
- Step 5: Learn the release concept: stall the hands to square the face
- Step 6: Train the extended or cupped lead wrist position through the golf ball
- Step 7: Use the triceps pop drill to prevent an amateur arm pattern
- Step 8: Build a balanced finish that proves your speed is working
- Step 9: Try the “paint the wall” visual for wrist angles and snap
- Step 10: Apply the speed move with practice reps that transfer to your golf
- FAQ
- Final takeaway for your golf swing speed
Step 1: Understand the hidden move behind effortless speed in golf
Many golfers try to “move the club correctly” by keeping the lead rear (lead side) from moving into the positions that happen naturally through impact. Others think they have already “rolled” their hands too much because they see a classic finish picture with the glove hand in a familiar spot.
The key insight is that elite players are not losing the ability to release. Instead, they are creating and maintaining specific wrist positions that store energy and control face rotation.
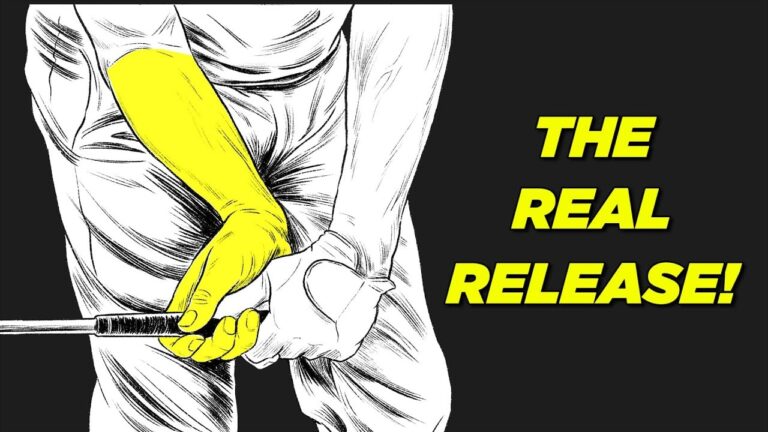
Focus on two wrist ideas:
- Right wrist flexion (storing up those angles)
- Left wrist extension (often described as “cupped” from setup to release)
One of the main claims in the approach is straightforward: 70% of your speed comes from your hands and your wrist. That is good news because hands and wrists are trainable, and you can feel what is missing right away.
Step 2: Replace guessing with wrist checkpoints
Effortless speed is not a mystery. You can use checkpoints to train what to do, not just what to avoid.
When your arms are parallel to the ground, use this checkpoint system:
- Shaft and right leg in one line so you can drive the right leg through
- Maintain wrist angles instead of letting them collapse early
Why this matters: if you cannot get into the right relationship with the shaft and your right side, your release timing breaks down. You may feel like you “made a swing,” but the clubface will not square in time.
Step 3: Use a “wrists touching through the golf ball” drill
This drill is designed to make the release feel instantly. The goal is to get your hands and wrists into a position that mirrors what strong ball strikers do, with a key detail: the clubhead should not be rolled over in an uncontrolled way.
Set up like this:
- Use an 8-iron or iron
- Start with your arms and hands soft (do not lock up)
- Tee the ball or use a ball position that lets you swing without fear
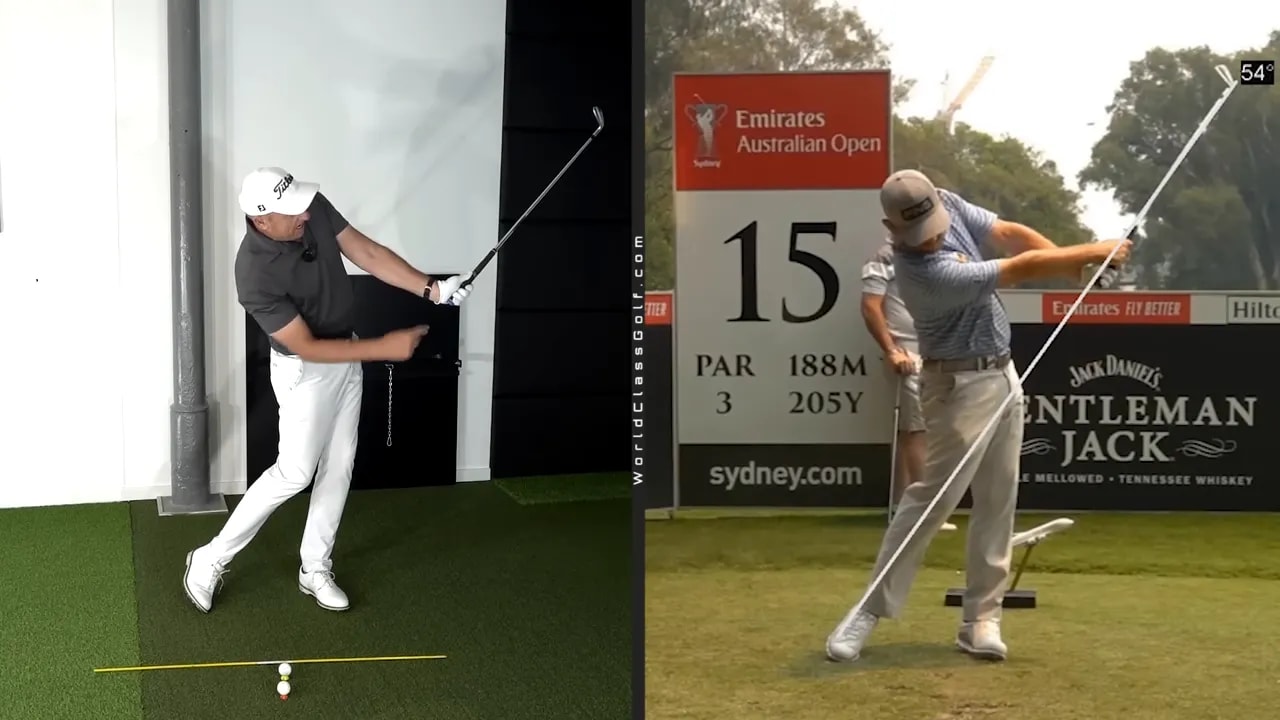
Then perform the move:
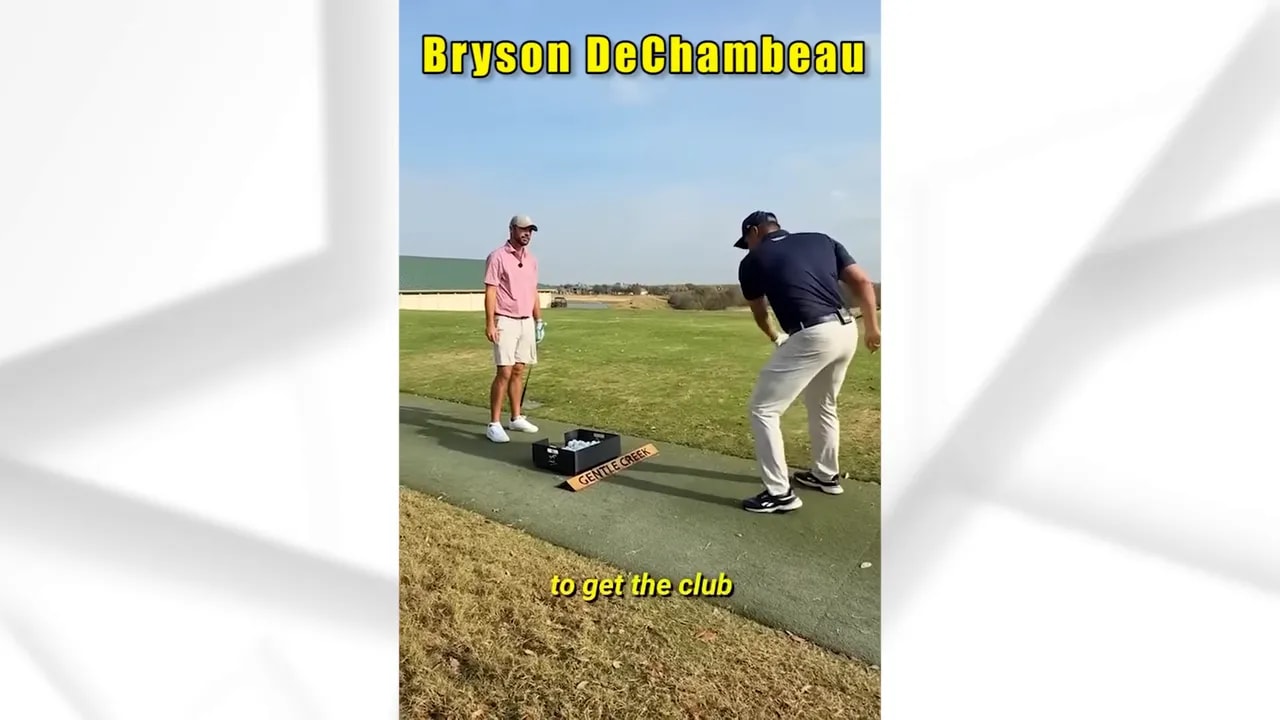
- Get into the wrist position from your aiming picture (the approach described uses the feel seen with tour players such as Adam Scott).
- Make a swing where your wrists “touch” through the golf ball.
- As you swing, keep the release left wrist extension and right wrist flexion.
- Finish the motion while keeping your turn and speed connected to the body.
You should feel:
- The clubhead whipping through
- A sense of freedom
- That the club is released rather than shoved
If you have trouble getting into the position, do not force it. Reset and try again with softer arms. The drill works because it limits your options, so the correct motion becomes the easiest one.
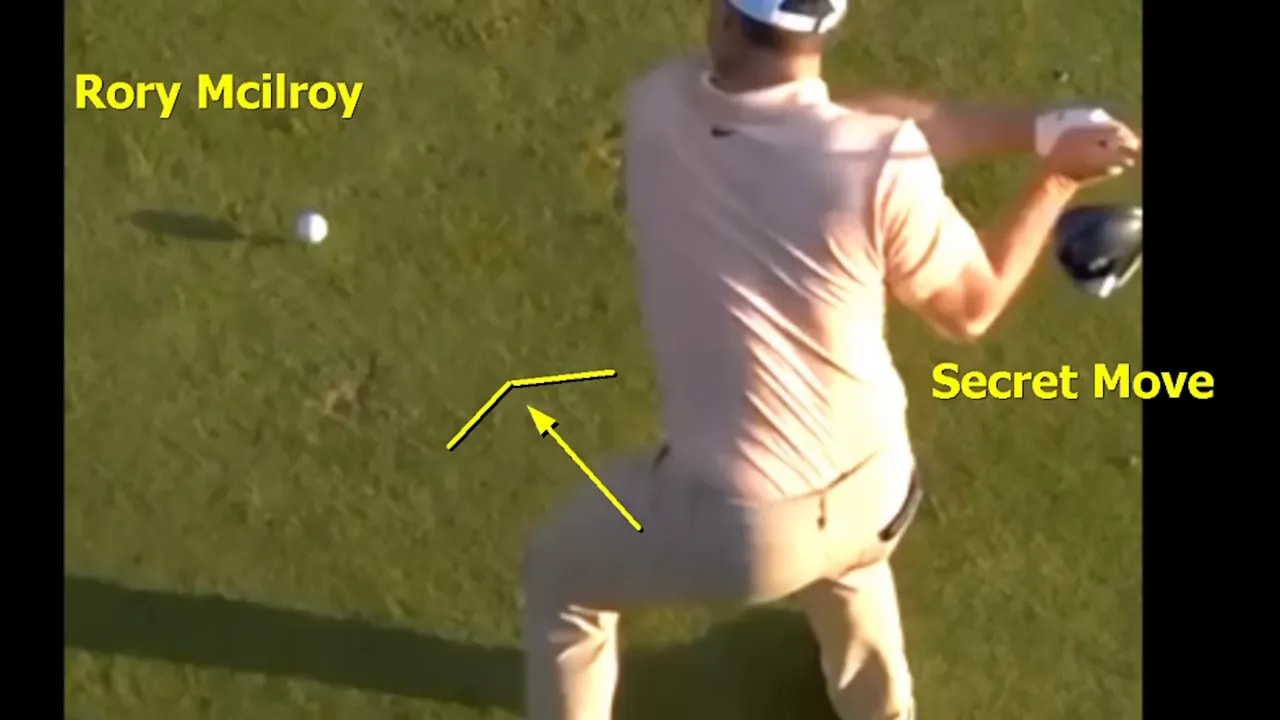
Step 4: Add the “drive the right leg” timing cue
Speed in golf is not only wrist motion. It is wrist motion synced with your lower body. The checkpoint when arms are parallel to the ground also includes a lower-body relationship:
- Drive the right leg into the shot
- Create lateral shift and turn that lets the hands do their job
A useful way to feel this is to rehearse the transition without worrying about full power. The sequence should be:
- Get the shaft and right leg in line
- Drive the right leg
- Build angles with the wrists
- Whip them through at the end
This is also why some players struggle. If you do not “create the platform” with your right side, your wrists get forced into compensations that cause cast and flip patterns.
Step 5: Learn the release concept: stall the hands to square the face
Another common amateur issue is trying to square the clubface passively. The release concept here is more active and timing-based.
The idea explained is:
- When force is put into the ground, if this hand keeps moving you cannot square the face passively.
- You need a stall or a pull-up feeling to square the club.
In other words, your release should not be “run away from.” There is a moment where the hands are controlled, and then the club goes where it needs to go.
Try this feeling with half swings or medium shots:
- Make a full speed swing at reduced effort
- At impact, feel your hands stall briefly
- Let the clubhead pass through and release
When it works, you should see more consistent face alignment and a noticeable improvement in strike quality.
Step 6: Train the extended or cupped lead wrist position through the golf ball
A lot of golfers lose speed because they change wrist positions too early. The approach uses a specific lead arm idea: the lead arm stops as the clubhead passes the body, then the lead wrist moves freely into an extended or cupped position.
To simplify it, use these checkpoints that connect the positions to outcomes:
- Left hand under the chin (a classic feeling checkpoint)
- Right angle at the correct moment
- Shaft lean that supports a square face
- Three-finger look through impact rather than a “wrong” look that suggests a different rotation pattern
The goal is not to memorize everything. The goal is to build your own feel for the moment the wrists release and the club passes the body.
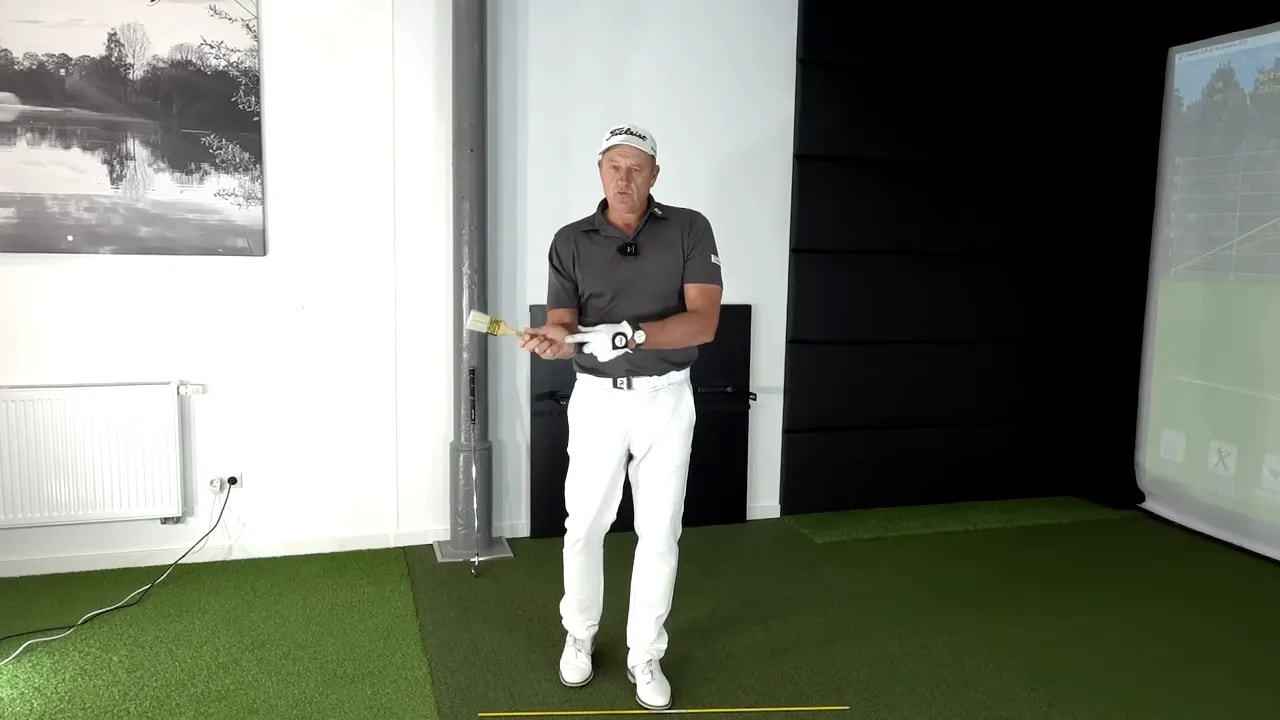
Step 7: Use the triceps pop drill to prevent an amateur arm pattern
One drill described is designed to reduce a very common amateur move: letting the arm travel away from the body and ending with a grip position that feels like the club is “pointed at your body.”
Here is the triceps pop drill:
- Grab your right hand and pop it on the outside of your left tricep.
- Use a light training aid such as a plastic alignment stick to help you feel whether you are keeping the correct connection through the swing.
- Make swings where you prevent your arm from leaving your body pattern.
- Let the club pass through and release into the correct follow-through.
This drill helps you train the “free and powerful extended position” feeling because it keeps your structure stable enough for the wrists to do the speed work.
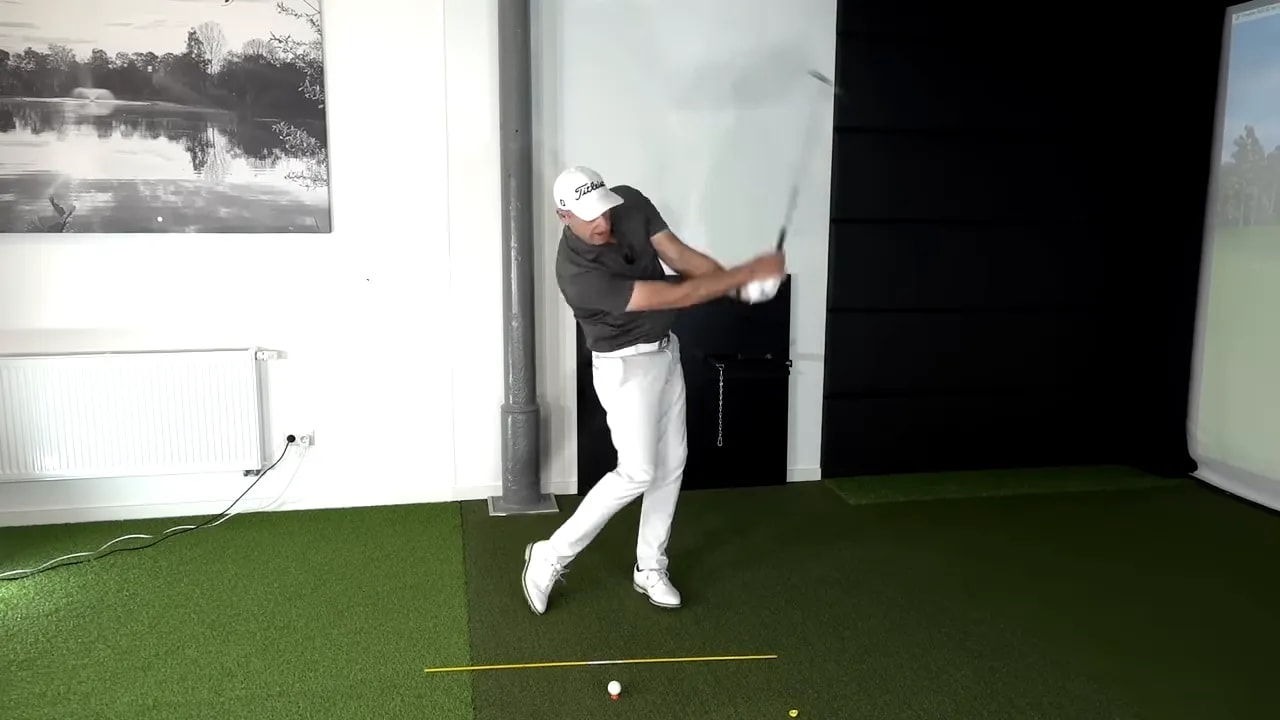
Step 8: Build a balanced finish that proves your speed is working
Speed without balance is often just chaos. The described finishing checkpoints focus on being balanced and powerful, not busy.
Use these finish signals:
- Hands opposite your left ear
- Club already up near your neck
- Grip pointed up
Compare that to an unhelpful finish:
- Active shoulders
- Too much shoulder movement
- Grip pointed down
- An uncomfortable and unbalanced ending position
The balanced finish is your proof that your wrists released through the ball, and your body supported the move.
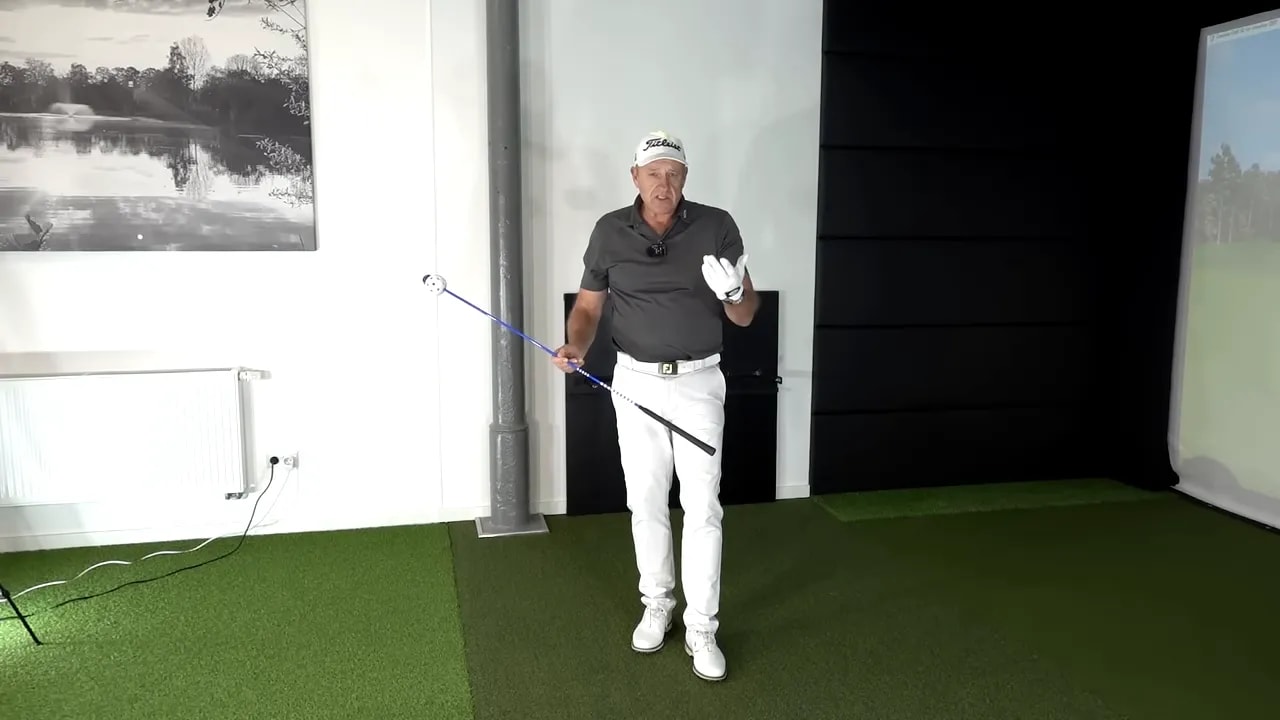
Step 9: Try the “paint the wall” visual for wrist angles and snap
Some golfers need a visual rather than only mechanics. A visual effect presented is like painting a wall: you swing in a way that keeps the club’s motion connected through the impact zone.
How to use it:
- Think of reconnecting your elbow to the side as you lead with your heel pad.
- Feel like you push and bring the club in deep relative to where your body wants to stall.
- In the last split second, release the angle for speed.
- Whip the club through “on the side” and let the wrist snap.
This visual aims to produce two outcomes:
- Correct release (so the face is aligned more predictably)
- More distance and straighter golf shots because contact quality improves
Step 10: Apply the speed move with practice reps that transfer to your golf
To make this stick, you need reps that transfer from feel to golf shots.
A simple practice plan:
- Start with the wrists touching through the golf ball drill (6 to 10 reps)
- Add the right leg drive cue (6 to 10 reps)
- Finish with the triceps pop drill or the paint the wall visual (6 to 10 reps)
As you repeat, keep the swing smooth and softer in the arms. If you grip it too tightly, the wrist angles you worked to store will collapse before impact.
FAQ
What is the easiest way to create effortless speed in golf?
Create effortless speed by storing wrist angles and releasing them through impact. Focus on left wrist extension and right wrist flexion, then use a controlled stall of the hands to help the clubface square more reliably.
Do I need to roll my hands over more to hit the golf ball farther?
Not necessarily. Many players roll too early and lose control. The approach here emphasizes maintaining wrist positions and releasing at the right time rather than forcing an extra roll.
Why do my shots feel like casting and flipping?
Casting and flipping often happen when wrist angles do not get stored and held, or when the release is not timed. Training checkpoints such as shaft and right leg alignment at arms parallel to the ground can help you stop the early collapse.
What clubs should I practice these golf drills with?
Use a mid-iron like an 8-iron or another iron first. The goal is clean contact while you build the feel of the wrist release and balanced finish.
How can I tell if my release is improving?
Look for a balanced finish position with hands opposite your left ear and the club up near your neck. Also notice more consistent squaring through impact and improved distance with better direction.
Final takeaway for your golf swing speed
Effortless speed in golf often comes down to one thing you can train: the release. When you build the right wrist positions, keep your arms soft, drive your right leg through, and then stall the hands briefly to square the face, your swing gains power with less forced movement.
0 Comments