

You stand on the first tee and watch your playing partner stride up, relaxed and confident. They swing and the ball rockets down the fairway—longer than anything you can manage, and with far less visible effort. The difference rarely comes from raw strength. It comes from movement pattern. Adopt the right pattern and you unlock effortless clubhead speed and distance. That is the essence of the easy driver swing.
Table of Contents
- Step 1: Recognize the pattern that robs you of distance (easy driver swing)
- Step 2: Feel the opposition with the trail-foot drill (easy driver swing)
- Step 3: Add rotation with the body-opposition drill (easy driver swing)
- Step 4: Combine the two oppositions and ramp up distance (easy driver swing)
- Step 5: Practice plan and on-course implementation (easy driver swing)
- Common errors and quick fixes (easy driver swing)
- Step-by-step drill checklist (easy driver swing)
- Final tips to keep the easy driver swing consistent
Step 1: Recognize the pattern that robs you of distance (easy driver swing)
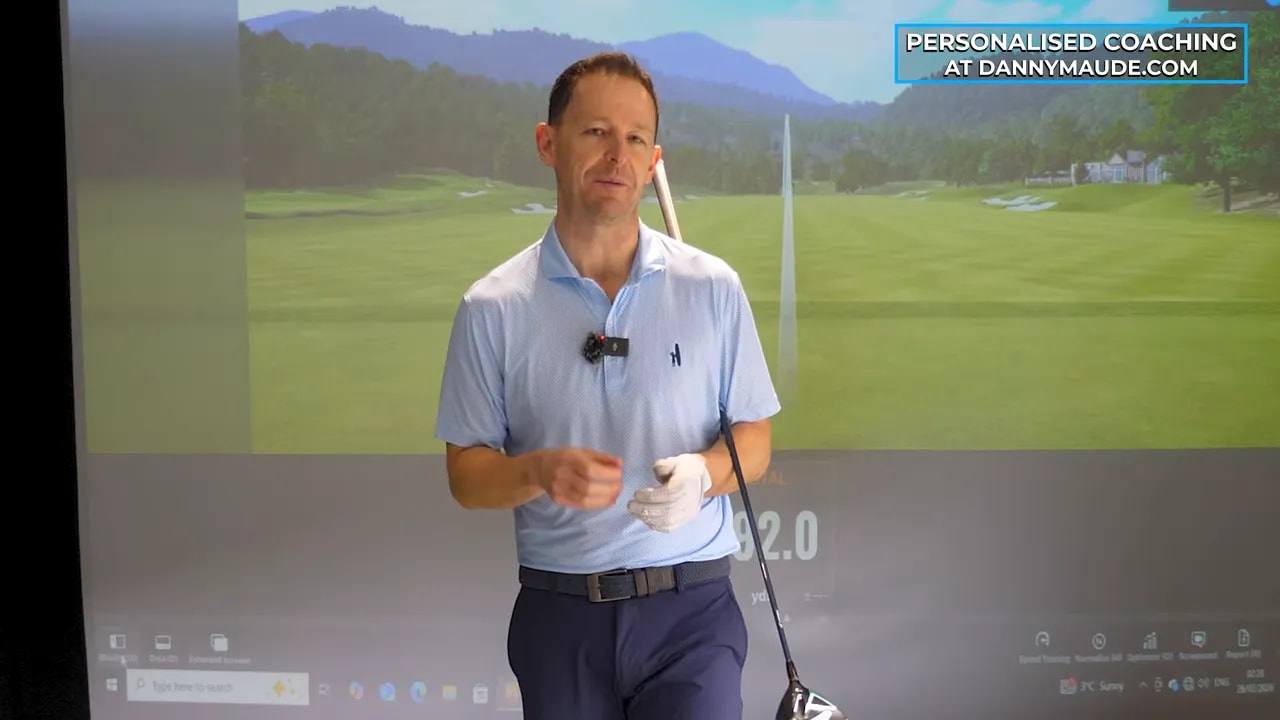
Most players try to create power by moving everything the same way: arms down, hips down, chest down. When the whole system travels in the same direction the swing feels heavy and effortful. In contrast, longer hitters use opposing movements that let energy transfer through the club without “muscling” the shot.
“The body is always working in oppositions.”
Here is the simple idea: as your arms accelerate down toward impact, parts of your lower body move in the opposite direction. That opposition creates a whipping effect through the hands and into the clubhead. Think of throwing a medicine ball. If you want it to slam the ground, you drive it down while the lower body resists or pushes the other way to maximize force transfer.
Key symptoms of a pattern that robs distance:
- Everything collapses toward the ball on the downswing.
- You feel like you are “standing up” through impact rather than delivering the club.
- Limited sensation of energy moving down the shaft into the clubhead.
Step 2: Feel the opposition with the trail-foot drill (easy driver swing)
The fastest way to experience opposing movement is a simple trail-foot drill. It isolates the lead leg and helps you feel your legs and arms working against one another rather than together.
How to do the trail-foot drill:
- Take your normal driver setup.
- Slide your trail (right for right-handers) foot slightly back so your weight shifts more onto the lead leg and your lead knee bends noticeably.
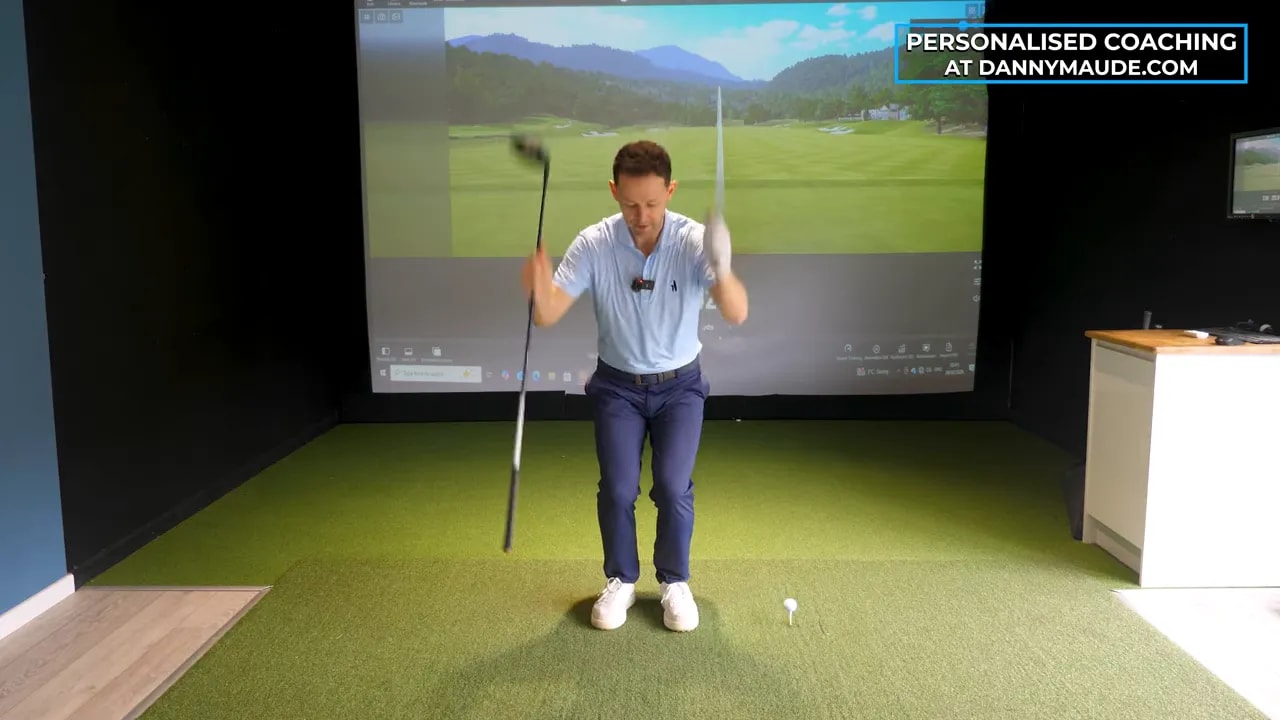
- Make small half swings or “tap” swings. As your arms fire down, consciously push your lead leg up and slightly back—do not stand fully upright. The motion should be subtle: the arms go down, the lead leg resists and extends slightly upward.
- Repeat 20 to 30 times slowly, then hit half shots, then full shots while keeping the sensation.
What you should feel:
- A sudden sense of acceleration into the club.
- Energy moving down the shaft toward the head.
- Less need to see or feel “swinging harder.” Distance will often increase with the same effort.
Practical coaching cues: “tap and push,” “arms down, leg up,” or “push your lead leg as the arms fire.” Start small and let your body get used to the new sensory picture. The change is a skill—you must develop the sensory acuity to feel and reproduce it.
Step 3: Add rotation with the body-opposition drill (easy driver swing)
Vertical opposition (arms vs lead leg) gets you started. Rotation-style opposition (upper body vs lower body) multiplies that effect. A simple drill borrowed from Andy Plummer teaches the body to rotate in opposition rather than all turning in the same direction.
Why this matters: Many golfers are told to “open the hips” early. That advice often turns into everything rotating the same way. When the shoulders, hips and arms all move in the same direction the club runs away from your control and power drops.
How to do the rotation opposition drill:
- Start in your normal setup with a club across your chest or in your hands.
- Take your arms back slightly while initiating a small rotation of the lower body in the opposite direction of the arms. Count “one” as the arms go back and the torso resists or spins slightly in the other direction.
- On “two” allow the body to rotate through, but keep the feel that the arms and body work against each other momentarily.
- Progress from this dry motion to small swings and then full swings while maintaining the oppositional feel.
The drill feels odd at first because you are learning a new coordination pattern. That oddness is good. It teaches the sequencing that high-level players use naturally. Watch elite players when they come through impact—their upper body and lower body often look like they are moving slightly against one another for a fraction of a second, which creates a controlled acceleration through the ball.
Coaching points for rotation:
- Keep the lead heel “banked in” rather than pivoted out to preserve stability and prevent a slice-inducing spin.
- Avoid standing up. The movement is not vertical extension only; it is a coordinated opposition that finishes with balance.
- Imagine bowling the ball down a lane—control the release by letting parts of the body resist briefly.
Step 4: Combine the two oppositions and ramp up distance (easy driver swing)
After you can feel vertical opposition with the trail-foot drill and rotational opposition with the body drill, combine both sensations into one coordinated swing. This is the moment the club begins to accelerate down the line rather than you trying to push it with brute force.
A practice progression to combine the patterns:
- Dry reps: Rehearse the combined opposition without a ball, feeling both the lead-leg push and upper-lower body opposition.
- Half swings: Make half swings and focus on keeping the sensations intact through impact.
- Three-quarter swings: Add more clubhead speed while preserving the pattern.
- Full swings with driver: Begin with easy swings, then increase speed only when the pattern remains consistent.
- On-course transfer: Use a simple pre-shot routine that recreates the drill sensations—step back the trail foot and feel the lead-leg bend and the body opposition before committing to the shot.
What to expect: In early practice sessions many players notice a jump in distance—commonly 15 to 20 yards—without extra effort. Control takes time. You will hit some poor shots as you learn the timing. That is normal. Keep the drill work short and focused.
Step 5: Practice plan and on-course implementation (easy driver swing)
These changes are sensory and timing-based. Most golfers can begin to feel a difference in a single 20 to 30 minute practice session if they approach the drills deliberately. Follow this weekly practice plan to embed the pattern into your swing:
- 3 sessions per week of 20 to 30 minutes each focused on drills, not volume hitting.
- Warm up with 5 minutes of mobility and posture reset.
- 10 minutes on the trail-foot drill (slow reps, half shots, full shots).
- 10 minutes on the rotation opposition drill (dry reps progressing to swings).
- 5 minutes combining both with 10 to 20 practice driver shots—quality over quantity.
On the course:
- Recreate the pre-shot posture: slightly drawn back trail foot and a pronounced sense of lead-leg bend.
- Use a single physical cue: for example, “push up as arms fire” to avoid overthinking.
- Start aggressive with intent but not force. Focus on rhythm and feel rather than maximal speed on your first few shots.
Seniors often respond particularly well to this approach because it reduces reliance on pure strength. The pattern uses sequencing and opposition to create speed, which is available to most bodies regardless of age.
Common errors and quick fixes (easy driver swing)
- Error: Standing up through impact. Fix: Keep lead knee bent and focus on a subtle upward push rather than a full rise.
- Error: Opening hips and shoulders all at once. Fix: Practice the rotation drill to create split timing—arms back while lower body resists, then let lower body lead through impact.
- Error: Overthinking multiple cues. Fix: Reduce to one physical cue (trail-foot back or “push up”) and repeat until it becomes automatic.
- Error: Expect instant perfection. Fix: Embrace timing work. Expect some poor shots while your nervous system adapts.
Step-by-step drill checklist (easy driver swing)
- Trail-foot back slightly—feel lead knee bend.
- Half swings: arms fire, lead leg pushes up.
- Rotation drill: arms and upper body one way, lower body resists then spins through.
- Combine both: dry reps, half swings, full swings, then on-course shots.
Will this help me if I struggle with a slice?
Yes. The emphasis on opposition and keeping the lead heel banked reduces early clubface opening and excessive spin. It helps you deliver the club more squarely through impact. Expect an initial learning curve; you may see a temporary slight cut as the timing settles, then more consistent straighter drives.
Do I need to be very fit to use this easy driver swing?
No. This method prioritizes coordination over strength. Most golfers can adopt the pattern without additional fitness. If you have physical limitations, focus on the small, controlled sensations rather than dramatic movement.
How long before I see distance gains?
Many players notice more carry within 20 to 30 minutes of focused practice. Sustainable improvement comes over weeks as you repeat the drills and embed the timing into your full swing.
Can I practice this at home with no equipment?
Yes. Dry reps and the rotation drill work perfectly without balls or clubs. Use a broom or a towel for feedback if you want. When you return to the range, transfer the feeling to the driver.
What is the single best cue to remember?
“Arms down, legs up.” That simple physical cue captures the vertical opposition that produces effortless acceleration into the clubhead.
Final tips to keep the easy driver swing consistent
- Practice the drills short and often. Twenty focused minutes beats unfocused hour-long sessions.
- Use one cue at a time. Too many swing thoughts break the sensory pattern.
- Record yourself occasionally to check the feel matches the motion.
- Reproduce the drill sensations in your pre-shot routine on the course.
The easy driver swing is not a magic trick. It is a change in coordination. Once you teach your body to create opposition—vertical and rotational—you unlock efficient power that looks effortless. Spend a few focused sessions practicing the trail-foot and rotation drills, combine them, and you should see added yards without swinging harder.
Build the pattern, trust the timing, and let your club do the work.
0 Comments