
Focus keyphrase: correct golf release
The correct golf release comes down to two small but powerful movements: the back-and-forth wrist motion and the forearm rotation. Master those and you remove the most common causes of weak, inconsistent contact. This guide breaks the pattern into simple, repeatable steps you can practice at home using a hanger or just a club and feel-based drills. Follow the sequence below and your ball striking will improve predictably.
Table of Contents
- Step 1: Understand the two micro-movements behind the correct golf release
- Step 2: Feel and train a flat lead wrist at impact
- Step 3: Train forearm rotation with a lead-arm-only drill
- Step 4: Re-hinge the club up the plane line in the follow-through
- Step 5: Combine wrist feel, rotation, and plane in sequence
- Step 6: Typical faults and how to fix them
- Step 7: Practical drills and progression plan
- Key feel cues to reinforce the correct golf release
- How ball flight reflects the release
- Practice session template (30 minutes)
- Common questions
- Final summary
Step 1: Understand the two micro-movements behind the correct golf release
Two things control how the club face behaves through impact:
- Wrist flexion and extension (the back-and-forth hinge of the lead wrist).
- Forearm rotation (supination and pronation that actively turns the club face).
Think of the wrist as a shallow on/off timeline. A good pattern is: flat at the top of the downswing, flat at impact, then a controlled move toward extension through the early follow-through. That timing prevents the early flip many amateurs suffer from.
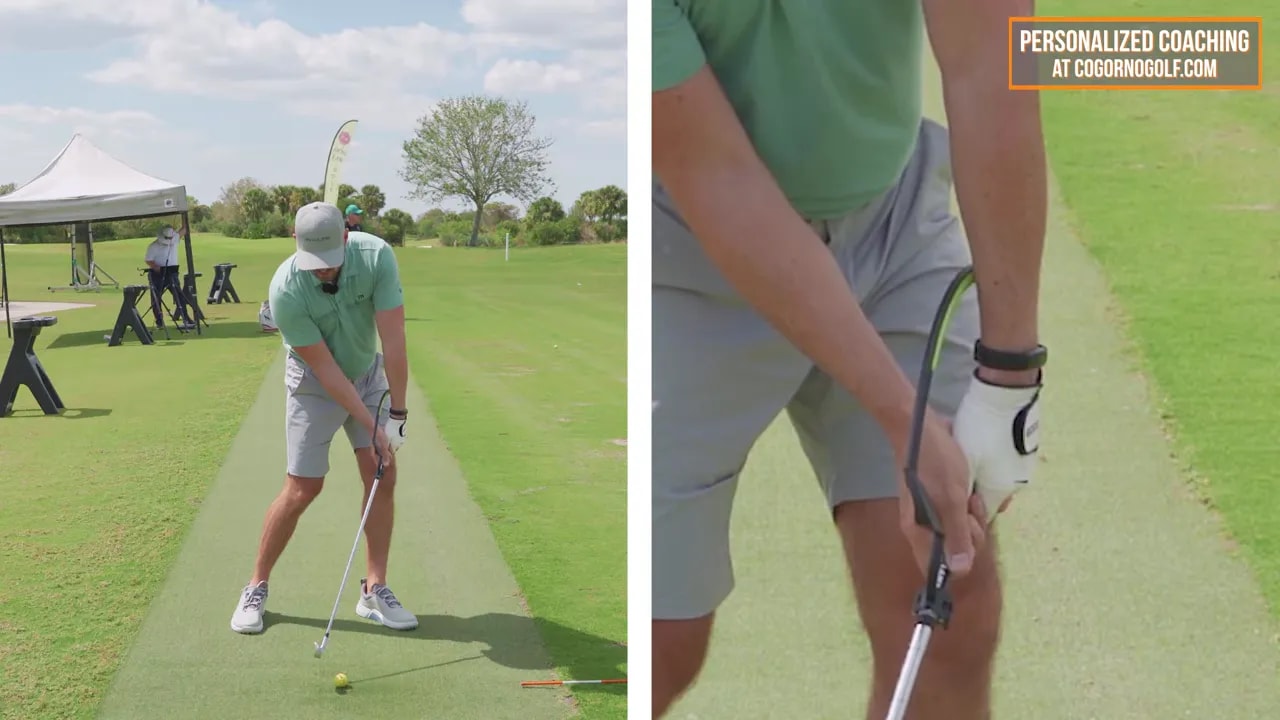
Step 2: Feel and train a flat lead wrist at impact
Why it matters: if the lead wrist extends too early you get a flip. Ball contact becomes thin or inconsistent and the ball often fades or pops up. The correct golf release usually keeps the lead wrist relatively flat through impact, only moving into extension slightly after impact and later in the follow-through.
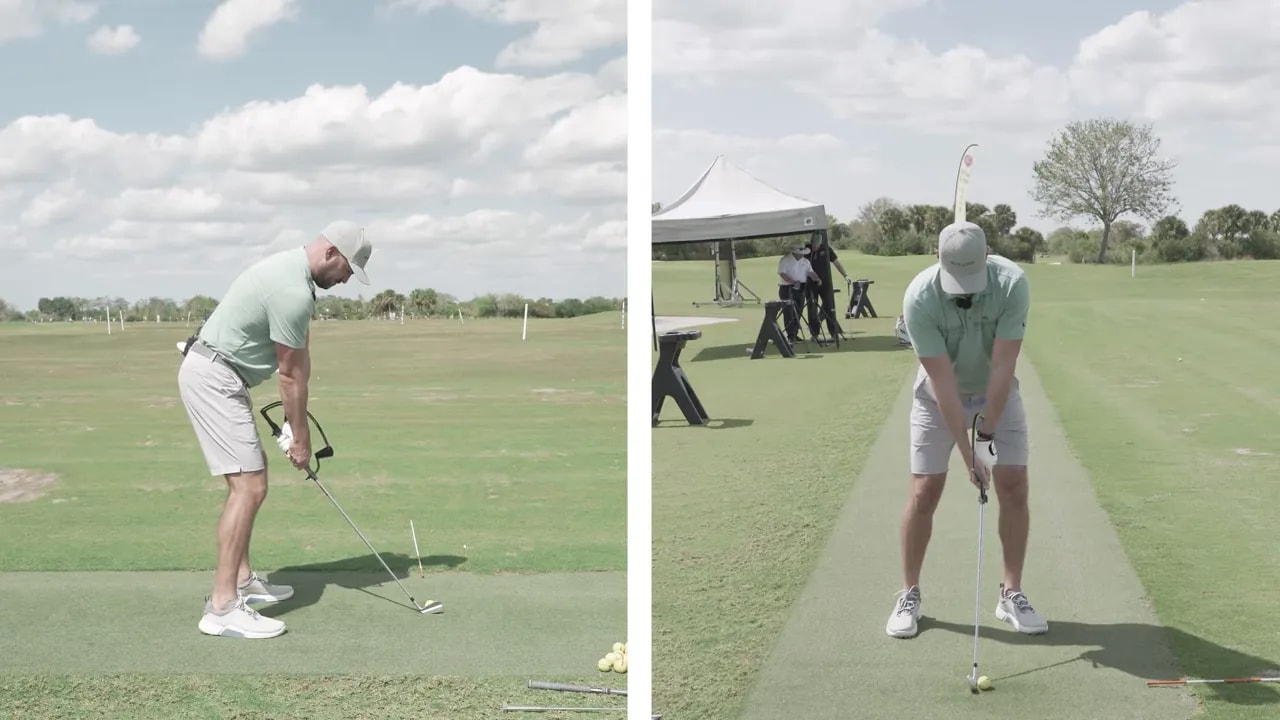
How to feel the correct position:
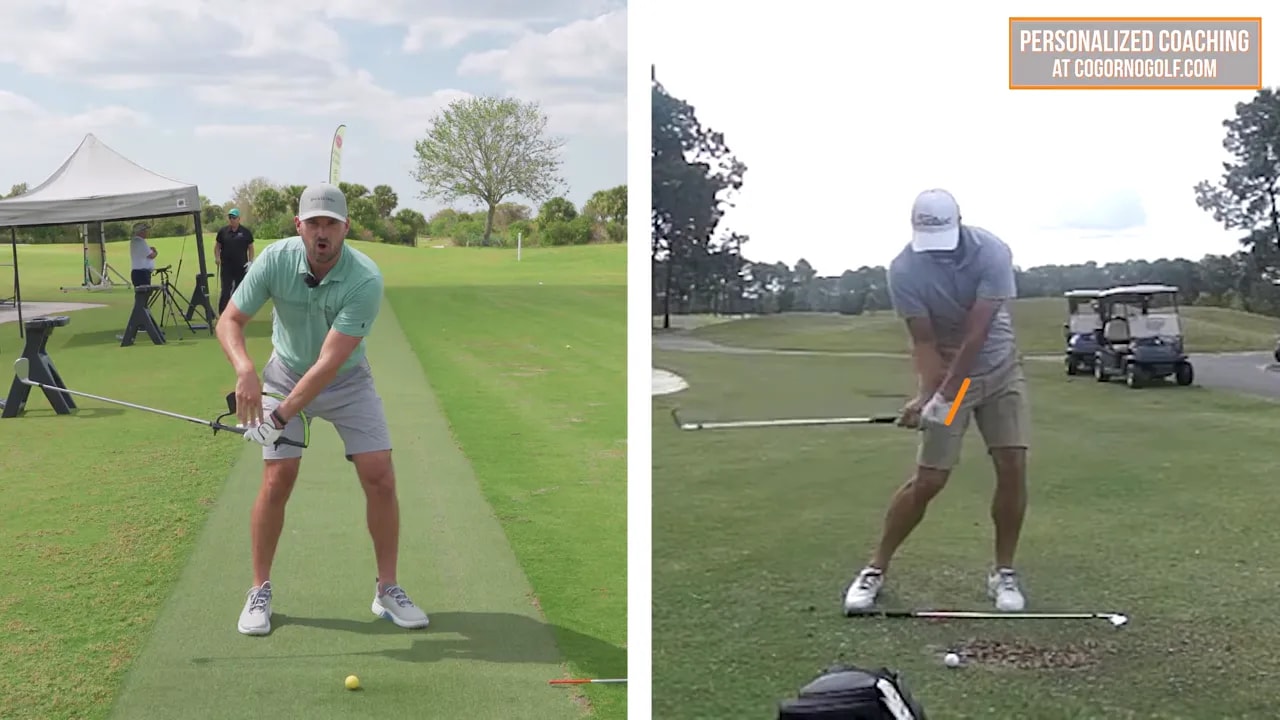
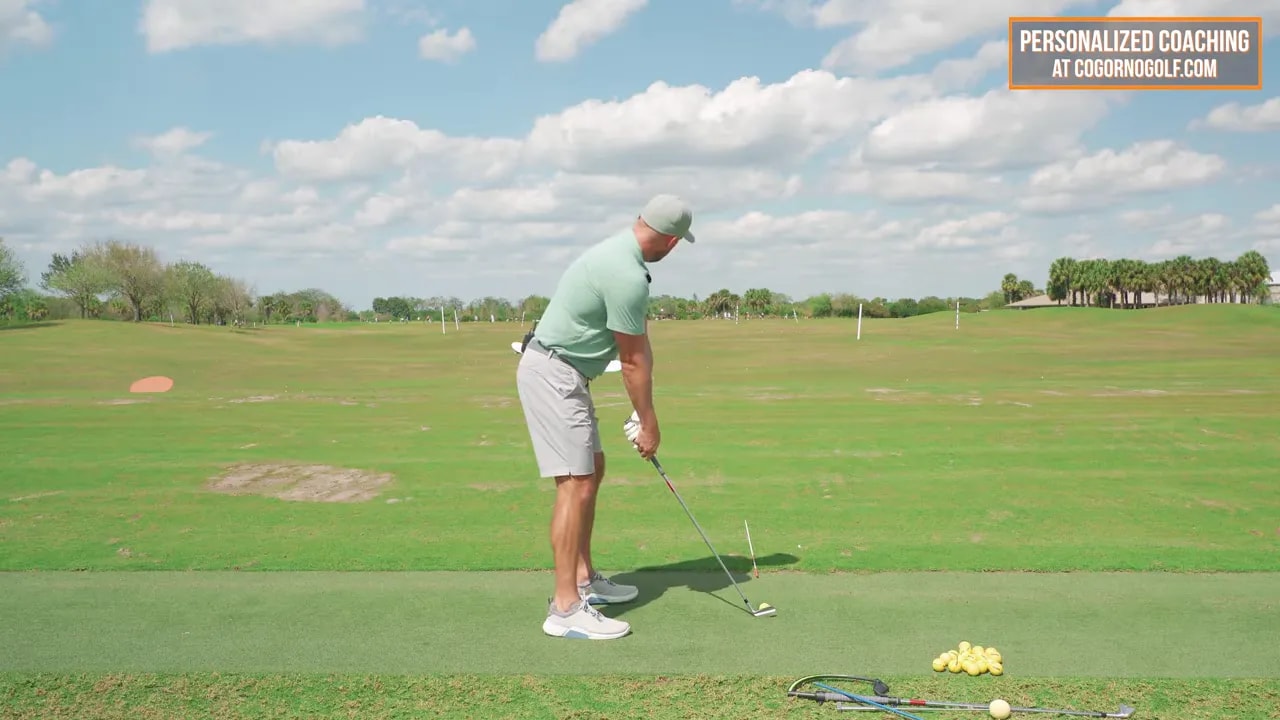
- Set up with the shaft roughly parallel to the ground in the transition area. The lead wrist should feel flat.
- From that position, make a controlled downswing and aim to arrive at impact with that same flat wrist feeling.
- Allow the wrist to move into slight extension as the shaft rises to roughly 45 degrees after impact, not before.
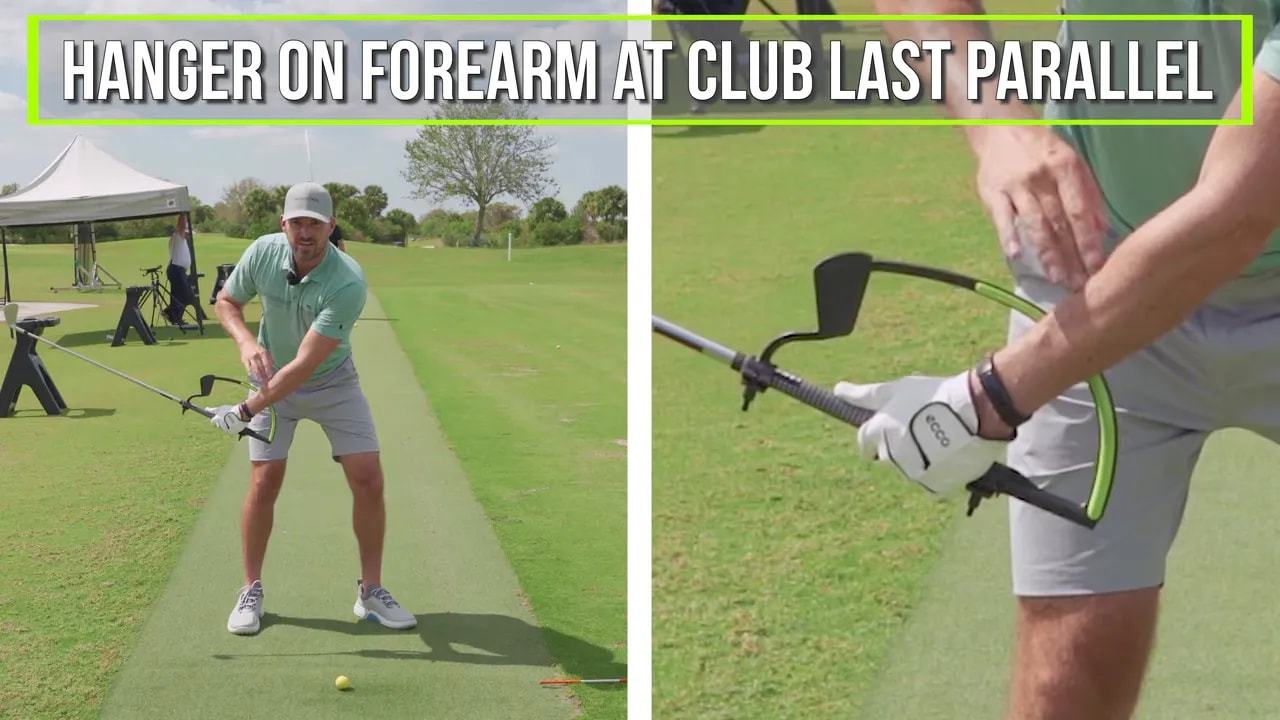
If you have a hanger or training aid, set it so it rests on the top of your lead wrist when the wrist is flat. Keeping that hanger in contact through impact and only letting it release after impact is a great feedback tool.
Step 3: Train forearm rotation with a lead-arm-only drill
Why you need rotation: rotation closes the face through impact. Even extremely square-faced players still rotate their lead forearm to add consistency and power. Without it you will tend to leave the face open and hit weak, right-sided shots.
Lead-arm-only drill (feel-based):
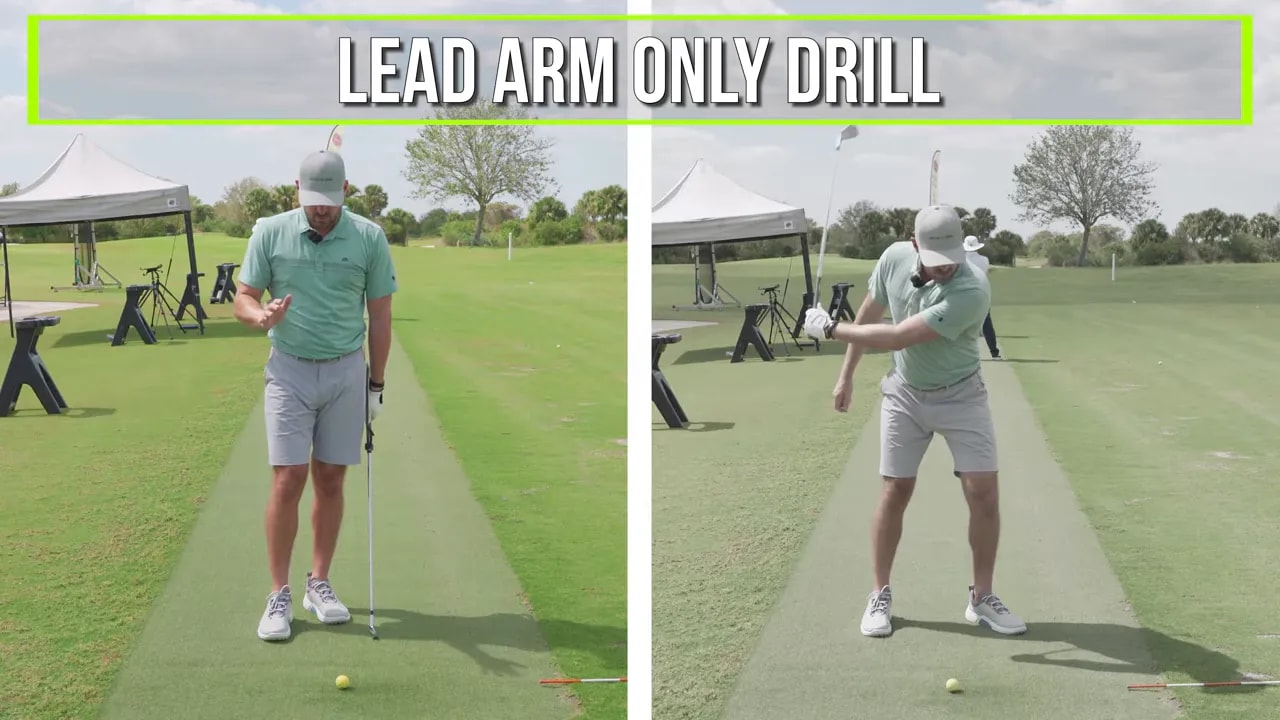
- Take your normal address and hold only the lead arm on the club (no trail hand).
- Make short swings where the shaft is parallel to the ground on the way down and practice getting the glove logo pointing at the target by impact while keeping the lead wrist flat.
- Follow through so the glove logo finishes pointing roughly behind you to the left. That represents about 180 degrees of face rotation from shaft-back-parallel to shaft-forward-parallel.
This drill forces the rotation to come from the arm rather than compensating with excessive wrist flipping. It also helps you time the rotation slowly through the swing instead of trying to snap it at the last second.
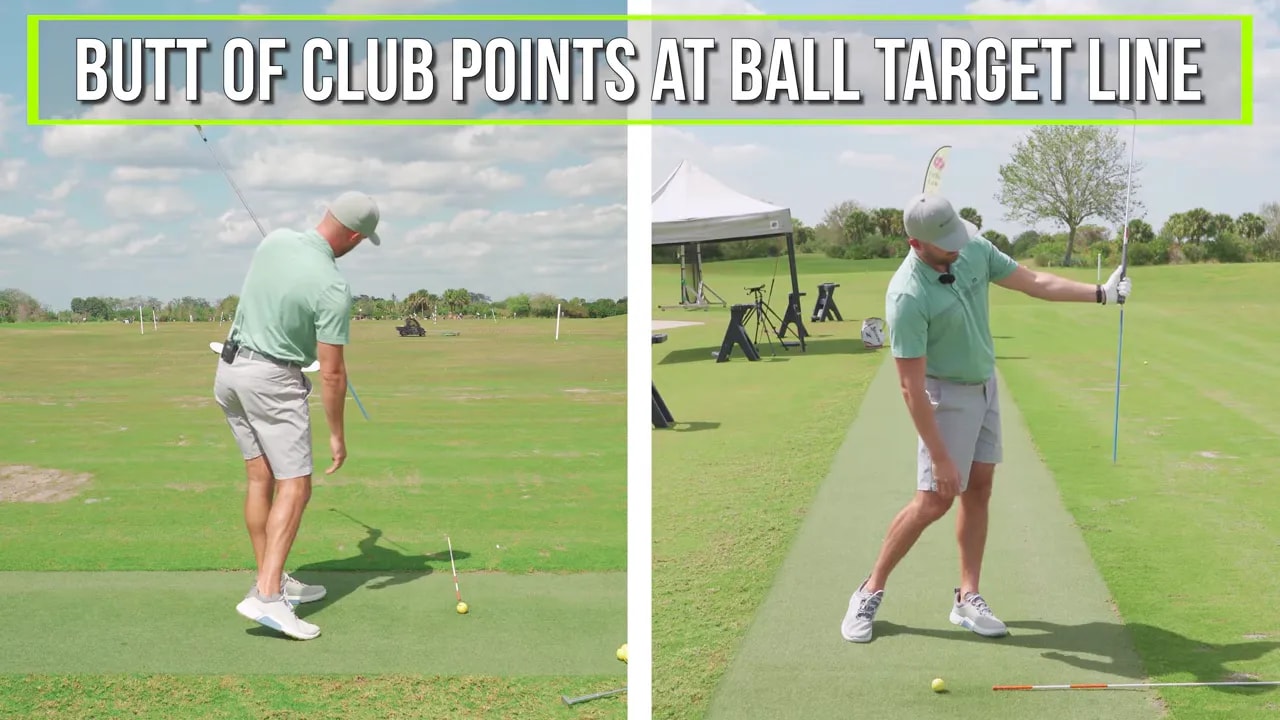
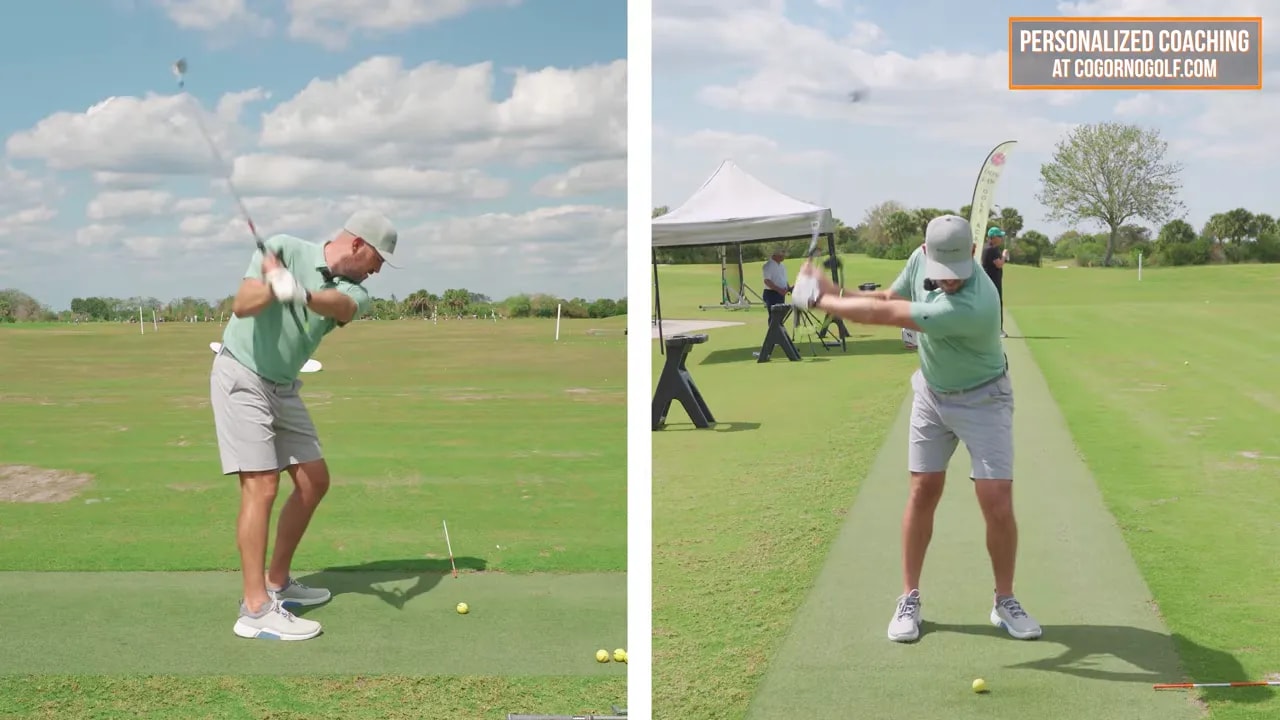
Step 4: Re-hinge the club up the plane line in the follow-through
Good players do one more subtle thing: after impact the butt of the club should re-hinge and point roughly down the ball-target line again as the body rotates. That “re-hinge up the plane line” shows the wrist and forearms are sequencing correctly and the face is rotating in a controlled way.
How to practice this:
- After you perform the lead-arm-only drill, allow the club to re-hinge so that the butt points back down the target line in the follow-through.
- Combine this with a modest amount of body rotation; do not attempt to hold the club off with stiff arms.
- Expect to see the club face slightly tilted down to the plane as it re-hinges — that is normal when rotation and body motion happen together.
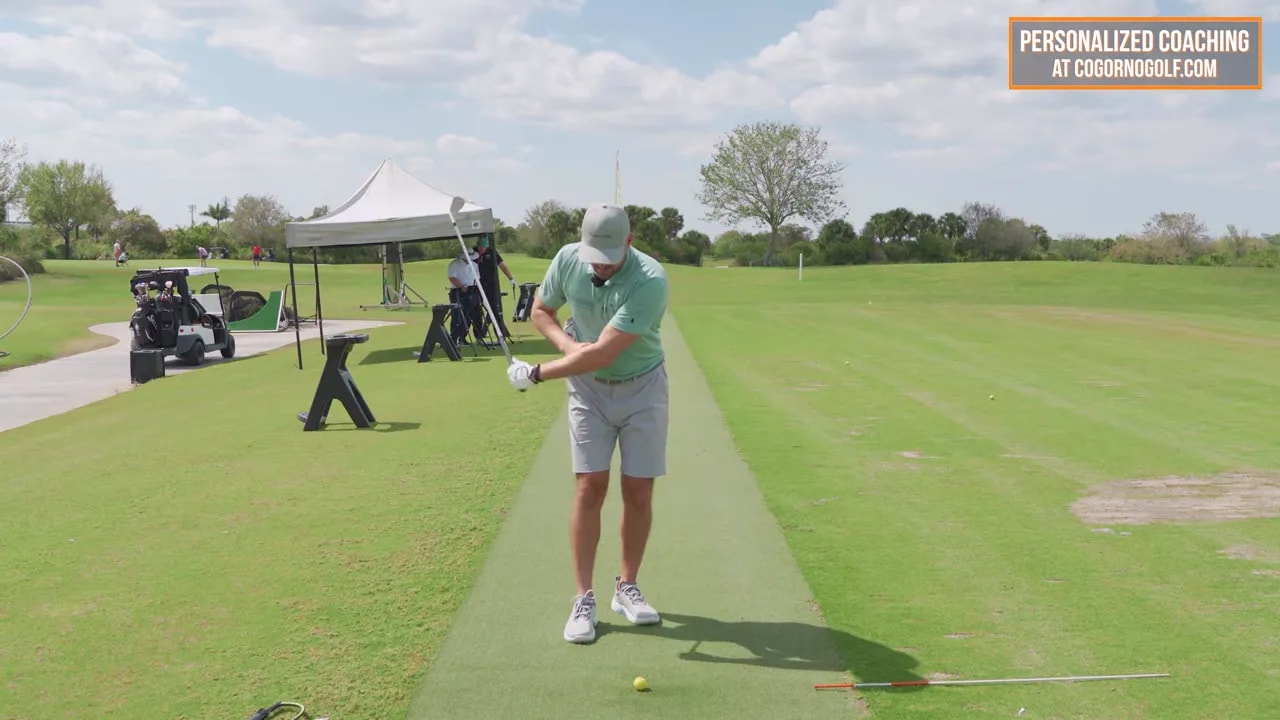
Step 5: Combine wrist feel, rotation, and plane in sequence
Put the three elements together for the correct golf release:
- Keep the lead wrist flat through the downswing and through impact.
- Rotate the lead forearm gradually so the glove logo moves from pointing away to pointing at the target at impact.
- Allow the wrist to extend into the follow-through and re-hinge the club so the butt points down the ball-target line as the body finishes.
A neutral, repeatable release pattern looks like this: logo away at shaft-back-parallel, logo roughly at the target at impact, then logo straight behind you in the finish. The lead wrist is flat at impact and only moves into extension later.
Step 6: Typical faults and how to fix them
Two common problems produce most amateur misses: the early flip and insufficient arm rotation. Fix both by exaggeration in the opposite direction.
Fault: Early flip (wrist extends too soon)
Symptom: contact is thin or inconsistent, shots pop up and fade, strikes are often on the toe or leading edge because the hands are releasing too soon.
Fix: feel like you keep the lead wrist bowed or flat for longer — even past impact for practice swings. Use a hanger or training aid pressed into the top of the wrist to exaggerate that bowed feeling. Keep the top of your wrist ahead of the knuckles through impact. That will lower the effective loft at impact, help you compress the ball, and reduce weak fades.
Progression:
- Start with half swings or 3/4 swings with a mid-iron.
- Use the hanger so it stays on the top of the wrist through impact and only releases afterwards.
- Build to full swings once the feel is consistent and ball flight shows a lower, more penetrating trajectory and more draws or neutral shots instead of weak fades.
Fault: Not enough arm rotation
Symptom: the face stays open through impact and you miss weak right. Often the rotation is absent or happens too quickly at the bottom, which produces inconsistent results.
Fix: increase lead-arm rotation slowly and more throughout the downswing. The best players rotate noticeably more and do it more gradually. Practically, use the lead-arm-only drill and purposely turn the glove logo further through impact. If you tend to hit weak rights, do not be afraid to over-rotate until you find the neutral amount. Slight pull-draw misses are better than consistent weak rights.
Step 7: Practical drills and progression plan
Use a plan that moves from feel to full-speed repetition. Here is a simple practice progression for the correct golf release:
- Hanger contact drill — Place a hanger or training aid so it rests on the top of the lead wrist when flat. Make slow half swings and feel the hanger remain on the wrist through impact, then release after the ball. Do 10 to 20 reps focusing on the timing.
- Lead-arm-only rotation — Hold the club with lead arm only and work on rotating the glove logo from away to at-target at impact and then to behind you. Start short and build to three-quarter swings. Keep the wrist flat at impact.
- Re-hinge check — Make swings that emphasize re-hinging so the butt of the club points back down the target line on the finish. Combine rotation and body turn here; avoid holding the face off with stiff arms.
- Incremental speed build — Move to full swings once the sequence feels repeatable. Monitor ball flight: reduced weak rights and a more solid, lower launch indicate progress.
- On-course transfer — When practicing on the range, occasionally simulate course lies and pressure by hitting a small target and limiting practice balls. The feel cues should translate if the sequence is solid during full swings.
Key feel cues to reinforce the correct golf release
- Top of wrist ahead of knuckles — feel like the top of the lead wrist stays in front of the knuckles through impact when correcting a flip.
- Glove logo rotation — away at the top, at the target at impact, then behind you. That 180-degree visual is a simple way to check forearm rotation.
- Re-hinge the club — the butt should point back down the ball-target line in the follow-through.
- Controlled body rotation — do not rely on stiff arms. Allow a natural folding of the body to help the club hinge and rotate properly.
How ball flight reflects the release
Ball flight is objective feedback. Typical signals:
- Weak right miss: insufficient rotation or flipping early.
- High, short shots: excessive early extension and flip.
- Lower, longer shots with a draw: correct wrist timing, good rotation, and compression.
- Slight pull-draw misses when overcorrecting: acceptable while you dial in the neutral release; they indicate stronger face closure and compression.
If you are in the group that consistently misses weak right, do not fear over-rotating or bowing the wrist a little too much in practice. That exaggerated feel is the fastest route back to a neutral, repeatable release.
Practice session template (30 minutes)
- Warm up swings and mobility (5 minutes).
- Hanger drill or wrist-contact practice, half swings (8 minutes).
- Lead-arm-only rotation, 3/4 swings (8 minutes).
- Full swings focusing on re-hinge and rotation, monitor ball flight (7 minutes).
- Short cooldown and note adjustments for next session (2 minutes).
Common questions
How flat should my lead wrist be at impact for the correct golf release?
The lead wrist should feel relatively flat through the downswing and at impact. It will naturally work into slight extension after impact. If you struggle with flipping early, feel like the top of the wrist stays ahead of the knuckles a little longer to encourage compression and a lower ball flight.
Should I use a hanger or can I practice without one?
A hanger or simple training aid gives instant feedback and speeds learning. However, you can practice with feel cues: keep the wrist flat, rotate the glove logo to the target at impact, and aim to re-hinge the club in the follow-through. Start with the hanger if you can, then transfer the feeling without it.
How much arm rotation do I need through impact?
Good ball strikers display noticeably more lead-arm rotation than poor strikers, and they spread that rotation through the swing rather than snapping it late. Aim for a gradual rotation so the glove logo points at the target at impact and then behind you. If you tend to miss right, deliberately increase rotation in practice until you find the neutral amount.
Will overdoing the feel create different misses?
Yes. Overdoing wrist bow and rotation usually produces a stronger draw or slight pull, which is preferable to a consistent weak right. Use that overcorrection temporarily to retrain the sequence, then settle into a neutral pattern.
How quickly should I expect improvement?
You can get immediate feel-based improvements on the range within a practice session. Translating that to consistent on-course results may take a few sessions of repetition and gradual speed increases. Use ball flight as your progress metric and build from short swings to full swings.
Final summary
The correct golf release combines two micro-movements: keep the lead wrist flat through impact and rotate the lead forearm gradually so the club face closes in sequence. Train both with a hanger and a lead-arm-only drill, emphasize re-hinging the club up the plane line in the follow-through, and correct faults by doing the opposite with greater exaggeration. Expect more compression, fewer weak rights, and a more reliable ball flight when the sequence is right.
Practice the steps consistently and use flight data to guide adjustments. The correct golf release is a small change with large payoff for your scoring and enjoyment of the game.
0 Comments