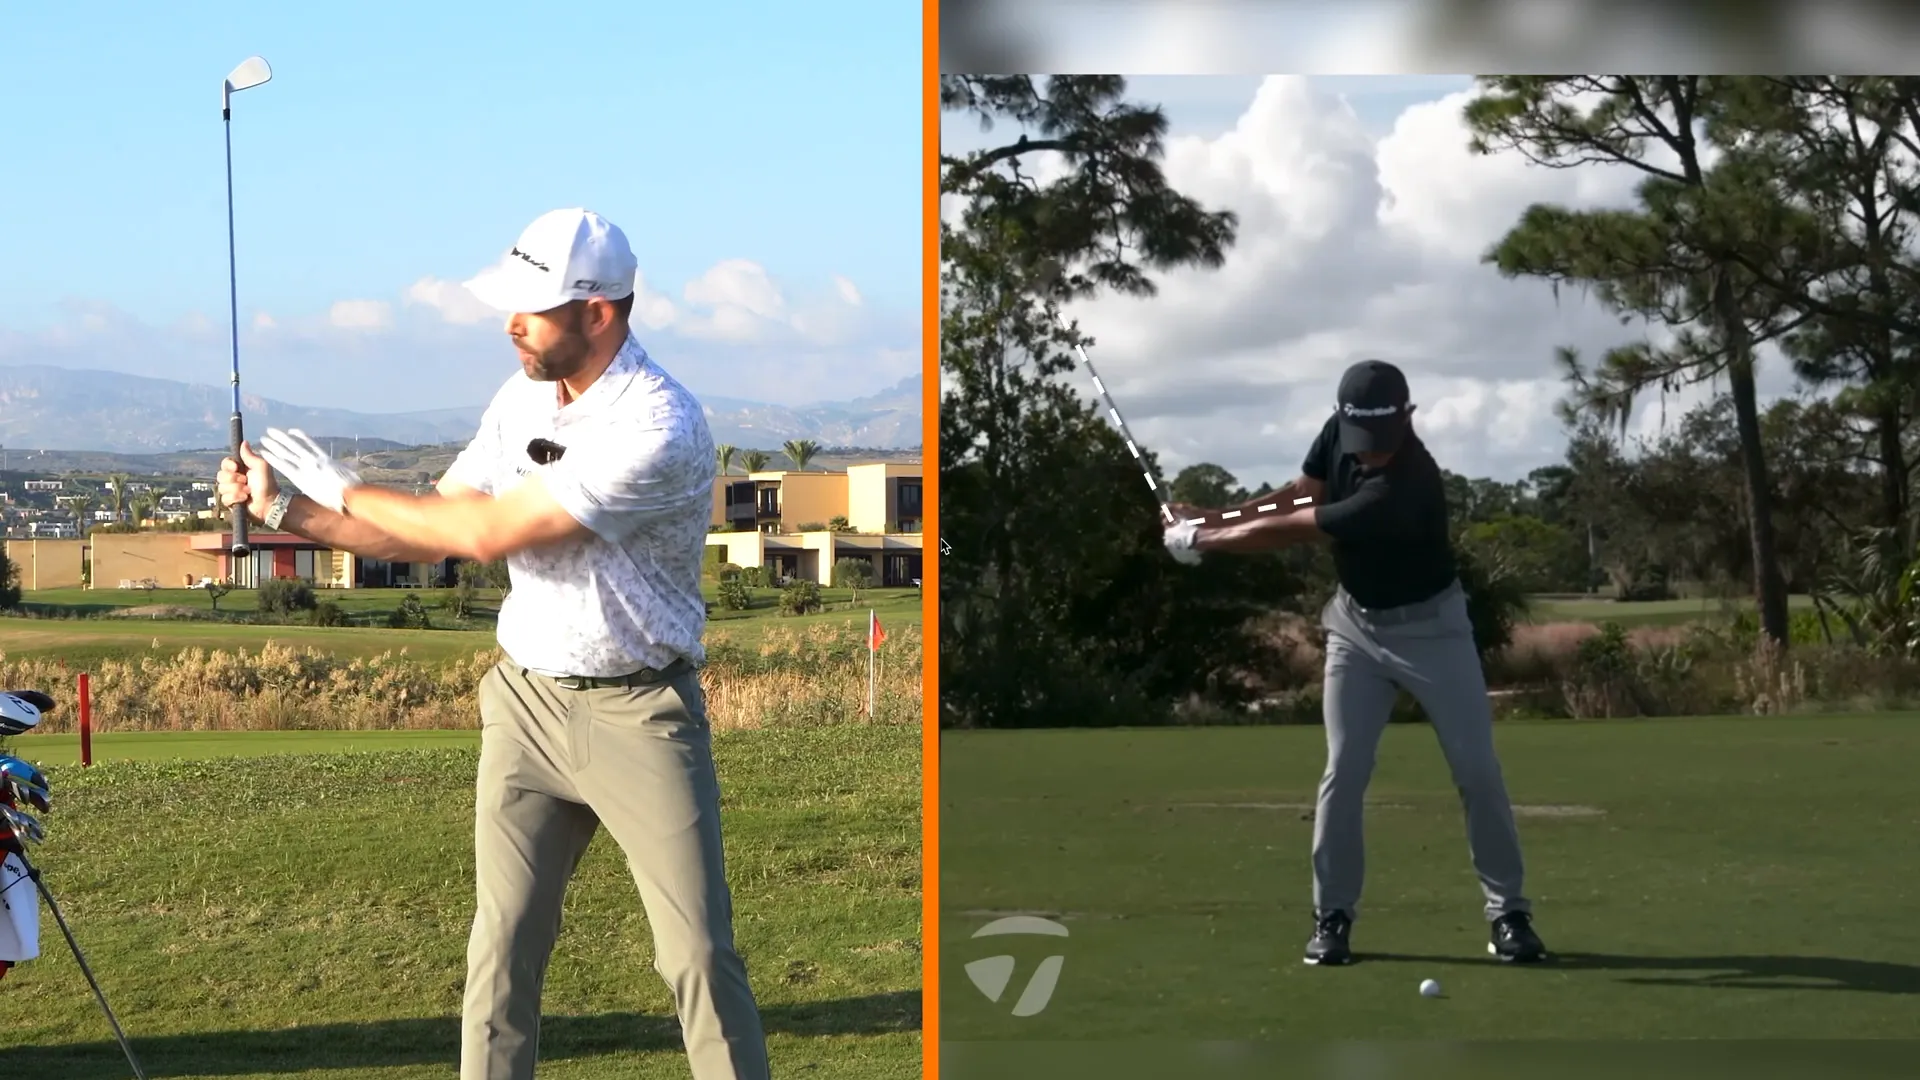
If you’re looking to elevate your golf game, one of the most crucial elements to focus on is the movement of your trail arm. This often-overlooked aspect can be the key differentiator between average golfers and the elite. In this post, we’ll dive deep into the mechanics of the trail arm and explore four essential movements that can significantly enhance your swing. Let’s get started!
Understanding the Trail Arm’s Role
The trail arm is vital in generating power, accuracy, and control in your golf swing. When executed correctly, it can make a huge difference in how you hit the ball. To illustrate this, let’s break down the movements step by step.
1. The Power Move: Wrist Set
To begin, let’s focus on how to create power through your trail arm. Start by taking your setup and holding your forearm. With your wrist, you should be able to move the golf club up and down. This wrist action is a massive source of power. We call this the reset or ricochet effect.
Here’s a simple exercise to feel this power:
- Get into your setup position with a golf ball placed about three feet behind the ball you’re addressing.
- Hold the club in your trail hand and swing it back, focusing on achieving a 90-degree angle between your lead arm and the club at the halfway point of your backswing.

This movement helps you take the weight of the club, which is crucial for generating power. When the weight moves above your hands, the club feels lighter, allowing for a more controlled swing.
2. Achieving Control Through Wrist Movement
Now that we have established power, let’s focus on control. The right wrist plays a crucial role here. At setup, your wrist should be relatively flat, but as you make your backswing, it should bend back, keeping the clubface neutral. If the wrist remains in a neutral position, the clubface can become overly open.
To practice this:
- Start without a club and work on bending your right wrist during the takeaway.
- As you take the club back, ensure your palm remains facing down and then rotates away from your body.

Maintaining this wrist position will help you control the clubface better, leading to straighter and more accurate shots.
3. Finding the Right Swing Shape
The shape of your swing is another important aspect of using your trail arm effectively. Whether your swing is steep or shallow can significantly impact your ball flight. The key here is to rotate your trail arm as you swing back.
Here’s how to practice this:
- With your trail arm, make a backswing and allow your arm to rotate naturally.
- Focus on getting the club into a position that feels comfortable and on plane.

By incorporating wrist set, bend, and rotation, you can achieve a more effective swing shape that will enhance your overall performance.
4. The Downswing: Maintaining Angles
Finally, let’s look at the downswing. It’s essential to maintain the angles you’ve created in your backswing as you transition to hitting the ball. A great way to visualize this is by using an alignment stick.
To practice:
- Hold an alignment stick vertically beside you and make your backswing.
- As you transition into your downswing, aim to spear the stick into the ground while keeping it angled slightly out to the right.

This exercise reinforces the importance of maintaining your angles through impact, which is crucial for consistent ball striking.
Putting It All Together
By focusing on these four key movements—wrist set for power, wrist movement for control, rotation for swing shape, and maintaining angles during the downswing—you can dramatically improve your golf swing. The trail arm is often the unsung hero of a great golf swing, and mastering its movement can be the difference between a good round and a great one.
Remember, practice makes perfect! Incorporate these drills into your routine, and soon you’ll be on your way to playing your best golf yet.

0 Comments