
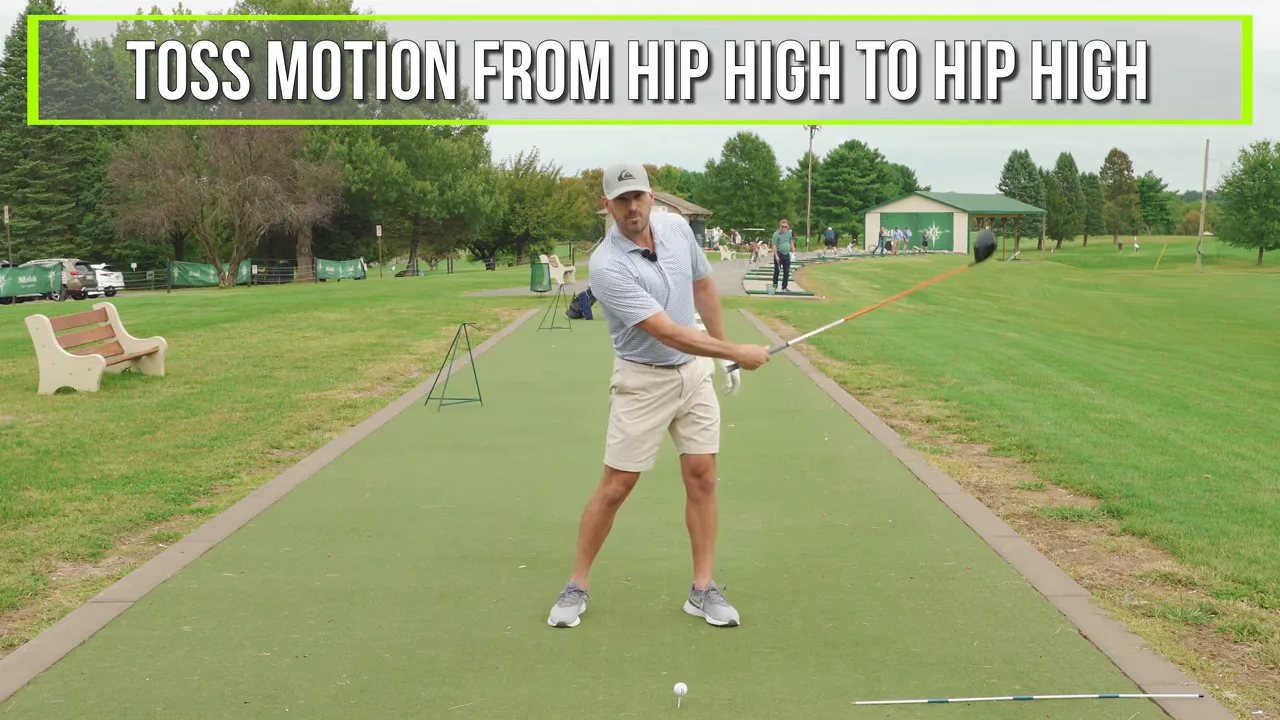
If you struggle with weak, short drives that veer off to the right, you’re not alone. I’m Eric Cogorno, and in this guide, I’ll walk you through a proven method to turn those weak right misses into long, confident drives. The key is what I call the ‘toss and turn driver release,’ a dynamic technique designed to help you square the clubface and deliver the perfect amount of loft at impact.
This article breaks down the technique into a detailed, step-by-step practice routine, explaining the significance of each part. It includes diagnostic cues for common ball flights and offers a practical practice plan, ensuring you don’t just understand the motion—you master it.
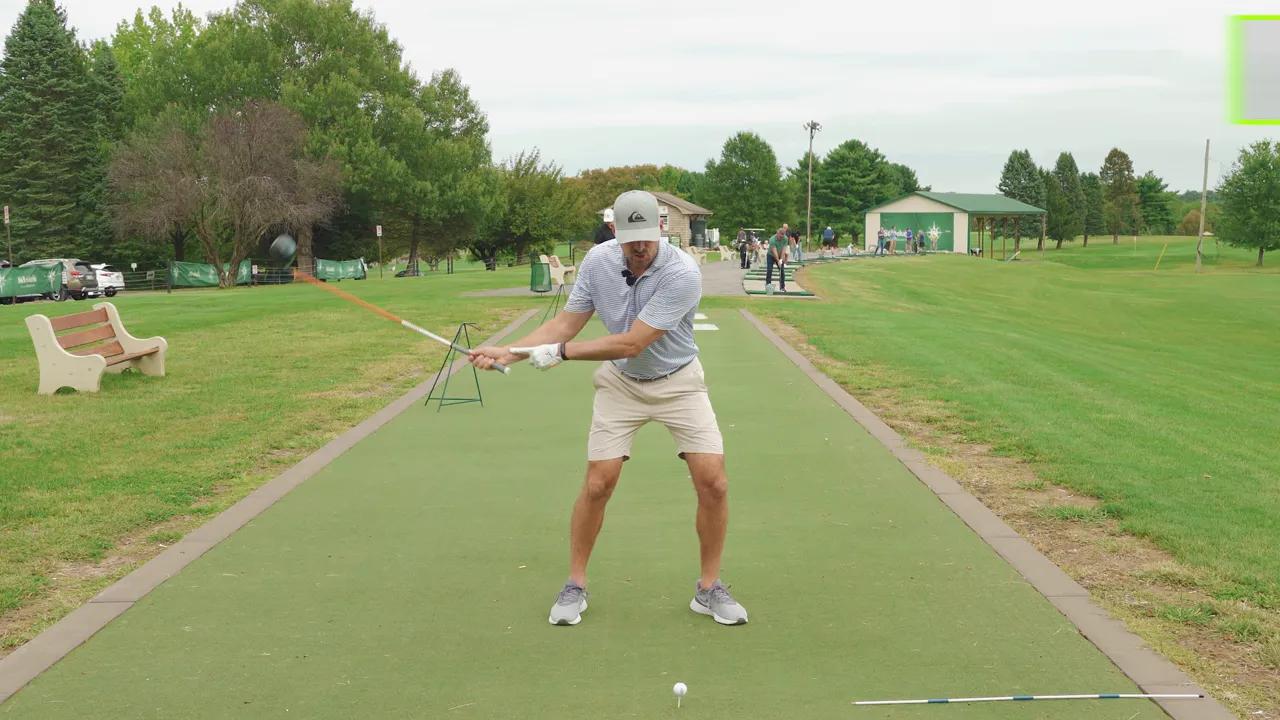
Table of Contents
- Step 1: Understand Why the Toss and Turn Driver Release Works
- Step 2: Toss Drill — Train the Trail Hand Release
- Step 3: Turn Drill — Lead Arm Rotation to Close the Face
- Step 4: Combo Drill — Toss and Turn Together
- Step 5: Ball Flight Diagnostics and Simple Fixes
- Step 6: Common Mistakes and Troubleshooting
- Step 7: Practice Plan — 15-Minute Routine
- Step 8: Tools and Tech That Speed Progress
- FAQ — Toss and Turn Driver Release
- Conclusion — Your 15-Minute Fix for Years of Bad Drives
Step 1: Understand Why the Toss and Turn Driver Release Works
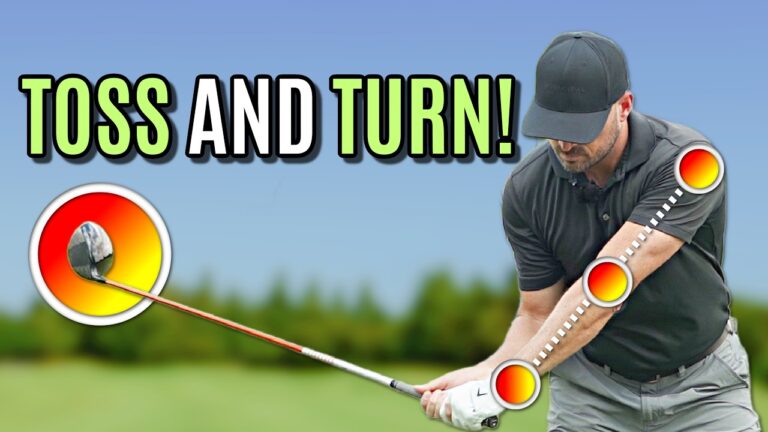
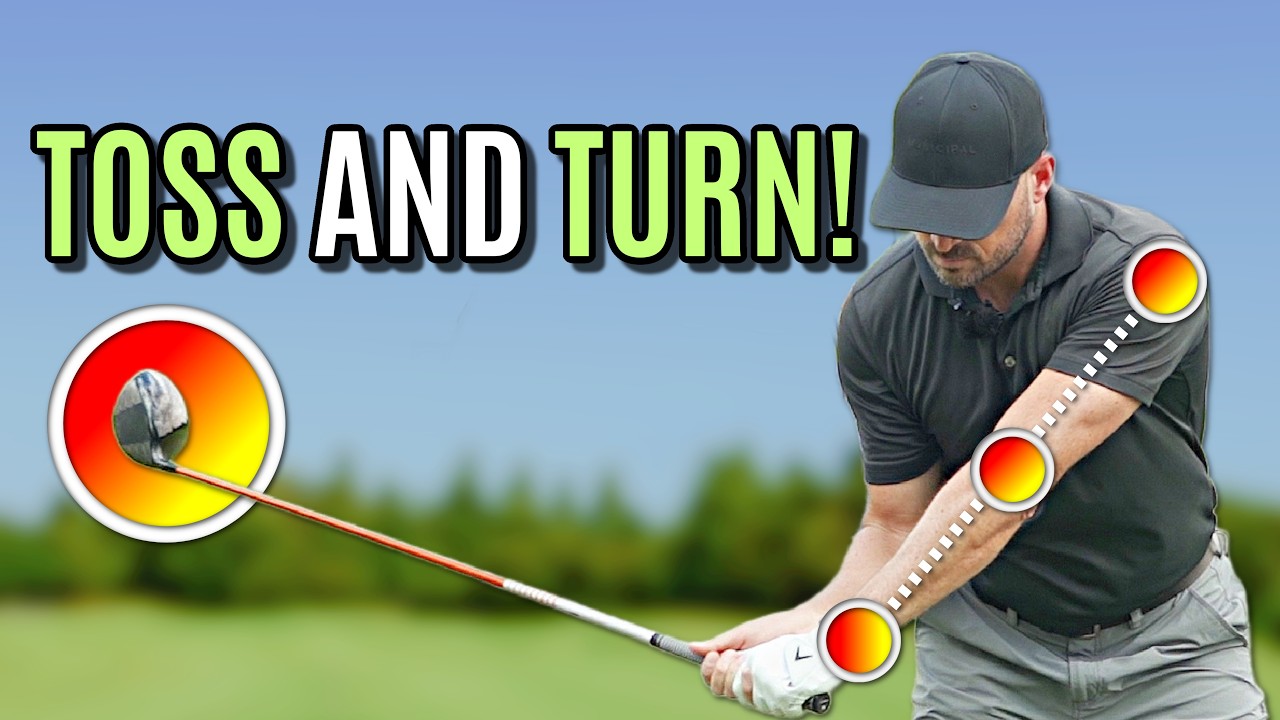
Most weak, short drives to the right stem from an open club face at impact, robbing you of loft efficiency and speed. The ‘toss and turn’ technique resolves this by focusing on two crucial elements during the downswing:
- Square the club face — Ensuring the face aims accurately towards the target at impact.
- Deliver the correct loft — Avoiding a shaft that’s too flat or too upright, ensuring an optimal launch angle for maximum distance.
The mechanics involve practicing two distinct feelings separately and then combining them:
- Toss — A brief release with the trail hand, helping the club head pass the hands, rolling the face towards square.
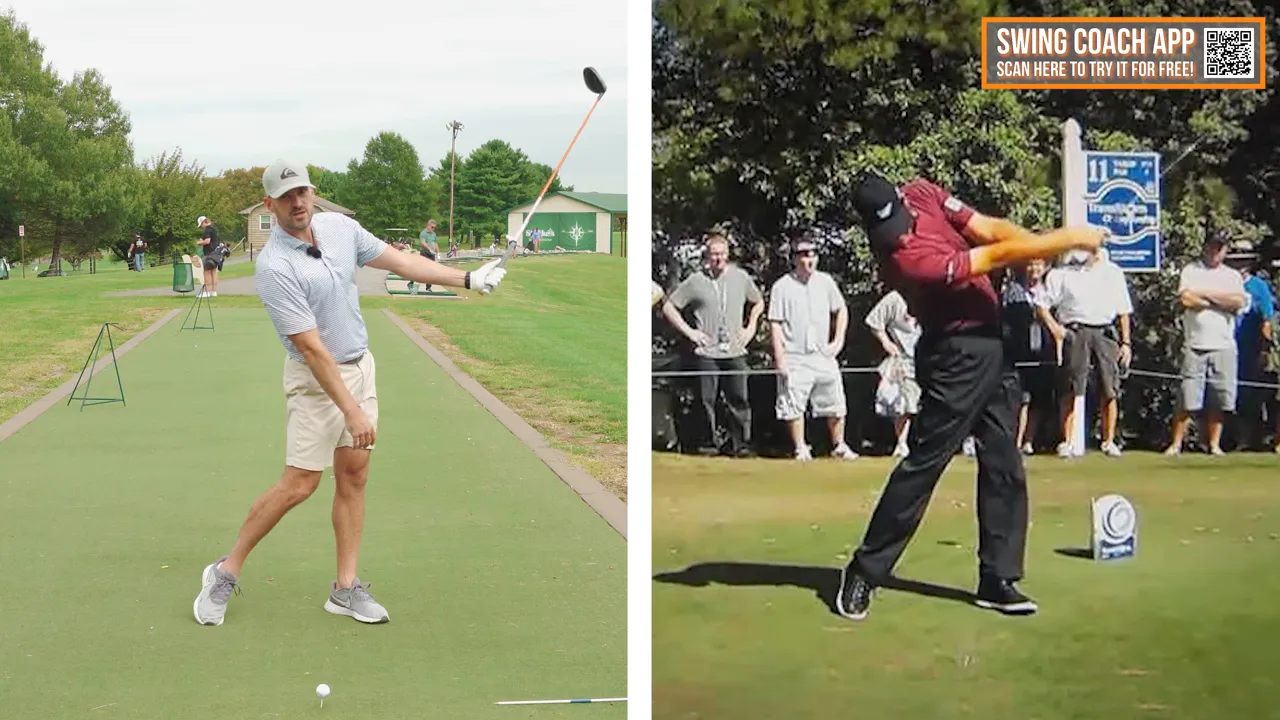
- Turn — Active rotation of the lead arm so your glove logo points toward the target at impact, closing the face and delivering proper loft.
Step 2: Toss Drill — Train the Trail Hand Release
The ‘toss’ is the initial fundamental skill. It’s a straightforward motion practiced with just your right hand. The goal is to allow the right wrist to rotate from a bent-back position in the downswing to a slightly bent-forward position in the follow-through, enabling the club head to progressively release and align square at impact.
How to practice the toss:
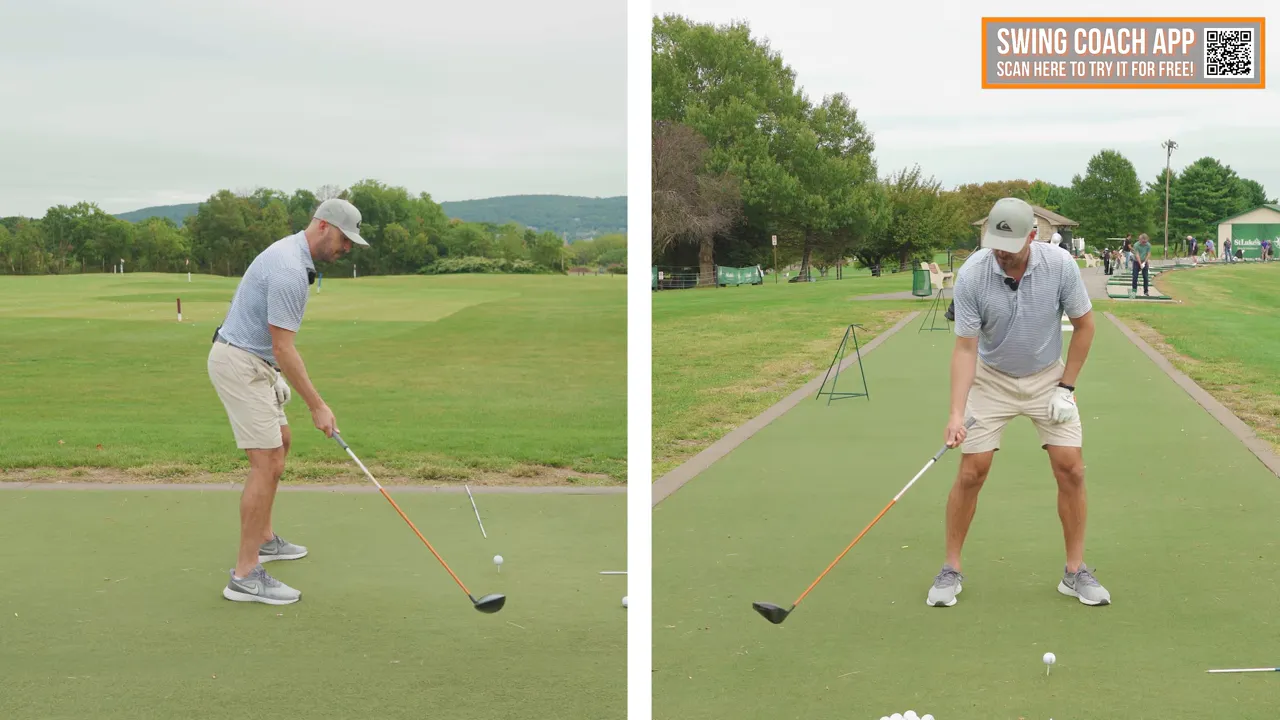
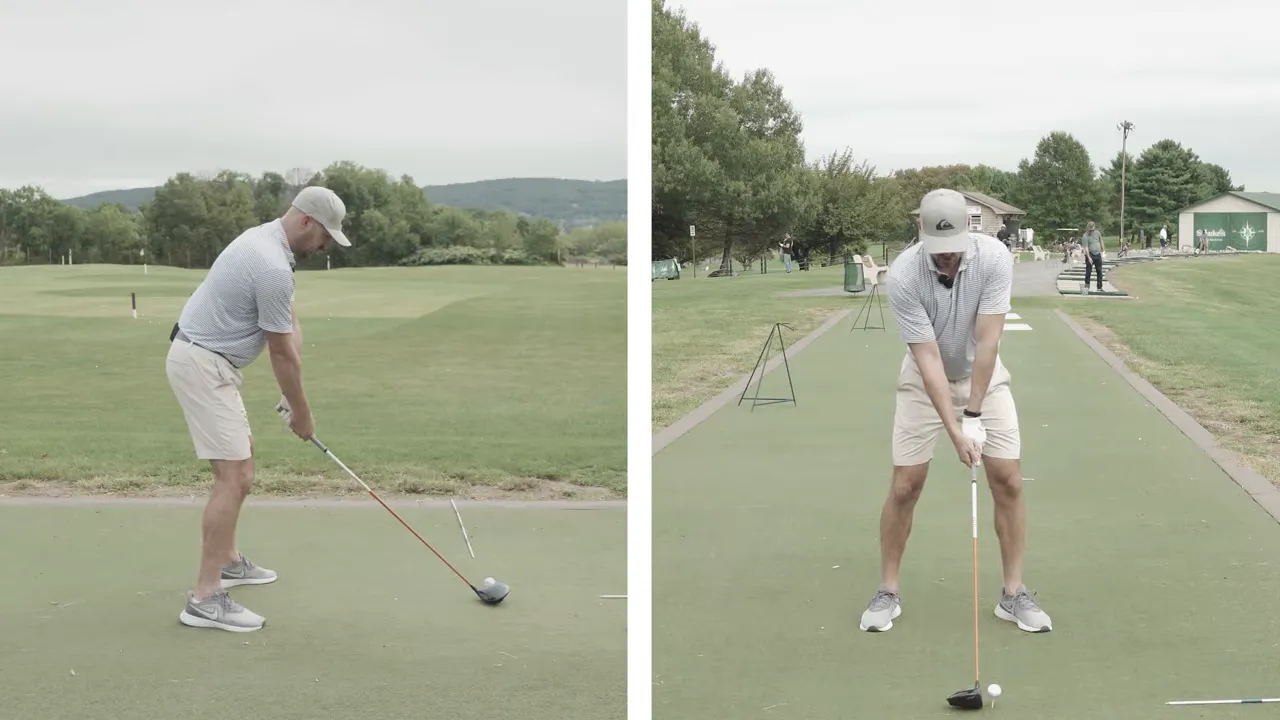
- Take your normal driver setup, swinging to about chest height on the backswing. Stop at this point for the drill.
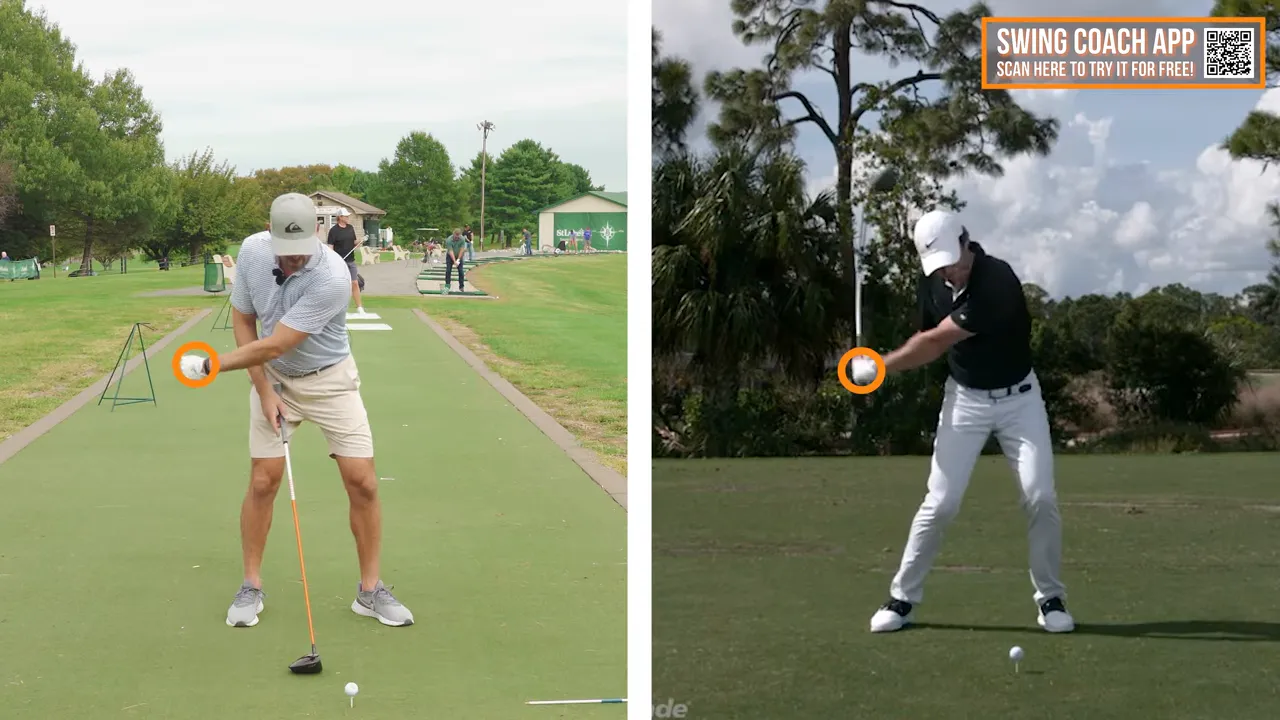
- With your right hand alone on the grip, hold your hands at hip height, starting the downswing. Notice the right wrist is bent back (extension).
- From hip high on the downswing, let the right wrist go from bent back to bent forward—this is the toss. Avoid a forceful flick; aim for a progressive release from hip high to just after impact.
- Do three slow reps with just the right hand, feeling the club head move past the hands into the follow-through.
- After three reps, hit half swings feeling that consistency. Gradually build speed as the feel becomes consistent.
What to look for:
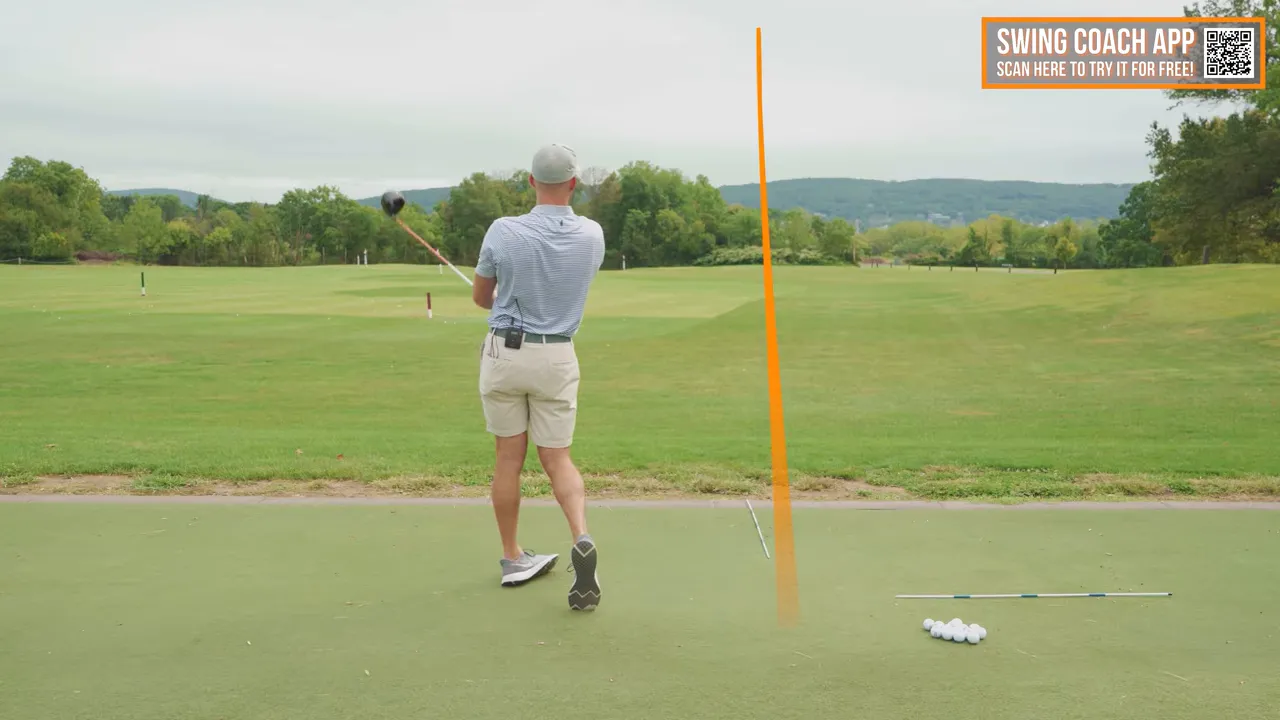
- The shaft should be relatively vertical at impact—“straight up and down” for a clean release is the aim.
- If the club head stays behind the hands, the ball will be weak and veer right. The toss corrects this.
Step 3: Turn Drill — Lead Arm Rotation to Close the Face
The ‘turn’ focuses on how your lead arm helps close the clubface through impact. If the palm or forearm points down, the face remains open. Instead, aim to have your glove logo pointing slightly up toward the target by impact to ensure proper closure of the face.
How to practice the turn:
- Set up with your usual driver grip and swing to about chest height on the backswing.
- On the downswing, practice with just your left arm and hand. Start the motion from hip high, focusing on rotating the lead forearm so the glove logo is toward the target at impact.
- Aim for a forearm/palm angle that’s slightly up from level—not fully turned over or level to the ground. This helps close the face without over-rotating.
- Do three slow reps with just the left arm, then hit half swings feeling the same motion.
Step 4: Combo Drill — Toss and Turn Together
After mastering each feel separately, it’s crucial to combine them. Perform three quick right-hand toss reps, followed by three left-arm turn reps, then practice with both feels combined. This synchronized approach ensures the face is appropriately aligned by the time the club meets the ball.
Combo routine:
- Right-hand toss x3: Short, controlled reps emphasizing the club head passing the hands.
- Left-arm turn x3: Brief reps focusing on the glove logo and the slightly upward forearm/palm angle.
- Full swing with both feels: Start with a controlled tempo, gradually increasing speed as the motion solidifies.
- Repeat the set 5–10 times during warm-up or practice, then observe ball flight changes.
What you’ll notice on the range:
- Shots will become noticeably more solid—traveling higher, farther, and straighter.
- If you start hitting straight left pulls, the face might be over-closed. It’s easier to dial back than correcting weak right misses.
- If the ball still shifts right after combining techniques, start the toss earlier in the downswing for better results.
Step 5: Ball Flight Diagnostics and Simple Fixes
Ball flight provides direct insight into what needs adjustment. Here are common outcomes and their implications:
- Weak right push/slice: The club face is open at impact. Increase toss or left-arm rotation. Start the toss earlier if necessary.
- Solid, straight drive: Achieving the right balance. Reinforce timing and tempo.
- Pull left: Over-closed face or path too inside-out relative to the face. Adjust stance and path accordingly.
The primary goal is to eliminate weak right misses. Once consistent, fine-tune path and alignment for desired draw shots.

Step 6: Common Mistakes and Troubleshooting
Here are typical errors and solutions:
- Too passive—no toss: Leads to weak, short right shots. Allow some toss to let the club head pass the hands.
- Too much toss too early: Causes left shots. Reduce toss intensity or delay it slightly.
- Over-rotation of the lead arm: Aim for a slight up-from-level, not fully rotated.
- Timing mismatch: If toss and turn aren’t synchronized, consistency suffers. Practice slowly to achieve alignment.
- Misreading path vs. face: Use setup tweaks (ball position, aiming) for predictable results.
Step 7: Practice Plan — 15-Minute Routine
Use this 15-minute routine to ingraining the toss and turn driver release:
- Warm-up (3 minutes): Gentle swings with wedges and mid-irons to get loose.
- Right-hand toss (3 minutes): Right-hand-only toss reps (3 reps x 5 sets), then hit a controlled driver shot with the feel each time.
- Left-arm turn (3 minutes): Left-arm-only reps (3 reps x 5 sets), followed by a controlled driver shot each time.
- Combo sets (4 minutes): Perform one set of 3 toss reps, 3 turn reps, then 3 full swings. Repeat this sequence.
- Review & adjust (2 minutes): Adjust toss timing or intensity based on ball flight. Use setups for fine-tuning.
Tip: Use a camera to record your swings for immediate feedback and faster improvement.
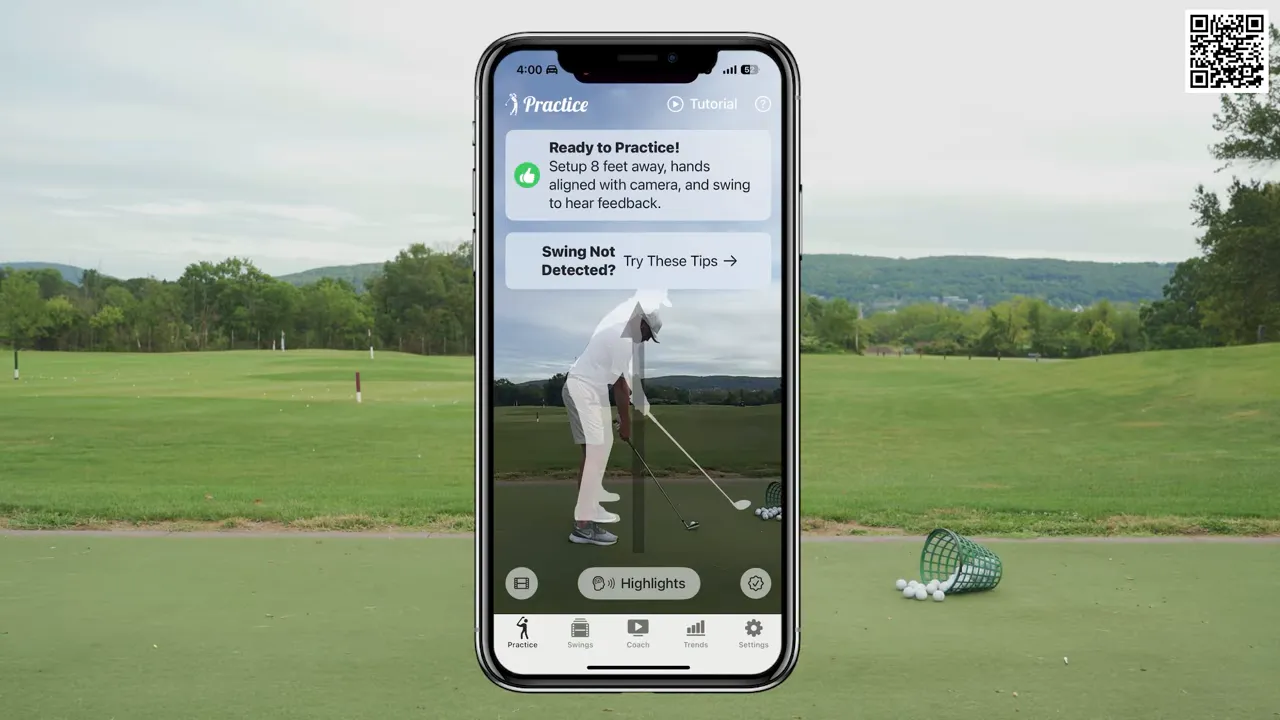
Step 8: Tools and Tech That Speed Progress
Technology and training aids can significantly accelerate your progress:
- Phone camera: Record swing angles to check shaft position and glove logo.
- Slow-motion video: Ensure toss and turn synchronization between hip high and impact.
- Training aids for wrist feel: Wrist trainers or right-hand swings with light clubs can enhance toss feel.
When analyzing videos, look for correct wrist transition and forearm angles to ensure a powerful release.

FAQ — Toss and Turn Driver Release
Q: How soon should I start the toss in the downswing?
A: Begin from about hip high on the downswing. Adjust timing based on swing speed and ball flight feedback.
Q: Will the toss cause a slice if overdone?
A: Overdoing could create pulls but is easier to manage than weak right misses. Use feedback for adjustments.
Q: Should the toss be a wrist flick?
A: Think of it as a timed release, not a flick, allowing the club head to pass the hands progressively.
Q: Can left-handed golfers use the same routine?
A: Yes, switch the hands—left-hand toss and right-arm turn, keeping glove logo direction consistent.
Q: What if toss and turn make shots go left?
A: Lower the toss intensity or forearm rotation, or adjust the setup to balance the path with the closed face.
Q: How long does it take to improve?
A: Immediate improvement is possible with dedication to the routine. Consistency requires regular practice.
Conclusion — Your 15-Minute Fix for Years of Bad Drives
Fed up with weak, short right shots? The toss and turn driver release offers a simple yet effective correction. Focus on two key motions to square the club face and deliver the correct loft.
Checklist to remember:
- Trail hand toss from hip high to slightly bent forward at impact.
- Lead arm turn with glove logo slightly up from level to close the face.
- Practice routine: Toss reps, turn reps, and full swings. Adjust using ball flight.
- Utilize video feedback and setup tweaks for optimal path and impact.
Regularly practicing this 15-minute routine will help you eliminate weak right misses, increase distance, and boost confidence. Share your results, ask questions, and enjoy the changes.
0 Comments