

Unlock the secrets to a powerful and consistent golf swing by learning how to stop standing up during your shot. This article walks you through actionable steps to improve ball striking, enhance distance, and achieve reliable swing mechanics.
Table of Contents
- Step 1: Set Shoulder Directions
- Step 2: Tilt from the Left Thigh and Hip
- Step 3: Why Pros’ Shoulder Heights Matter
- Step 4: Practice Swing Sequencing
- Step 5: Lock Tilts with the Wall Drill
- Step 6: Chest Extension and Compression
- Step 7: Utilize Golf Technology
- Step 8: On-Range Routine
- Step 9: Common Golf Faults
- Step 10: Adapting Moves for Aging Players
- Step 11: Golf Checklist Before Practice
- FAQ
- Final Thoughts
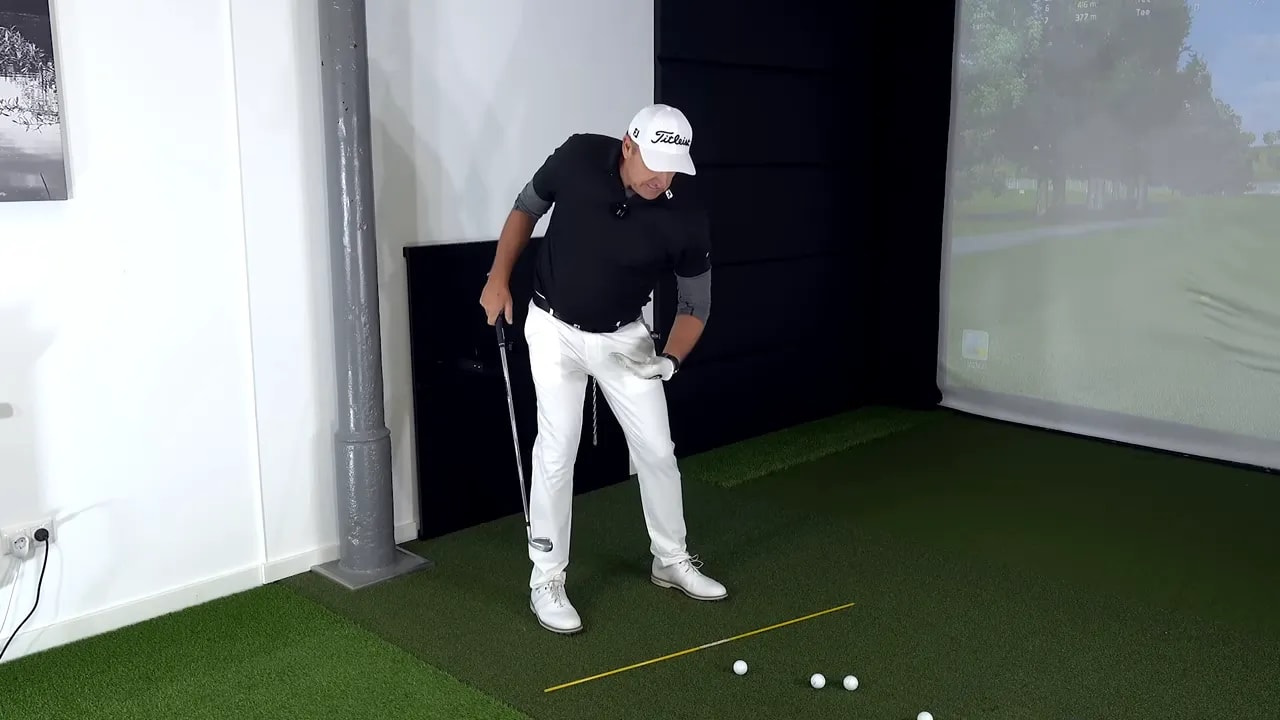
Step 1: Set Shoulder Directions
Understand and adjust the direction of your shoulders to achieve reliable ball striking. Orient your lead shoulder downward and underneath your chin while positioning the trail shoulder slightly lower and back. This tilt facilitates a more natural downswing path and encourages better compression at impact.
Feel the position by adopting your normal address, moving to the top, and concentrating on lowering your lead shoulder beneath your chin. Keep the trail shoulder higher and slightly back. This aligns your upper body plane, setting up a powerful, shallow transition.

Step 2: Tilt from the Left Thigh and Hip
Initiate a proper tilt from the lower body by moving your left thigh and hip in and under during the backswing. This movement aligns your shoulders similarly to professional golfers, providing a path for your arms to travel efficiently and reducing unnecessary joint strain.
Avoid letting the left hip and knee move outward, which often results in a standing-up motion. Instead, feel the left thigh tucking under your core, promoting a compact swing top and a clear arms path back to the ball.
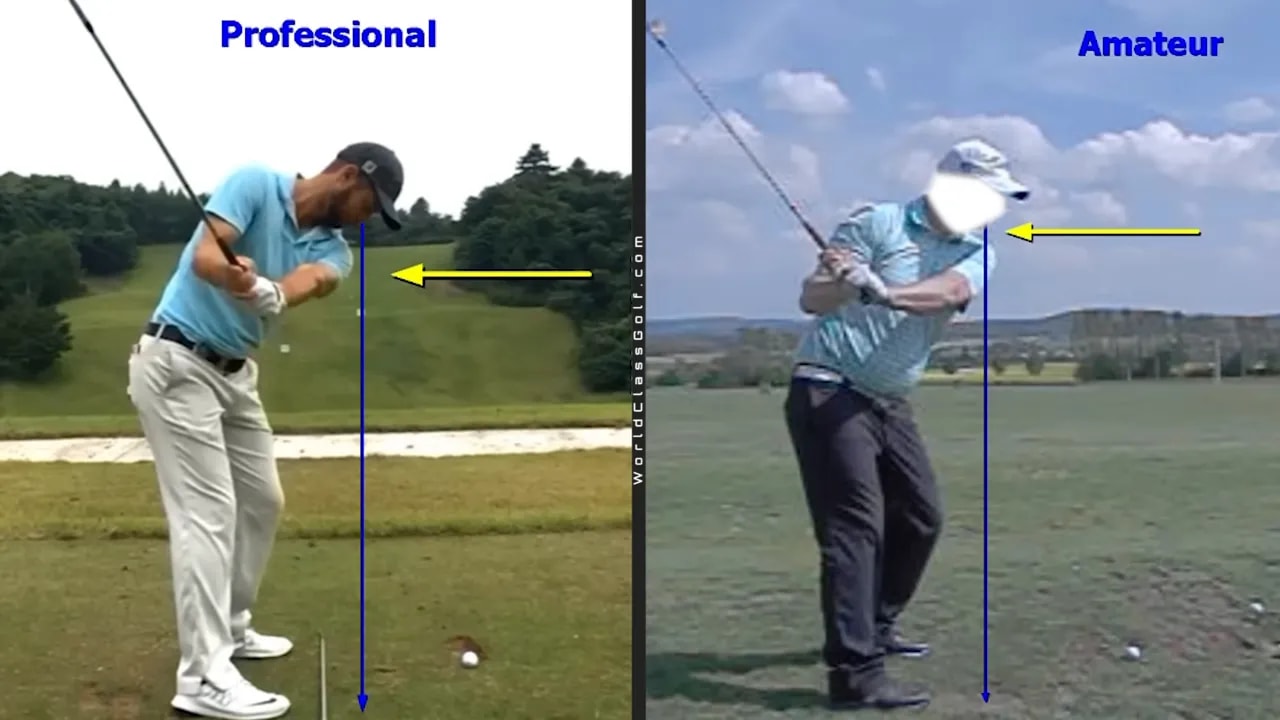
Step 3: Why Pros’ Shoulder Heights Matter
Pros reach a top-of-swing shoulder tilt around 35-40 degrees, a critical angle that maintains trail shoulder height and facilitates natural downswing rotation. Retain your left side in and right side up and back, benefiting from the mechanics of elite ball strikers.
Letting the left hip push out results in pivot buckling, head movement, and standing up during the swing. Maintain these angles to replicate professional mechanics.
Step 4: Practice Swing Sequencing
Use this simple swing sequence to train your body: left under, right under, left under, right under, which involves:
- Backswing finish: Tuck the left hip in with the left shoulder down and under.
- Transition and downswing: Move the trail (right) hip in and slightly under as you rotate.
- Through impact: Maintain tilts to ensure shoulders and hips travel together through the ball.
Perform slow-motion repetitions, reaching the top, pausing, and shifting the left hip beneath you before rotating through to engage the right hip. This trains your nervous system for correct sequencing and reduces standing-up tendencies.
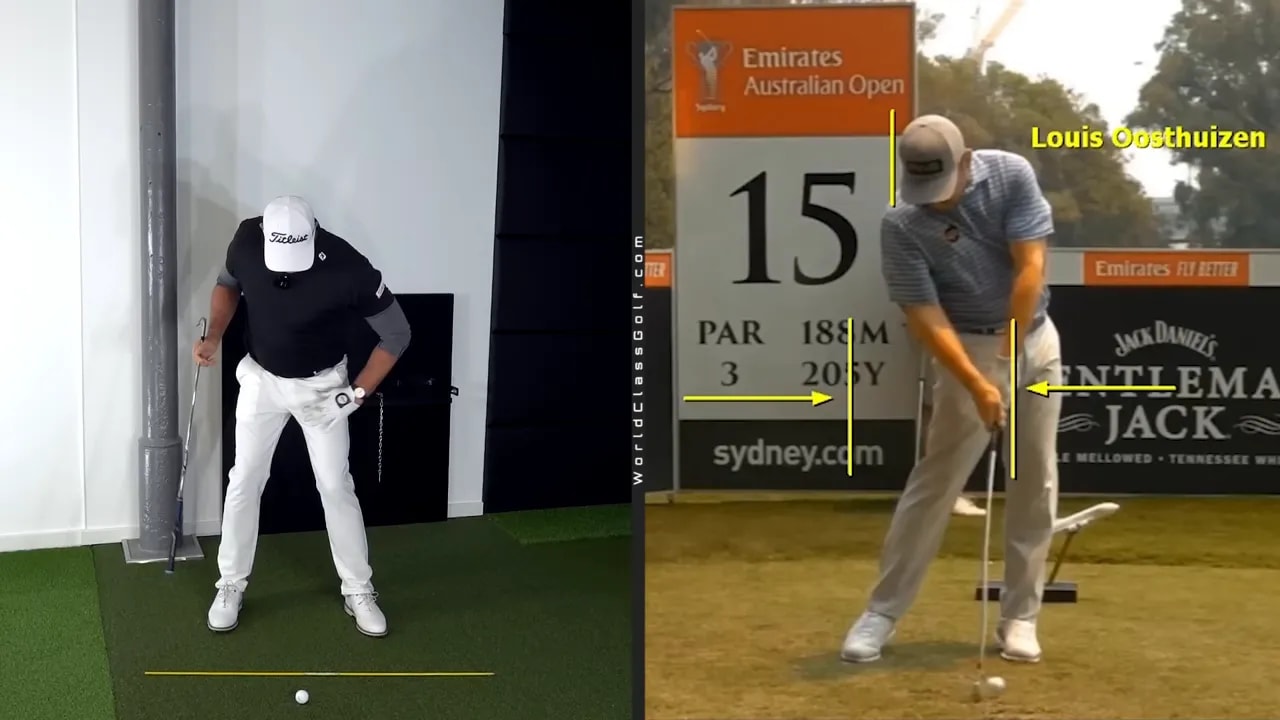
Step 5: Lock Tilts with the Wall Drill
Use a wall for immediate feedback. Stand close with a cap on, address your iron in a stance forming a 90-degree arm angle. Move to about 45 degrees at the backswing top, maintaining a correct shoulder setup.
Position shoulders near the wall to check if the left shoulder and hip remain in or move out. Adjust upon contact or gap loss with the wall, ensuring the lead side remains down and under.

Step 6: Chest Extension and Compression
Top ball strikers show subtle chest extension late in the backswing. This slight chest lift combined with a minor head shift towards the target is crucial for maintaining shaft length over the ball and easing compression on the downswing.
As the left hip tucks in, shift weight slightly to the trail leg, keeping the head centered. This helps maintain spine angle, delivering the clubhead with compression rather than scooping.

Step 7: Utilize Golf Technology
While feel guides improvement, measurement can accelerate progress. Use tools to track shoulder tilt, rotation angles, and sequencing, aligning your positions to tour standards for consistent ball striking.
Monitor left hip movement and weight transfer to the trail leg with swing apps or force plates. Turn these measurements into a repeatable feel for effective learning.
Step 8: On-Range Routine
Practice with this concise routine:
- Warm-up with shoulder and leg mobility movements.
- Perform five slow swings, focusing on left thigh movement in and under.
- Conduct swings against a wall or with a cap for left shoulder feedback.
- Hit half shots focusing on left-under, right-under sequencing and chest extension.
- Complete with full shots, maintaining tilt through impact and emphasizing shaft length.
Short, focused sessions with quality repetitions enhance results.
Step 9: Common Golf Faults
Identify and rectify typical golf errors:
- Fault: Left hip moves out, left shoulder rises. Fix: Practice left thigh tucking in with wall drill support.
- Fault: Head drifts, scooping ball. Fix: Add chest extension in backswing and focus on trail leg weight.
- Fault: Over-rotation early in downswing. Fix: Prioritize hip clearance, arm following, and shoulder tilt.
- Fault: Wide arm flight, club casting. Fix: Keep lead shoulder down to control arm plane for shallow delivery.
Step 10: Adapting Moves for Aging Players
Aging golfers can still position effectively with adaptations. Prioritize hip mobility and build core and glute strength. Stick to the left-under, right-under sequencing with a conservative range of motion.
Older players can benefit from using the wall drill and shallow-arm angle to reduce joint stress. Consistent practice can mimic younger players’ movement patterns, restoring compression and distance.
Step 11: Golf Checklist Before Practice
- Warm-up hips and shoulders for 5 to 10 minutes.
- Perform wall drill reps to align shoulder and hip positions.
- Do left-under, right-under sequences sans ball for muscle memory.
- Take half shots with a focus on compression improvement.
- If possible, measure swings using golf apps.
FAQ
How do I know if I am standing up in my golf swing?
Can I fix standing up without technology?
How important is hip mobility for stopping the standing-up problem in golf?
Is this approach suitable for every golf swing style?
How long will it take to see improvement?
What should I avoid while trying to fix standing up?
Final Thoughts
Breaking the standing-up habit in golf relies on consistent tilts, intelligent sequencing, and practical drills. Focus on keeping the lead shoulder down, moving the left thigh and hip underneath, and letting the trail hip follow during downswing. Utilize simple wall drills and practice the left-under, right-under sequence, employing measurement tools when possible to enhance learning.
Implement these steps into your regular practice to witness improvements in compression, distance, and shot consistency. Remember, golf success is built on repeatable positions. Master these and enjoy improved play.
0 Comments