
If your driver keeps slicing, hooking, topping, or striking off the heel, the quickest fixes are rarely found in complicated swing mechanics. The simplest and fastest improvements come from one place: your golf driver setup. Spend a few seconds checking a handful of details before every tee shot and you can immediately reduce slices, cure hooks, improve contact, and add distance by delivering more loft at impact.
Table of Contents
- Step 1: Ball Position — place the ball off your lead heel for more launch
- Step 2: Trail Arm and Club Alignment — rest the trail arm on the chest
- Step 3: Elbow Positions and Forearm Alignment — set the elbows to build a natural draw
- Step 4: Pre-shot Routine — a quick mirror check you can do anywhere
- Step 5: Distance from the Ball — tilt forward and let the arms hang
- Step 6: Build the “Box” Around Your Body — visualization for consistent setup
- Simple Pre-shot Checklist — a five-point routine to run through in seconds
- Quick Drills You Can Do in Five Minutes
- How These Setup Changes Fix Specific Problems
- Common Setup Myths and Why They Matter
- Practice Progression — take this to the course
- FAQ
- Final Notes
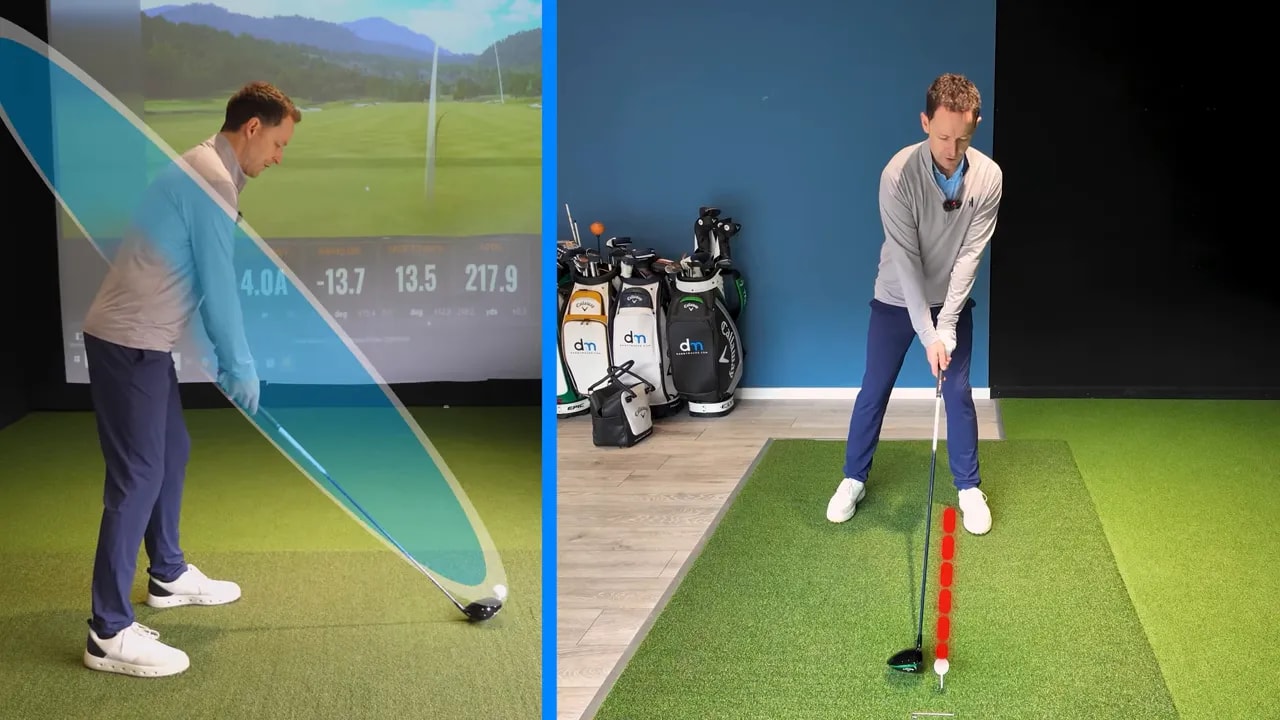
Step 1: Ball Position — place the ball off your lead heel for more launch
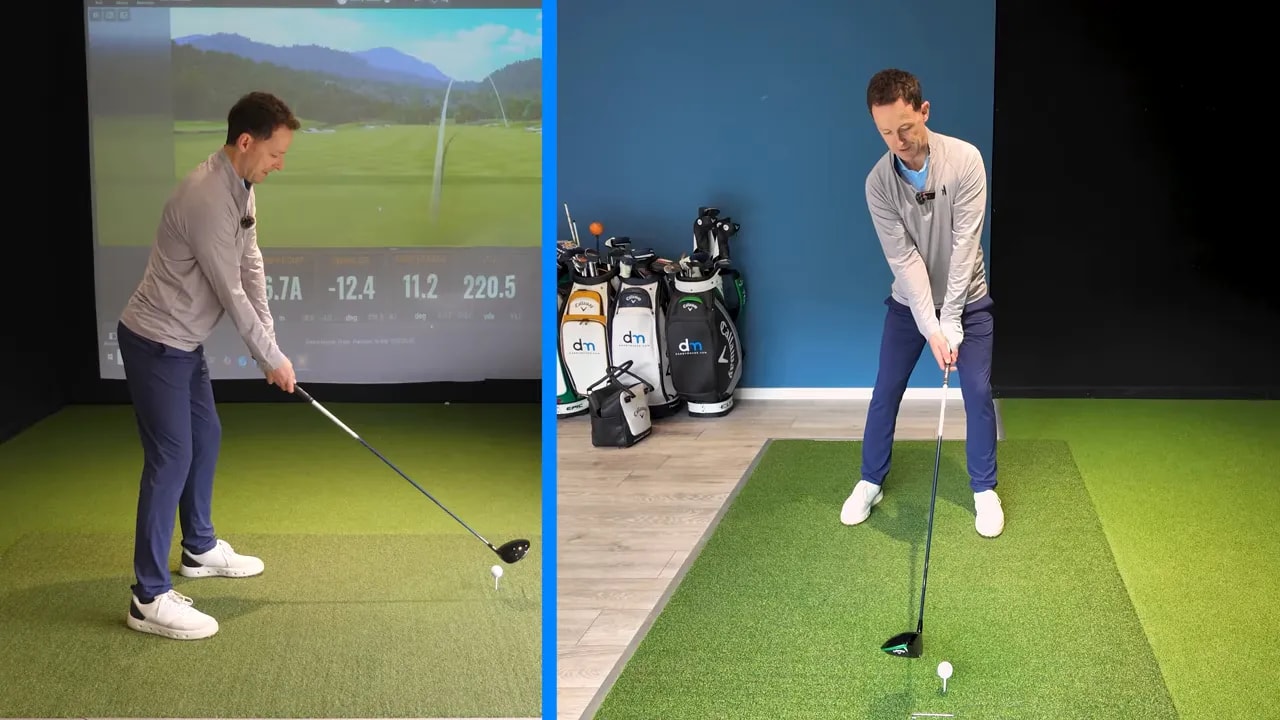
Ball position determines the blade’s angle and where the club meets the ball in the arc. For most amateur golfers looking for distance, the objective is to hit slightly up on the driver. That requires the ball to be forward in your stance — typically just off your lead heel.
When the ball is correctly forward:
- Your swing can reach the low point slightly behind the ball, delivering an upward strike for higher launch and lower spin.
- Your body can rotate freely without collapsing forward or reaching over the ball.
- You avoid delofting the club at impact, which causes low, weak shots or skying the ball on thin strikes.
A common error is reaching for a forward ball. When the top half of your body gets ahead of your lower body at address, the lead arm drops and the trail arm rises. The result is an up-and-down swing path that delofts the club and tends to create an across-the-ball path. Combine that with even a slightly open face and a slice becomes inevitable.
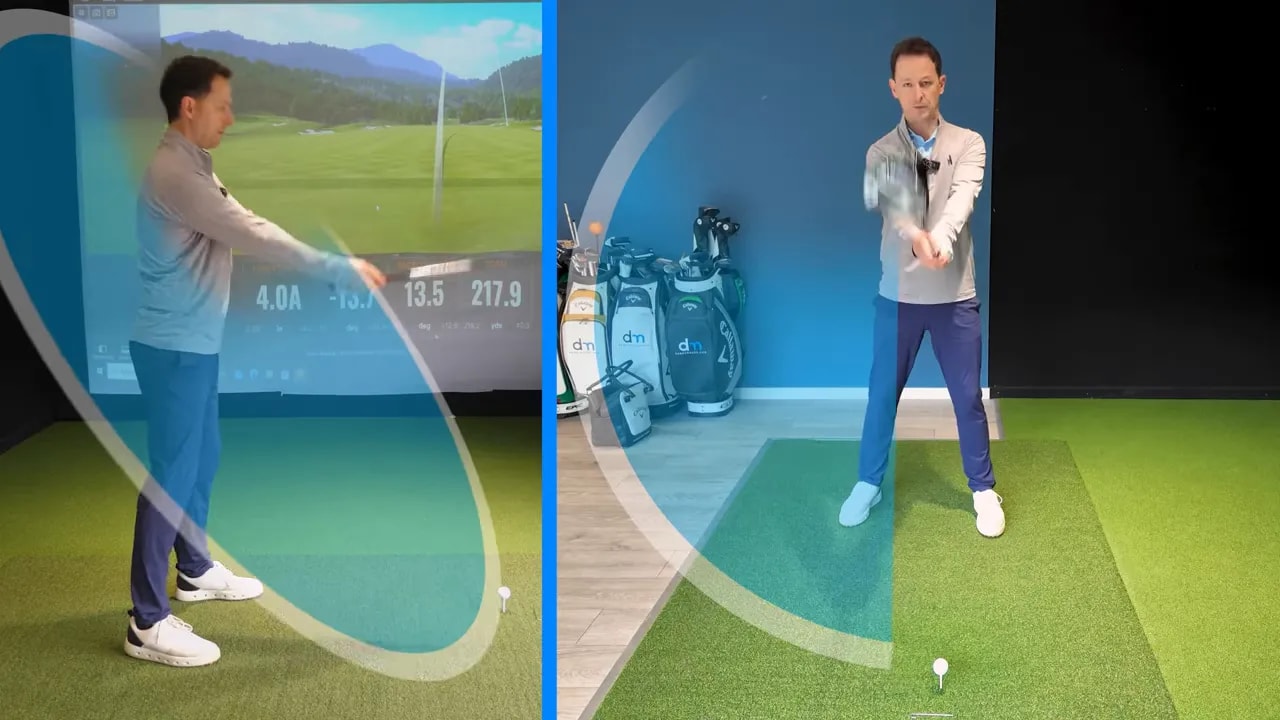
Step 2: Trail Arm and Club Alignment — rest the trail arm on the chest
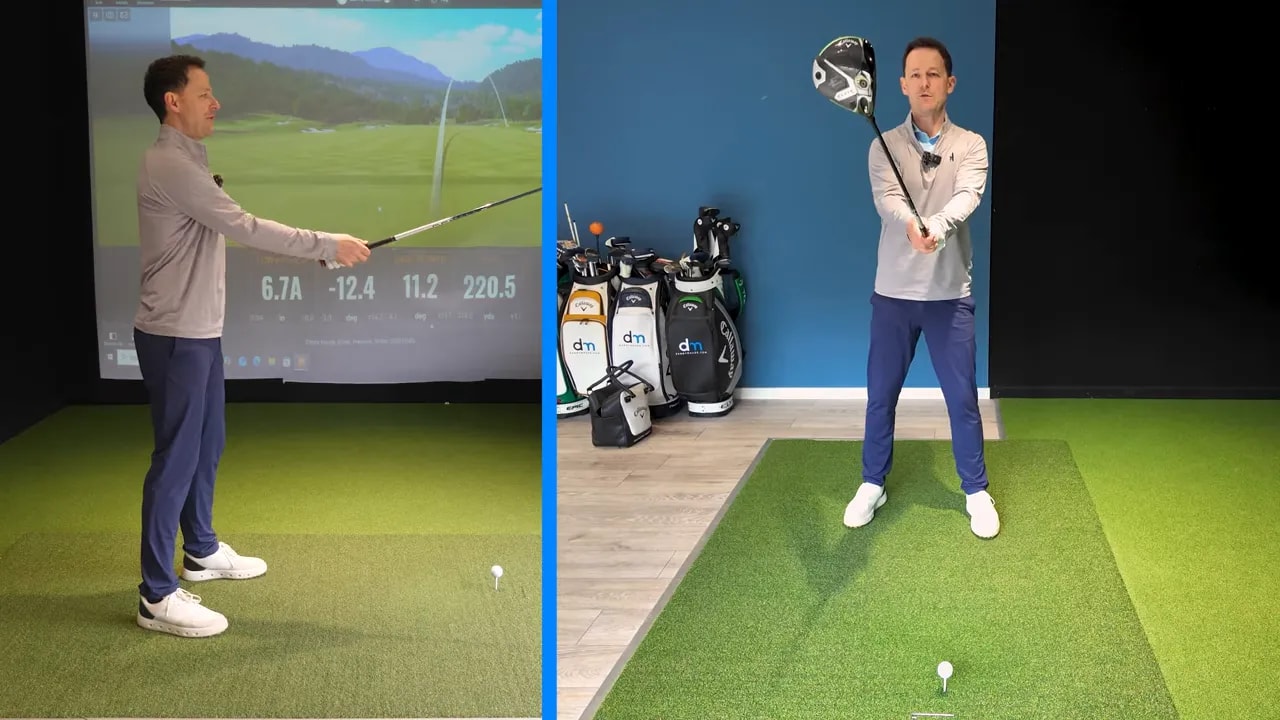
Small changes to how the trail arm rests at address will change the swing circle and the path your club naturally follows. The simplest routine is to point the club straight out in front of you and let the trail arm rest on your chest or mid-throat area.
When you do this:
- The trail shoulder sits back, which encourages a more inside-to-out swing path into the ball.
- The clubface sits more square relative to your target line because the club is supported in the body “box” instead of being suspended away from it.
- The loft you deliver at impact increases because the shaft is not excessively delofted by a humped-up trail arm.
Practice setting the club out in front of you and resting the trail arm lightly on the body before every drive. This takes only a couple of seconds and instantly changes the swing plane to one that produces straighter, higher-launching drives.
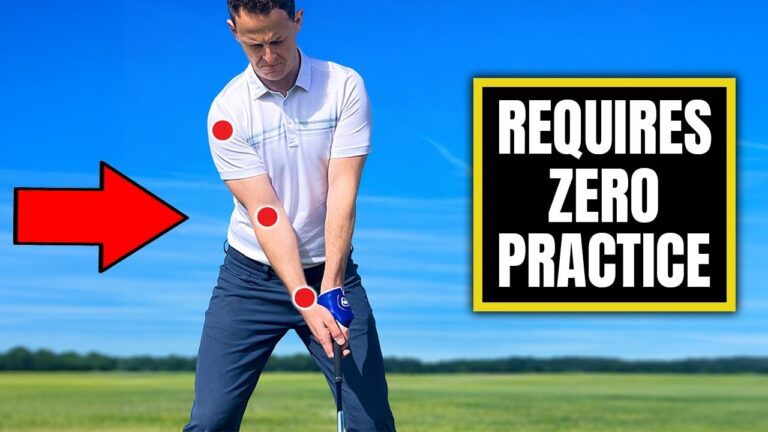
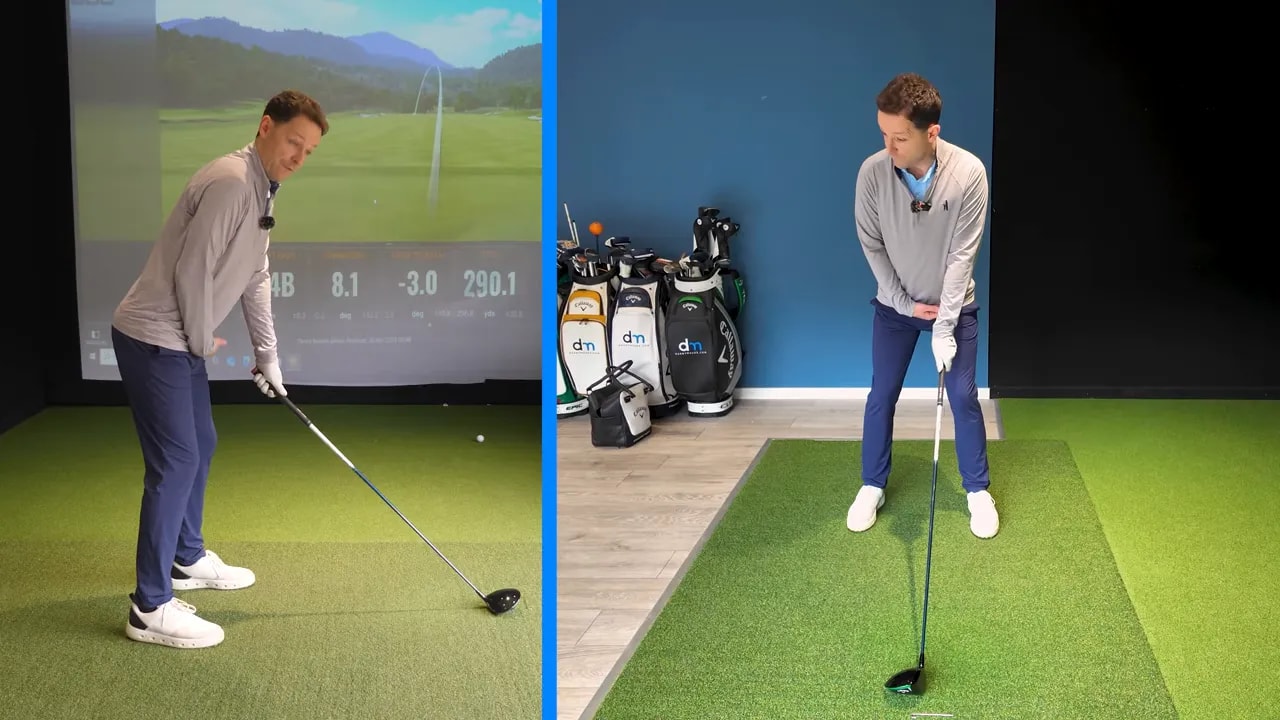
Step 3: Elbow Positions and Forearm Alignment — set the elbows to build a natural draw
Elbow orientation at address is a powerful, often-overlooked setup cue. Check two things:
- Your lead elbow should point toward the target.
- Your trail elbow should point toward the trail hip.
When your elbows are aligned like this and you then grip the club, your forearms sit slightly to the right of where the face is pointing. That subtle relationship makes it much easier to close the face through impact and produce a draw or straight flight.
Compare that with the opposite setup: if your lead elbow is tucked toward your hip and your trail elbow points backward, you create a forearm alignment that favors an out-to-in path and an open face at impact. In short, you are setting yourself up to slice before you start swinging.
Drill: Stand in front of a mirror. Point your lead elbow toward a distant target, angle your trail elbow to your hip, then grip the club. Record or observe the relationship between the clubface and your forearms. Repeat until that feel matches what you see.
Step 4: Pre-shot Routine — a quick mirror check you can do anywhere
Feel and reality often differ. A setup that feels “normal” might actually be the cause of your miss. Before your round, spend a few minutes in front of a mirror to lock in a reliable pre-shot routine. Use these steps each time you address the ball:
- Place the ball off your lead heel.
- Point the club out in front and rest your trail arm on the chest.
- Set your lead elbow toward the target and your trail elbow toward your hip; then grip the club.
- Tilt forward from your hips so your arms hang naturally and there is roughly a club-head-width gap between your hands and your thighs.
- Take a full breath, pick a small target on the fairway, and make one smooth swing.
Doing these checks in the mirror helps remove the guesswork on the course. What may feel exaggerated in practice will usually look correct in the mirror once you retrain your body to this new baseline.
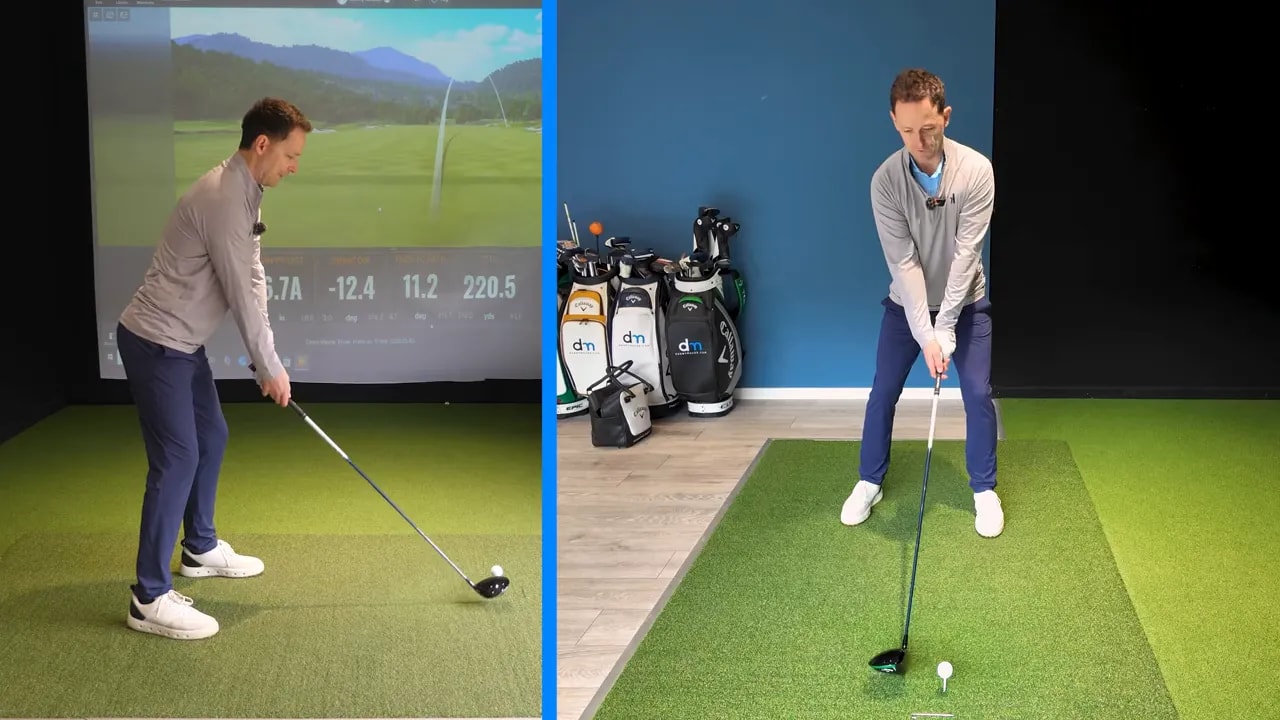
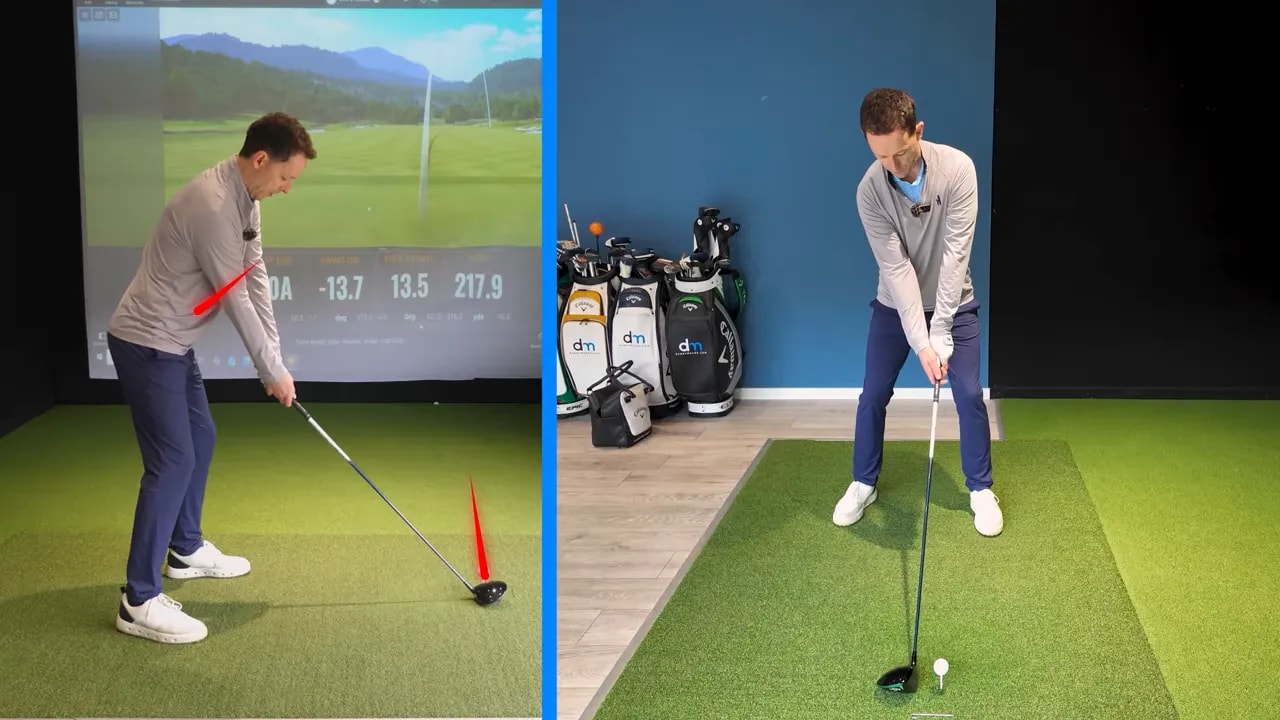
Step 5: Distance from the Ball — tilt forward and let the arms hang
Contact problems often come from being either too close or too far from the ball. Standing too tall and too close forces you to lift at impact, which pushes the club into the ball toward the heel and produces thin or off-neck strikes.
To fix this:
- Tilt from the hips so your spine angle points toward the ball.
- Let your arms hang naturally so the hands sit about a club-handle width from your thighs.
- Adjust until your middle-of-the-club strikes become the norm rather than the exception.
This small posture change stabilizes the body through impact and reduces the likelihood of pushing the club away. When your distance is right, your timing and strike improve without any mechanical swing changes.
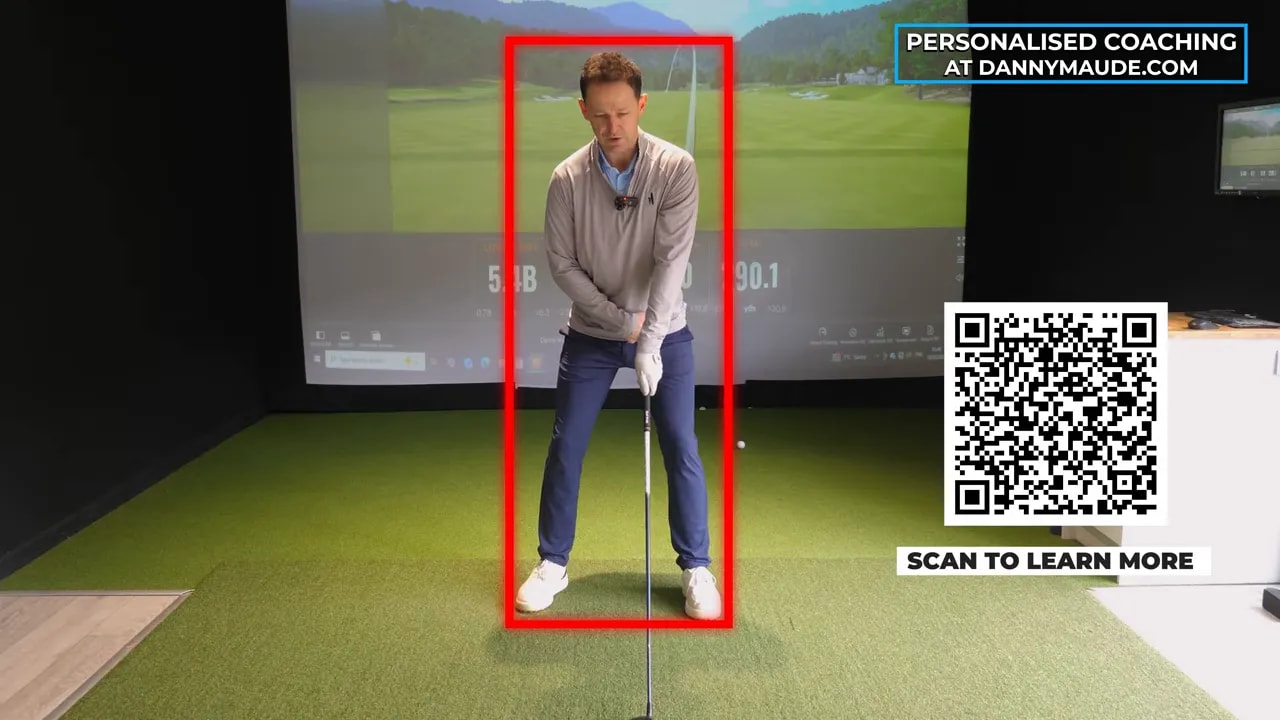
Step 6: Build the “Box” Around Your Body — visualization for consistent setup
Visualize an imaginary box around your torso. Many golfers set up with their lead hip too far outside this box, creating a gap between the body and the club. That gap changes the swing radius and makes it harder to hit up on the ball.
At address, the lead hip should sit closer to the inside edge of that box — meaning the club and hands are naturally supported by the body. When the club is inside the box and the trail arm rests on the chest, you automatically set a swing circle that encourages an inside-to-square path and a more upward angle of attack.
This is a subtle alignment cue that is easy to check visually or on video. If you find a consistent gap, correct it before each drive.
Simple Pre-shot Checklist — a five-point routine to run through in seconds
- Ball position: Off the lead heel.
- Trail arm: Resting lightly on the chest.
- Elbows: Lead elbow to target; trail elbow to hip.
- Distance and posture: Tilt forward, arms hanging, club-handle about a club-width from thighs.
- Visualization: Picture the body “box” and check the lead hip position.
Run through these five points in the minute before each tee shot. The changes should feel small but deliver big, immediate results: straighter flight, more consistent contact, and often more distance.
Quick Drills You Can Do in Five Minutes
- Mirror Setup Drill: Spend three minutes in front of a mirror practicing the trail arm-on-chest and elbow orientations. Make adjustments until what you feel matches what you see.
- Club-out Routine: Without a ball, point the club directly at a distant target and set your trail arm on the chest. Walk through your posture, elbows, and grip. Repeat until it becomes automatic.
- Forward Ball Check: Place a tee or ball off your lead heel and take slow practice swings to feel the upward strike. Pay attention to where the ball meets the clubface.
How These Setup Changes Fix Specific Problems
• If you slice: Your setup often predisposes you to an out-to-in path with an open face. Align the elbows and rest the trail arm on the chest to promote an in-to-out path and a slightly closed forearm relationship that encourages a draw or straight flight.
• If you hook: Check ball position and distance. A ball too far back or being too compact can cause an over-rotation and early release. Move the ball forward slightly and ensure your trail arm and elbow alignment are neutral rather than excessively inside.
• If you top or thin the ball: You are likely standing too tall or too close. Tilt forward from the hips, let the arms hang, and create that club-handle gap between your body and the hands.
Common Setup Myths and Why They Matter
Myth: Fixing a slice always requires a swing-plane overhaul. Reality: Most slices are set up problems. Adjusting ball position, arm position, and elbow orientation will often produce an immediate correction.
Myth: Stronger grips or forceful swing changes are the main answer. Reality: Changing setup is less stressful, easier to repeat under pressure, and more reliable on the course.
Practice Progression — take this to the course
- Start at home in front of a mirror until the new setup looks natural.
- Move to the practice tee and hit half-speed swings focusing only on the five-point checklist.
- Gradually increase swing speed while maintaining the setup positions.
- Record a few swings on the course to compare to your mirror practice and adjust if necessary.
The goal is to make the setup your automatic first step. When you consistently address the ball in the same, repeatable way, the rest of your swing has a stable foundation to perform reliably.
FAQ
How far forward should the ball be off my lead heel for driver?
Place the ball just inside the lead heel. That position encourages an upward strike without forcing an exaggerated reach. Slight adjustments may be required based on your height and shaft length, but this is a reliable starting point for most players.
If I already have a good swing, will setup changes still help?
Yes. Even consistent players benefit from smarter setup. Small setup improvements can increase distance and consistency by refining impact loft and swing path without changing your swing mechanics.
How long before these setup changes feel natural?
With focused mirror practice and a short routine, many golfers feel the new setup within a few sessions. Expect a few range sessions to ingrain the feel and maintain it under course pressure.
Will this routine reduce my spin and add distance?
Proper ball position and posture help you hit up on the ball, which typically lowers spin and increases carry. Resting the trail arm on the chest also encourages a cleaner, more centered strike—both factors that add usable distance.
What should I do first if I slice and thin my drives?
Start with ball position and posture. Ensure the ball is forward, tilt from the hips so your arms hang naturally, and check elbow orientation. These checks address both path and contact simultaneously.
Final Notes
The most effective fixes are often the simplest. Spending a few extra seconds on setup before every tee shot can turn inconsistent drives into more accurate, longer, and more confident tee shots. Make the five-point checklist part of your routine, practice in front of a mirror, and use the drills to lock the new setup into muscle memory.
If you habitually slice, hook, or struggle with contact, start here: ball off the lead heel, trail arm on the chest, elbows aligned, tilt forward, and visualize your body box. These setup changes give you the best chance of immediate improvement without complicating your swing.
Take a short video of your setup on the course and compare it to your mirror practice. Often the problem is obvious once you see the differences. Small, consistent setup habits translate to big improvements over time.
0 Comments