

Transform your golf game with one simple change. Learn how the right arm move can revolutionize your swing and lead to straighter, cleaner strikes across the bag.
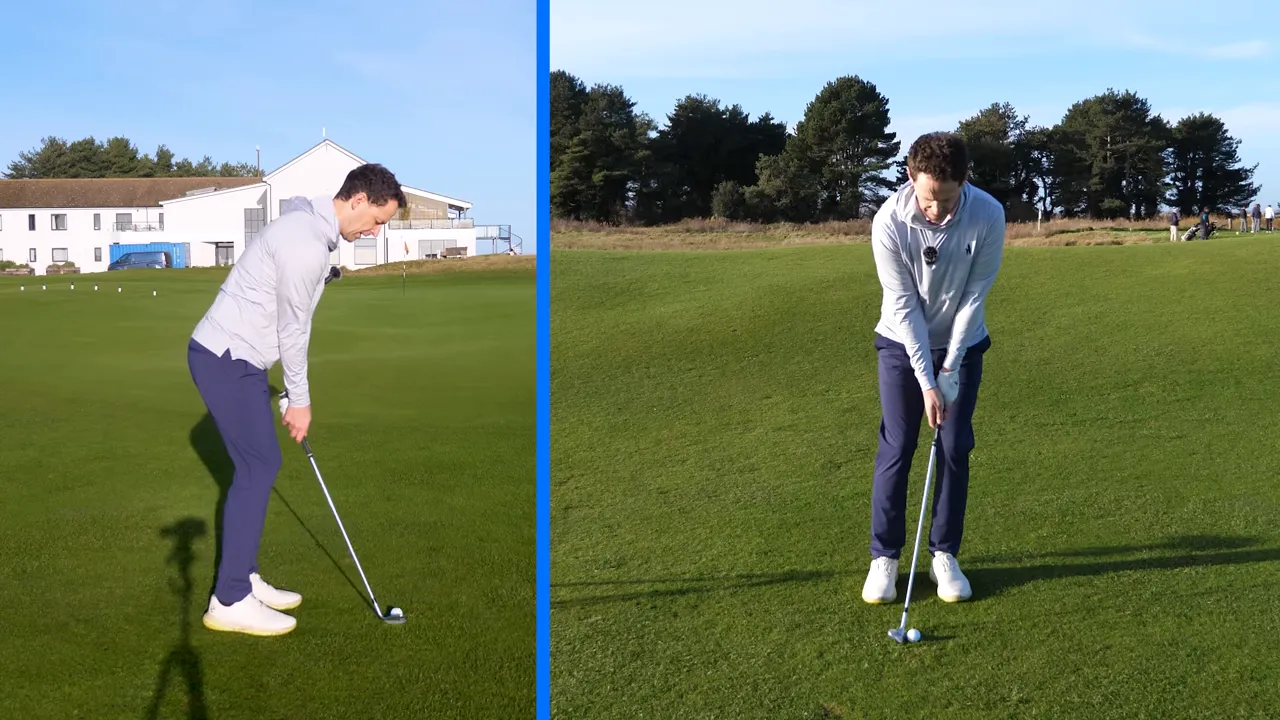
Table of Contents
- Step 1: Short Game — Set the radius with this right arm move
- Step 2: Fairway irons — Use the cack‑handed drill to learn the right arm move
- Step 3: Driver — Lose the arm wrestle and guide the club on a cleaner arc
- Step 4: A practice progression to ingrain the right arm move
- Common faults and how this right arm move fixes them
- Why the right arm move matters more than flashy fixes
- Step 5: Putting it together on the course
- How quickly will this right arm move improve my ball striking?
- Will this right arm move change my distance or require a new swing for driver?
- Is the cack‑handed drill safe to practice on a driving range?
- What if I have limited flexibility and the trail elbow flails on the backswing?
- How do I practice this without overthinking and becoming robotic?
- Summary and final checklist
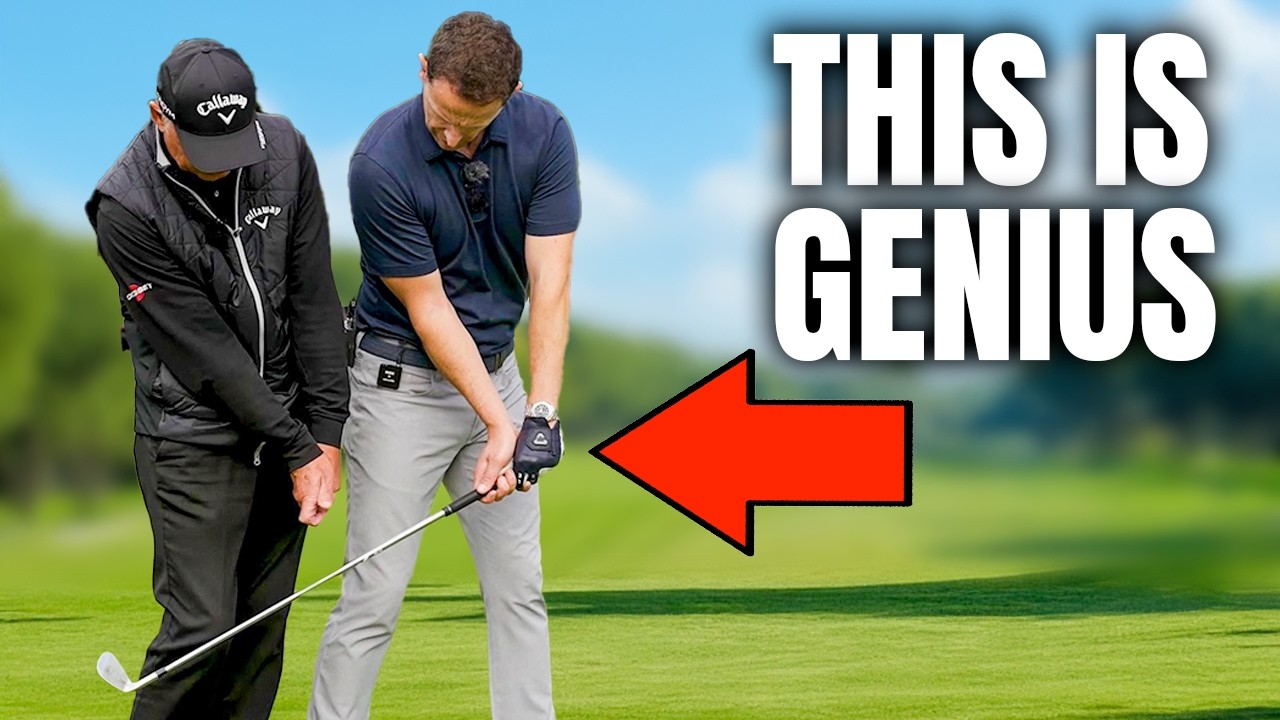
Step 1: Short Game — Set the radius with this right arm move
The short game reveals your fundamental skills. Focus on controlling the club’s landing spot and the depth of the arc. To stop topping or hitting fat, keep your trail elbow near the lead elbow throughout your swing.Why this works
- Keeping elbows close ensures a consistent swing radius, leading to consistent contact.
- The trail elbow remains close to avoid separation that can cause tops or fat shots.
- Maintains wrist angles for predictable distance and spin.
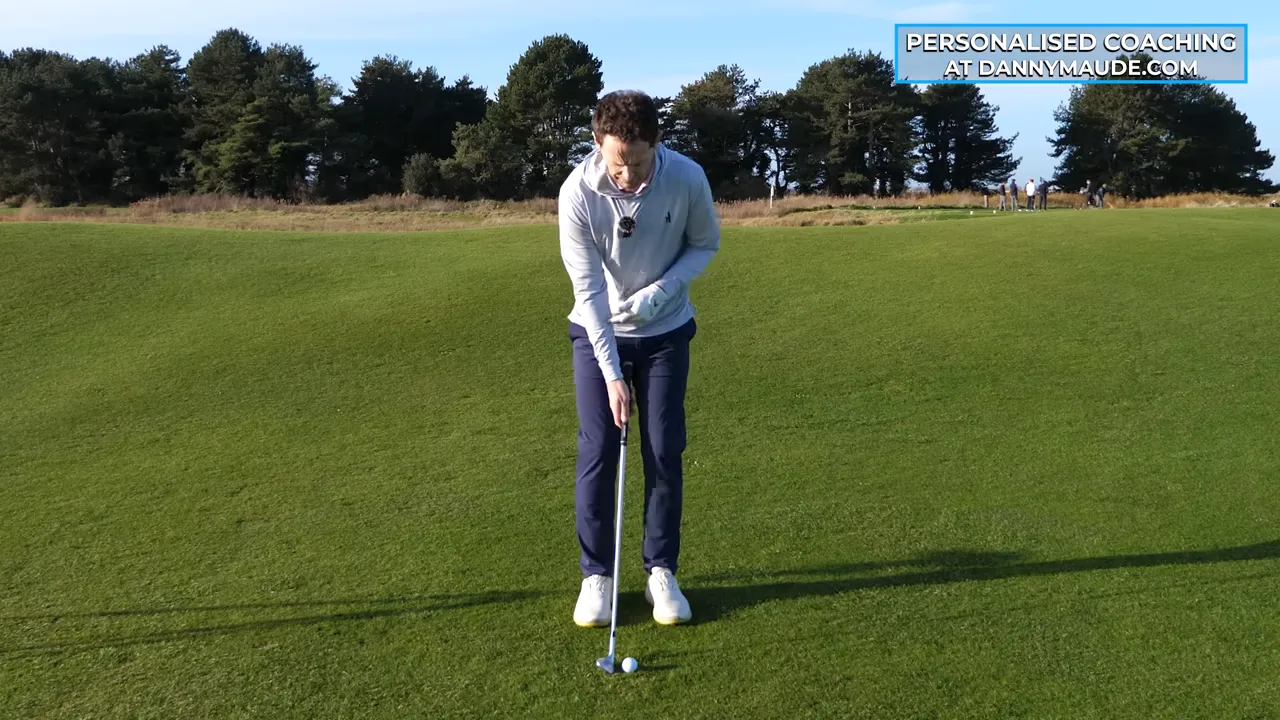
Set up for chips slightly forward, ensuring arms remain close with the trail hand correctly positioned atop the grip. Aim for crisp strikes by keeping the elbow close as you swing through.
Step 2: Fairway irons — Use the cack‑handed drill to learn the right arm move
Ensure your arms work together with irons for a controlled, shallow swing arc. Use the cack-handed grip to highlight the correct elbow positioning.How to transfer the feeling to normal swings
- Adopt a cack-handed grip: lead hand below the trail hand.
- Notice elbow proximity during a small backswing.
- Rehearse the motion down and ensure no wrist flicking.
- Resume your normal grip and mimic the elbow closeness and arm path.
This drill helps maintain wrist angles and encourages natural arm rotation, leading to better compression.
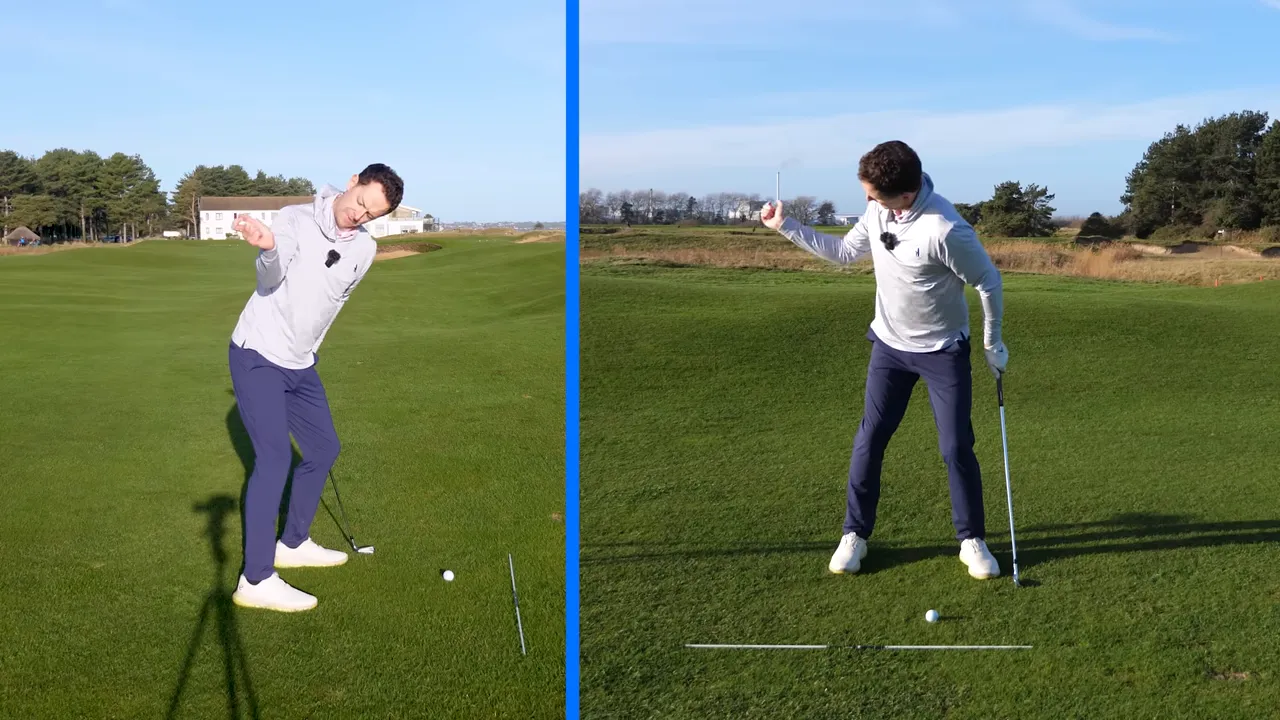
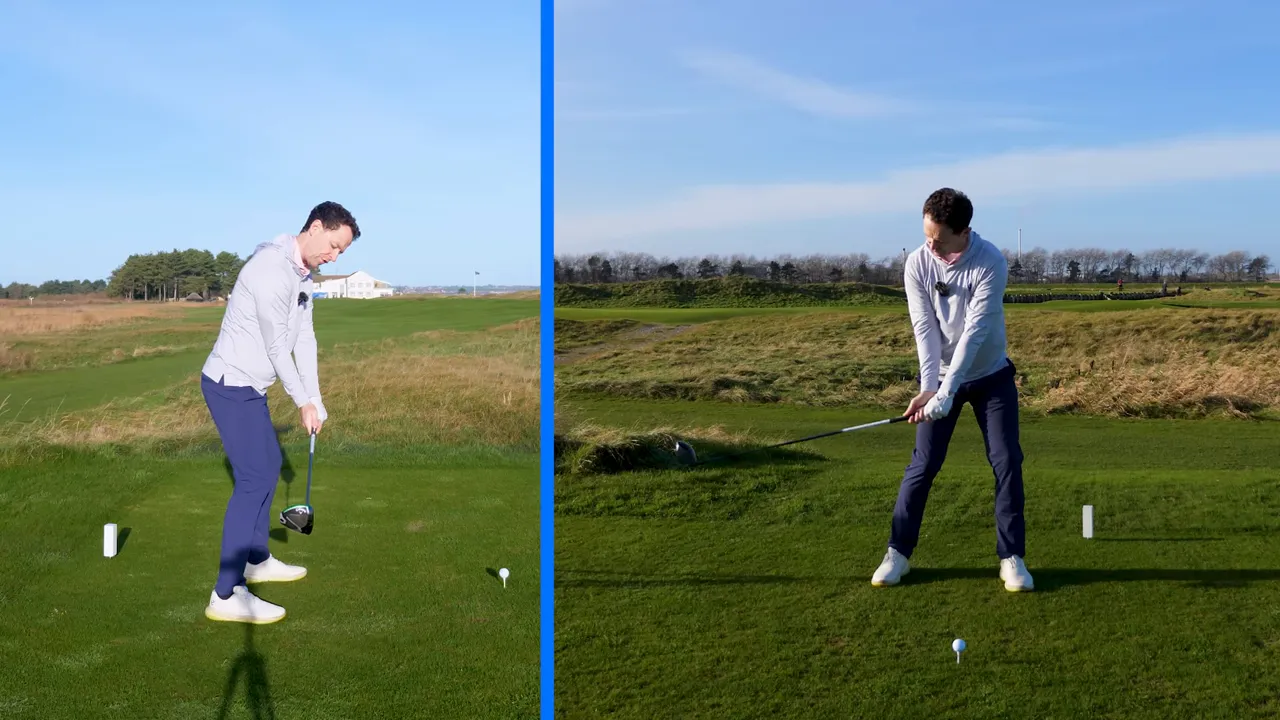
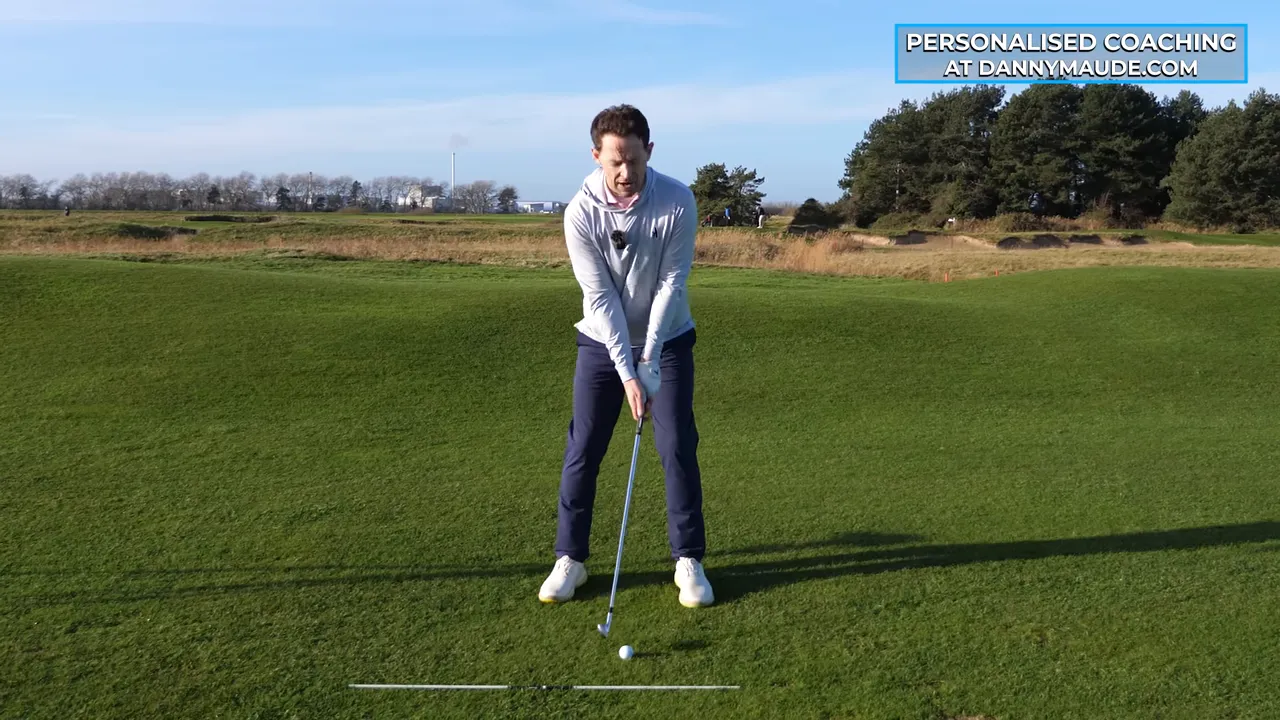
Step 3: Driver — Lose the arm wrestle and guide the club on a cleaner arc
A driver magnifies your basic swing errors. Keep elbows close during your swing to prevent a downward chop or an over-reliance on handsy adjustments, which can cause slices or hooks.The “lose the arm wrestle” feeling
- Relax the trail arm during takeaway and let it give slightly on the downswing.
- This helps the elbows rejoin, setting a proper swing arc.
- Enhances club path and minimizes the need for hand manipulation.
Step 4: A practice progression to ingrain the right arm move
Use focused drills to make the right arm move part of your routine.
- Short game rehearsal: Focus on maintaining elbow closeness during short chips.
- Cack‑handed drill: Conduct half swings to get comfortable with the elbow’s position.
- Normal grip transfer: Transition to your traditional grip while retaining the same elbow dynamics.
- Mid‑iron compression: Ensure elbow proximity with mid-irons for controlled impact.
- Driver integration: Apply all steps to your driver swing, keeping the mental image of “losing the arm wrestle.”
- On-course checks: Validate the elbow positioning sensation during real play, emphasizing technique over immediate results.
Practice tips
- Start slow to build accuracy, increasing speed as consistency improves.
- Video self-assessment to ensure elbows remain connected.
- Use alignment aids to maintain correct club path.
Common faults and how this right arm move fixes them
Understanding issues aids solution identification.
- Topping chips: Early arm separation. Maintaining elbow connection eliminates unnecessary lift.
- Fat pitches: Late arm extension. Keeping elbows together prevents this motion.
- Thin or thin-heel irons: Incorrect angle. Maintain wrist angles for proper shaft lean and compression.
- Slices and hooks: Poor face control due to handsy swings. The close elbow position helps stabilize the face.
Why the right arm move matters more than flashy fixes
Simple, feel-based changes provide greater benefits than complex rules.
- Stabilizes swing radius for predictable turf impact.
- Prevents wrist flicking and ensures compression.
- Enables natural rotation and controlled club delivery.
- Applies universally from chips to driver swings.
Step 5: Putting it together on the course
Solidify your skills with these cues during a round.
- Visualize your elbows as cohesive units during impact.
- Allow the trail arm to relax slightly into downswing.
- Trust your steady wrist angles rather than manipulating them.
- Maintain the trail hand’s top grip for better control, especially on shorter shots.
How quickly will this right arm move improve my ball striking?
Will this right arm move change my distance or require a new swing for driver?
Is the cack‑handed drill safe to practice on a driving range?
What if I have limited flexibility and the trail elbow flails on the backswing?
How do I practice this without overthinking and becoming robotic?
Summary and final checklist
Solve persistent ball striking issues by focusing on consistent elbow and wrist control. Key points include:
- Set the radius: Maintain close elbow position.
- Keep the trail hand on top: Helps preserve control and wrist angles.
- Use the cack‑handed drill: Reinforces elbow and arm positioning.
- Spin the right arm down: Allow natural arm movement without forcing forward.
- Lose the arm wrestle: Slightly relax the trail arm on the downswing for optimal arc tracking.
With consistent, focused practice, this one right arm move can resolve a multitude of ball striking challenges, contributing to a more efficient and effective golf swing.
0 Comments