


Unlock Effortless Power and Precision with the Perfect On-Plane Backswing. Dive into a simple and practical guide designed to elevate your golf game with four transformative moves, ensuring your swing is both accurate and consistent on the course.
Table of Contents
- Step 1: Set the Trail Elbow
- Step 2: Start the Turn Correctly
- Step 3: The Wall Drill
- Step 4: Rehearse Smart
- Common Mistakes and How to Fix Them
- Putting It All Together — A Progressive Practice Plan
- FAQ — Frequently Asked Questions
- Final Thoughts — Make the Perfect On-Plane Backswing Your Habit
Step 1: Set the Trail Elbow
Getting the trail elbow (right elbow for right-handed golfers) properly aligned is crucial for an on-plane backswing. This technique naturally guides the club without forcing it.
How to perform the trail elbow external rotation drill:
- Grip the club as usual.
- Initiate the backswing, focusing on rotating the right elbow so it points slightly down and in front of you.
- Keep the right elbow in front of your torso and rotate your body, avoiding letting the elbow flare out.
- Use your body rotation, not wrist actions, to move the club up the plane.
Key cues:
- “Elbow in front” — tuck the trail elbow slightly towards your center.
- “External rotation” — ensure the elbow rotates to sit under the tricep.
- “Club in front of hands” — let the body lift the club forward and up the plane.
Why this matters: A correctly positioned trail elbow minimizes the chance of coming ‘over the top,’ ensuring a natural swing path.
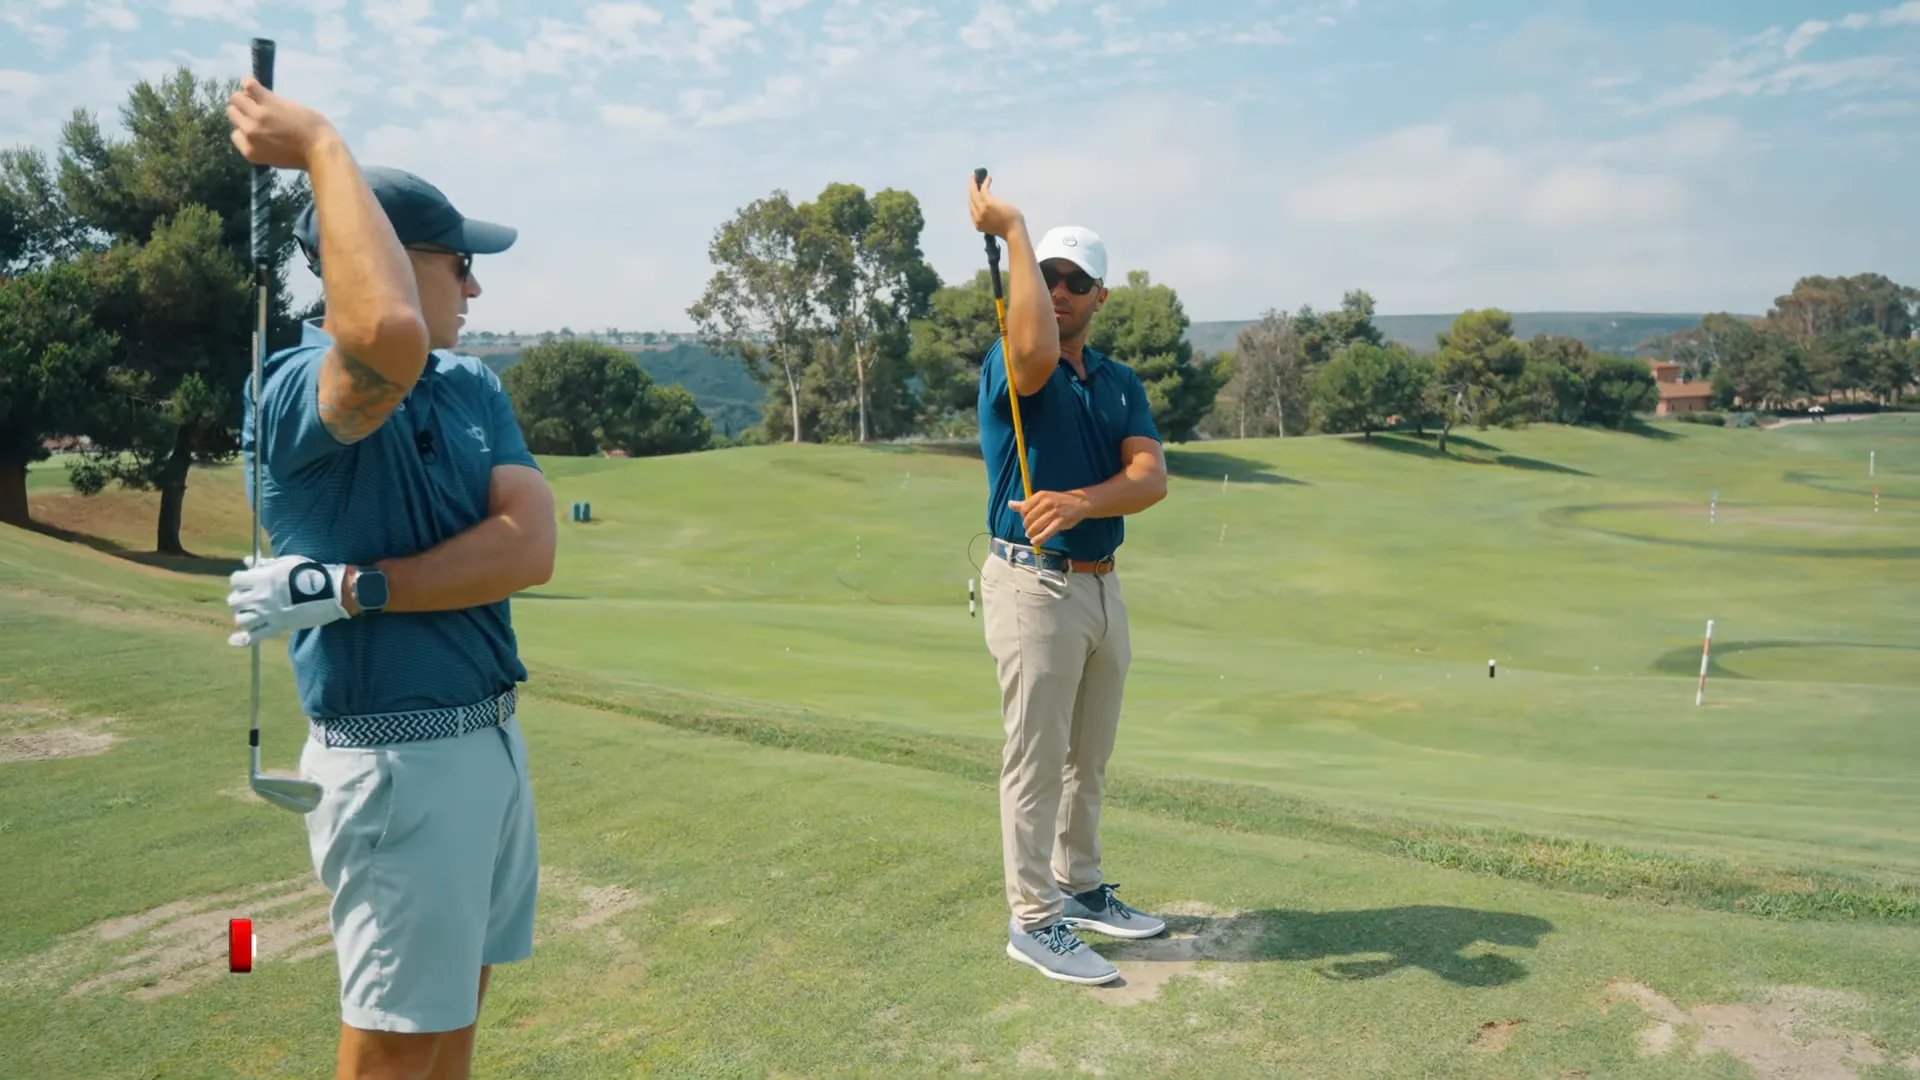
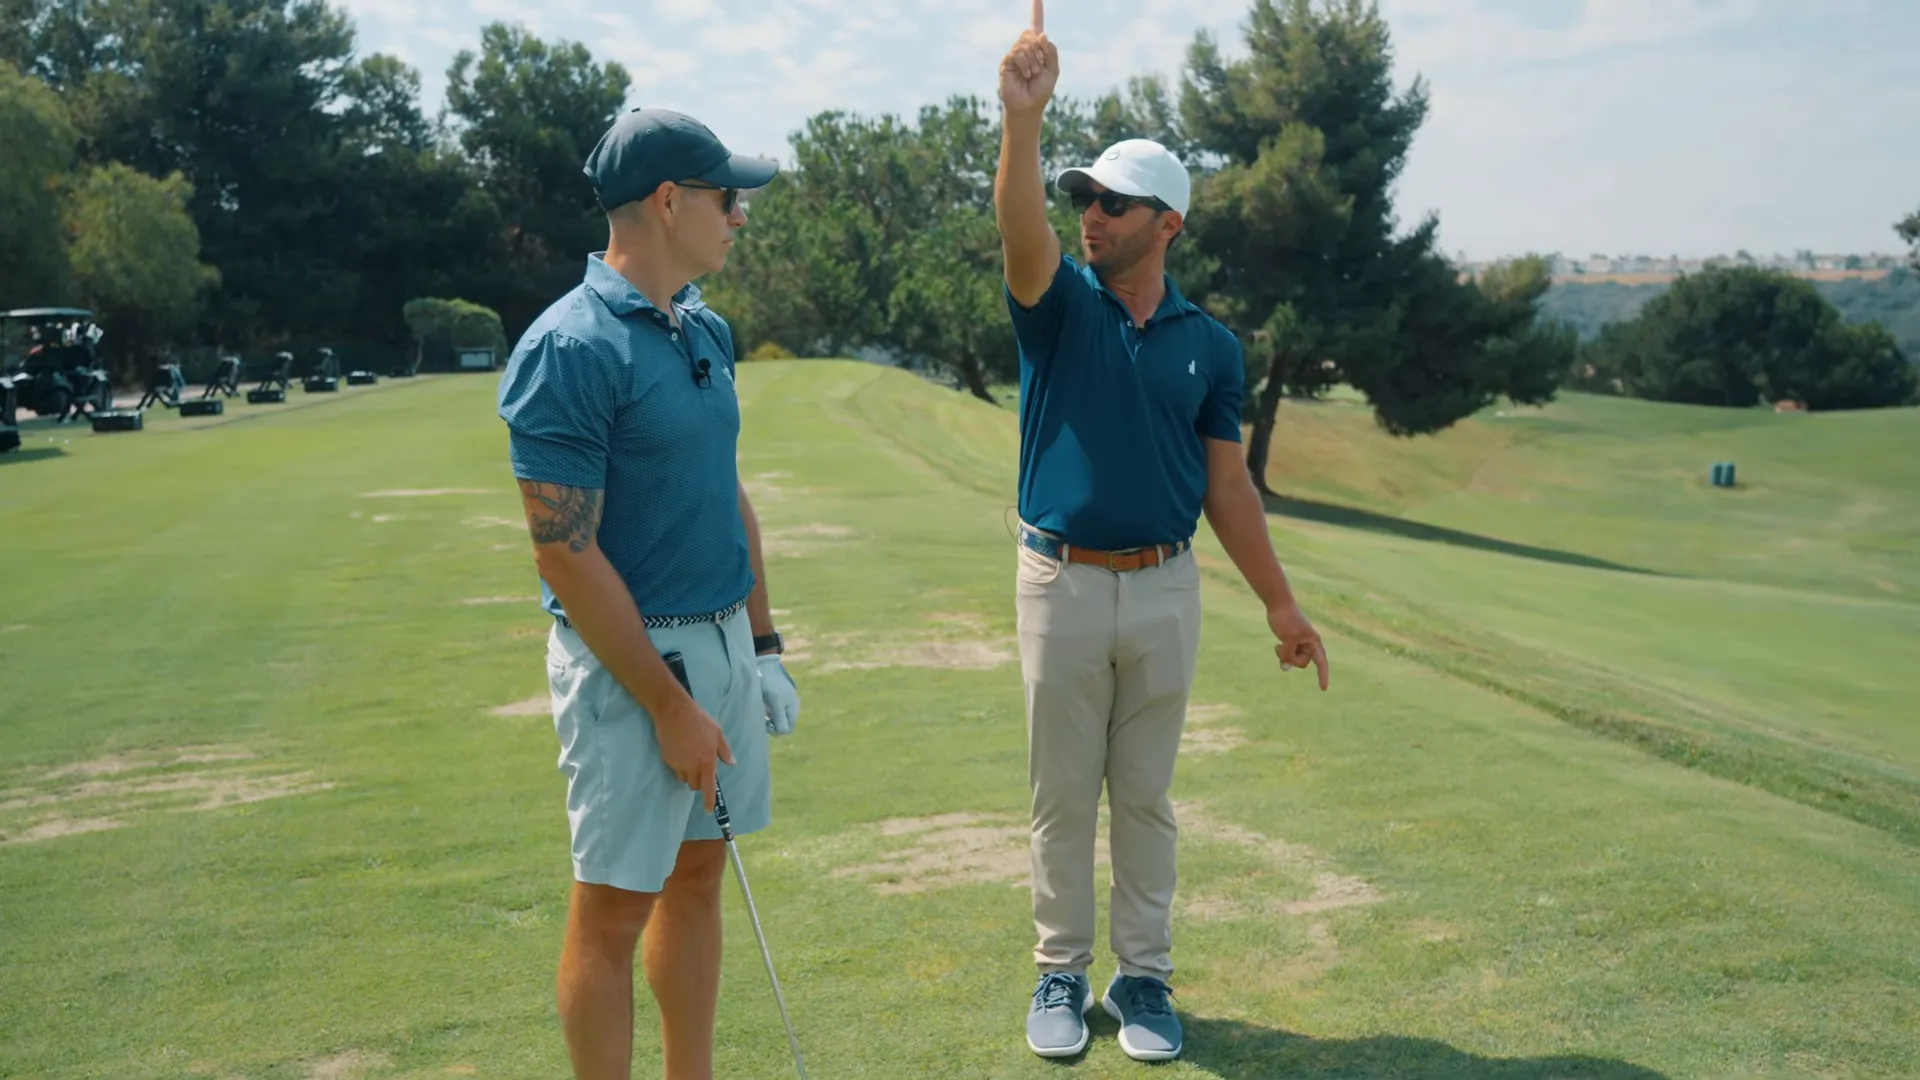
Step 2: Start the Turn Correctly
The debate about what should begin the backswing—shoulder, hips, or hands—ends with the simplest cue: initiate with opposites.
“I feel my left shoulder in my right pocket. When my left shoulder goes over, my right pocket goes back. When my left pocket goes back, my right shoulder comes through.”
How to practice the initiation:
- Take your address position and pause.
- Let the left shoulder move back toward the right hip without moving the wrists.
- Ensure your right pocket rotates back.
- Stop once your right shoulder is tucked behind the head.

Why most golfers falter: hands overtaking the swing, which prevents a true body rotation. Focus on keeping hands naturally with your body’s rotation.
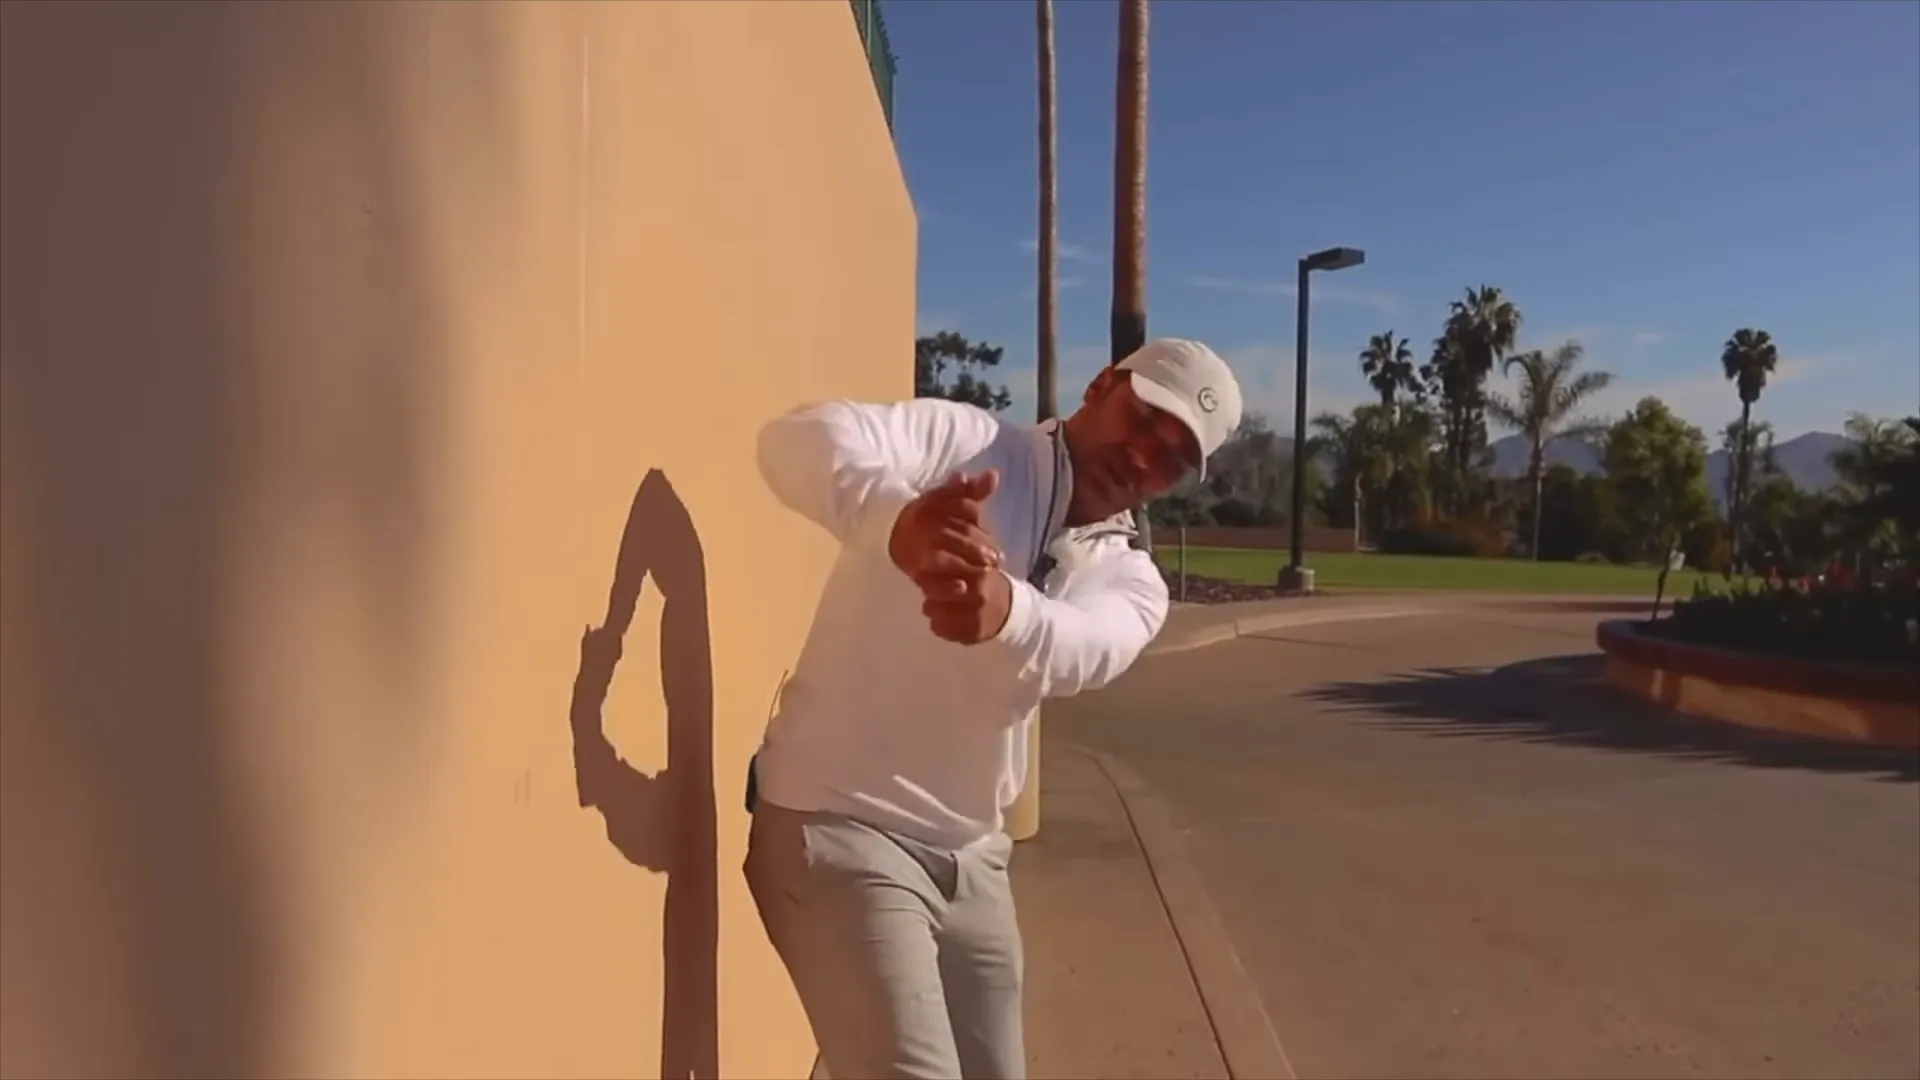
Step 3: The Wall Drill
This drill ensures your backswing remains on plane, offering immediate feedback to correct your form.
How to set up the wall drill:
- Stand six inches from a wall.
- Take your normal setup and begin the backswing.
- If the club or arm touches the wall, adjust and try again.
Cue reminders:
- “Right elbow stays in front”
- “Club in front of the hands”
- “Giving blood feeling”—keep the elbow in a tucked position.
The common mistake is exaggerating the body motion to avoid the wall. Instead, turn naturally while maintaining elbow and body alignment.
Step 4: Rehearse Smart
Effective practice emphasizes quality over quantity. Each positive rehearsal strengthens the new motion.
Practice protocol:
- Conduct 20-30 slow, controlled rehearsals without a ball per session.
- Use two positive practice swings before hitting any balls.
- Record and review your swings to compare with rehearsals.
- Integrate live swings gradually as consistency grows.
“Being ‘ball-bound’ changes your focus. Rehearse the new motion more than the old to make it stick.”
Rehearsal Guide:
- Daily: 50 quality rehearsals without a ball.
- Range: 2-5 positive rehearsals, followed by 30-60 controlled swings.
- Pre-round: 10-20 rehearsals focused on feel.
Common Mistakes and How to Fix Them
- Problem: Lifty Takeaway
Fix: Maintain the “right elbow in front” and practice the wall drill.
- Problem: Shortened Turn
Fix: Focus on getting the right shoulder behind the head.
- Problem: Hand Manipulation
Fix: Use the “opposites” cue for passive hand movement.
- Problem: Touching the Wall
Fix: Rehearse the wall drill with the trail elbow tucked.
Putting It All Together — A Progressive Practice Plan
Four-week plan for perfecting the on-plane backswing. Customize based on your availability but prioritize quality.
- Week 1 — Feel and Build:
- 3 daily sessions focusing on trail elbow and shoulder initiation. No balls.
- Use mirrors or video to verify positions.
- Week 2 — Add the Wall Drill:
- 20 wall-drill rehearsals per session, ensuring positive rehearsals.
- Week 3 — Light Range Integration:
- Conduct 30-50 focused practice swings.
- Record and review swings, maintaining a positive rehearsal mindset.
- Week 4 — On-Course Translation:
- Pre-round rehearsals plus focused practice on contact and trajectory.
FAQ — Frequently Asked Questions
Q: How do I know if my backswing is on plane?
A: From down-the-line, the club should stay within slightly inside the target line. Use video confirmation.
Q: Not flexible enough for tricep drop drill?
A: Do what you can within comfort. Partial attempts still improve connection.
Q: Can the wall drill create bad habits?
A: Only if overexaggerated. Focus on natural elbow-forward body rotation instead of avoiding the wall.
Q: How many rehearsals are needed before hitting balls?
A: At least two quality rehearsals before each swing recommended.
Q: Can this address slice/hook issues?
A: Yes, effective swing path corrections often help resolve these issues.
Q: When will I see changes?
A: Noticeable changes can occur within 3-4 weeks of consistent rehearsals.
Final Thoughts — Make the Perfect On-Plane Backswing Your Habit
The perfect on-plane backswing relies on consistent practice with intentionality. With dedicated rehearsal of these essential moves, improvement in ball striking and consistency will soon become a reality.
Remember these key cues:
- “Right elbow in front.”
- “Left shoulder into right pocket.”
- “Right shoulder behind the head.”
- “Two positive rehearsals before a swing.”
Pace your rehearsals, embrace the wall drill, and focus more on movement and precision over distance. Achieving the perfect on-plane backswing is a reachable goal.
0 Comments