The takeaway is a critical component of a successful golf swing. Understanding how to execute it correctly can significantly improve your ball striking and overall consistency. In this article, we will explore two essential drills that can help you achieve the ideal takeaway every time you step up to the tee.
Why the Takeaway Matters
The takeaway sets the stage for your entire swing. If executed poorly, it can lead to compensations that affect your downswing, resulting in inconsistent shots. A well-executed takeaway helps maintain the correct body and club positions, ensuring a smoother transition into the backswing.

When you initiate your swing, you want to ensure that the arms and body move together in a coordinated fashion. This coordination is crucial to maintaining the correct club path and angle at impact. As the club moves back, it should align with your feet, and the clubface should remain parallel to your body line.
Key Checkpoints for a Successful Takeaway
To ensure your takeaway is on point, focus on these two checkpoints:
- The shaft line should be in line with your feet when your hands reach hip height.
- The clubface must be parallel with your body line, not twisted open or closed.
Drill 1: The Lever Drill
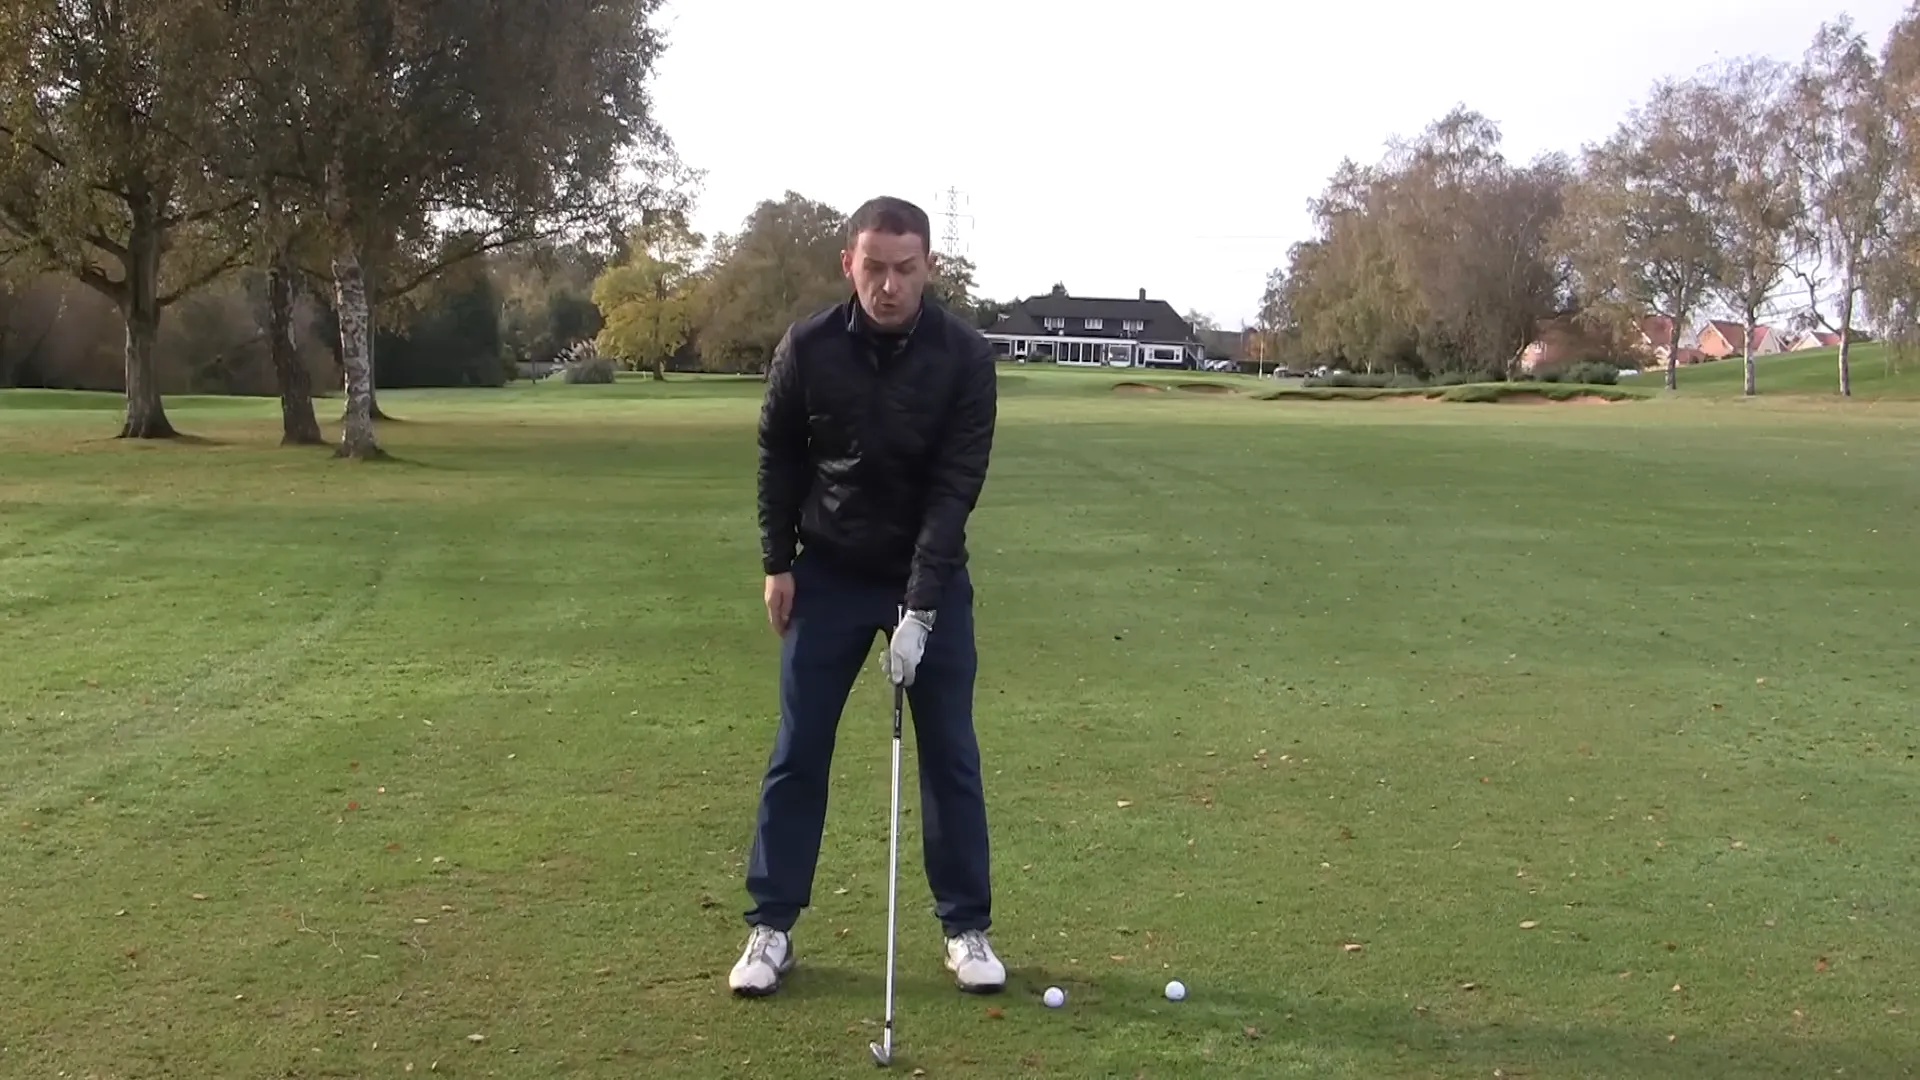
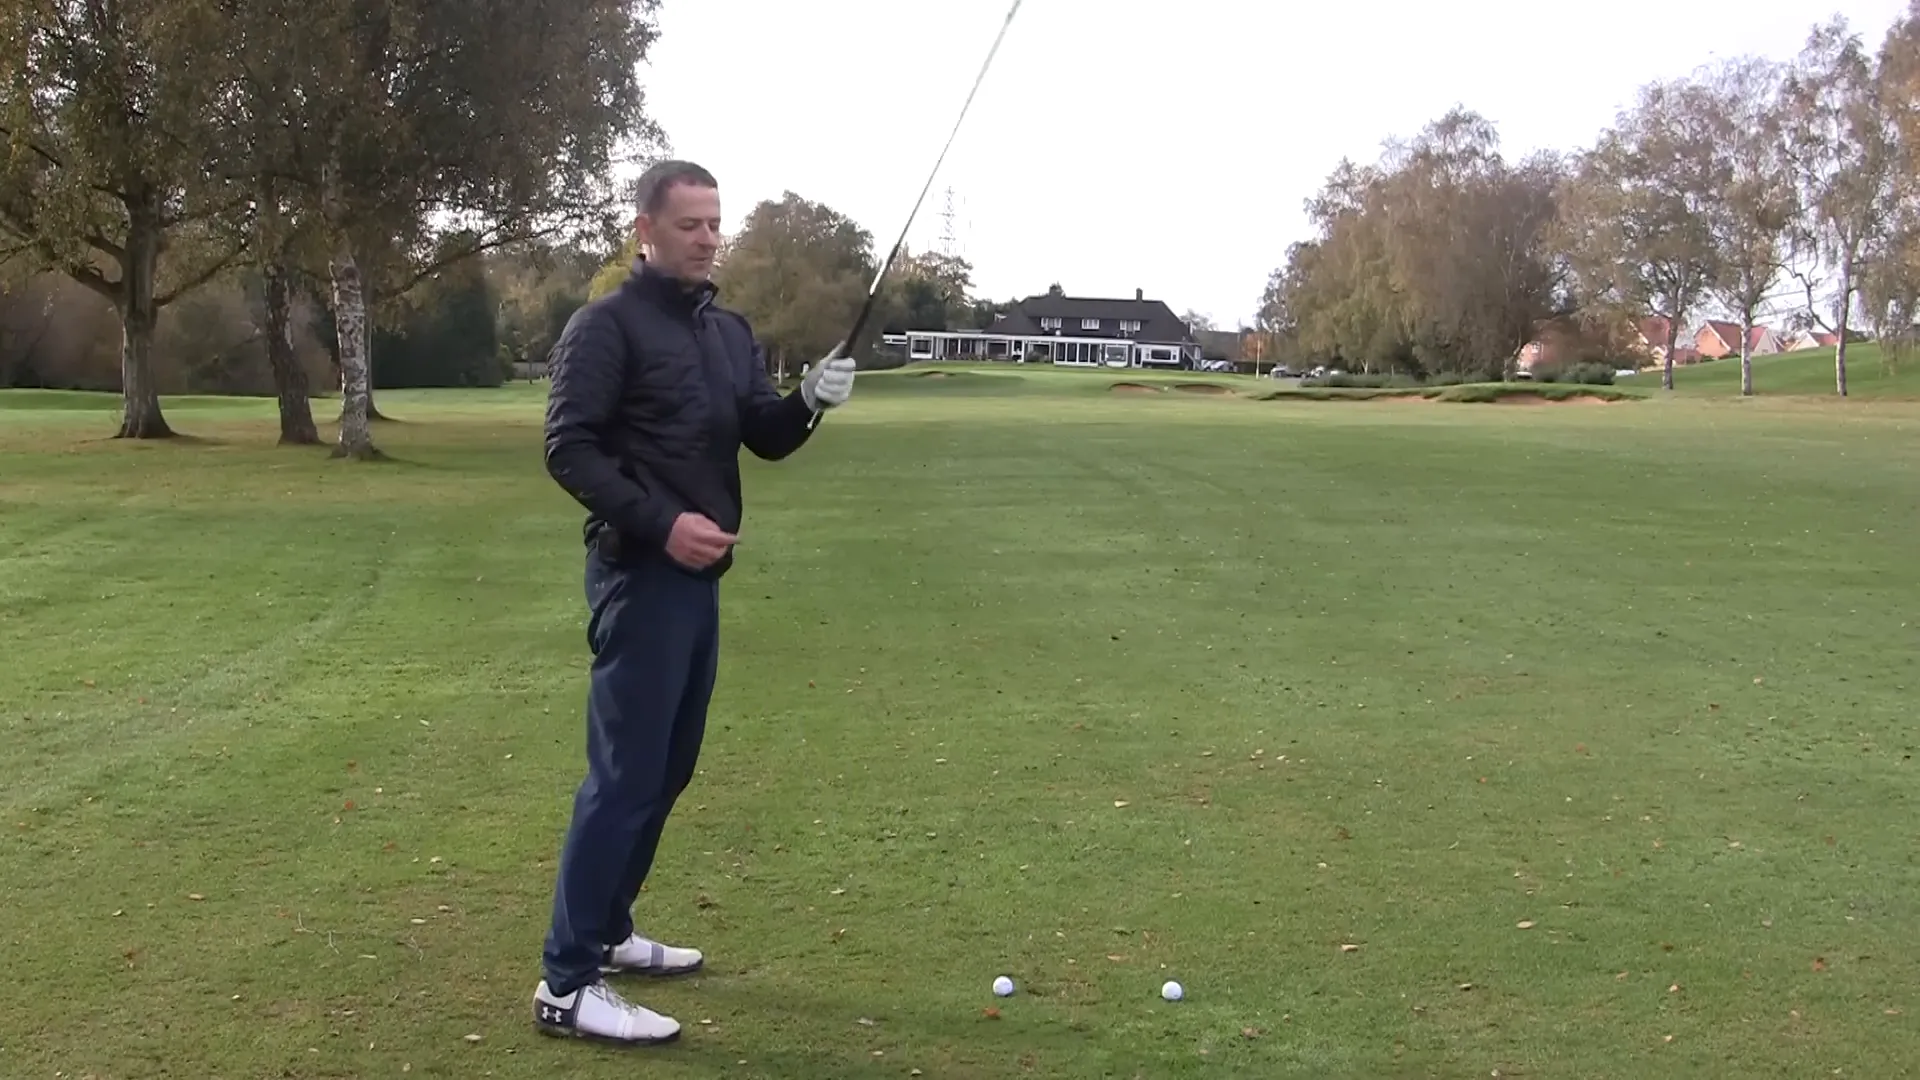
The first drill is designed to help you understand the mechanics of the takeaway by focusing on the concept of a lever. The golf club acts as a lever with a top end (the clubhead) and a bottom end (the grip). To maintain control, you want to keep the lever intact during the initial part of your swing.
Begin by taking your lead hand and creating a small set in the wrist. Move the club straight back without activating the lever. This means the clubhead should not move outwards or upwards until you’ve reached a certain point in your backswing. The only time you should allow the wrist to hinge is once your hands have moved to about hip height.
Step-by-Step Instructions:
- Take your lead hand and create a slight set in the wrist.
- Move the club straight back without any lateral movement.
- Once your hands are about hip height, then allow the wrist to hinge.
- Put your right hand on the club and work through the motion smoothly.
Drill 2: The Tee Peg Drill
The second drill incorporates a tee peg to help you maintain the correct position throughout your takeaway. This drill is particularly effective for ensuring that the grip end of the club doesn’t move away from your body.

By placing a tee peg at the end of your grip, you will have a visual reference to keep the grip close to your body as you take the club back. This will help prevent any unnecessary movements that could lead to an incorrect takeaway.
Step-by-Step Instructions:
- Place a tee peg at the end of your grip.
- As you take your lead hand back, ensure the tee peg stays close to your body.
- Once you establish the rhythm, add your right hand to the club.
- Practice the motion until it feels natural, then hit some shots.
Putting It All Together
Once you’ve practiced these drills, it’s time to integrate them into your regular routine. Start slowly, focusing on maintaining the correct positions and movements. Gradually build up your speed as you become more comfortable with the mechanics of the takeaway.
Remember, a successful takeaway is not just about the arms; it’s about the entire body working together. Keeping your biceps connected to your body will help maintain the correct posture and alignment throughout your swing.
Final Thoughts
Improving your takeaway can lead to more consistent ball striking and better overall performance on the course. By practicing these two drills, you can develop a solid foundation for your swing. If you found this information helpful, consider sharing it with friends who may also benefit from refining their golf technique. And don’t forget to subscribe for more tips and drills to enhance your game!

0 Comments