Struggling with your shoulder alignment during your golf swing? In just five minutes, you can learn effective techniques to get your shoulders working correctly, leading to a more consistent and powerful swing. Let’s dive into the essential steps to enhance your golfing performance.
Table of Contents
Understanding Shoulder Movement
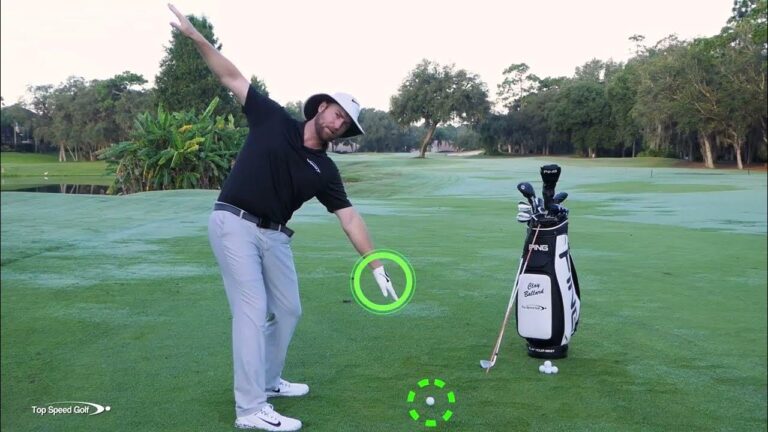
Shoulder movement is a crucial element in achieving an effective golf swing. Proper shoulder alignment and rotation can significantly impact your accuracy and power. When you turn to the top of your swing, it’s essential that your left hand points toward the golf ball. This positioning sets the stage for a fluid transition to the downswing, where your right hand should also align with the ball.
To maintain the correct shoulder tilt throughout your swing, you need to incorporate a bit of side bend. This means that during your backswing, as you tilt to the left, your shoulders should remain aligned with your intended shot direction. This alignment ensures that you are not only making a turn but also keeping your body in the right position to execute a powerful swing.
The Importance of Hand Positioning
Hand positioning plays a pivotal role in how your shoulders move during the swing. By simply extending your arms and pointing them at the golf ball, you create a natural flow that aids in maintaining shoulder alignment. This straightforward technique can help alleviate confusion that often arises from overthinking your movements.
Hold this position for three to five seconds as you transition through your swing. This practice allows your body to understand the necessary shoulder tilt, reinforcing muscle memory. Consistent practice will lead to a more instinctive swing, making it easier to achieve the desired shoulder movement.

Achieving Proper Shoulder Tilt
To achieve the ideal shoulder tilt, it’s vital to focus on your body’s angle during both the backswing and downswing. As you reach the top of your backswing, ensure that your shoulders are tilted downwards. This positioning is crucial for a successful transition into your downswing.
When you practice, take a moment to pause at the top of your swing. This pause allows you to feel the correct shoulder tilt, reinforcing the connection between your hands and the club. The goal is to keep your shoulders aligned with your target throughout the swing, preventing any unnecessary movements that could lead to inconsistencies.

Practice Makes Perfect: Holding the Position
Holding your position correctly during practice can make all the difference in your performance. As you swing, focus on maintaining that shoulder tilt for a few seconds, both at the top of your backswing and during your follow-through.
This technique trains your body to feel the right alignment and makes it easier to replicate during actual swings. When you step up to hit the ball, you should feel confident in your shoulder positioning. The more you practice this, the more natural it will become.

Consistency Through Repetition
Repetition is key to mastering shoulder movement in golf. The more you practice holding the correct positions during your swing, the more consistent your results will be. Start with slow, deliberate swings, focusing on your shoulder alignment each time.
As you become comfortable, gradually increase the speed of your swings while still maintaining the same shoulder positions. This process will help solidify the muscle memory needed for a successful swing. Remember, consistency is built over time, so be patient with yourself as you refine your technique.

The Role of Elbows in the Swing
While shoulder movement is critical, the role of your elbows should not be overlooked. Proper elbow positioning can enhance your swing mechanics and further support your shoulder alignment. As you swing, ensure your elbows are turning appropriately; the lead elbow should tuck in while the trailing elbow moves outward.
This coordinated movement helps to keep the club on the correct plane, ensuring a more effective swing path. When your elbows are properly positioned, your shoulders can work more efficiently, allowing for a smoother and more powerful swing.
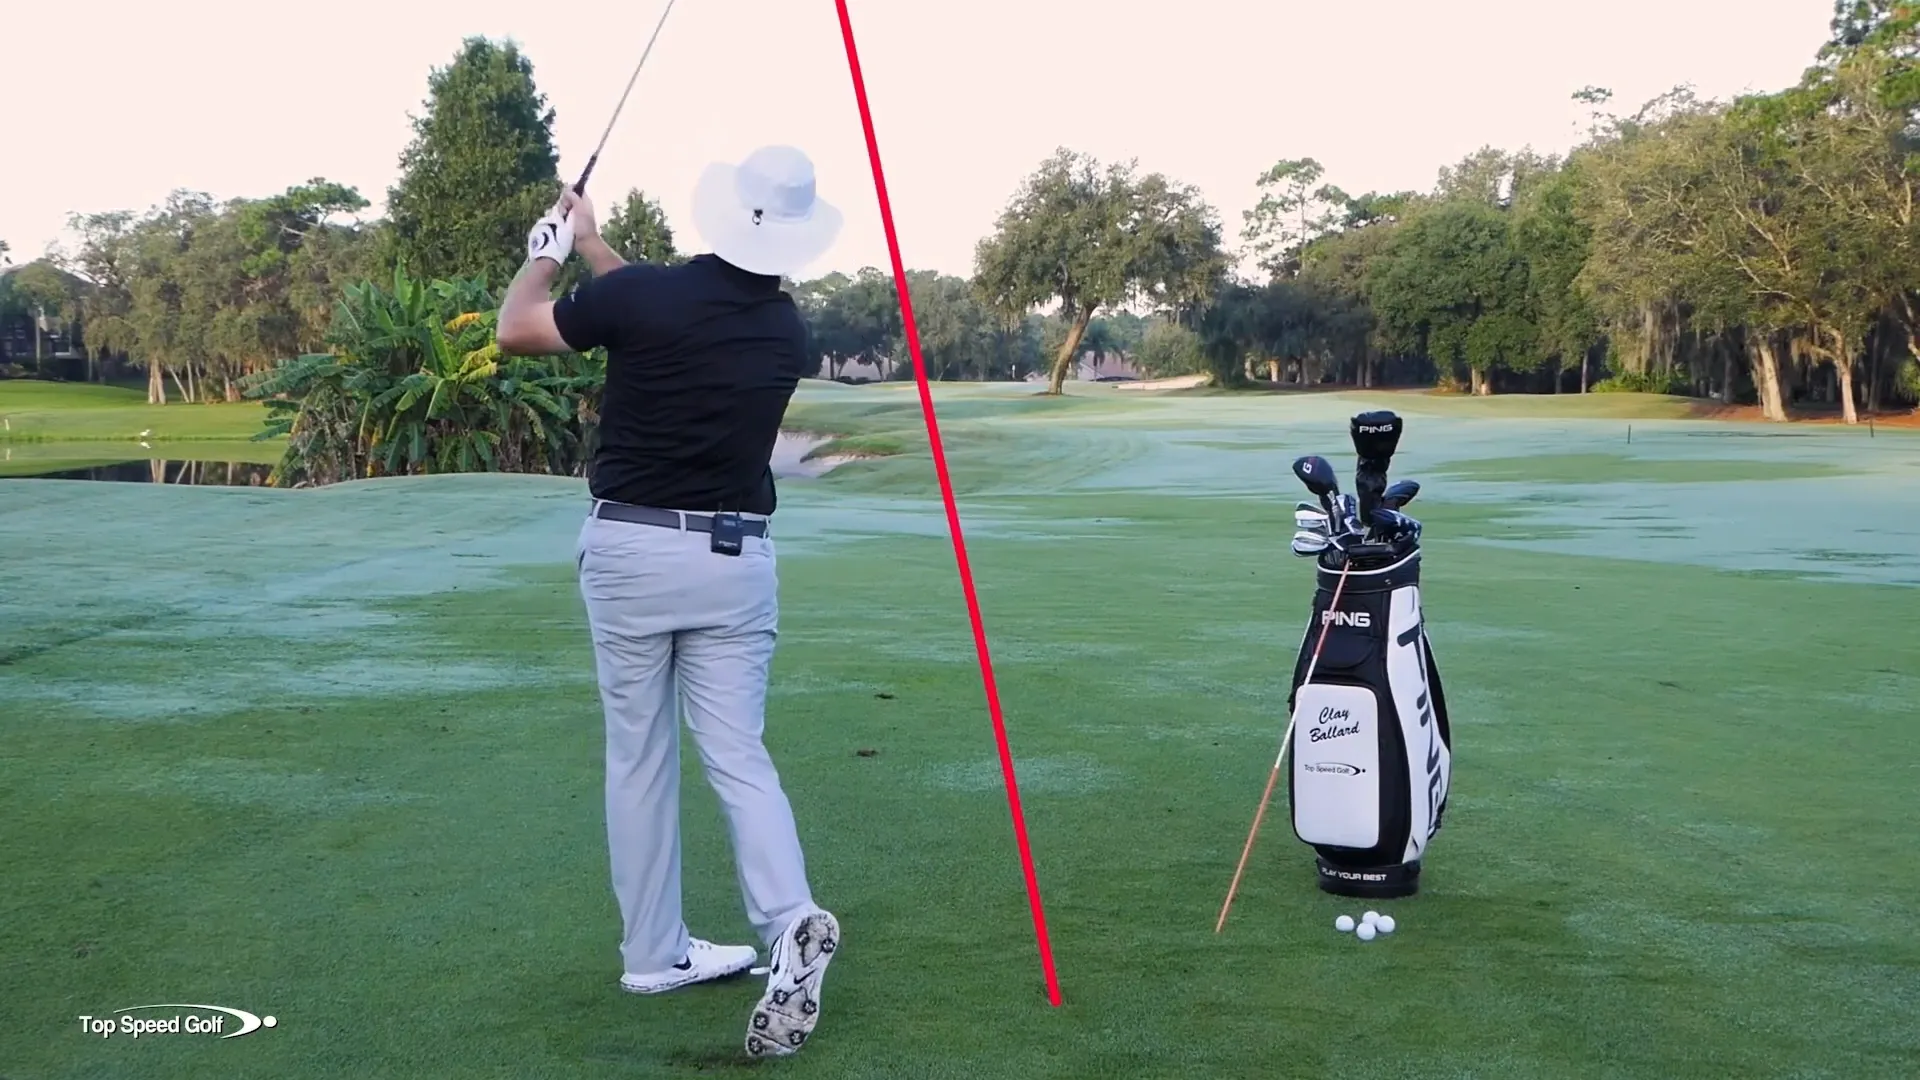
Using the Blue Brick for Alignment
The Blue Brick is an innovative training tool designed to simplify the process of achieving the correct swing plane. By aligning your swing with the average vertical swing plane of a PGA Tour professional, you can gain confidence in your mechanics. To start, position the Blue Brick at your feet while maintaining a strong grip and proper body posture.
As you prepare for your practice swings, focus on your body alignment. The goal is to ensure that your club matches the angle of the Blue Brick. This visual reference will help you understand whether you are swinging too steeply or flat. Remember, if your club is too steep, you need to work on shallowing it out.
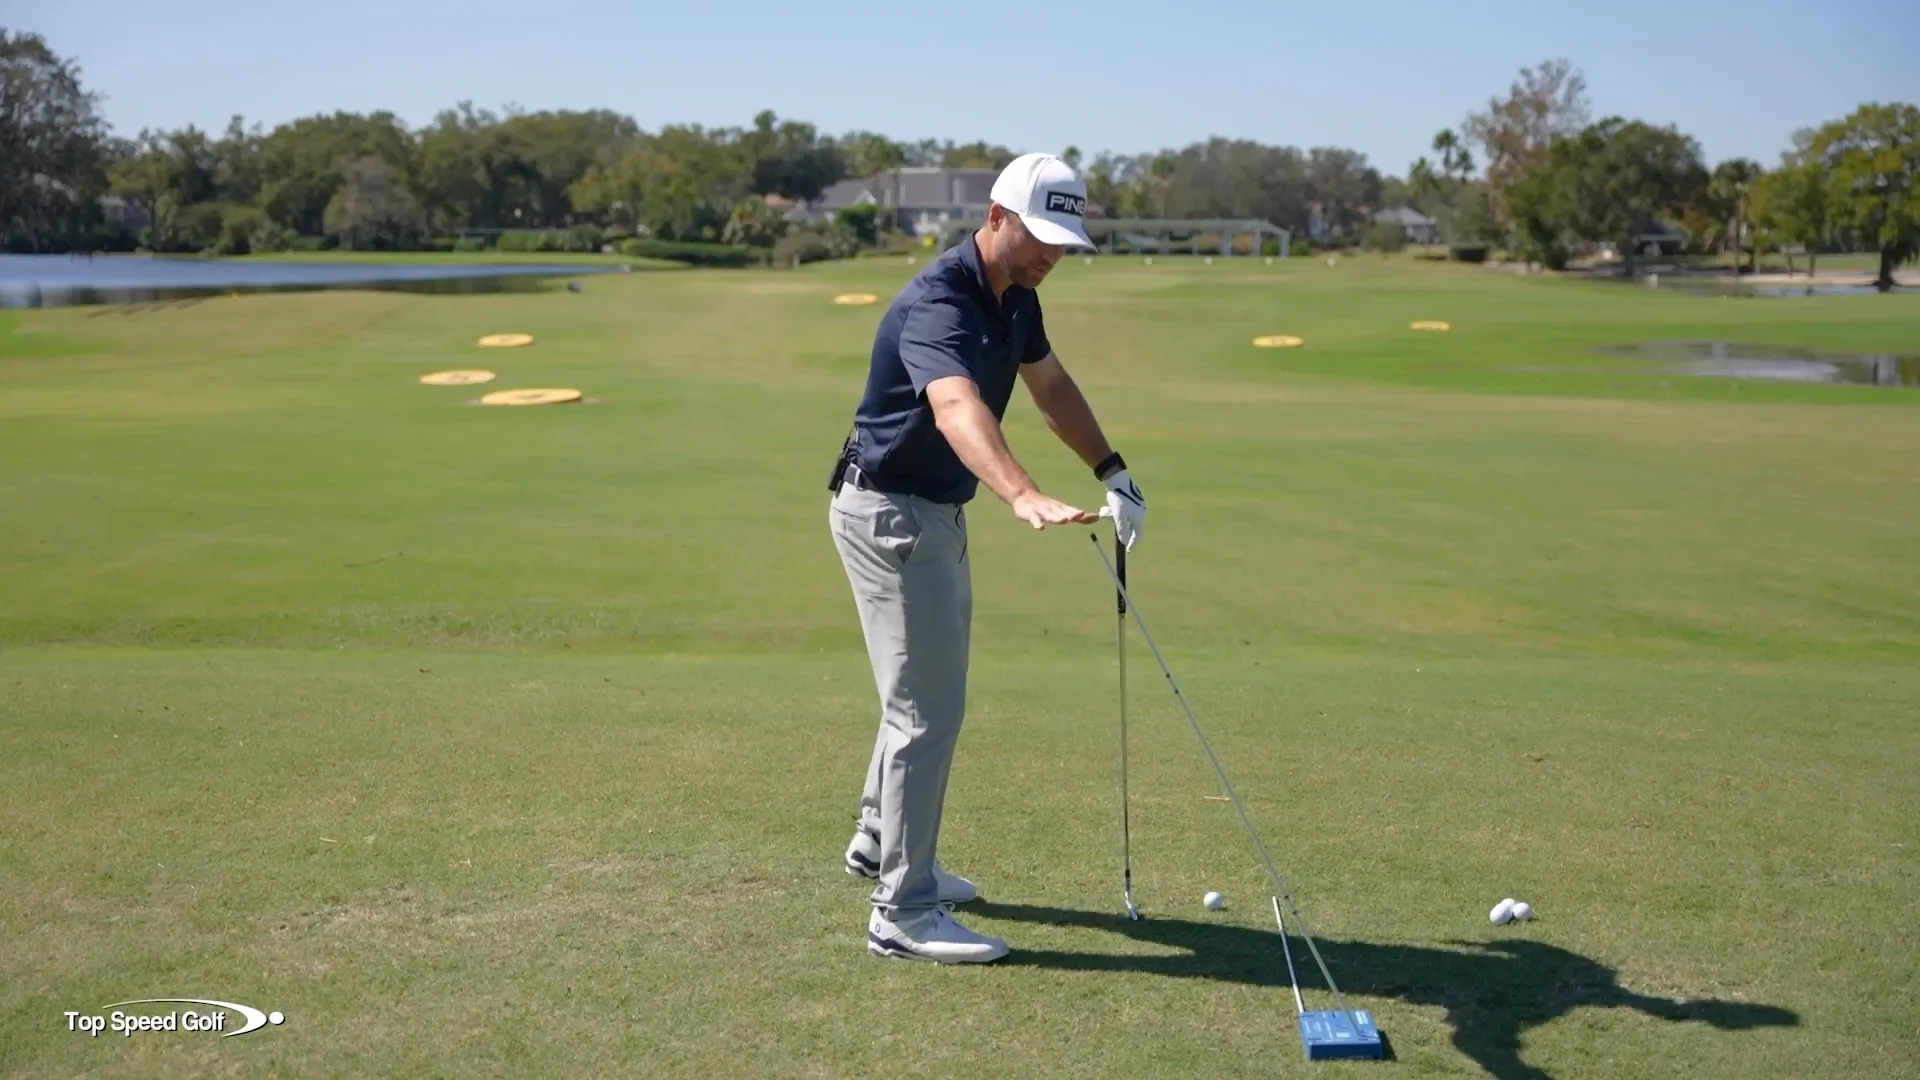
Matching Your Swing Plane to the Pros
To emulate the pros, it’s essential to understand how your swing plane affects your overall performance. Begin by taking a couple of practice swings without hitting a ball. This allows you to focus solely on your body mechanics and the position of the club relative to the Blue Brick.
As you swing, pause halfway down to check if your club aligns with the Blue Brick. If you notice that you are still steep, make the necessary adjustments to your swing. The more draw you want to achieve, the more you should swing from the inside, ensuring that your clubface remains square to your target.

Making Fluid Practice Swings
Once you are comfortable with the alignment process, it’s time to transition into fluid practice swings. Start by moving a golf ball about two clubhead widths inside the alignment stick. This will give you ample room to swing without hitting the stick.
Focus on maintaining your body alignment and swinging under the stick. The fluidity of your swing will improve as you practice this motion. Over time, you will find it easier to replicate this motion during actual shots, leading to more consistent results on the course.
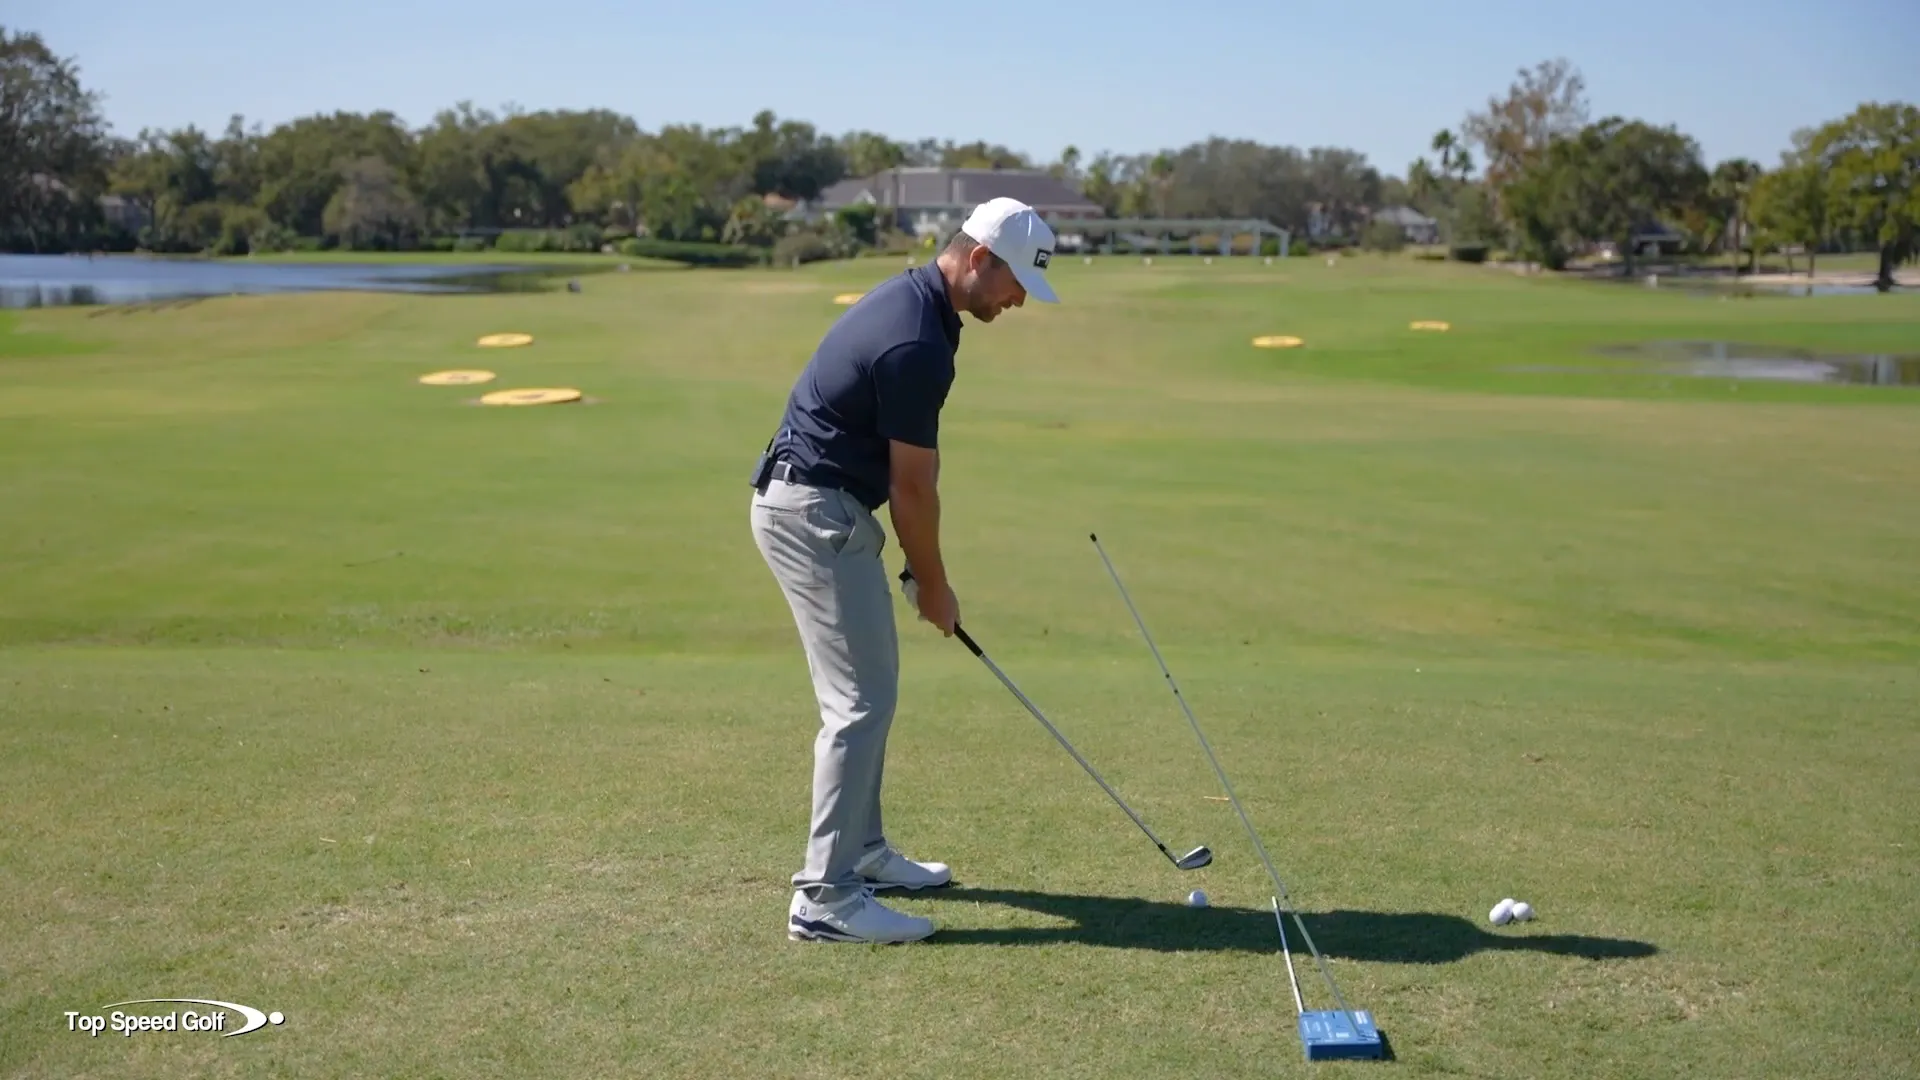
Final Steps: Hitting the Golf Ball
Now that you’ve practiced your swing mechanics with the Blue Brick, it’s time to hit the golf ball. Ensure that your body is aligned correctly and that you have a firm grip on the club. As you approach the ball, visualize your swing path and how it should feel.
When you’re ready, execute your swing, focusing on keeping your shoulders aligned and your elbows in the correct positions. Remember, the work you’ve done with the Blue Brick will pay off as you make contact with the ball. Aim to maintain the same body posture and swing plane that you’ve practiced.
Conclusion: Elevate Your Game with Proper Shoulder Mechanics
Mastering shoulder mechanics is crucial for any golfer looking to enhance their performance. By utilizing tools like the Blue Brick and focusing on your shoulder alignment, you can develop a consistent swing. Regular practice of these techniques will lead to improved accuracy and power on the course.
Remember, the key to a successful golf swing lies in the details. Pay attention to your shoulder tilt, body alignment, and the relationship between your elbows and the club. With dedication and practice, you’ll find yourself elevating your game and achieving the results you desire.

0 Comments