
Unlock your full golfing potential by mastering the correct golf release. This crucial technique involves two powerful movements: wrist motion and forearm rotation. Discover how to refine these skills with easy, at-home drills using a hanger or just your club, elevating your game and enhancing ball strike precision.
Table of Contents
- Step 1: Understand the two micro-movements behind the correct golf release
- Step 2: Feel and train a flat lead wrist at impact
- Step 3: Train forearm rotation with a lead-arm-only drill
- Step 4: Re-hinge the club up the plane line in the follow-through
- Step 5: Combine wrist feel, rotation, and plane in sequence
- Step 6: Typical faults and how to fix them
- Step 7: Practical drills and progression plan
- Key feel cues to reinforce the correct golf release
- How ball flight reflects the release
- Practice session template (30 minutes)
- Common questions
- Final summary
Step 1: Understand the Two Micro-Movements Behind the Correct Golf Release
The journey toward the correct golf release involves mastering two pivotal movements:
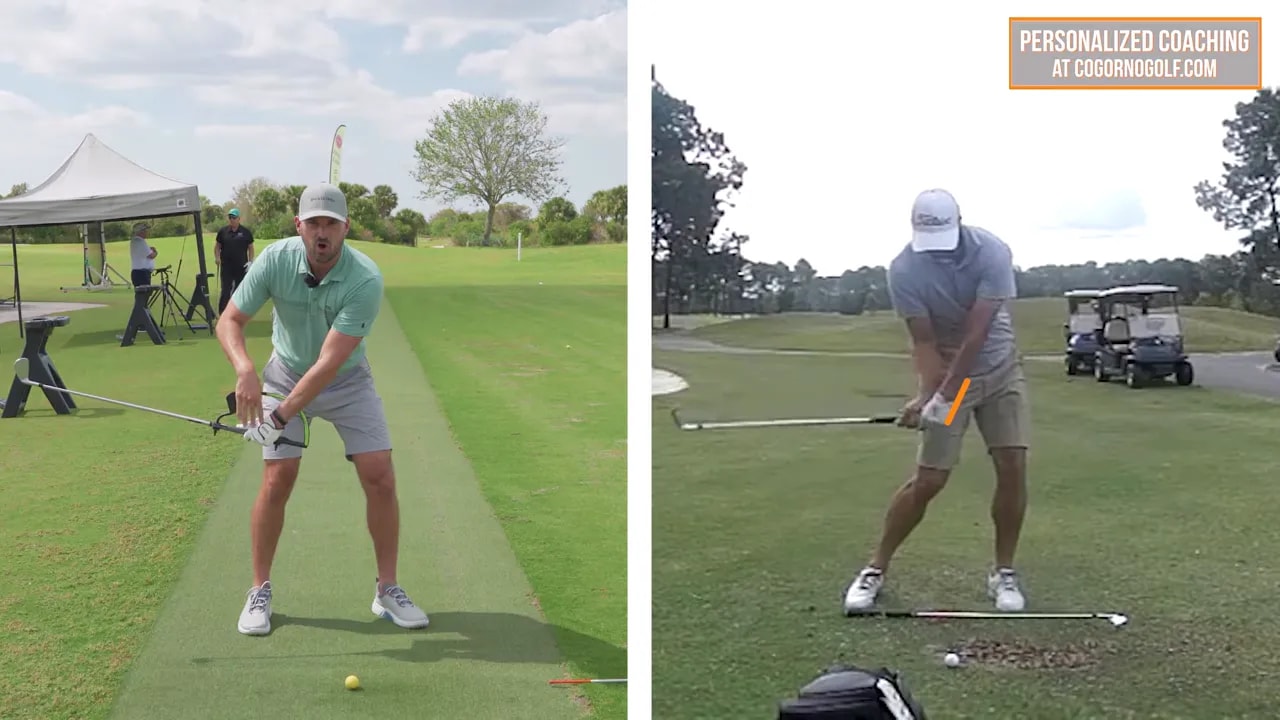
- Wrist flexion and extension: the back-and-forth hinge of the lead wrist.
- Forearm rotation: supination and pronation that actively turn the club face.
Adequate timing through these movements can help avoid an early flip, enhancing your overall shot accuracy.
Step 2: Feel and Train a Flat Lead Wrist at Impact
To maintain balance and control, ensure your lead wrist remains flat until after impact. If extended too early, it may lead to a weak contact.
Step 3: Train Forearm Rotation with a Lead-Arm-Only Drill
Drill your forearm rotation to ensure square contact through your swing’s timing. This consistency aids in delivering powerful shots.
Step 4: Re-Hinge the Club up the Plane Line in the Follow-Through
For an ideal finish, re-hinge your club to align correctly along the target line, maintaining your swing’s natural flow.
Step 5: Combine Wrist Feel, Rotation, and Plane in Sequence
Align these essential components for a seamless, precise swing, establishing a consistent, neutral release pattern.
Step 6: Typical Faults and How to Fix Them
Fault: Early Flip (Wrist Extends Too Soon)
This common mistake leads to inconsistent strikes. Use training aids to reinforce proper wrist positioning and avoid premature extension.
Fault: Not Enough Arm Rotation
Lack of rotation causes the face to stay open. Practicing deliberate rotation can neutralize this issue, enhancing shot control.
Step 7: Practical Drills and Progression Plan
- Hanger contact drill: Enhance feel and control through methodical practice.
- Lead-arm-only rotation: Focus on measurement and gradual swing improvement.
- Re-hinge check: Maintain posture and swing consistency.
- Incremental speed build: Advance to full swings under guided progression.
- On-course transfer: Integrate these techniques in real-play situations.
Key Feel Cues to Reinforce the Correct Golf Release
- Top of wrist ahead of knuckles: Keep wrist positioning for improved compression.
- Glove logo rotation: Encourage correct arm movement and club face alignment.
How Ball Flight Reflects the Release
- Weak right miss: Might mean insufficient rotation or early flip.
- High, short shots: Usually caused by early extension.
- Lower, longer shots with a draw: Indicates proper release technique.
Practice Session Template (30 Minutes)
- Warm-up swings and mobility (5 minutes).
- Hanger drill or wrist-contact practice, half swings (8 minutes).
- Lead-arm-only rotation, 3/4 swings (8 minutes).
- Full swings focusing on re-hinge and rotation, monitor ball flight (7 minutes).
- Short cooldown and note adjustments for next session (2 minutes).
Common Questions
How flat should my lead wrist be at impact for the correct golf release?
The lead wrist should remain relatively flat through impact, only extending slightly after. If flipping, maintain wrist flat longer to ensure compression.
Should I use a hanger or can I practice without one?
Using a hanger improves feedback and speeds learning but isn’t mandatory. Focus on wrist positioning to achieve similar benefits.
How much arm rotation do I need through impact?
Employ gradual lead-arm rotation for consistent contact, avoiding late snap-action mistakes.
Final Summary
Mastering the correct golf release through wrist stability and proper forearm rotation results in improved control and consistency. Frequent practice with the correct techniques leads to more confident ball striking, reducing weak shots and enhancing overall performance. Approach these drills with patience and determination for the best results.
0 Comments