

Unlock Effortless Speed in Your Golf Swing! Learn the art of the low shoulder release, a key technique that enhances your golf ball striking for more speed, cleaner contact, and a consistent downswing. Dive into our step-by-step guide, complete with practical drills and checkpoints you can implement on the range today.
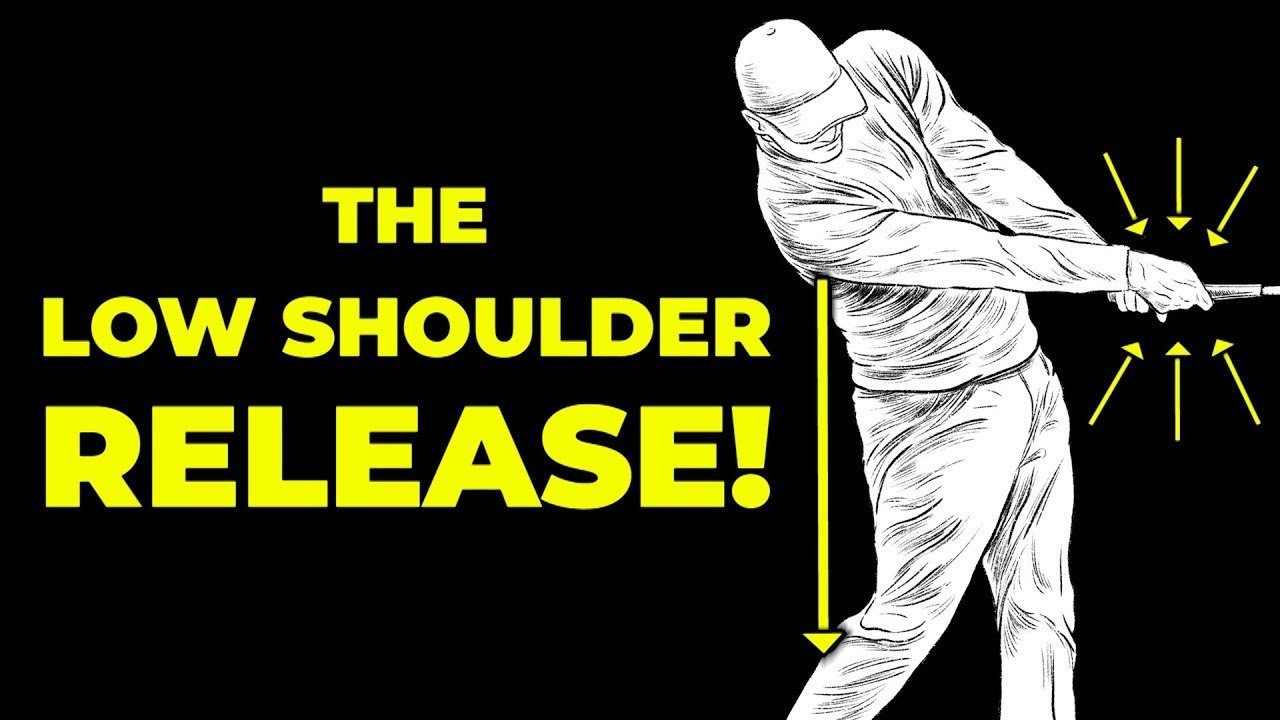
Step 1: Recognize the Low Shoulder Release Checkpoint
Identify the crucial checkpoint in your downswing that distinguishes great golfers. When your trail arm is parallel to the ground, draw an imaginary line vertically from your trail shoulder. This line should land between your knee and ankle, approximately eight inches behind the ball. You should see three fingers of the lead hand — the key to the low shoulder release.
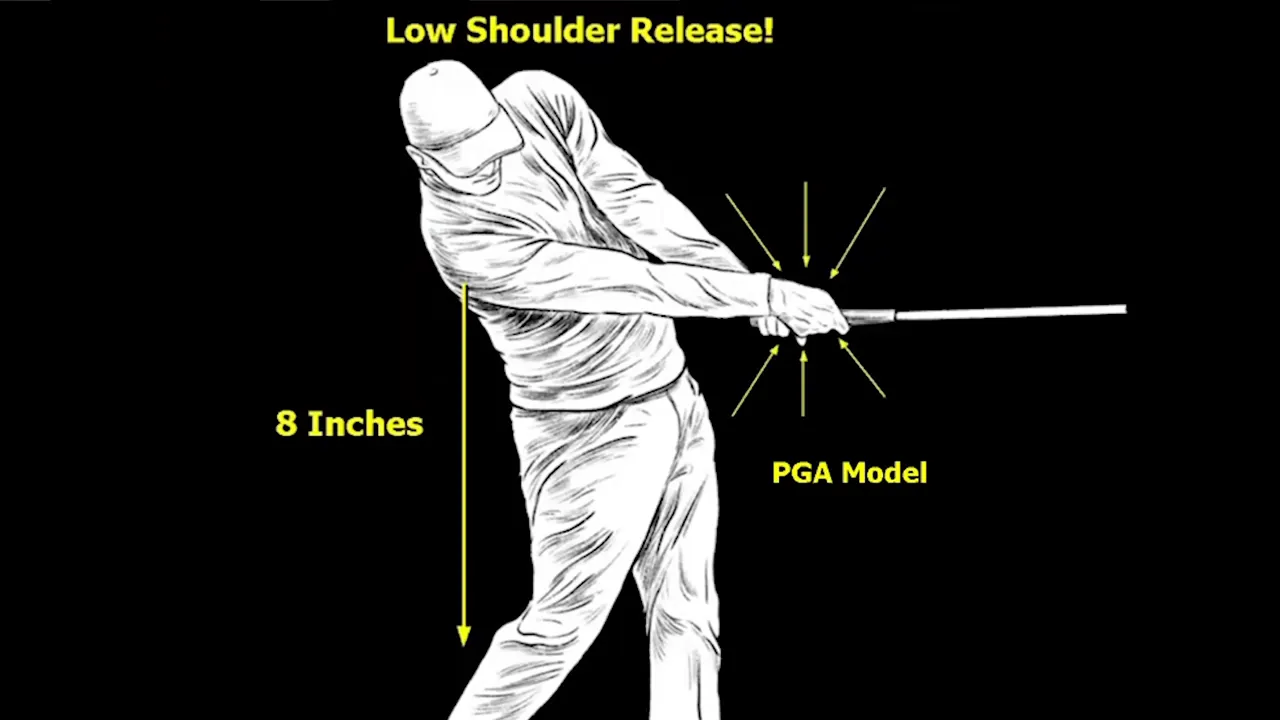
Why it’s important: Achieving this position means you’ve stored significant angles and your hands are set to release the club in front of your body, resulting in better shaft lean, clubface control, and a higher percentage of solid strikes.
Step 2: Feel the Wrist Combo — Right Wrist Flexion and Left Wrist Extension
Master the wrist combination where your trail wrist flexes and lead wrist extends as you approach impact. This movement controls clubface rotation, preventing it from flipping and maintaining the club in an under-release position.
How to feel it: Set the shaft parallel and rotate your hands to feel the right wrist bending and the left extending. Hold for five seconds; then make small, loose swings maintaining this wrist dynamic for a clean snap.
Step 3: Use the Hook as a Positive Indicator and Neutralize It
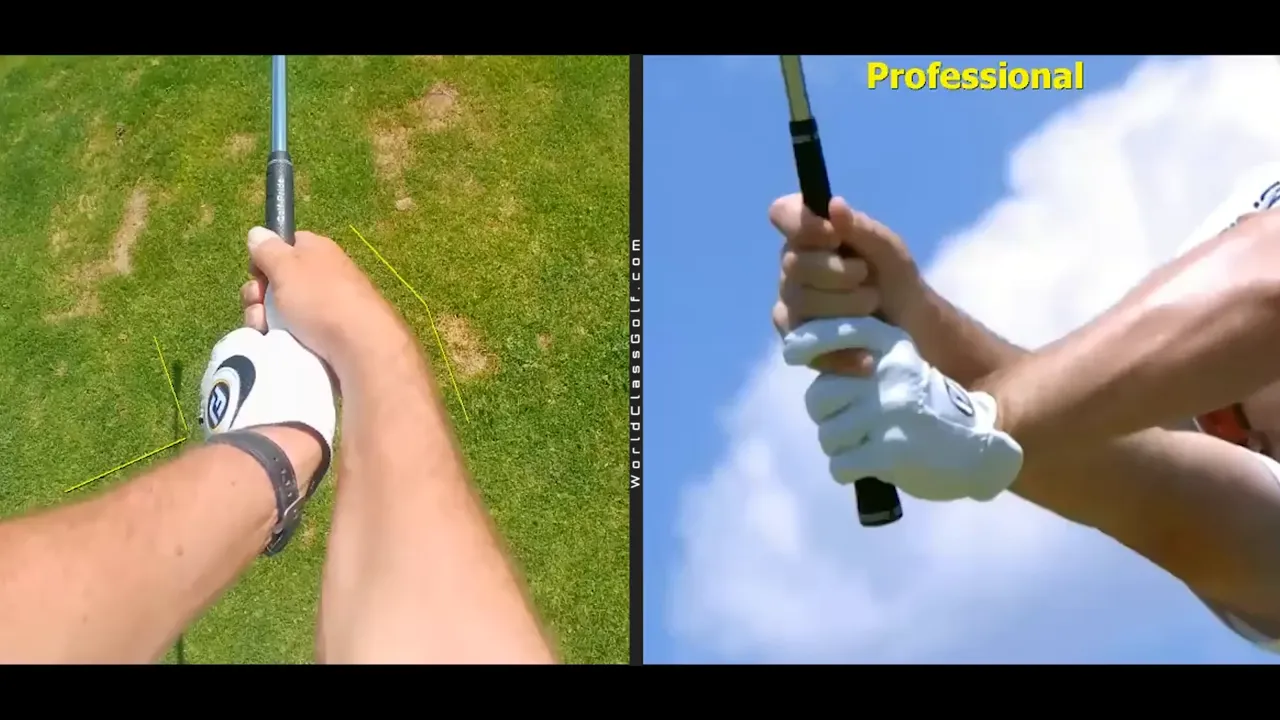
If you begin hooking, don’t panic—it’s a positive sign you’re nearing the correct release. Excessive wrist rotation causes hooks, so aim for stronger shaft lean and a deeper grip to neutralize it.
Adjustment: Pull the grip deeper into your hands, allowing the clubface to move towards a neutral position. This approach promotes shaft lean and compresses the ball at impact more consistently.
Step 4: Store Angles with the Connect and Unhinge Sequence
The energy in your swing comes from storing angles and releasing them efficiently. During the backswing, keep your trailing arm wide from your chest, building up ‘horsepower.’ On the downswing, let these angles go, ensuring the grip end points towards the target before your hands pass behind the head.

This method leverages wrist and hand speed for added clubhead speed, creating an effortless, high-speed swing.
Step 5: Drill — The Outside Right Foot and Thumb-Point Sequence
This drill combines deep-hand feel with rotational movement for improved release. Place a club beside your right foot and set your hands deep. Focus on a thumb-to-ball to thumb-to-target motion through your swing.
- Setup: Club on the ground beside your right foot, hands deep.
- Downswing: Aim your thumb at the ball as the shaft levels.
- Release: Aim your thumb at the target as the club passes the ball.
- Finish: Extend the lead wrist, flex the trail wrist maintaining a forward shaft lean.
This practice keeps your lead arm high and prevents premature club rolling.
Step 6: Mirror Checks and Visible Lead Arm
Use a mirror to check your swing. When paused in the downswing, most of your visible lead arm signals a good position. Aim for the parallel-shaft position where the lead hand shows three fingers, reinforcing correct release and speed.

Step 7: Wrist Angles and Numbers that Matter
Measurable wrist angles play a vital role. Target a 45-degree wrist angle during downswing, switching to minus 30 degrees at impact, maximizing speed and compression.
Practical tips:
- Downswing angle: Feel a 45-degree wrist flexion.
- Impact angle: Aim for minus 30 degrees for the trail wrist.
- Release path: Ensure the grip end targets towards the intended direction, indicating proper energy delivery.
Monitor these angles for increased speed and improved shot accuracy.
Step 8: The Connect-and-Unhinge Drill for Aging Players
For older golfers, this drill helps regain speed by reconnecting the trailing arm during the backswing for a broader angle, and mastering the unhinge in the downswing without elbow flips.
Step 9: Practice Plan to Build the Habit
Implement this structured plan for consistent improvement:
- Perform 10 low-effort swings with wrist combo focus.
- Practice 20 swings using the outside-right-foot drill.
- Do 15 half swings checking positions in a mirror.
- Finish with 10 full swings targeting the unhinge timing.
Short, regular sessions embed these skills better than occasional long practices.
Step 10: Fine-Tuning and Common Technical Fixes
Address persistent issues with these adjustments:
- Chicken winging: Reinforce wrist combo correction, minimizing lead elbow flaring.
- Stiff release: Integrate smoother hip rotation for natural wrist unhinging.
- Flipping: Avoid excessive arm use; keep hands integrated with hip movement.
Maximize the use of your hands and wrists for optimal swing speed.
FAQ
How quickly will the low shoulder release add distance to my golf shots?
What drills are best for seniors looking to regain speed in their golf swing?
Why do I hook when I start to release more rotation?
Can I practice these moves without technology or a coach?
How does the low shoulder release affect my ball flight and accuracy in golf?
What quick self-checks can I use on the range to know I’m doing this correctly?
Final Practice Reminders for Better Golf
— Focus on feeling, not force. Sensations repeatable without force enhance wrist angles and speed.
— Use the thumb-point drill to steer the club with critical rotations keeping it up front.
— Embrace your power source by maintaining a wide trail arm and timely wrist unhinging for effortless speed.
Stick to these tips and your game will become more dynamic, reliable, and enjoyable.
0 Comments