


Feeling frustrated with your driver and leaving it in the bag? You’re not alone. Often, a few simple setup tweaks can significantly improve your distance, consistency, and confidence on the course. Dive into these transformative tips to regain your driving prowess.
Table of Contents
- Step 1: How to hit driver — start with a neutral ball position
- Step 2: How to hit driver — get your handle in the right spot
- Step 3: How to hit driver — the single most important through-impact feel
- Step 4: How to hit driver — practice the push-away drill
- Step 5: How to hit driver — use the wall imagery and the “butt of the club” cue
- Step 6: How to hit driver — half-swing integration and T-clipping practice
- Step 7: How to hit driver — progress to full swings and monitor results
- Common mistakes and how to correct them
- Practice plan: 4-week routine to rebuild your driver
- Quick checklist you can carry to the course
- Coaching cues that produce immediate feedback
- Evidence this works
- Step-by-step summary
- FAQ
- Final thought
Step 1: How to hit driver — start with a neutral ball position
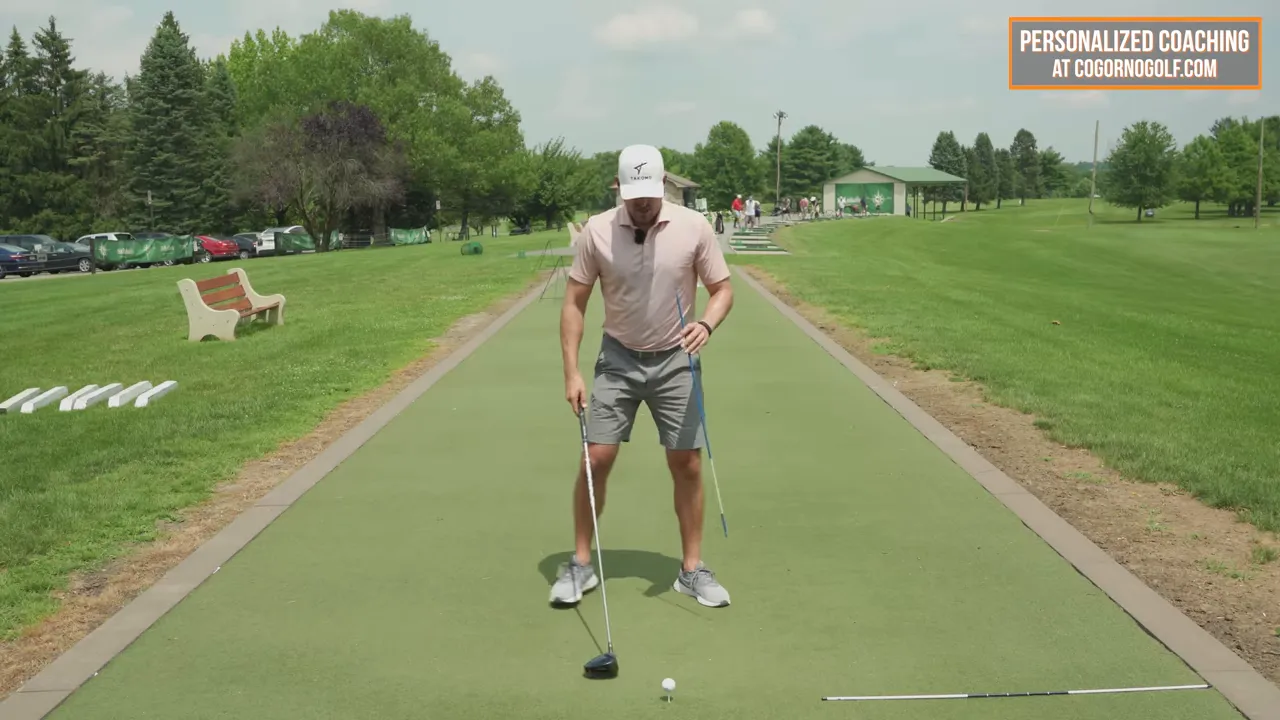
Ball position is crucial for a successful driver shot. If it’s too far forward, you’ll overreach; too far back, and you’ll hit down on it. Position the ball roughly under your lead armpit. This approach adapts to stance variations, promoting better launch and accuracy.
Step 2: How to hit driver — get your handle in the right spot
Proper handle position influences the club’s path and angle at impact. Ensure your hands are slightly forward at setup with the shaft leaning vertically. This setup minimizes hitting behind the ball and reduces any fade tendencies.

Step 3: How to hit driver — the single most important through-impact feel
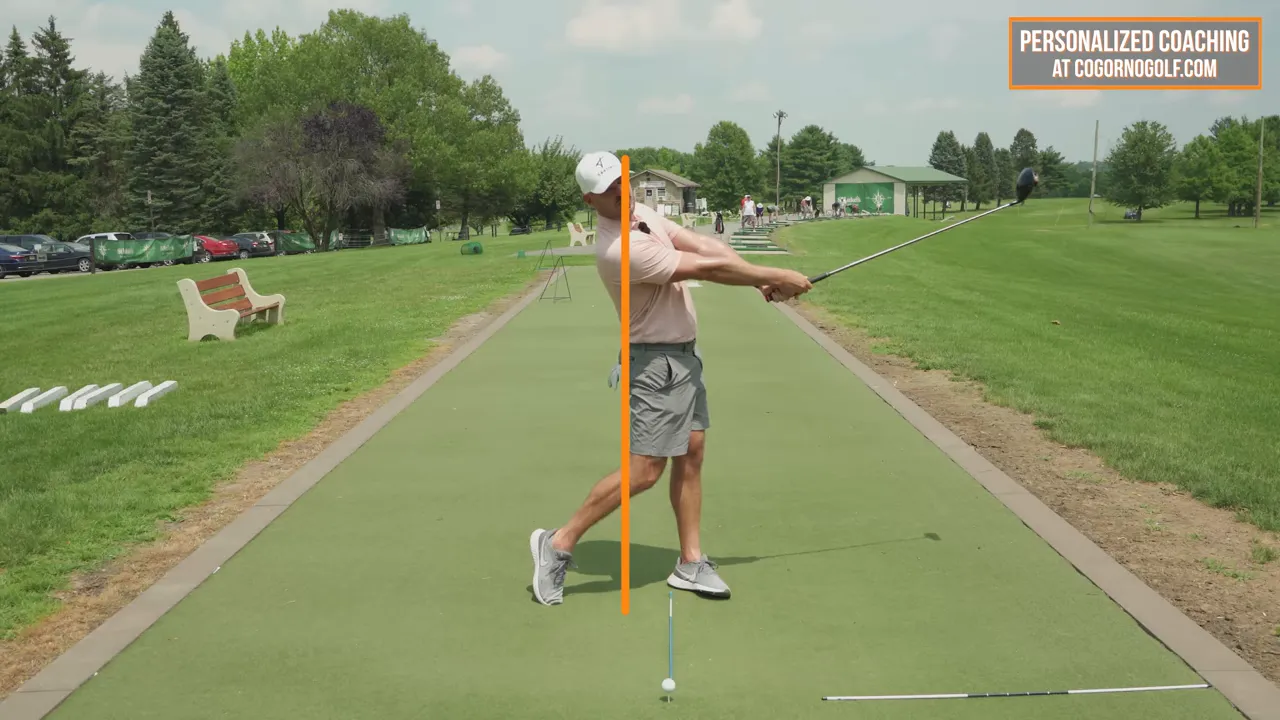
Imagine a tug-of-war between your head and the butt of the club. Keep your head back of the ball-through-left-ear line while pushing the club forward. This encourages complete arm extension and improves speed and precision.
Step 4: How to hit driver — practice the push-away drill
Master this drill to ensure your head remains back while extending your arms and torso. Position the ball under your armpit, move into the downswing and push the butt of the club away from you.
- Set ball position under lead armpit and hands slightly forward.
- Take a slow backswing to hip height and pause.
- Maintain forward weight on the lead foot, resisting head motion.

Step 5: How to hit driver — use the wall imagery and the “butt of the club” cue
Visualize a wall just over your left ear and avoid hitting it with your head during the swing. As you follow through, push the butt of the club away for maximum extension and width.
- Head back of the wall — maintain arm extension.
- Push the butt of the club away — ensures space and leverage.

Step 6: How to hit driver — half-swing integration and T-clipping practice
Perfect your technique with controlled half swings. Focus on handle position and arm extension to ensure a clean tee-clip. Start with slow, precise reps to build muscle memory.
- Take half swings focusing on proper setup.
- Clip the tee while maintaining head-back posture.
- Use recorded reps to review and adjust

Step 7: How to hit driver — progress to full swings and monitor results
Build up to full swings gradually, keeping key cues constant. Immediate results will include improved launch and control, along with a more fluid swing feel.
- Ensure consistent ball placement under armpit
- Maintain handle forward and shaft verticality
- Prioritize arm extension over speed
Common mistakes and how to correct them
- Head moves forward too early — leads to arm folding. Solution: exaggerate the “wall” feel for controlled extension.
- Weight stays back — causes steep, weak strikes. Solution: push hips forward, keeping upper body resistant.
- Ball too far forward — results in pulls/fades. Solution: reposition ball under the lead armpit.
- Hands too far back — causes blocks or slices. Solution: move hands forward, ensuring vertical shaft.
Practice plan: 4-week routine to rebuild your driver
- Week 1 — Mix of half-swing reps and full swings, focusing on setup consistency.
- Week 2 — Video or coached sessions to refine technique, alternating between half and full swings.
- Week 3 — Simulated course practice to apply skills under pressure.
- Week 4 — Incorporate driver into full rounds, maintaining checklist focus.
Quick checklist you can carry to the course
- Ball under lead armpit
- Hands slightly forward, shaft near vertical
- Weight shifts forward through impact
- Head stays back of the vertical line over left ear
- Feel the butt of the club pushing away and arms fully extending
Coaching cues that produce immediate feedback
Remember these key phrases during practice and play:
- Wall over the ear — maintains head position.
- Push the butt — maximizes width and power.
- Armpit ball — constant ball placement.
- Hands slightly forward — reinforces proper club path.

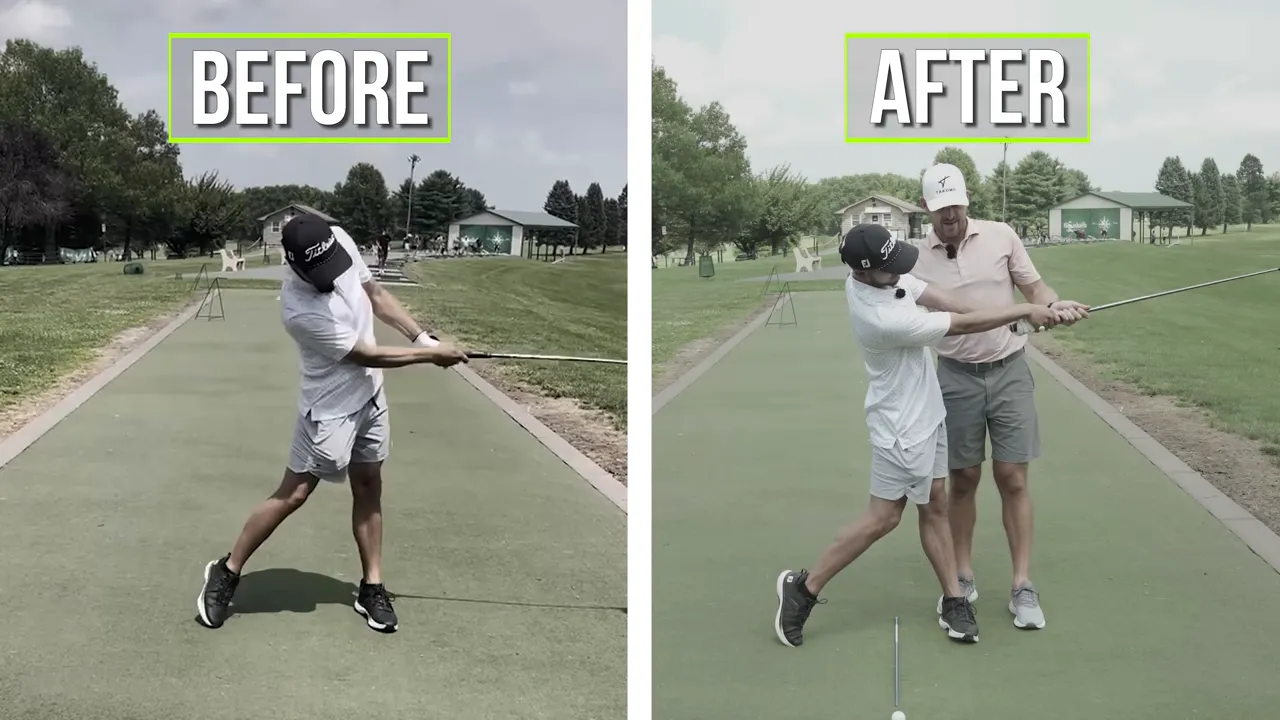
Evidence this works
By aligning setup and through-impact techniques, golfers see increased distance and consistency. Embrace these changes to experience higher launch, longer carry, and smoother swings frequently described as “buttery”.
- Higher launch and carry
- Increased speed due to leveraged impact
- Reduced errors from reaching forward
Step-by-step summary
- Position the ball under your lead armpit.
- Ensure hands slightly forward with a vertical shaft.
- Advance weight and hips while keeping head back.
- Push club butt away for max arm extension.
- Progress from half swings to full swings with practice.
FAQ
How do I know if my ball is under the lead armpit?
Stand naturally with your palms on the club and bring the club behind the ball. The ball should sit roughly aligned with the crease or the central area of your lead armpit. Use a mirror or video to confirm placement until it feels natural.
What if keeping my head back makes me lose balance?
If your head stays back but your weight stays back too, you’ll lose power. Aim for coordinated movement: hips and weight push forward; upper chest and head resist.
Will this help fix slices and pulls?
Yes, many slices and pulls stem from incorrect ball placement or hand position. Adjusting these often reduces such ball flight errors, stabilizing your path and face through impact.
How many reps should I do per session?
Begin with 20 to 40 half-swing reps emphasizing the push-away feel, followed by 20 tee-clipping reps, and conclude with 20 focused full swings.
Can beginners use these drills?
Definitely. The drills are straightforward and can be adapted to any skill level. Beginners should prioritize feel maintenance and slow integration of speed.
Final thought
Transforming your driver game doesn’t require an entirely new swing. Often, a neutral setup coupled with learning to extend through impact can bring about substantial improvement. Position your ball correctly, adjust your hand setup, and practice pushing the club’s butt away. Doing so can unlock greater distance, more consistency, and renewed confidence in your driver.

0 Comments