

 Master your golf swing and boost your performance with our practical guide. Uncover the common issues that affect most amateur golfers and learn effective techniques to enhance your game. Let’s tackle that hidden flaw hindering your swing consistency!
Table of Contents
- Step 1: Understanding the Natural Swing Flaw
- Step 2: The Impact of Arm Structure
- Step 3: Identifying the Open Club Face Issue
- Step 4: The Role of Body Rotation
- Step 5: Drills to Square the Face
- Step 6: The Importance of Forearm Rotation
- Step 7: Timing Your Movements
- Step 8: Achieving the Correct Follow-Through
- Step 9: Utilizing Wrist Movements
- Step 10: Blending Techniques for Impact
- FAQ: Common Questions About Swing Issues
Step 1: Understanding the Natural Swing Flaw
Everyone’s golf swing has a natural tendency that can cause issues. For amateurs, this often results in an open clubface, leading to unpredictable shots. Recognizing this tendency helps you correct the trajectory and control your shot direction better.
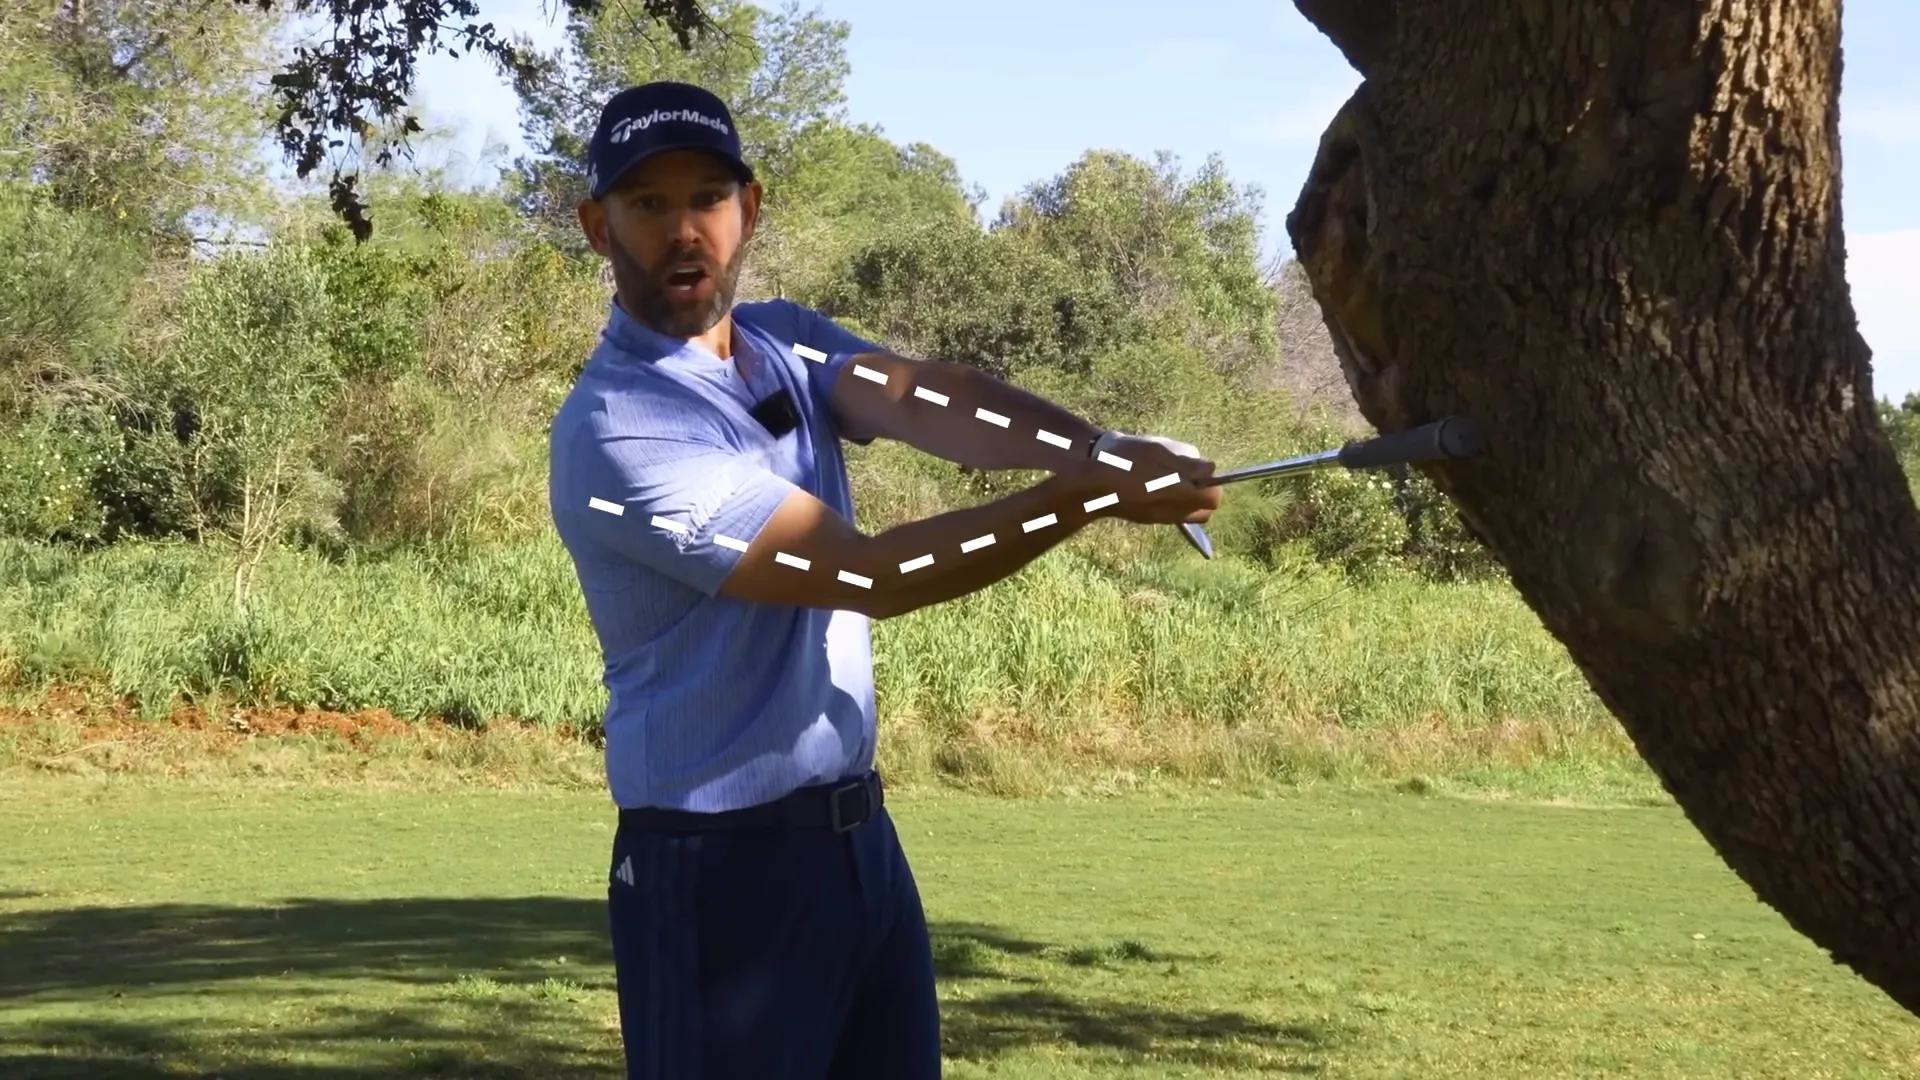
Step 2: The Impact of Arm Structure
Your arm structure is crucial in ensuring a powerful shot. A well-aligned lead arm, along with a slightly bent trail arm, sets the foundation. However, just aligning your arms isn’t sufficient if the clubface is still open—address both for an impressive impact.
Step 3: Identifying the Open Club Face Issue
Many golfers struggle with an open clubface. This usually unnoticed problem can be mitigated by visualizing the clubface angle during practice. Awareness is key to realigning and correcting your swing path.
Step 4: The Role of Body Rotation
A great swing relies heavily on proper body rotation. As the body initiates the backswing, the continuity into the downswing is crucial. Avoid over-rotating as it disrupts the clubface alignment—find the right balance to enhance swing mechanics.
Step 5: Drills to Square the Face
Combat the open clubface by honing your control with specific drills. Exercises focusing on thumb rotation can significantly improve your ability to square the face at impact, creating a solid foundation for a consistent swing.
Step 6: The Importance of Forearm Rotation
The transition from the backswing demands accurate forearm rotation to square the clubface. Integrating this with your body’s movements ensures a seamless transition leading to precise shots every time.
Step 7: Timing Your Movements
Perfect timing merges arm and body movements into one fluid sequence. Practice your rhythm with count-based exercises—this integration facilitates control and boosts performance.
Step 8: Achieving the Correct Follow-Through
The follow-through reveals much about your swing’s quality. A high, extended finish with pressure on your lead foot signals a job well executed, aiding in consistency and control.
Step 9: Utilizing Wrist Movements
Wrist movement is vital in aligning the clubface. Practice proper wrist positions during setup to affect significant change. Awareness of these movements brings confidence to alter shot dynamics effectively.
Step 10: Blending Techniques for Impact
Bringing together timing, body rotation, and wrist dynamics creates a comprehensive swing strategy. Slow, deliberate practice will harmonize these elements for a potent, repeatable swing technique.
FAQ: Common Questions About Swing Issues
- Why is my clubface still open at impact? Examine wrist alignment and ensure synchronized body movements during the downswing.
- How can I improve my follow-through? Finish high by visualizing the endpoint—focus on transferring weight to the lead foot.
- What drills can I use to practice wrist movements? Without a ball, practice rotating your lead wrist from flat to arched to affect clubface alignment.
- How do I know if I’m timing my movements correctly? Use rhythmic counting or a metronome to standardize your sequence consistency.
Refine your swing by tackling these challenges. With practice and the right techniques, watch your golf game transform dramatically. Let’s hit the course with newfound confidence!
0 Comments