

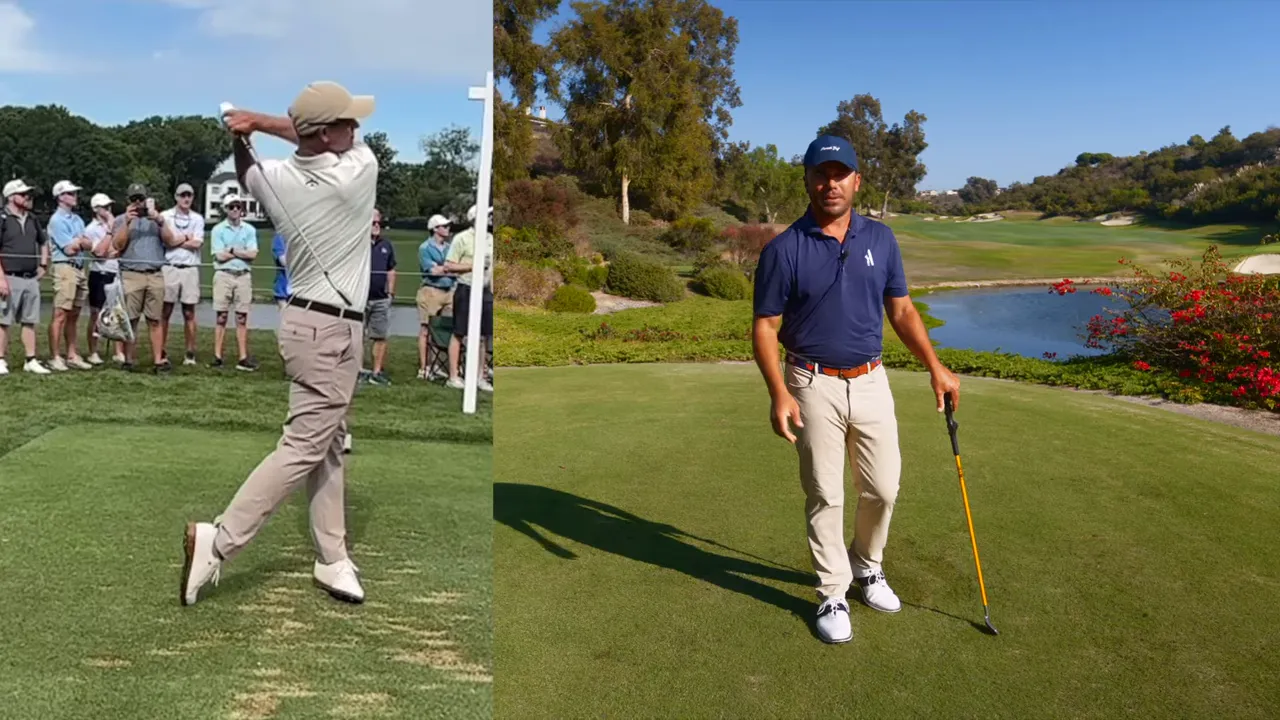
Want to transform your golf swing into a consistent, powerful motion? Discover the key to mastering the hand path, a critical movement that sets the stage for a stable and effective swing. In this comprehensive guide, learn practical steps and drills to enhance your swing mechanics.
The takeaway is the seed of every great golf shot. Get it right, and your swing becomes a reliable, repeatable motion that produces consistent ball striking. Get it wrong, and you’ll spend the rest of your round fighting compensations, inconsistent contact, and frustrating misses. In this guide, you’ll learn why the hand path—how your hands move relative to your body’s turn—is the single most important movement (after setup) for building a stable, powerful, and pain-free golf swing.
This article breaks down the hand path into simple, actionable steps you can practice on the range or the course. You’ll learn what the ideal hand path looks like, why common faults happen, how to check your takeaway without tools, and drills to lock in a “perfect hand path” so you can rotate freely through impact.
Table of Contents
- Outline
- Step 1: Understand What Hand Path Is and Why It Matters
- Step 2: Visualize the Hallway → Escalator Takeaway (The Ideal Hand Path)
- Step 3: Diagnose Steep and Shallow Takeaways (Elevator vs. Sledgehammer)
- Step 4: Learn the Merry-Go-Round Concept for Rotation
- Step 5: Use a Simple On-Course Checkpoint to Verify Your Takeaway
- Step 6: Practice Progression and Drills to Ingrain the Hand Path
- Common Problems and Quick Fixes
- How the Perfect Hand Path Improves Your Ball Striking
- Putting It All Together: A 4-Week Practice Plan
- Frequently Asked Questions
- Conclusion
Step 1: Understand What Hand Path Is and Why It Matters
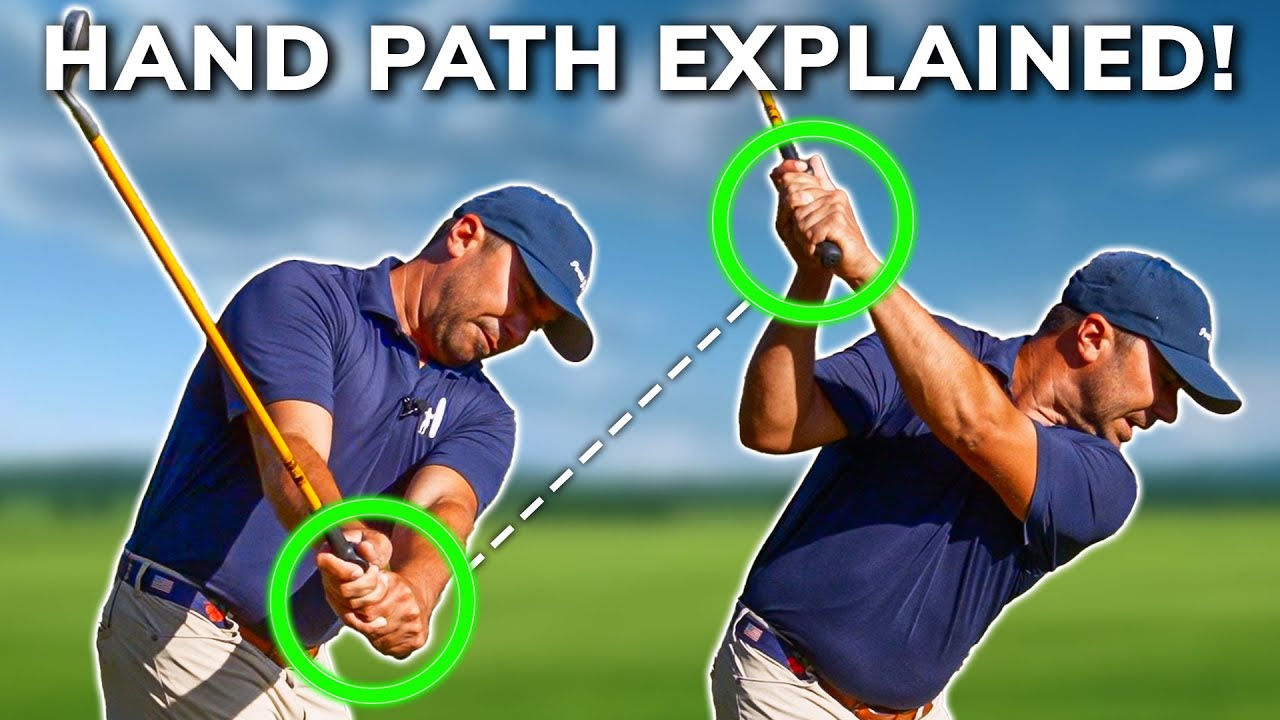
Hand path is simply the direction your hands travel relative to your body’s turn. It’s not about where the club shaft points at a single moment (the old “swing plane” argument). It’s about how your hands steer the club through the takeaway and backswing as your body rotates. If you get your hands moving correctly, your arms, club, and body will naturally fall into a much more efficient position.
Why does hand path matter more than the shaft’s immediate position? Because the shaft can be looking great in snapshots, but if your hands are off, the swing path, clubface, low point, and impact sequence will all be inconsistent. The hands drive the whole sequence. After setup, the hand path is by far the most important part of the swing to master—especially if you want consistency and power.
Step 2: Visualize the Hallway → Escalator Takeaway (The Ideal Hand Path)
Picture this: your hands “go down the hallway before they go up the escalator.” That simple visual captures the ideal movement. From your set position—hands roughly pocket-high—the hands should move straight down the line of your feet first. Then, as your body turns, the hands lift up along the shoulder plane—the escalator—to the top.
This pathway does two key things:
- It keeps your lead arm and shoulder aligned at the top so your arms match your shoulder plane.
- It sets you up to rotate rather than manipulate on the way down, promoting a more powerful, stable impact.
If you rehearse this once before a shot—imagine your hands passing directly over your shoelaces—then you’ll have a repeatable checkpoint. From that point, make a confident turn to the top and keep the hands on the same path on the return. When executed well, you get a connected top-of-swing position that requires zero manipulation on the way down—just pure rotation.
Step 3: Diagnose Steep and Shallow Takeaways (Elevator vs. Sledgehammer)
Not all wrong takeaways are the same. Two common faults are a steep inside takeaway and an overly inside or “in-to-out” path. Each fault forces compensation and ruins the rotation you need for consistent impact.
Fault A — The Elevator (Too Steep)
When your hands go up too steep—think of them continuing up an elevator shaft instead of turning along an escalator—you’ll often force a compensatory upper-body move. The shoulders can start to produce a Ferris-wheel rotation, where they move laterally instead of around the spine. That motion typically:
- Crunches the lower back
- Shifts your upper body behind your lower body
- Creates a low-point that’s too far behind the ball
- Leads to thin or fat shots and inconsistency
Importantly, that steep hand path isn’t always because you’re trying to hit up on the ball—many players steepen the hands in an attempt to “get the club on plane,” which only creates new problems.
Fault B — The Sledgehammer / Too Far Inside
On the opposite end, some players get their hands way inside on the take away. This creates an in-to-out fall which often forces the clubface squareing to be achieved by flipping the hands on the way down. The symptoms are:
- Heavy reliance on hand manipulation to square the face
- Poor compression and inconsistent launch
- An exaggerated need to “come over the top” or flip to make contact
Players with a very inside takeaway sometimes hit the ball with inconsistent directions because the clubface is being manipulated late rather than being delivered by a rotational body motion.
How to tell which fault you have
If your contact often feels like it’s behind you (the club hits the ground early or the ball is hit thin), you may be too steep or your upper body is falling back. If your strikes lack compression and you find yourself flipping the club with your hands to square the face (or you pull/fade unpredictably), you may be too inside.
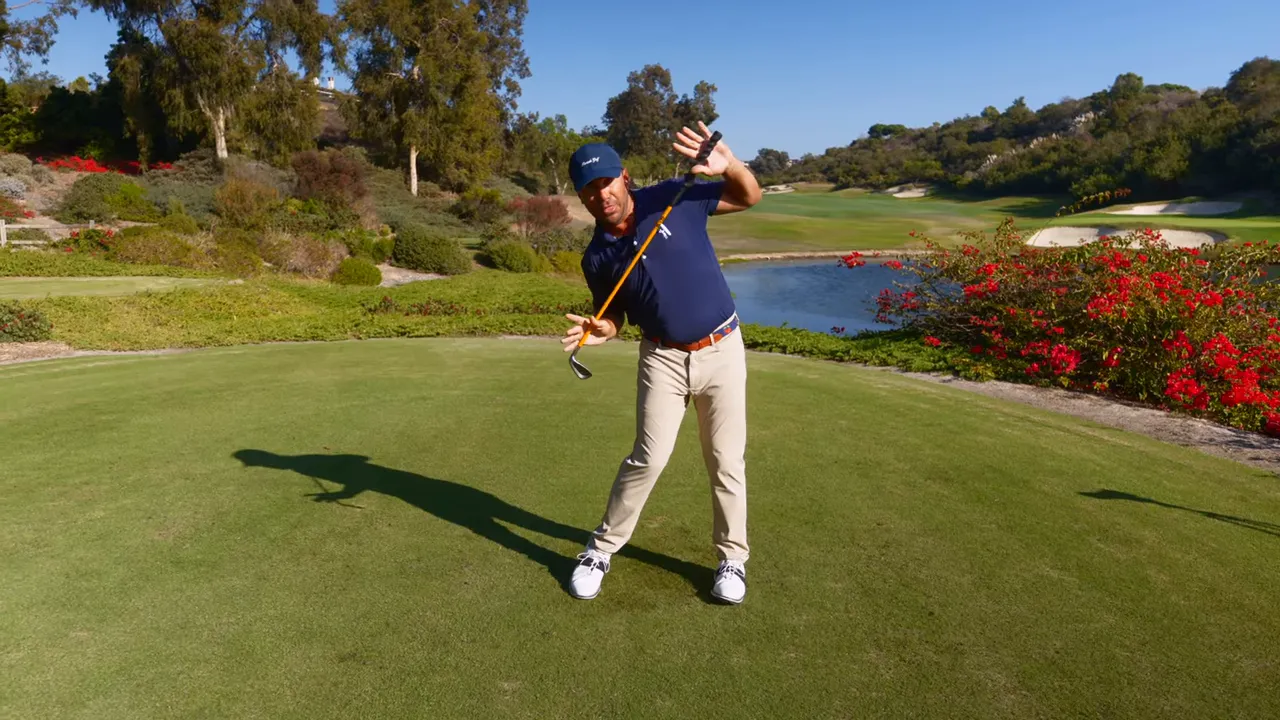
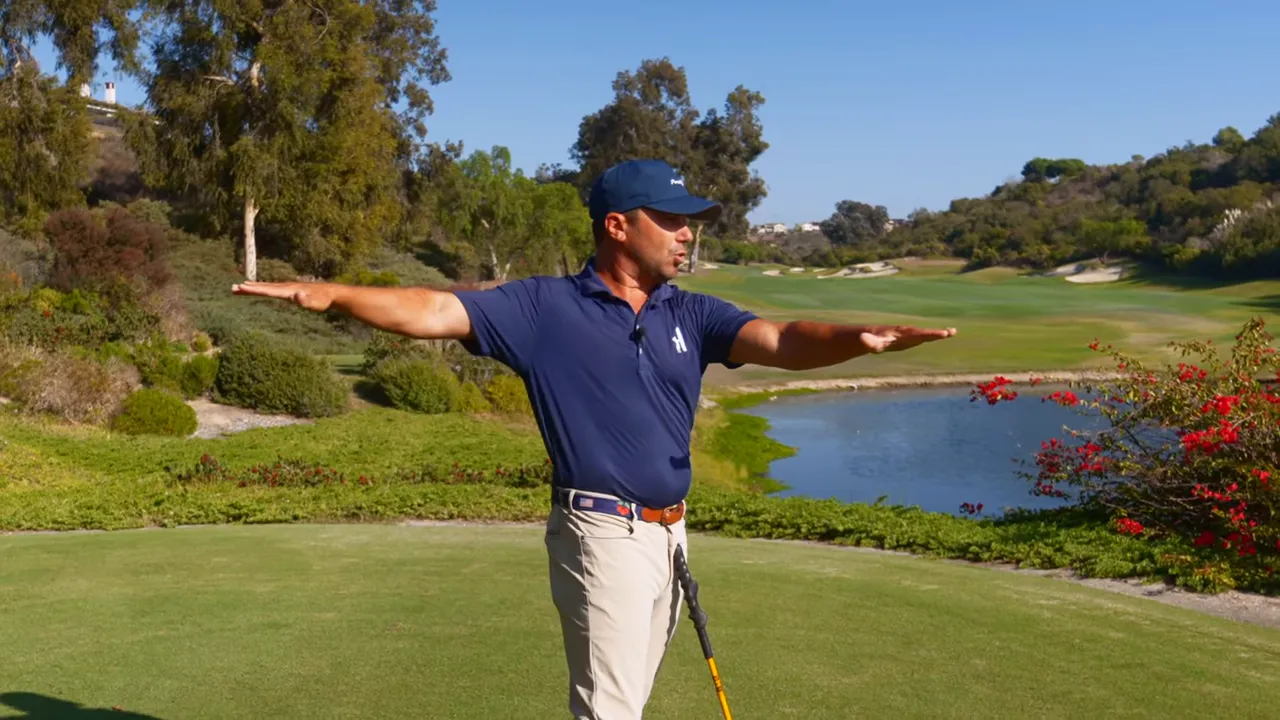
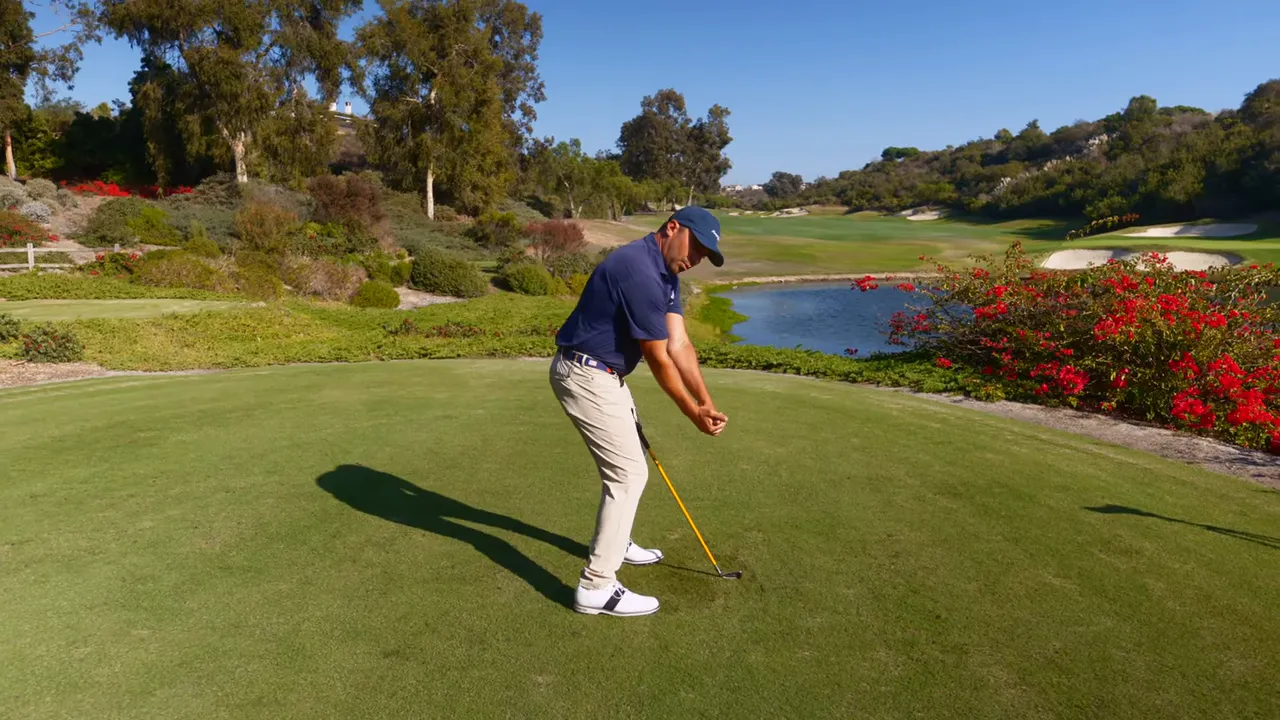
Step 4: Learn the Merry-Go-Round Concept for Rotation
The ideal takeaway sets you up to rotate like a merry-go-round around your spine. This is the feeling you want when you reach the top: shoulders and chest rotating cleanly around a stable spine, while the arms and hands remain connected to that rotation. That connection does three important things:
- Prevents the upper body from getting left behind the lower body
- Protects the lower back from torque and crunching movements
- Enables a ball-first, divot-later strike that yields more power and better compression
When you can get the club across your chest at the top and your lead arm matches the shoulder plane, you’re set to rotate through impact without manipulation. The trail shoulder comes through naturally, your hips and torso lead the motion, and the hands follow the body’s rotation rather than forcing the club with their own action.

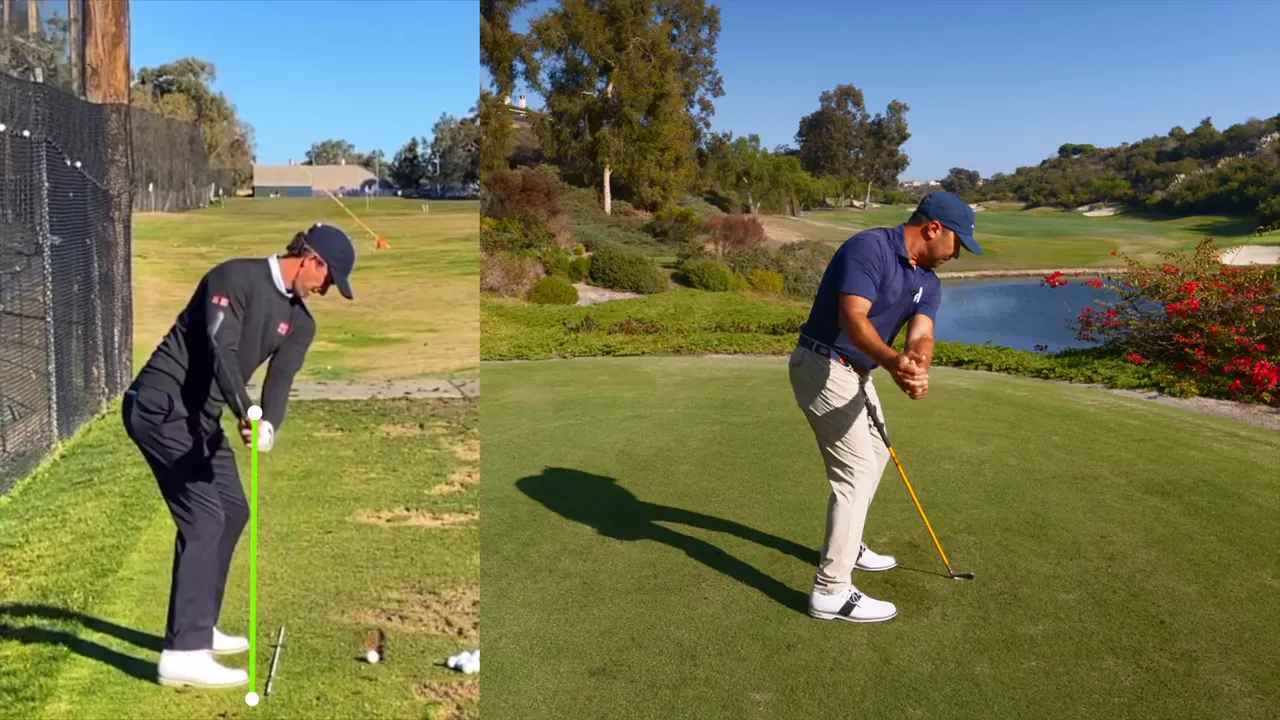
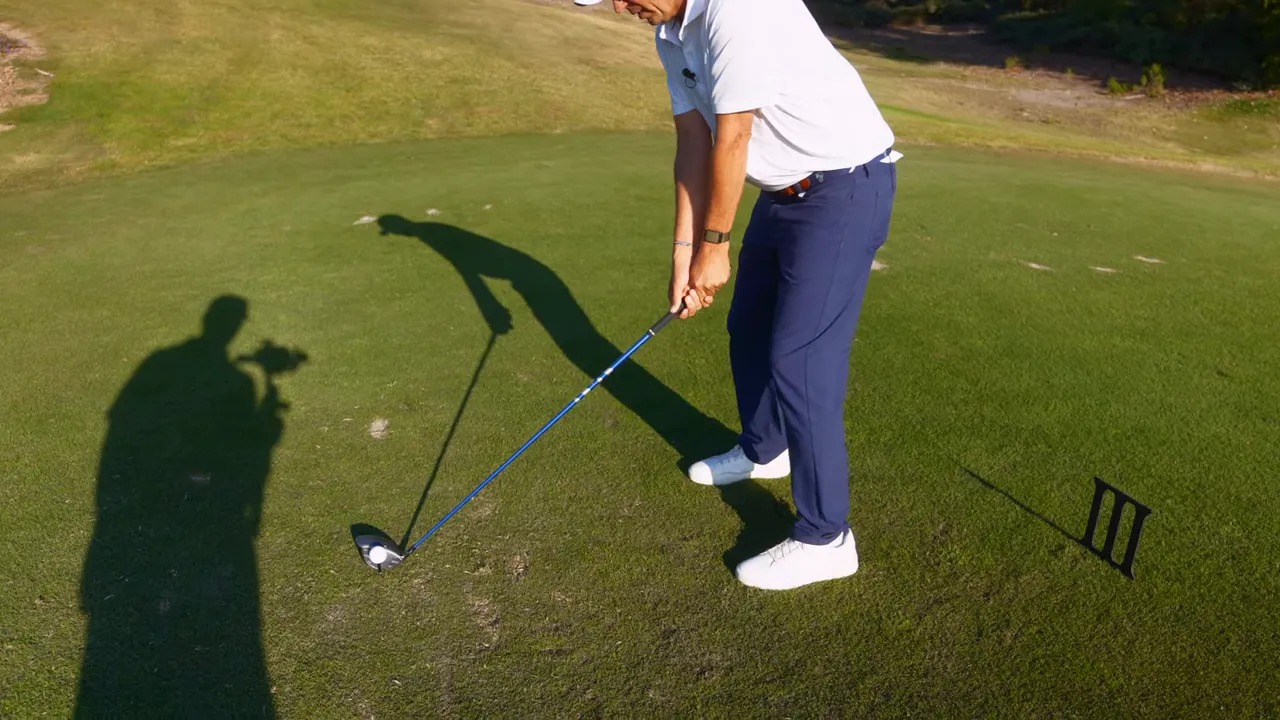
Step 5: Use a Simple On-Course Checkpoint to Verify Your Takeaway
You don’t need alignment rods, video cameras, or fancy tech to confirm your hand path—especially on the course. Use a simple player-facing visual and a rehearsed feel to test the takeaway on every swing.
Here’s a reliable checkpoint you can use immediately:
- Take your address position and glance down at your shoelaces.
- Rehearse once, making sure your hands pass straight over your shoelaces on the first move of the takeaway.
- From that single rehearsal, make a confident turn to the top keeping the hands on that same down-the-line path before they start to lift up the escalator.
If your hands consistently pass over your shoelaces on the first move, you’ve created a repeatable starting point. That ensures your lead arm matches the shoulder plane at the top and gives you the freedom to rotate through impact without flipping or manipulating the clubface with your hands.
Step 6: Practice Progression and Drills to Ingrain the Hand Path
Mastering the hand path is a progression. Below is a step-by-step practice plan to move from awareness to automatic execution on the range and then on the course.
Drill A — Slow Motion Hallway to Escalator
- Address the ball and set your grip and posture.
- Slowly move your hands directly over your shoelaces (the hallway).
- From that point, continue the takeaway smoothly upwards and backwards along your shoulder plane (the escalator) until you reach roughly waist-to-pocket height, then continue to the top.
- Repeat this 10–15 times with no ball, focusing on how the hands feel as they travel relative to your torso turn.
Goal: Create the sensory memory—hands down the line of the feet first, then up along shoulder plane.
Drill B — The Merry-Go-Round Drill
- Take your normal setup and cross the club across your chest (hold it like a bar across your shoulders).
- Feel the shoulder rotation around a stable spine—no lateral sliding or Ferris-wheel motion.
- Practice rotating three times left and right to ingrain the feeling of the entire torso working around the spine instead of laterally.
Goal: Teach your shoulders to rotate around the spine so that when the club is in play, the rotation is the dominant mover—not hand manipulation.
Drill C — Shoelace Rehearsal with Club and Ball
- Address the ball with a 7-iron or mid-iron.
- Rehearse once: move your hands over your shoelaces, pause, then execute a full swing trying to keep the same feel on the way back and through.
- Combine with a half-swing progression (3/4 swings to full swings) as confidence and repetition build.
Goal: Translate the rehearsal into the actual shot with a repeatable feel and a confident turn.
Drill D — Video Feedback and Alignment Rods (Range Only)
If you have access to the range and recording tools, use a face-on and down-the-line camera to confirm that your hands travel in the expected hallway→escalator path. Alignment rods placed down the line of your feet can provide a visual for the initial hallway movement.
Note: On-course you won’t have these tools, which is why the shoelace rehearsal is so valuable—it’s portable and repeatable anywhere.
Common Problems and Quick Fixes
Here are quick fixes for the typical issues you’ll encounter while practicing the hand path.
Problem: Hands go too steep (elevator)
Fix: Pause at pocket height and rehearse hands passing over your shoelaces. Place the club across your chest and rotate your shoulders around your spine (the merry-go-round feeling). Reduce any lateral movement—think rotation toward the target, not away from it.
Problem: Hands go too far inside (sledgehammer)
Fix: Focus on the initial move being down the line of your feet. Use a back-to-basics slow-motion drill and exaggerate the hands passing outside the original inside path so they travel straight over the shoelace line before lifting up.
Problem: You feel the need to flip the club to square the face
Fix: This is a symptom of poor rotational delivery. Work on the merry-go-round rotation so the body, not the hands, delivers the club. Practice feeling the trail shoulder come through and let the hands stay passive during the initial downswing.
Problem: Lower back or upper-back discomfort when trying to rotate
Fix: You’re likely forcing a Ferris-wheel motion or overswinging steep. Slow it down, focus on rotation around a steady spine, and reduce range-of-motion until the body can move pain-free. Strength and mobility exercises off the course will also help, but prioritize marching through the proper movement first.
How the Perfect Hand Path Improves Your Ball Striking
When you lock in the perfect hand path, several performance benefits follow:
- Better swing plane alignment—your arms and shoulders are on the same plane at the top.
- More efficient energy transfer—rotational power produces ball-first contact and deeper divots.
- Greater consistency—less hand manipulation means fewer late adjustments and predictable trajectories.
- More speed with control—you’re throwing the punch toward the target rather than backing away and trying to throw on the way down.
- Reduced injury risk—rotation around the spine is kinder to the lower back than lateral Ferris-wheel movements or forced steep tosses.
Ultimately, the perfect hand path lets you rotate freely through impact, delivering the clubface with stability and control.
Putting It All Together: A 4-Week Practice Plan
Use the following progression to embed the perfect hand path into your swing over four weeks. Dedicate 3–4 practice sessions per week, 20–40 minutes each.
Week 1 — Awareness and Rehearsal
- Daily: 10 minutes of slow-motion hallway→escalator rehearsals without a ball.
- Daily: 5–10 repetitions of the merry-go-round drill with the club across your chest.
- Range session: 30–40 wedge/mid-iron shots using shoelace rehearsal before each swing.
Week 2 — Integration into Full Swings
- Continue rehearsals, but increase the number of full swings (3/4 to full length).
- Record a couple of swings front-on to ensure the hands pass over the shoelaces and then lift on the shoulder plane.
- Range: Focus on ball-first contact and consistent divot entry.
Week 3 — On-Course Application
- Begin using the shoelace rehearsal before every shot on the course.
- Play a 9-hole round making the rehearsal part of your pre-shot routine.
- Note ball flight, compression, and confidence—make adjustments in the next practice session if something feels off.
Week 4 — Consolidation and Speed
- Work on accelerating through the finish while maintaining the hand path.
- Test with longer clubs and driver—maintain the same hallway→escalator feel, even if the movement is larger.
- Record and compare to Week 1 to see measurable changes in low-point, ball-first contact, and consistency.
Conclusion
The takeaway is the foundation of your swing. By focusing on the hand path—moving your hands down the line of your feet before lifting them up the shoulder plane—you’ll create a repeatable, powerful swing that relies on rotation instead of hand manipulation. Visuals like “down the hallway before up the escalator” and drills like the shoelace rehearsal and merry-go-round will give you a practical, on-course-friendly toolkit to lock in this movement.
Remember: the goal is pure rotation free of any manipulation. When your hands are traveling on the correct path and your shoulders rotate around your spine, you’ll hit harder, cleaner shots with a more stable clubface and less physical strain. Commit to the practice progression and make the shoelace checkpoint part of your routine—your ball striking will thank you.
Frequently Asked Questions
What exactly is the hand path and why is it so important?
Hand path is the direction your hands travel relative to your body’s turn during the takeaway and backswing. It’s crucial because your hands drive the club’s movement; if they move incorrectly, the shaft, clubface, impact sequence, and low point will all become inconsistent. A correct hand path promotes rotation rather than manipulation and sets you up to hit the ball first and the turf second with better compression and control.
How can I check my hand path on the course without tools?
Use the shoelace checkpoint: rehearse the takeaway once, making sure your hands travel directly over your shoelaces before lifting up along your shoulder plane. That single rehearsal creates a consistent visual and sensory cue you can use before every shot to ensure your hands are on the proper path.
What does “down the hallway before up the escalator” mean?
It’s a visual: first move your hands straight down the line of your feet (the hallway). Once they’ve traveled that line, they begin to rise back along the shoulder plane (the escalator) toward the top. This sequence keeps your arms and shoulders connected and sets you up to rotate rather than manipulate on the way down.
Why is a steep hand path bad?
A steep hand path forces a compensatory shoulder motion often described as a Ferris-wheel rotation. That can crunch your lower back, move your upper body behind your lower body, and produce a low point that’s behind the ball—leading to thin or fat shots and more inconsistent contact.
How do I fix an overly inside takeaway?
Focus on getting your hands to pass outside the previous inside path and directly over your shoelaces on the initial move. Slow-motion rehearsals and the hallway→escalator drill help retrain the hands to travel down the line of the feet before lifting up the shoulder plane, reducing the need to flip the club on the way down.
How long does it take to change my hand path?
It varies by player, but with focused practice (three to four sessions per week following the 4-week plan above), many players begin to feel significant improvements within a few weeks. Consistent rehearsal of the hallway→escalator pathway and the merry-go-round rotation will convert the change from conscious to automatic over time.
Will changing my hand path increase my swing speed and power?
Yes. When your hands are on the right path and your body rotates freely, energy transfer becomes more efficient. You’ll be able to hit harder while maintaining control—essentially throwing the punch toward the target, not backing away and trying to throw. That results in better compression, deeper divots, and often increased clubhead speed.
Can these drills help prevent injury?
Yes. A correct hand path encourages a rotational motion around the spine rather than lateral or crunched movements. That rotational pattern reduces undue stress on the lower back. However, if you have pre-existing issues, consult a healthcare professional and focus on pain-free ranges of motion while practicing these drills.
0 Comments