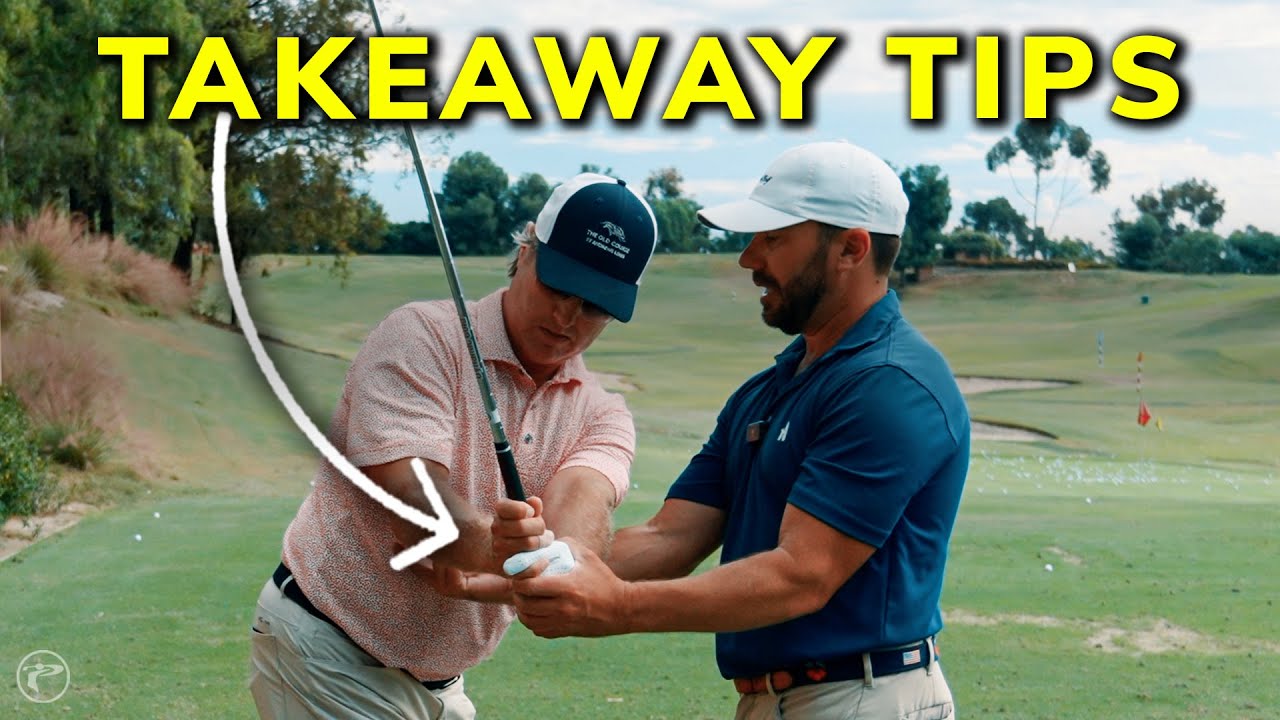
Want to elevate your golf game? The secret lies in mastering your takeaway. Let’s dive into the step-by-step process to optimize your golf swing from the very first move.
Table of Contents
- Step 1: Understand the Golf Takeaway
- Step 2: Create a Reliable Set Position
- Step 3: Slow Down Your Backswing
- Step 4: Rehearse the Locked Set and Turn
- Step 5: Focus on Connection and Sequence
- Step 6: Start the Arms Before the Body
- Step 7: Increase Leverage
- Step 8: Be Patient at the Top
- Step 9: Use Sound and Feel as Feedback
- Step 10: Practice Progressions
- Common Mistakes and Fixes
- Quick Practice Checklist
- Parting Advice
Step 1: Understand the Golf Takeaway
The takeaway is the initial movement of the club away from the ball. It’s essential for setting the tone of your swing. A connected takeaway aligns your rhythm and helps your hands and body to move together, laying a solid foundation for your swing.
Step 2: Create a Reliable Set Position
Emphasize the set position during rehearsal. The feeling of a stable and connected position will transition seamlessly into your full swings. Keep the right elbow tucked close, and let the chest guide the club into the set position with ease.
Step 3: Slow Down Your Backswing
Rushing can hurt your swing. A slower backswing keeps everything synchronized. Try practicing at half your normal speed. This pacing helps ensure your hands and body turn together, creating a powerful foundation for the rest of your swing.
Step 4: Rehearse the Locked Set and Turn
Use drills to rehearse holding your set position, then turn your chest towards the target while maintaining that set. Practicing this will keep your club from ‘flying’ off path and helps lock in a consistent swing motion.
Step 5: Focus on Connection and Sequence
Avoid moving your chest forward too early. Instead, pause at the top to let your arms finish before the body follows. This keeps your swing path consistent and reduces steep angles that could lead to a misaligned shot.
Step 6: Start the Arms Before the Body
Start your arms on the downswing before moving your body to maintain the correct plane. Practice initiating a graceful arc with your arms to help deliver more consistent contact and direction.
Step 7: Increase Leverage
Adjust your setup by lowering your hands slightly towards the target. This tweak increases leverage and aids in a smoother backswing and a controlled downswing.
Step 8: Be Patient at the Top
Especially with longer clubs like a driver, it’s crucial to maintain patience. Hold at the top briefly to ensure your arms start the downswing, helping maintain control and power in your swings.
Step 9: Use Sound and Feel as Feedback
Listen for a clean strike and feel for balance during your swing. These cues can provide immediate feedback on the quality of your swing and indicate if your practice drills are paying off.
Step 10: Practice Progressions
Develop your swing through incremental practice: start with holding and rehearsing your set, then gradually incorporate the full swing. This progression develops consistency and confidence in your golf game.
Common Mistakes and Fixes
- Rushing the Takeaway – Practice a slower tempo.
- Right Elbow Running Away – Keep the elbow close and rehearse the locked position.
- Early Chest Movement – Hold back slightly at the top then start arms first.
- Steep Downswing – Initiate arms before body, lower hands at setup.
Quick Practice Checklist
- Lock and hold the set in front of your chest.
- Maintain a tucked right elbow.
- Keep a slower backswing.
- Pause and initiate the downswing with arms.
- Adjust hand position for better leverage.
- Maintain patience through the swing, especially with the driver.
Parting Advice
The takeaway is the foundation of a successful golf swing. Consistent practice with focus on proper technique pays dividends in the long run by improving accuracy and control in your game. Embrace the process, slow down, and make every swing count.


0 Comments