
Unlock the secret to consistent, powerful golf shots with correct arm dynamics. This comprehensive guide simplifies key techniques, ensuring you’re ready for improvement on the course.
You’ve seen the video; now it’s time to bring that knowledge to life and translate it into consistent, compressed ball striking. This guide distills those lessons into a practical, step-by-step plan you can implement today. Discover how to fix the common mistake of letting your arms and club lag behind your body on the downswing.
Focus Keyphrase: Correct Arm Dynamics In The Golf Swing. This guide uses drills and steps to reinforce a powerful practice concept, focusing on getting the trail elbow in front of your body’s center, leading with your arm, and creating a sequence that stabilizes the club face while generating lag and power.
Table of Contents
- Step 1: Understand the Goal — Trail Elbow in Front, Lead Arm Dominant
- Step 2: Build the Feeling — Back of the Lead Arm and “Hammer the Nail” Visual
- Step 3: Drill 1 — The Pump Drill
- Step 4: Drill 2 — “Hammer the Nail” Progression
- Step 5: Sequence Insight — “Elbow Moves First,” Always Be Rotating (ABR)
- Step 6: Avoid the Two Worst Looks — What Not to Do
- Step 7: Small Setup Tricks That Help Connection (The Headcover Pinch)
- Step 8: Practice Progressions
- Step 9: Fitness and Strength — Why Shoulder Strength Matters
- Step 10: Putting It Together — Timing, Lag, and Face Control
- Step 11: Troubleshooting Common Questions
- Step 12: A Practice Plan
- Step 13: Final Checklist Before You Play
- Step 14: FAQ — Common Concerns
- Step 15: Next Steps and Final Thoughts
Step 1: Understand the Goal — Trail Elbow in Front, Lead Arm Dominant
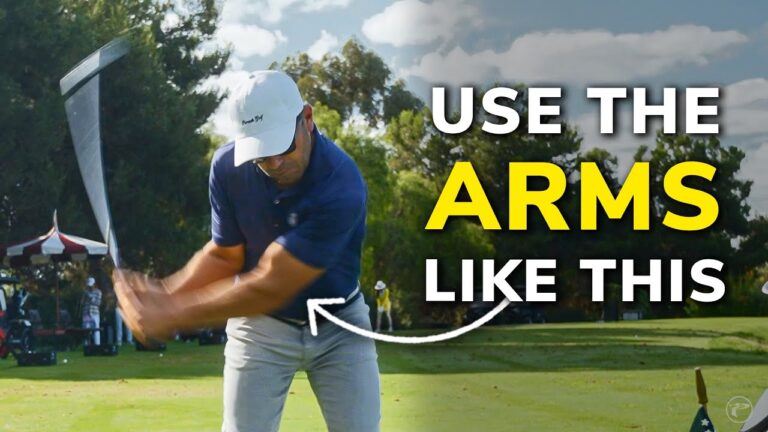
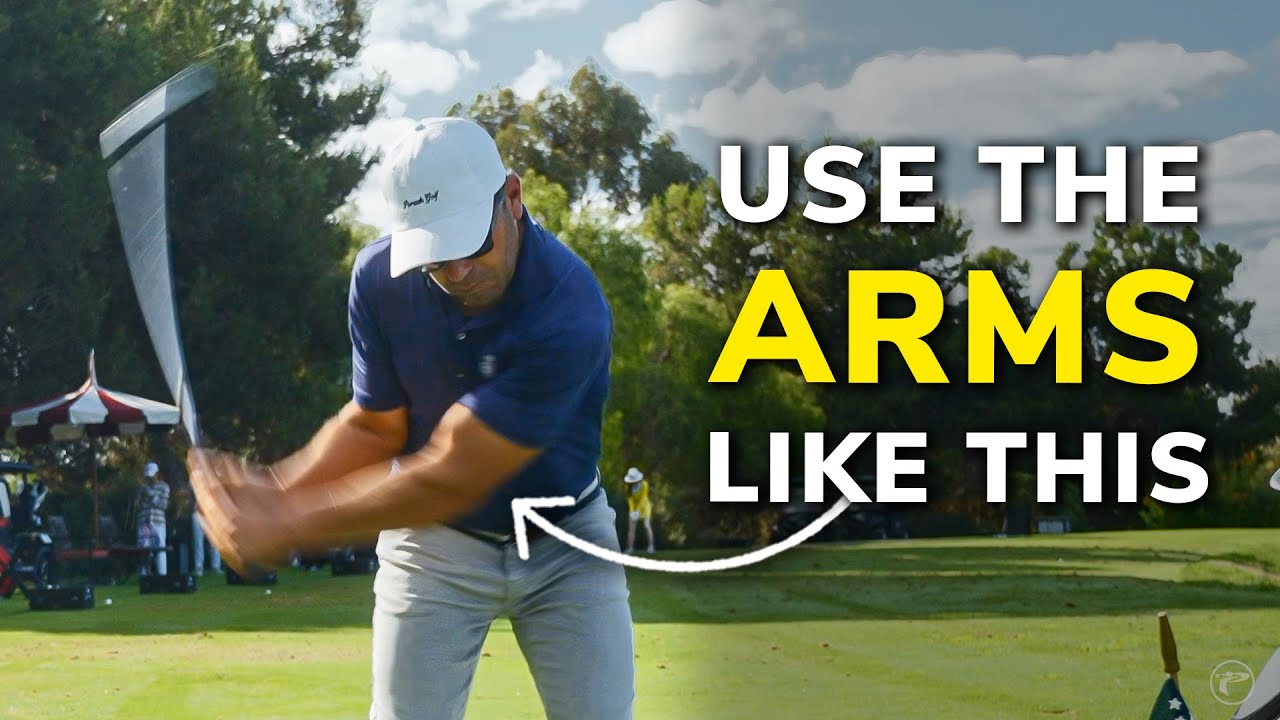
Visualize this: the trail (right) elbow should move forward, positioning itself in front of your body at impact. This movement is vital for forward shaft lean, enhanced angle of attack, and club face stability. When hands and clubs fall behind, the face may open or overturn, leading to poor control. Conversely, having the trail elbow ahead offers leverage and consistent compression.
“The trail elbow in front of your body’s center is crucial for compressing golf shots with a sharper impact angle.”
Step 2: Build the Feeling — Back of the Lead Arm and “Hammer the Nail” Visual
Embrace two key drills: focus on the back of the lead arm pulling and the trail elbow moving towards the belly button area. The mental image of hammering a nail helps visualize the sequence — your left side rotates inside as the club contacts the ball, enabling compression.
Step 3: Drill 1 — The Pump Drill
This drill fosters the crucial elbow-in-front sensation. With each pump, the trail elbow accelerates ahead of the body, instigating the downswing sequence and enhancing face control:
- Set up normally with a mid-iron.
- Take a chest-high backswing, maintaining shoulder-arm connection.
- Pause and pump the arms into impact, keeping hands in front of your body’s center.
- Speed up the elbow further with each pump.
- Finish with a full swing to gauge impact on ball flight.
Step 4: Drill 2 — “Hammer the Nail” Progression
Once comfortable with Pump Drill, advance to Hammer the Nail to emphasize rotation and arm-body sequence:
- Begin with a semi-swing, embracing lead-side connection.
- On the downswing, rotate your left shoulder inward, hammering the nail metaphorically.
- Generate speed through left-side initiation, right elbow leading.
The left side’s rotation drives the movement, putting the arms into a power position.
Step 5: Sequence Insight — “Elbow Moves First,” Always Be Rotating (ABR)
The key is to let the trail elbow move slightly earlier, while continually rotating the body. Maintain full-body rotation to maximize lag and face control.
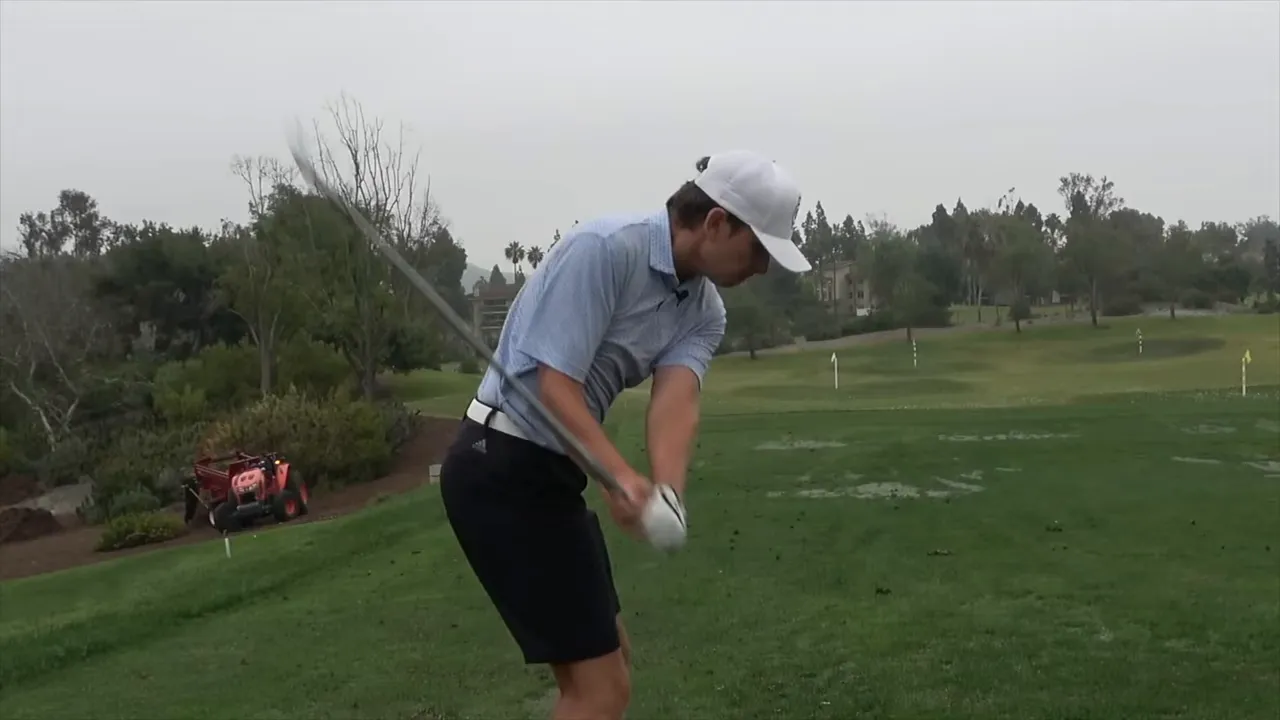
Step 6: Avoid the Two Worst Looks — What Not to Do
Beware of these common pitfalls: hands and club stuck at the hip or disconnected at the top. Aim to keep arms in front of the body to ensure superior control and compression.
Step 7: Small Setup Tricks That Help Connection (The Headcover Pinch)
Use a headcover under your armpit to ensure connection throughout the swing, offering immediate feedback. This tactile cue encourages proper trail elbow positioning.
Step 8: Practice Progressions
Start slow with rehearsals, moving gradually to live swings. Reinforce your new feel with a structured progression, ensuring technique transitions smoothly to the course.
Step 9: Fitness and Strength — Why Shoulder Strength Matters
Strengthen your shoulders and core to maintain connection and control throughout your swing. Simple weekly exercises bolster stability and improve swing dynamics:
- Rotator cuff stabilization.
- Upper-back strengthening.
- Core rotations.
Step 10: Putting It Together — Timing, Lag, and Face Control
Integrate these techniques to achieve improved lag, face stabilization, and a superior angle of attack. Aim for a compressed, solid strike sound to confirm optimal execution.

Step 11: Troubleshooting Common Questions
Step 11A: Should the elbow literally move before my hips?
No, focus on the sensation of the trail elbow leading the feeling, while continuing body rotation. Always Be Rotating (ABR).
Step 11B: Does focusing on the lead arm make me less powerful?
No, it often generates more power by improving sequencing and building natural leverage.
Step 11C: How do I know I’m too “manipulative” with my hands?
If your shots feel weak or release is early, return to rehearsals to reinforce body rotation and connection.
Step 11D: What’s the quickest drill to feel it on the course?
The Pump Drill — rehearse from chest height, then make a half swing to feel the lead shoulder initiating.
Step 11E: How long before I see improvement?
Many notice differences within a practice session; consistent practice enhances retention and under-pressure performance.
Step 12: A Practice Plan to Build Correct Arm Dynamics In The Golf Swing
Employ this simple practice plan:
- Warm-up efficiently to activate essential muscles.
- Engage in rehearsal moves to solidify sequences.
- Progress from half-swings to full swings, focusing on feeling.
- On-course, implement 3–4 focused reps for key shots.
- Integrate light strength work — targeting shoulder and core stamina.
Step 13: Final Checklist Before You Play
- Run a few Pump Drill practices to reinforce arm dynamics.
- Feel the left shoulder initiation throughout.
- Ensure constant rotation (ABR) with trail elbow leading sensation.
- Listen for the desired sound of impact indicating success.
Step 14: FAQ — Common Concerns About Correct Arm Dynamics In The Golf Swing
Q: Will this fix my slice?
A: Yes, by squaring the face and ensuring a late release.
Q: Is this technique limited to iron shots?
A: No, it applies across full-swing clubs, with slight adjustments for different equipment.
Q: Will this reduce my distance?
A: Initially, possibly — but with correct sequencing and strength, expect distance gains.
Step 15: Next Steps and Final Thoughts
Correct Arm Dynamics in the Golf Swing strengthens core mechanics like club face control, attack angle, and compression power. Embrace these foundations:
- Trail elbow leads at impact.
- Lead-side dominant pulling for leverage.
- Rehearsal drills to reinforce changes.
- Tactile cues and strength to sustain connection.
- Always Be Rotating (ABR) for flawless execution.
By following these steps and remaining committed to practice, you’ll build timing the body remembers, improving overall swing reliability and boosting your game consistently. Enjoy the journey to more robust golf swings!
0 Comments