


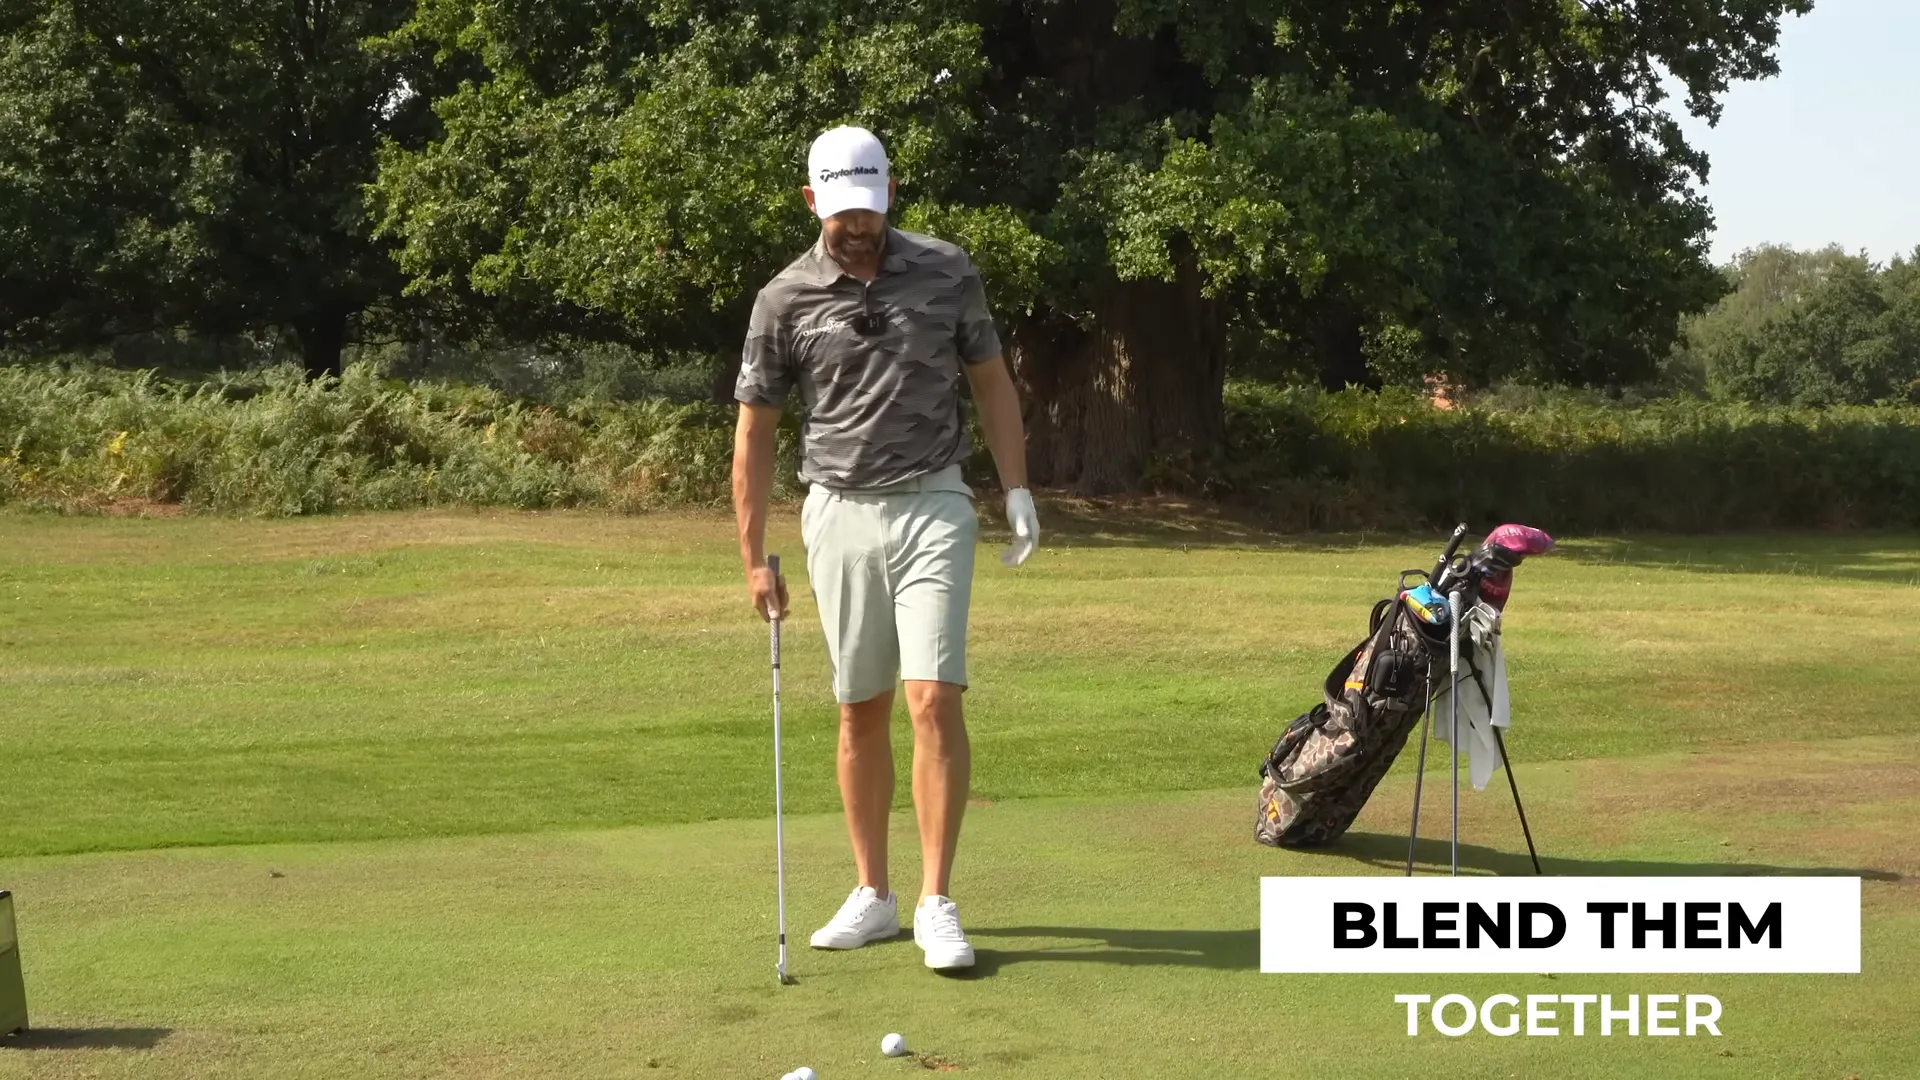
Unlock effortless power in your golf swing by mastering rhythm and timing. In this guide, learn how to correct a rushed downswing with straightforward drills and practice routines designed for golfers eager to improve their consistency on the course.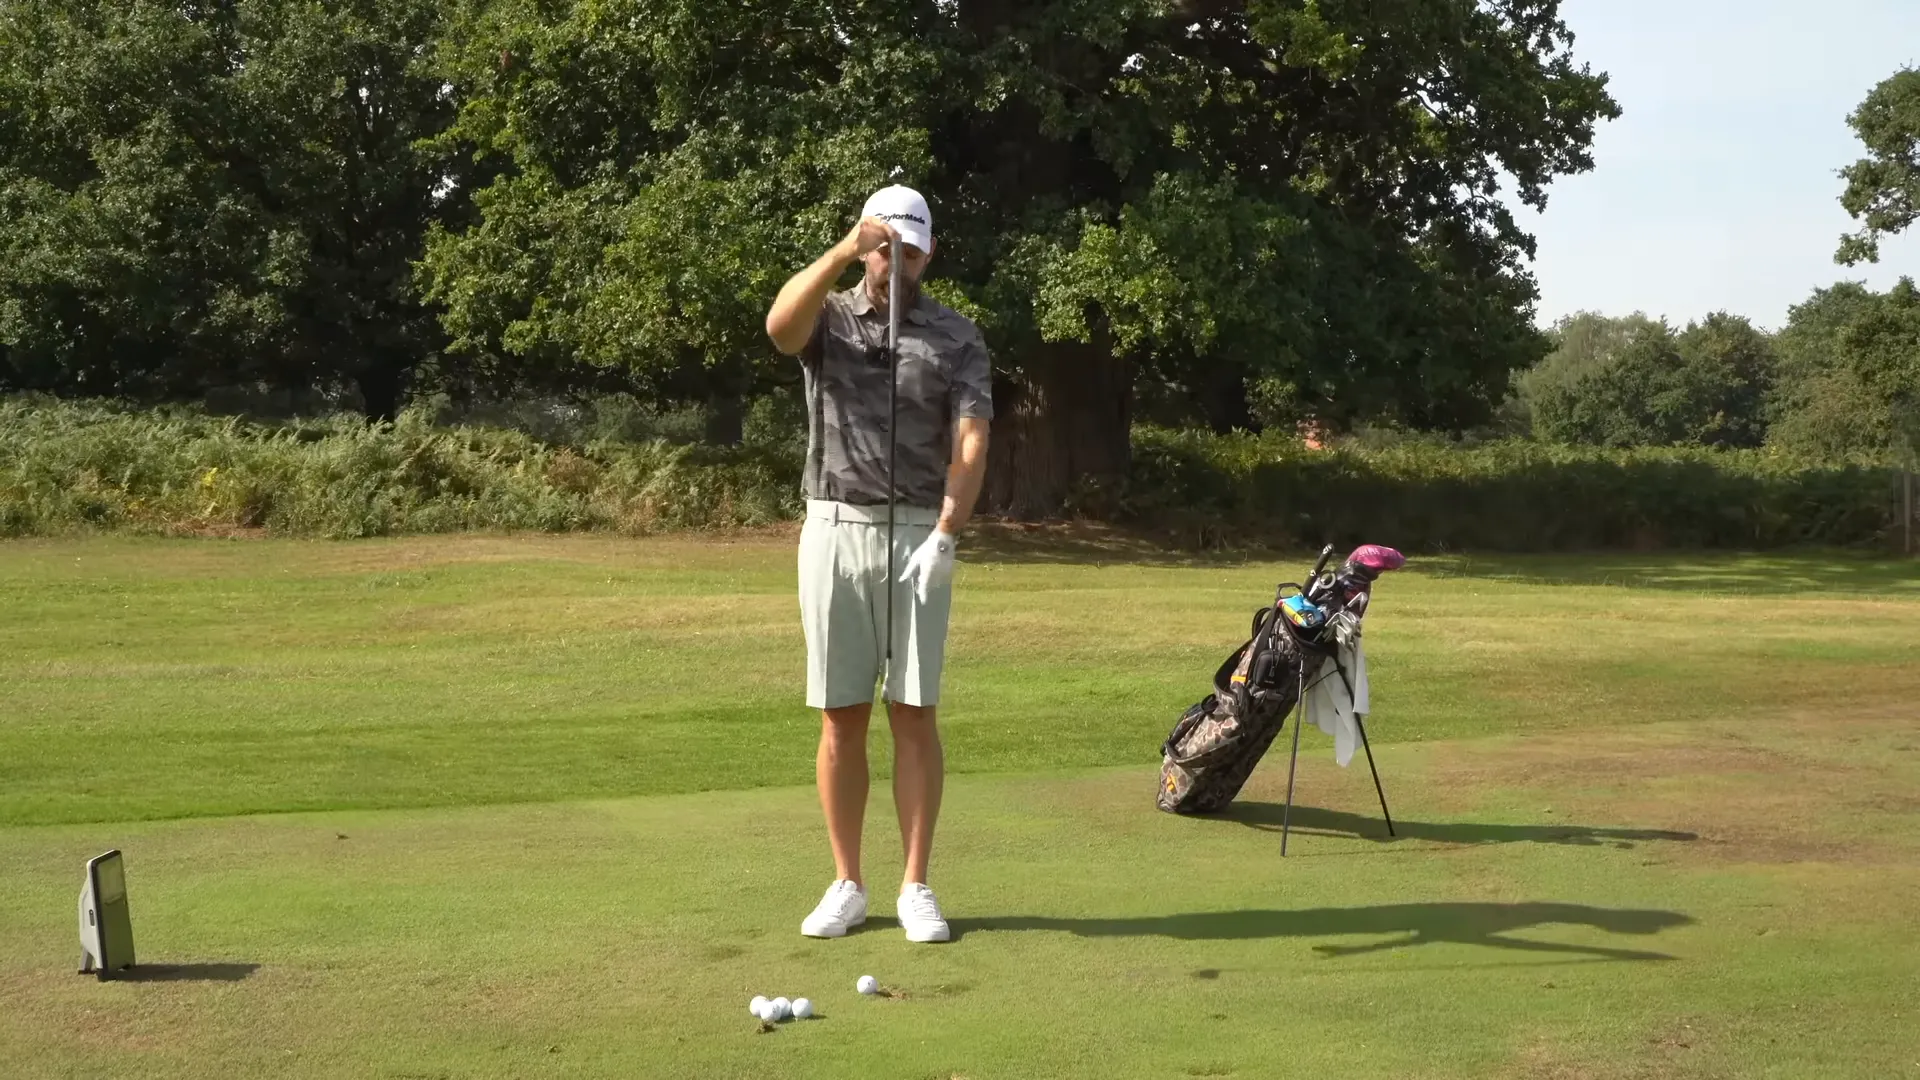
Table of Contents
- Step 1: Identify the problem — what rushing the downswing looks and feels like in golf
- Step 2: The simple club demo — understand the concept with one long club
- Step 3: Learn the takeaway — make the backswing body-first for better golf
- Step 4: Back-swing step drill — train a body-led takeaway in golf
- Step 5: Learn the downswing sequence — get the body to start downhill in golf
- Step 6: Downswing step drill — step, lead, then swing for better golf
- Step 7: Put it together — step, swing, step, swing: a practice sequence for golf
- Step 8: Practice plan — how to practice these drills for reliable golf results
- Step 9: Troubleshooting — common problems and how to fix them in your golf practice
- Step 10: Mental cues and feelings to reinforce the new golf sequence
- Step 11: How this change affects distance, accuracy, and consistency in golf
- Step 12: A simple on-course checklist for your golf rounds
- Step 13: Drills and progressions to keep improving your golf sequence
- Step 14: Long-term habits — how to make this the default in your golf swing
- Step 15: Frequently Asked Questions (FAQ) about fixing a rushed downswing in golf
- Conclusion — make your golf downswing smooth, rhythmic, and powerful
Step 1: Identify the Problem — What Rushing the Downswing Looks and Feels Like in Golf
Rushing your downswing leads to several common issues:
- Feels snatchy or aggressive, indicating a forced attempt at speed.
- Causes inconsistent weight and pressure, resulting in imbalance at impact.
- Leads to thin or fat shots due to out-of-sync sequences.
- Finishes too soon, with arms decelerating before the torso finishes.
If these sound familiar, you’re not alone. Rushing the downswing is common but fixable. By focusing on a sequence that prioritizes body movement over the club, you can achieve smoother, more powerful swings.
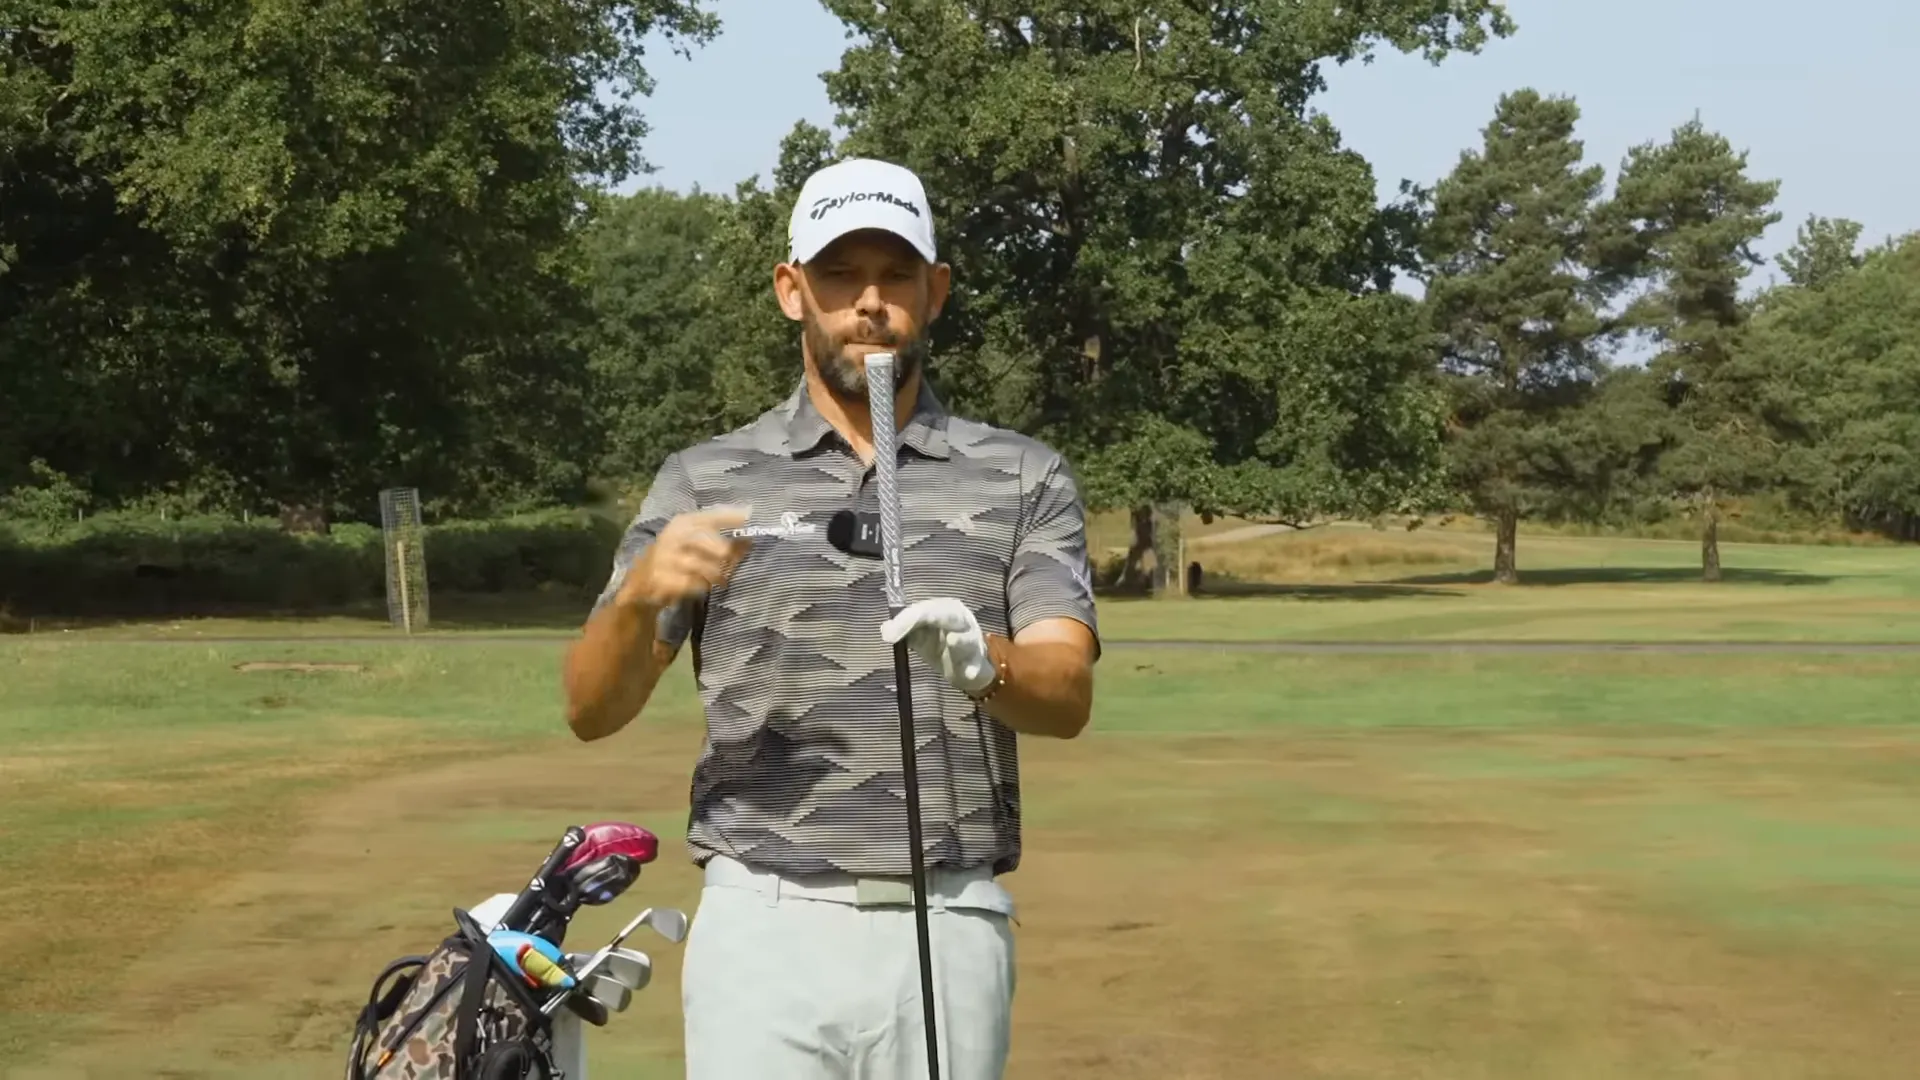
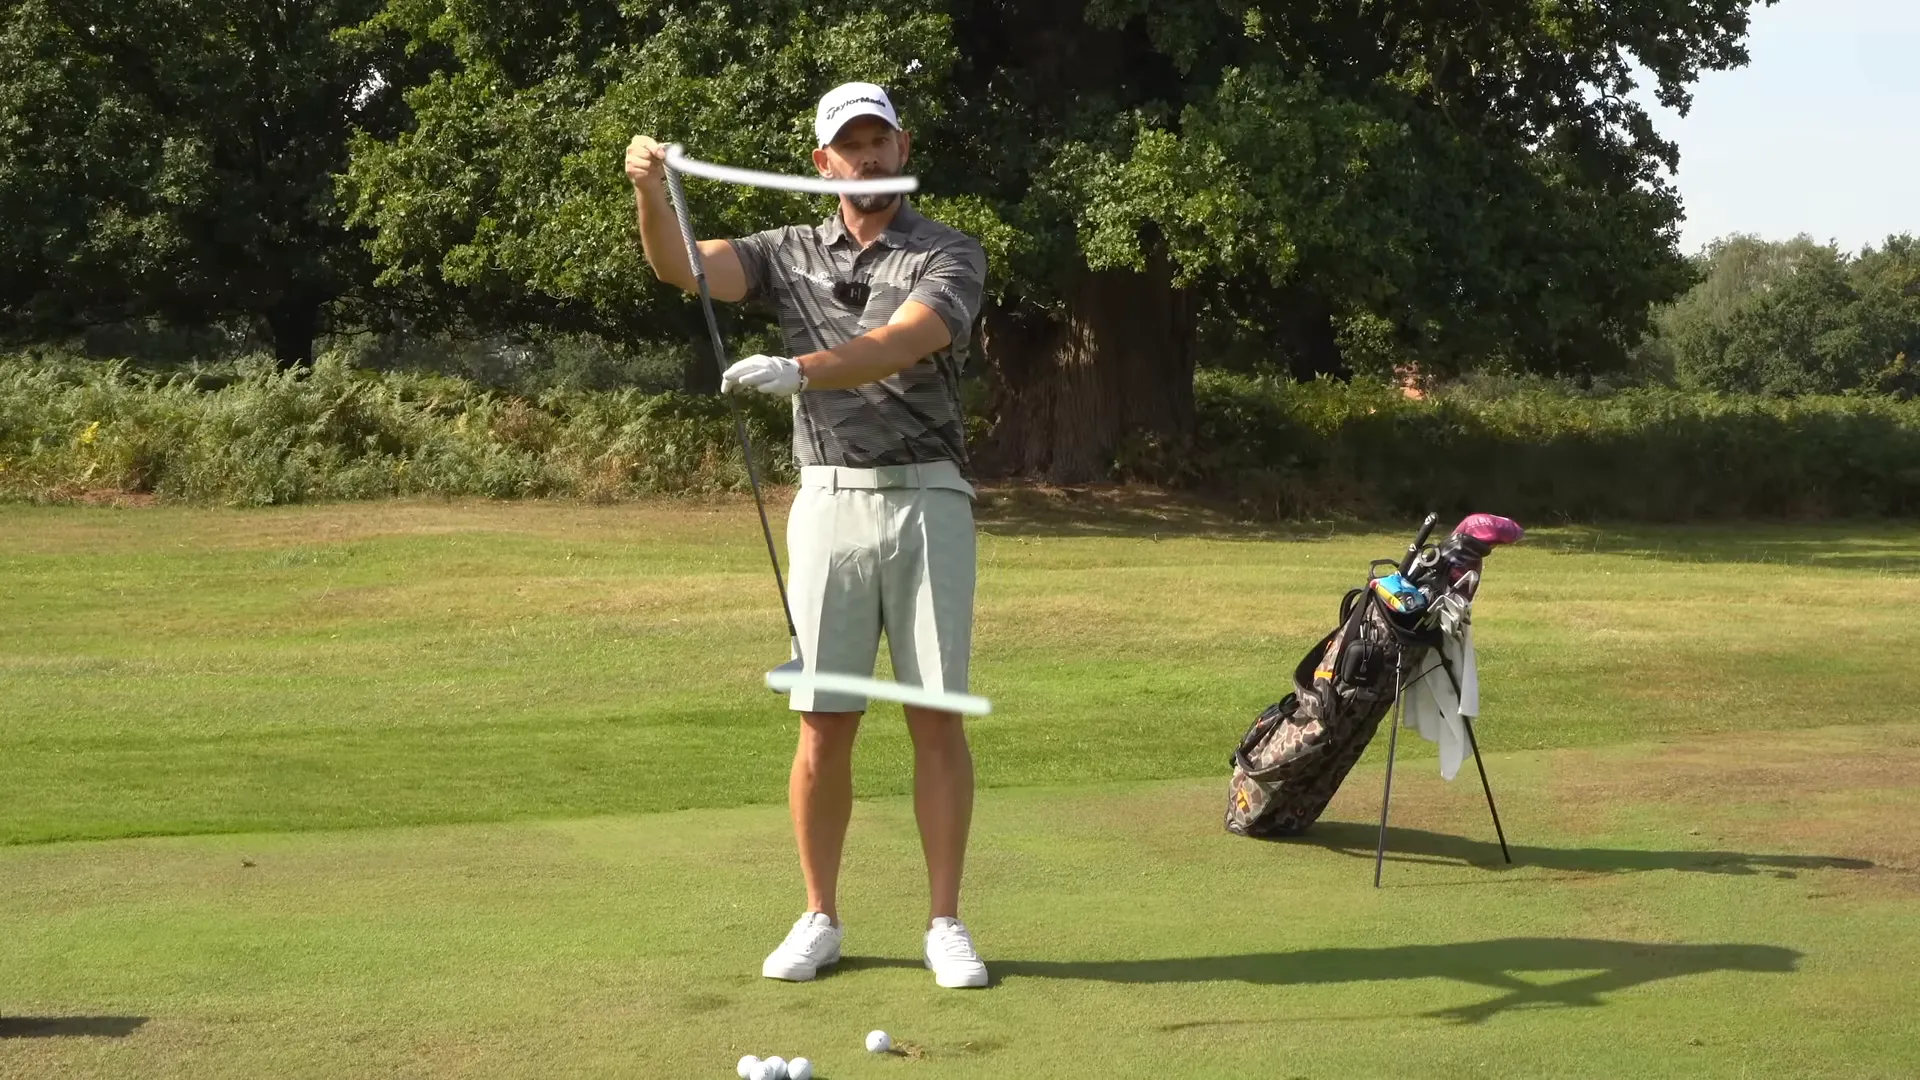
Step 2: The Simple Club Demo — Understand the Concept with One Long Club
Take a long club, such as a two-iron, and grip it. Move the grip end gently to feel how the club head follows. This simple demo teaches:
- A feel for body-led motion, enabling the club head to trail naturally.
- The difference when trying to yank the club head, leading to snatchy, uncontrolled motions.
The takeaway? Start movements with your body, allowing the arms and hands to lag and accelerate into the ball.
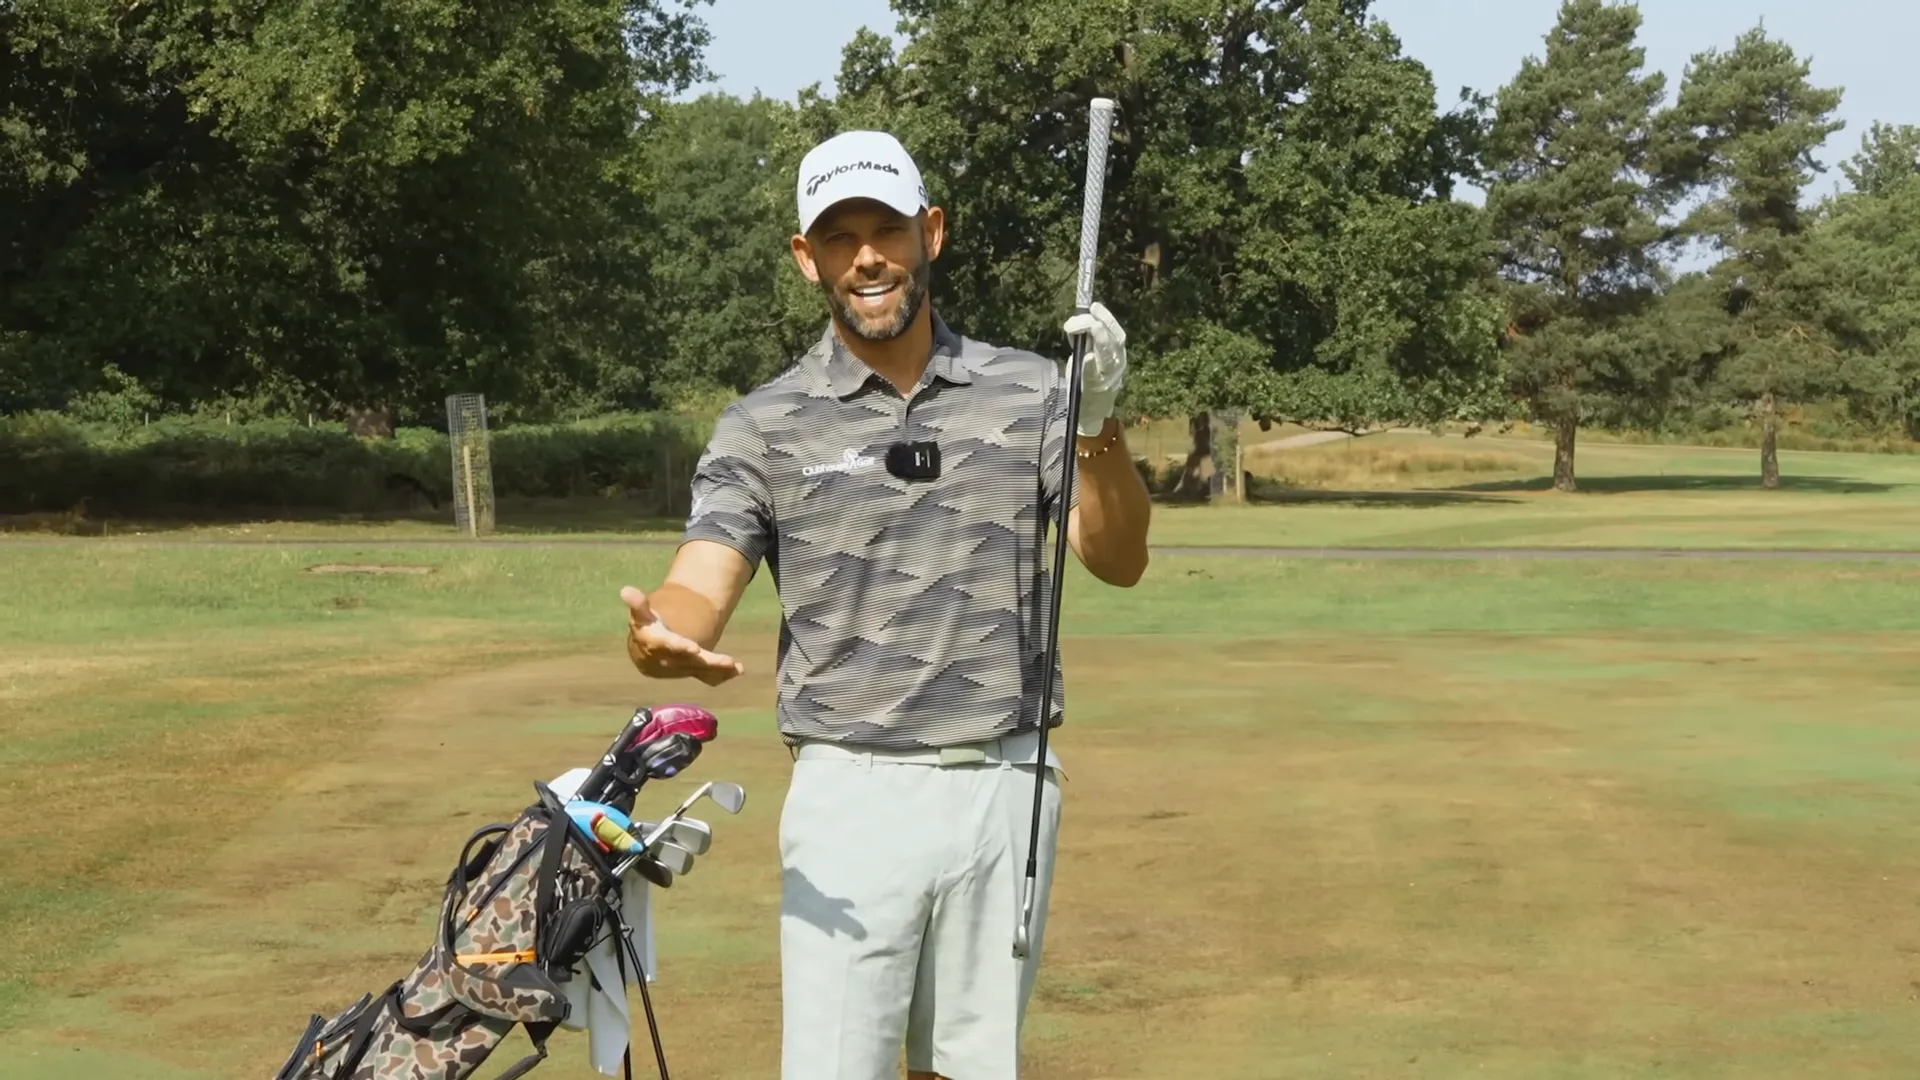
Step 3: Learn the Takeaway — Make the Backswing Body-First for Better Golf
Your takeaway dictates the swing’s sequence. Initiating with the body instead of the club ensures rhythm and timing:
- Address a ball with a mid-iron, ensuring comfort in your stance.
- Start with feet together; step outward with the lead foot and begin a body turn.
- Allow the club to follow naturally, led by torso rotation.
Seek a smooth flow without forcing the club. Emulate top golfers by initiating with the body and completing the turn seamlessly.
Step 4: Back-Swing Step Drill — Train a Body-Led Takeaway in Golf
Practice the body-led takeaway with this drill, focusing on movement rather than hitting a ball:
- Stand with feet together, club in position.
- Step with the lead foot to shift pressure.
- Begin shoulder turn as the club follows the body.
- Repeat until smooth.
Key points:
- Prioritize body initiation over arm swing.
- Maintain moderate pace for rhythm.
- Feel pressure move onto the trail side before significant club movement.
This drill helps reprogram initial moves, emphasizing body leadership for a reliable swing sequence.
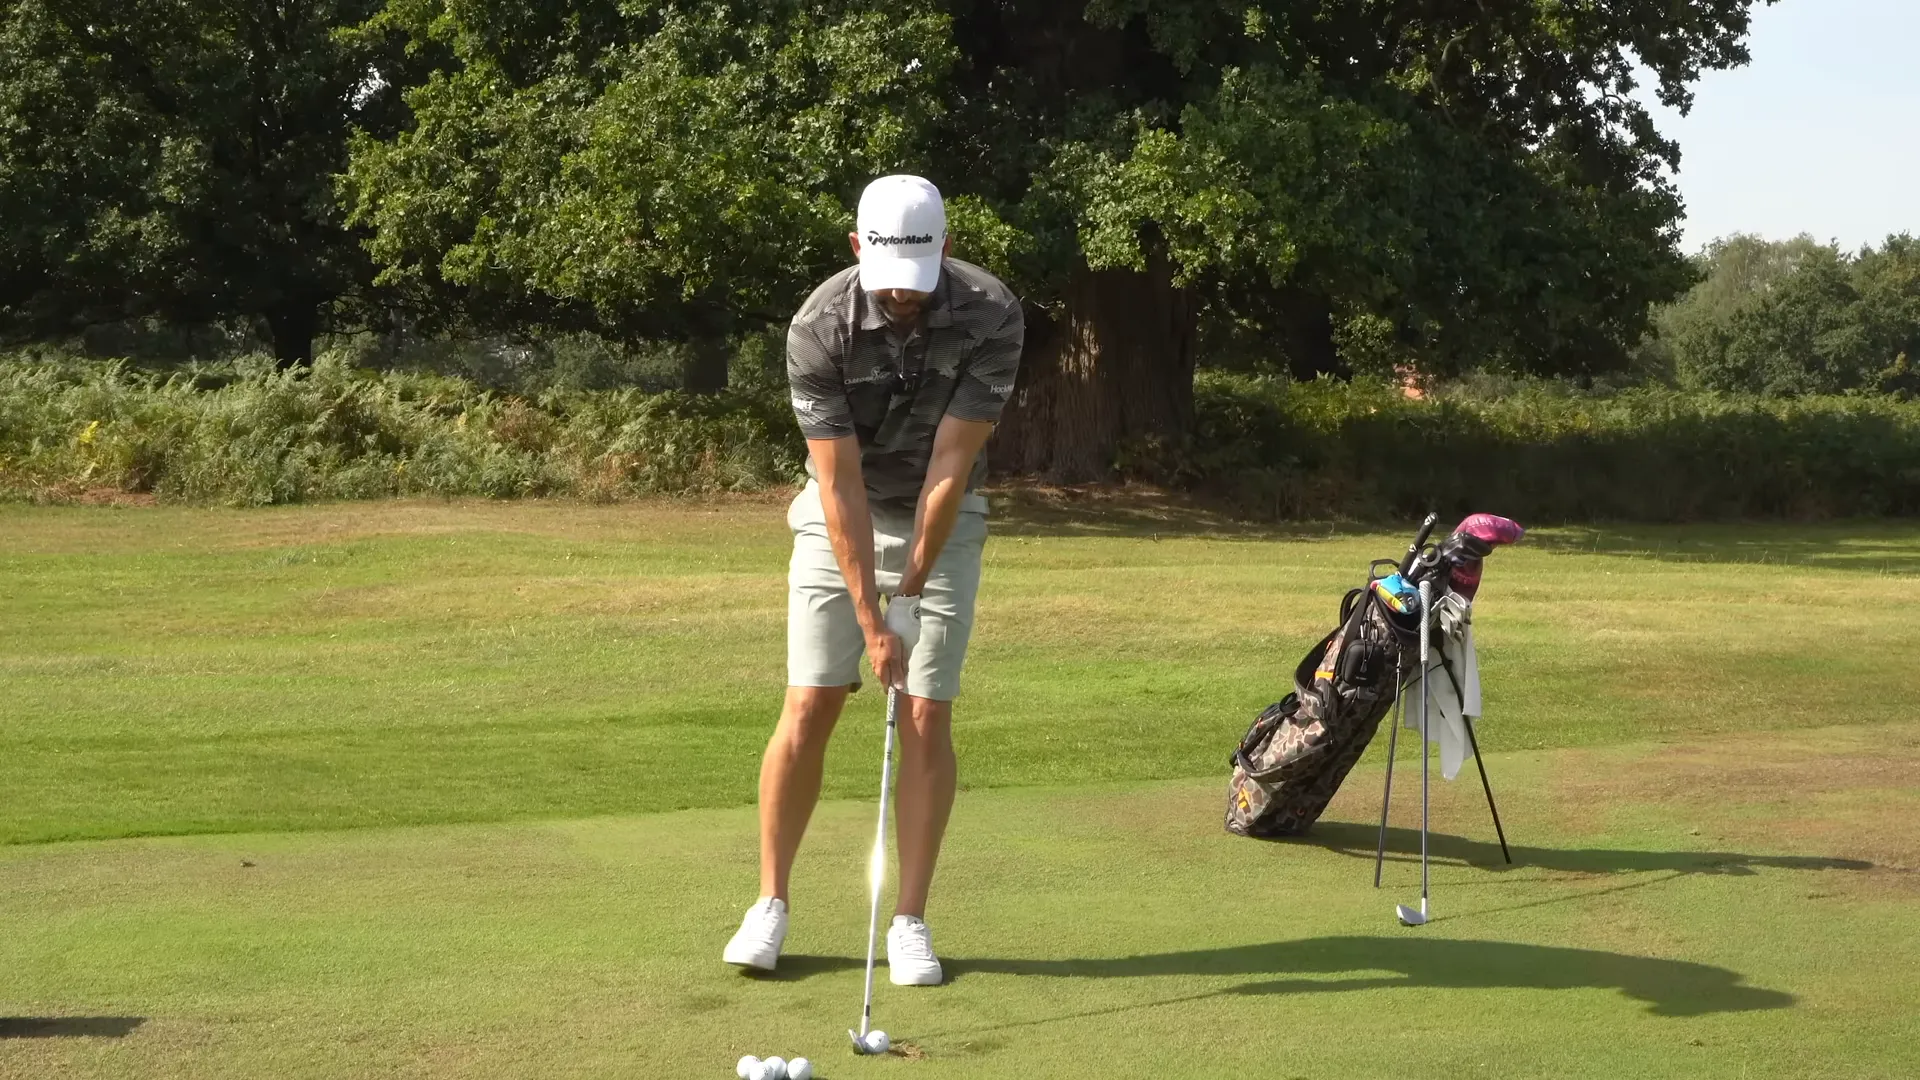
Step 5: Learn the Downswing Sequence — Get the Body to Start Downhill in Golf
Like the backswing, the downswing should begin with a body movement, allowing the arms to lag and accelerate:
- Initiate with a pressure shift and step into the downswing.
- Let arms and club follow for a powerful, coordinated impact.
Focus on smooth transitions rather than forcing power, and enjoy a natural lag leading to improved contact and distance.

Step 6: Downswing Step Drill — Step, Lead, Then Swing for Better Golf
This drill reinforces body-led downswing initiation:
- Position behind the ball; make a backswing.
- Before club completes the turn, step with the lead foot towards the target.
- This step starts the downswing with a pressure shift forward.
- Arms follow, accelerating naturally.
Focus on smooth, feel-focused movements for effortless power and improved shot accuracy.
Step 7: Put It Together — Step, Swing, Step, Swing: A Practice Sequence for Golf
Combine the backswing and downswing in a continuous rhythm to enhance muscle memory:
- Without a ball, practice the step-back, turn-sequence.
- Add a backswing and downswing, focusing on body initiation.
- Unite these elements: step, swing, step, swing.
This practice creates a seamless, balanced swing pattern that can be repeated during real play.
Step 8: Practice Plan — How to Practice These Drills for Reliable Golf Results
Use this routine to incorporate new habits into your swing for consistent improvement:
- Warm-up: 5-10 minutes of light stretching and club swinging.
- Drill Block 1: 50 reps of backswing step drill.
- Drill Block 2: 50 reps of downswing step drill.
- Linking Block: Practice step, swing, step, swing with and without a ball.
- Shot Quality Block: 30-50 shots focusing on feel over distance.
- Reflection: Note changes in balance, rhythm, and distance control.
Regular practice ensures these drills embed into your muscle memory for lasting swing improvements.
Step 9: Troubleshooting — Common Problems and How to Fix Them in Your Golf Practice
If issues arise during practice, use these solutions:
- Problem: Club goes first. Fix: Slow down drills and monitor movement via mirror or video.
- Problem: Tension in hands or shoulders. Fix: Focus on relaxed, natural body movement.
- Problem: Weight shifts backward. Fix: Emphasize lead-leg step during downswing drills.
- Problem: Inconsistent strikes. Fix: Maintain rhythm, increasing speed gradually.
The goal is to build a new sequence for natural, powerful swing execution.
Step 10: Mental Cues and Feelings to Reinforce the New Golf Sequence
Use succinct cues to reinforce correct timing:
- “Body first” — emphasize torso initiation.
- “Step, swing” — match foot action with swing rhythm.
- “Lead leg” — focus on engaging the lead side early.
- “Relax and let it swing” — reduce arm tension.
On the course, stick to one cue at a time for simplicity and effectiveness.
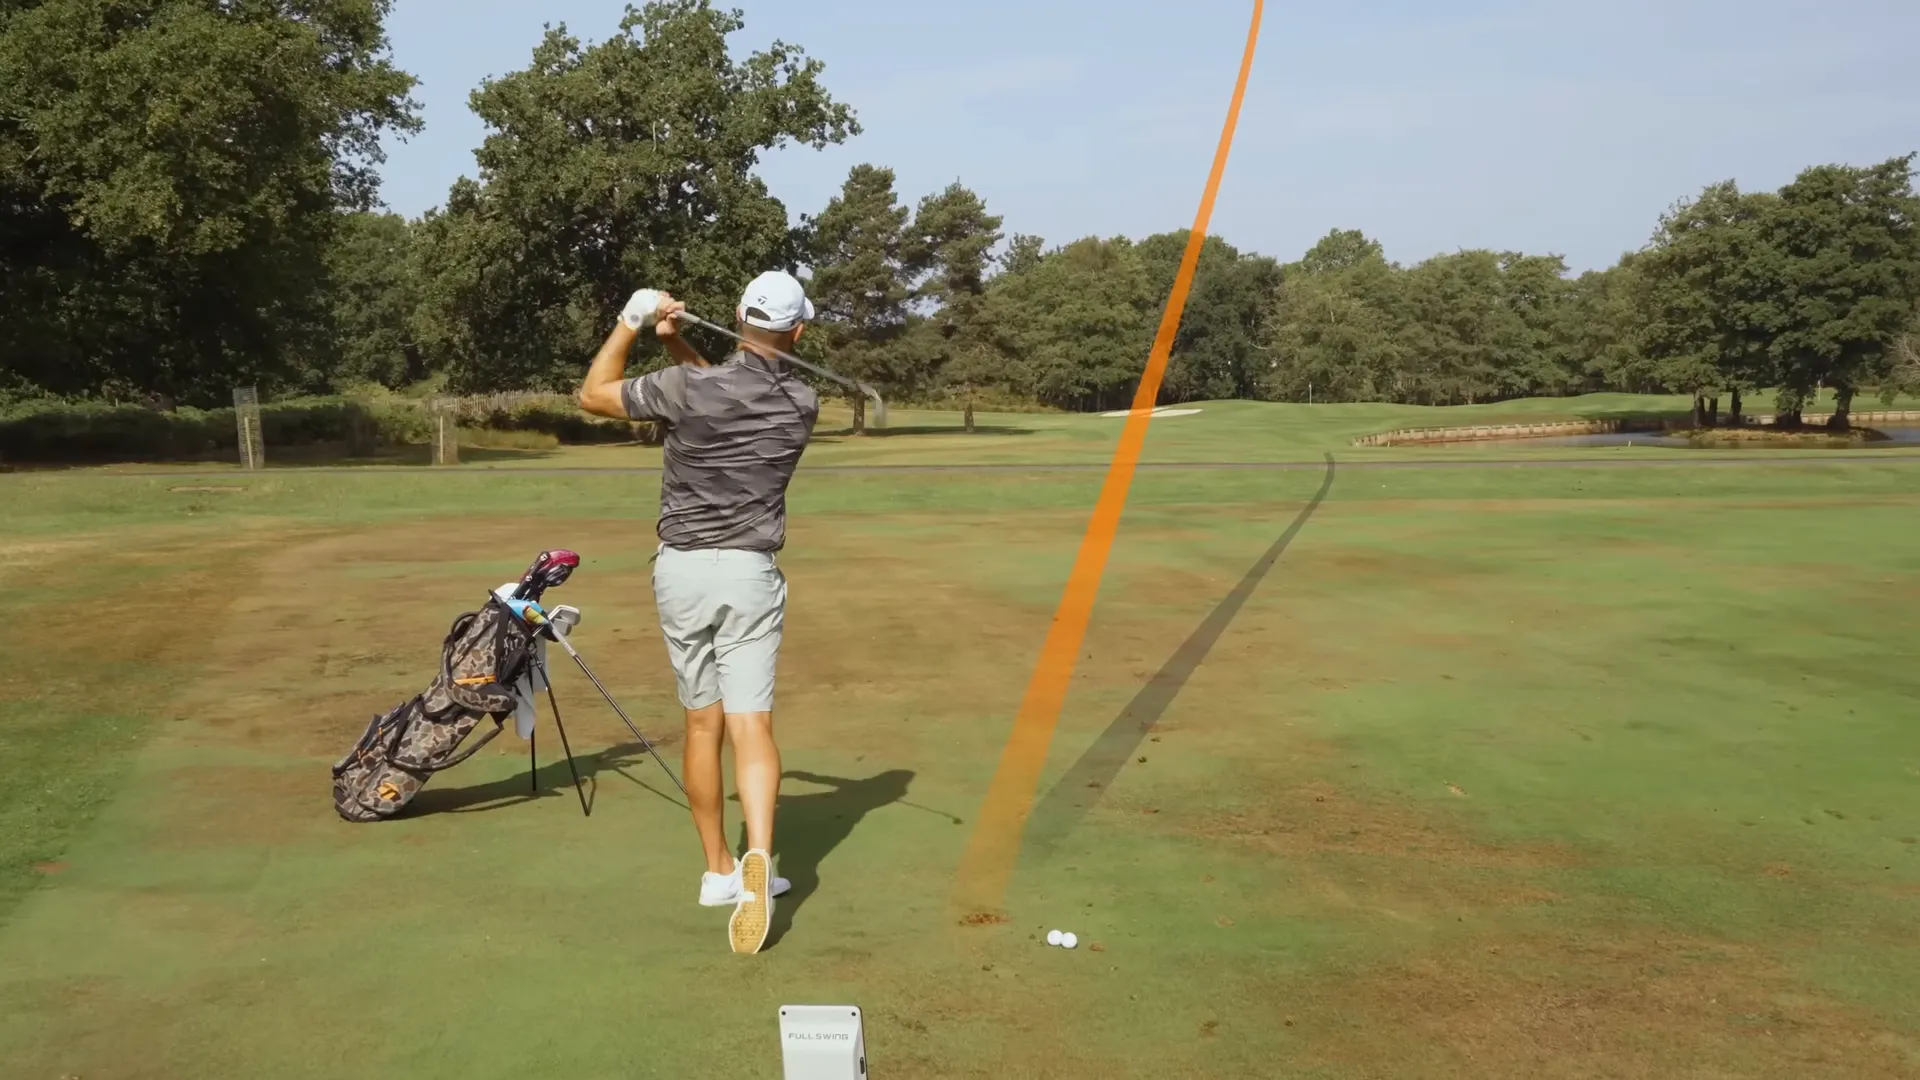
Step 11: How This Change Affects Distance, Accuracy, and Consistency in Golf
When you implement these sequencing changes, expect:
- Effortless power: Generate speed through sequencing, not force.
- Cleaner contact: Correct lag and weight shift improve strike quality.
- Better accuracy: Promote on-plane swings with controlled hand movement.
- Repeatability: Rely on rhythm and timing for consistent swings.
This sequence-driven approach mirrors how professionals achieve high speeds effortlessly.
Step 12: A Simple On-Course Checklist for Your Golf Rounds
Use this checklist to maintain correct sequencing on the course:
- Take a deep breath, relax grip.
- Visualize body-first movement and step in takeaway.
- Ensure club follows torso during backswing.
- Begin downswing with a lead-foot step.
- Prioritize rhythm over force.
This habit will help maintain correct sequencing even under pressure.
Step 13: Drills and Progressions to Keep Improving Your Golf Sequence
Advance your sequences with these progressions:
- Medicine ball turns: Focus on torso-led turns without a club.
- Mirror work: Practice sequence in front of a mirror to check form.
- Slow motion swings: Execute half swings, focusing on step-swing rhythm.
- Impact practice: Strike tees to perfect impact sequencing.
Take progression slow to avoid regression and maintain control.
Step 14: Long-Term Habits — How to Make This the Default in Your Golf Swing
Build habits that incorporate these movements into your routine:
- Include step drills in warm-ups.
- Practice sequence-focused swings twice weekly.
- Use slow-motion feedback for monitoring.
- Play rounds focused on rhythm rather than distance.
Allow these practices to make the swing sequence natural and automatic.
Step 15: Frequently Asked Questions (FAQ) about Fixing a Rushed Downswing in Golf
Q: How long will it take to fix a rushed downswing?
A: Improvement can be noticeable within a few sessions with dedicated practice. Long-term changes require consistent practice over several weeks.
Q: Can I use these drills with any club?
A: Yes, though mid-irons are recommended initially for better feel. Progress to longer clubs as comfort grows.
Q: Will this make me lose distance?
A: Temporary distance drop is possible as timing adjusts, but long-term, you should see improved distance efficiency.
Q: What if I get nervous on the course and revert to the old swing?
A: Utilize an on-course checklist and practice under pressure to strengthen new habits.
Q: How do I know the body is leading and the club is following?
A: Use video feedback or mirrors to confirm proper sequencing with the body initiating both swings.
Q: Are there any physical limitations that might prevent this sequence?
A: Mobility issues can complicate sequencing. Pair drills with mobility work and professional guidance if needed.
Conclusion — Make Your Golf Downswing Smooth, Rhythmic, and Powerful
By shifting focus to body-led movements and using step-swing drills, you can correct a rushed downswing, leading to natural power and improved performance. Embrace deliberate practice and feel over force to master your golf swing. Go to the range, initiate with body movements, and enjoy a golf game that’s smoother and more enjoyable.
Practice cue: Before each shot on the range, say quietly: “Step, swing. Step, swing.” Let that rhythm be your anchor.
0 Comments