

Unlock the secret to better golf strikes by mastering your swing transition. Focus on the phase between backswing and downswing for improved shaft lean, compression, and ball striking.
Table of Contents
- Step 1: Why Transition Matters More Than Impact
- Step 2: Ensure a Wide, Flat Wrist at the Top
- Step 3: Maintain Elbow Connection
- Step 4: Lower Arms Relative to Body
- Step 5: Synthesize Moves into Sequence
- Step 6: Practice Progressions
- Step 7: Avoid Common Mistakes
- Step 8: Measure Your Progress
- Step 9: Explore Training Aids
- Step 10: Effective Time-Restricted Practice
- FAQ
- Final Thoughts
Step 1: Why Transition Matters More Than Impact
Impact is often overrated among golfers. Efforts to freeze the perfect pose miss the crucial transition from backswing to downswing. Nail this phase and see improvements in your golf game without major adjustments at impact.
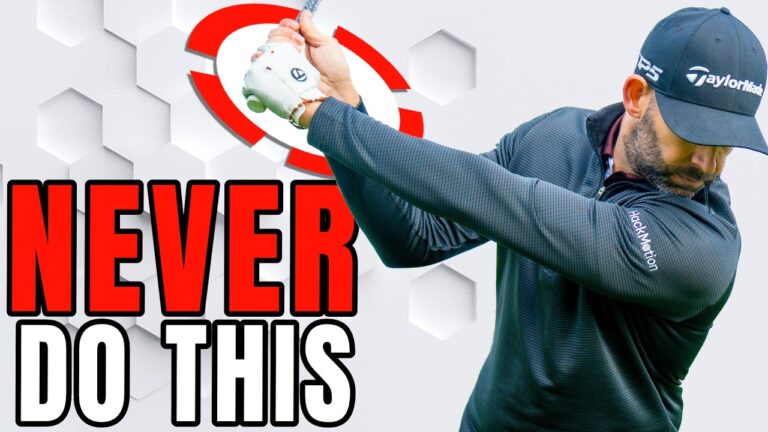
Step 2: Ensure a Wide, Flat Wrist at the Top
Your goal is to maintain wrist position during the swing. A flat wrist stabilizes the clubface, preventing rotation and promoting consistent strikes.
- Set up normally, observing wrist angle.
- Lift arms, allowing wrists to relax and flatten.
- Maintain arm width and body rotation to foster a full turn.
Step 3: Maintain Elbow Connection
A common transition error is elbow separation. Keep elbows attached by using light pressure so the wrists stay flat, promoting an inside-to-out path.
Drill: The Smart Ball Squeeze
- Place a soft ball between forearms.
- Lightly compress the ball during swing.
- Squeeze the trail elbow toward the lead elbow through transition.
- Practice with varying swing lengths, ensuring consistent ball pressure.
Step 4: Lower Arms Relative to Body
After fixing wrist and elbow alignment, focus on arm lowering. This controlled movement allows a shallower path and optimal shaft lean.
The Five O’Clock Drill
- Visualize your body as a clock; aim to move hands to five o’clock on downswing.
- Combine lowering with body rotation for a precise delivery angle.
Step 5: Synthesize Moves into Sequence
- Start with an extended right arm for swing width.
- Flatten the wrist at the top during lift.
- Maintain elbow connection as you lower hands.
- Rotate body, delivering the club from inside with a controlled face.
Step 6: Practice Progressions
- Rehearse movements without a ball, embedding patterns slowly.
- Implement drills in steps, starting with half swings and building to full swings.
- Utilize feel-based cues during practice for pressure performance.
Step 7: Avoid Common Mistakes
- Correct wrist cupping by maintaining wrist flatness.
- Use drills to eliminate elbow separation.
- Prevent early casting by lowering hands alongside body rotation.
Step 8: Measure Your Progress
- Recognize improved contact and ball trajectory.
- Check clubface stability in recordings.
- Analyze swing path data for inside-out trends.
Step 9: Explore Training Aids
- Use wrist sensors for cue feedback.
- Use a training ball to maintain elbow connection.
- Employ visual aids like mirrors or cameras for self-evaluation.
Step 10: Effective Time-Restricted Practice
- Warm up with brief stretches.
- Perform shadow drills for precision.
- Focus on half swings using aids like smart balls.
- Finish with short rehearsals ensuring correct form.
FAQ
How long will it take to improve my striking?
Expect visible changes in a few sessions if focused. Full course integration typically takes weeks of practice, with frequency triumphing over session length.
Is special equipment necessary?
Though not necessary, aids like smart balls and wrist sensors can speed up progress with tactile feedback if you’re having difficulty.
Will this improve my distance?
Improved transitions enhance impact consistency and compression, which often contributes to more accurate and potentially longer shots.
Can these drills reduce slicing?
Yes, by aligning your path and clubface, the drills help diminish slicing tendencies, encouraging straighter or slightly right-to-left ball flights.
Is my wrist position correct?
A flat wrist aligns the lead hand and forearm straight, avoiding excessive bending. Video feedback best verifies this setup.
Do these moves apply across all clubs?
Absolutely. The transition principles adapt to all clubs, though execution and emphasis may shift based on club type.
What if my performance worsens initially?
Be patient. Temporary setbacks occur with new techniques. Slow down and reinforce basics, gradually increasing speed as you stabilize the pattern.
Final Thoughts
Golf mastery comes through transition. Prioritize pre-impact motions to achieve better ball strikes. Commit to muscle memory drills like wrist flattening and smart ball squeezes. Quality execution naturally enhances impact over time.
0 Comments